Homemade Waffle Cones


This homemade waffle cone recipe is quick and easy to make, chewy with crisp edges and has a sweet buttery flavor that's reminiscent of a sugar cookie! Ice cream cones just ready and waiting to be filled with your favorite ice cream. Includes instructions for making waffle bowls, mini waffle cones, and “taco shells” for homemade Choco Tacos!

Emilia said: “Okay, I bought this waffle maker when I first saw this post last year and completely forgot that I had it until I went searching for this recipe again. This is going to be a problem! They’re so good that I ate two of them before they even had a chance to put ice cream in them lol. Thanks for the recipe! ⭐⭐⭐⭐⭐“
Enter the waffle cone maker
I'm in love with a waffle maker. That's right. I'm professing my love for a waffle cone maker. We got a Chef'sChoice Waffle Cone Express as a wedding gift, and I hadn't even touched it until now.
Not that it's not always ice cream season for me, but summer is the time when it's socially acceptable to eat copious amounts of it.
And to do so, I need a delicious vessel for it because bowls just aren't good enough for me. Why use the thing that's made specifically to hold food for my food? Psssssh. I'd rather be able to eat said vessel.
If I'm being honest, a waffle cone for ice cream is the only way I want to eat ice cream when it's not straight out of the pint container.
Are a waffle cone maker and waffle iron the same thing?
If you're not familiar with waffle cone makers, they're not the same thing as a waffle iron. So if you have a waffle iron and try to make this recipe it's… well, it's going to be terrible.
- Waffle irons have deep grids intended for big, fluffy Belgian waffles.
- Waffle cone makers have a very shallow grid – we want them to easily wrap into a cone and have just enough thickness to support our delicious, delicious ice cream.
If you try to wrap a Belgian waffle into a cone you're going to end up with something that's… again, just terrible. But turning Belgian waffles into a gigantic ice cream sandwich? I'm on board.
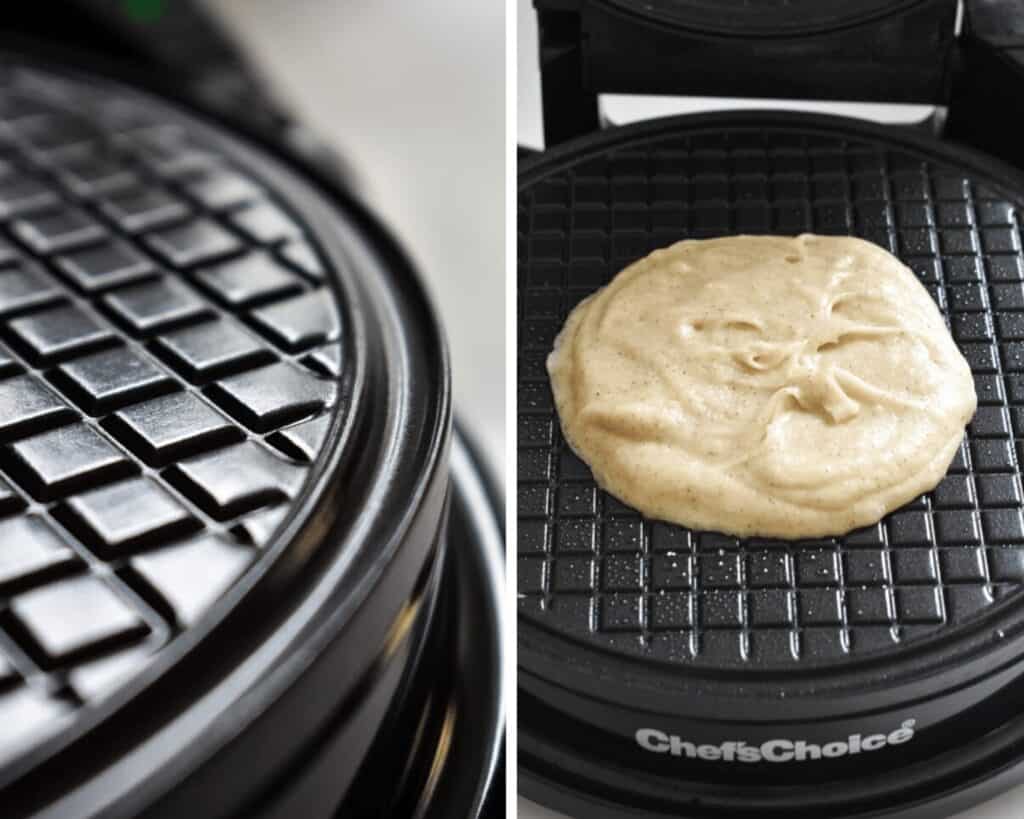
How to use a waffle cone maker
It will come with instructions and a description of the various settings, but quite honestly it takes some trial and error to find the ideal settings for you. For my machine, about 2-3 minutes on setting 3 is perfect for me.
It also comes with this cone form that makes it easy to wrap the thin waffle around.
The magical waffle cone flavor
Speaking of the taste, let's talk about the flavor in these waffle cones. Have you ever been to a Jeni's Ice Cream? I've always loved the flavor of their cones because they have a sugar cookie-esque taste.
Lucky for us, Jeni actually published her buttercrisp waffle cone recipe a while back (it's since been removed from their site), so I tweaked the recipe a little to my liking – specifically, I use vanilla bean paste and added ground cinnamon.
You could always use vanilla extract and omit the cinnamon, but my spin on Jeni's recipe is my absolute favorite.
Ingredients for homemade waffle cones
- Egg whites (save the yolks for another use, like a giant chocolate chip cookie!)
- Heavy cream
- Granulated sugar
- Ground cinnamon
- Salt
- Vanilla bean paste
- Almond extract
- Unsalted butter, melted
- All purpose flour
How to make waffle cones
I recommend laying out a dish towel for the process because:
- That waffle is going to be piping hot.
- You probably don't want to throw your piping hot waffle onto your bare countertop.
- You can use the towel to manipulate the waffle around the form and save your finger tips from certain burning
- It'll nicely collect any crumbs so you can easily throw them away. Or eat them, either way.
Having the dish towel is also key to the “setting” process. You need to let the cone rest seam side down until it sticks in place as it cools.
You also need to make sure you pinch the tip of the cone closed. If you don't, you're just going to have ice cream dribbling all over you. Hopefully I don't have to tell you… that's not a good look.

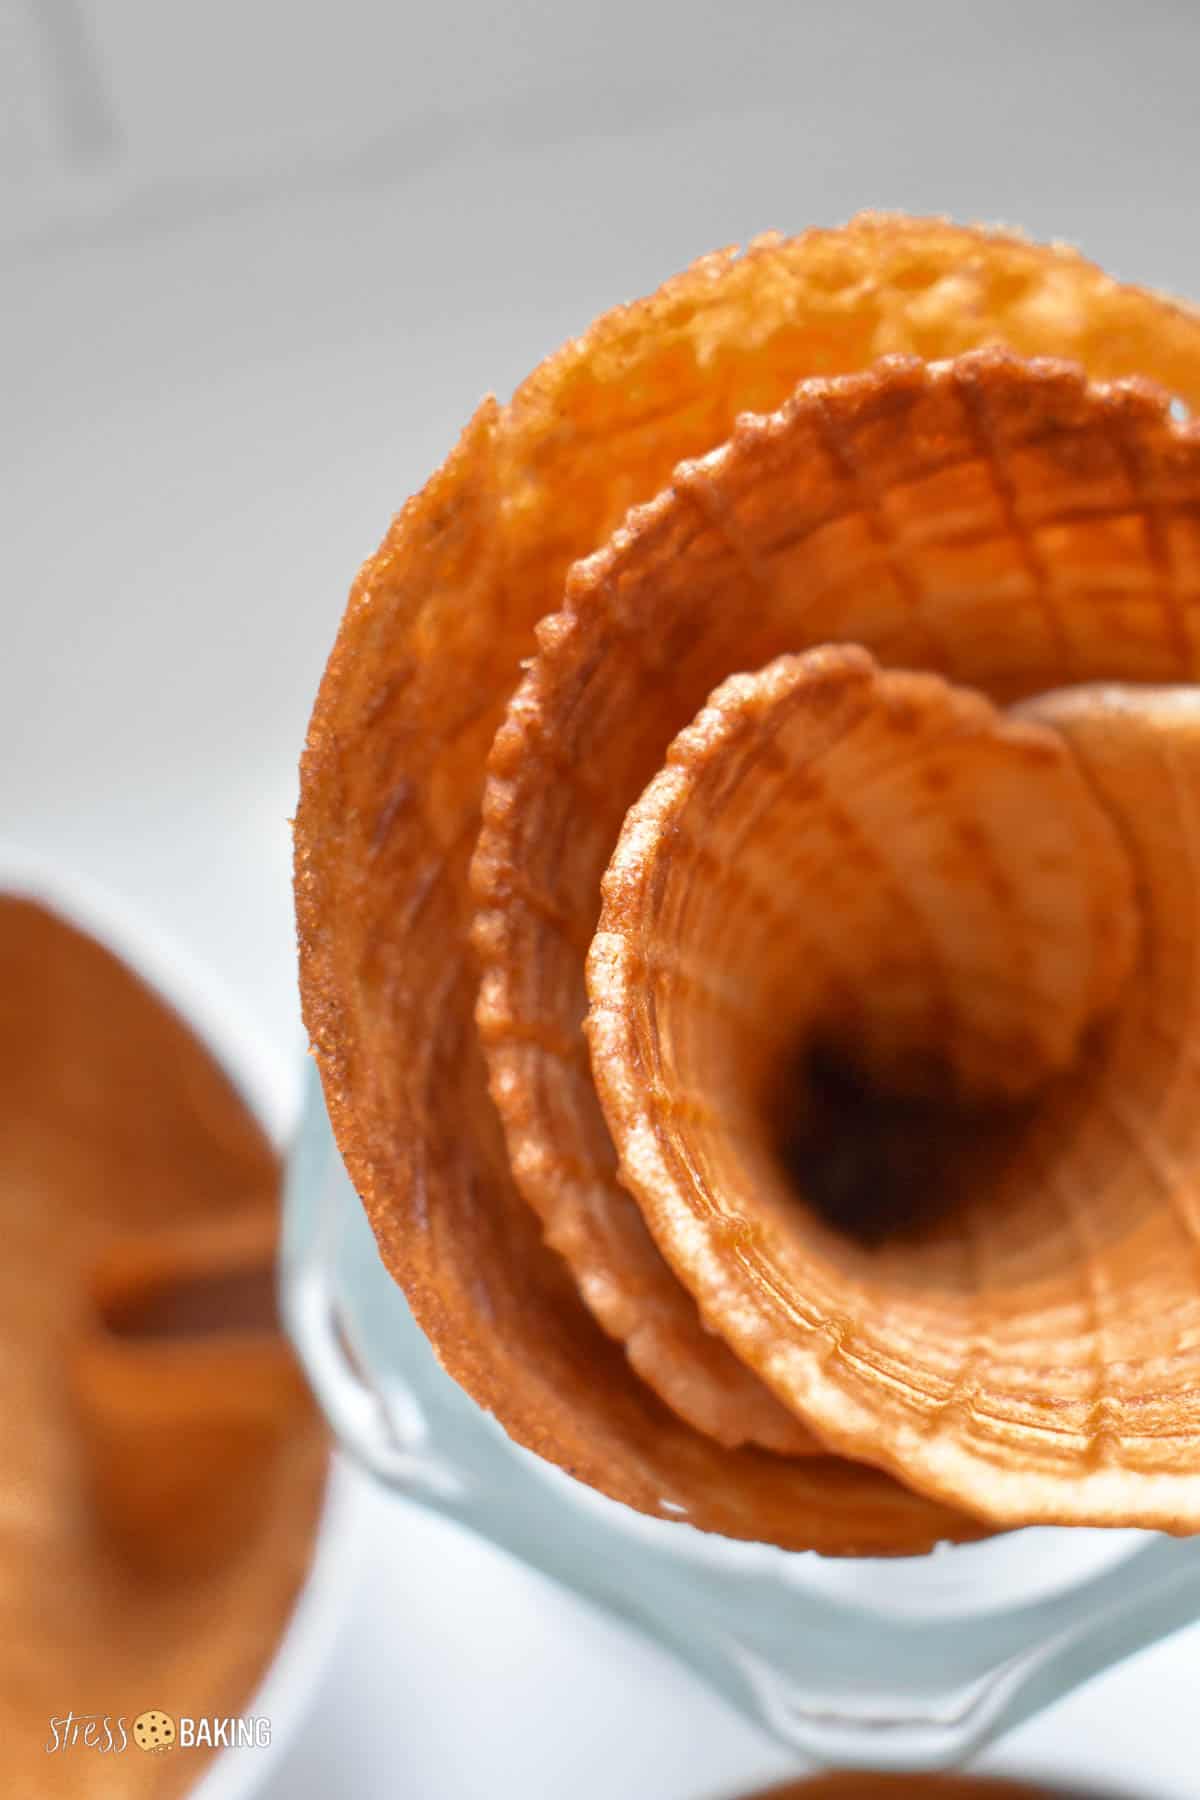
You need to let them cool so that they hold their shape, and my favorite way to do that is to gently place them in these vintage ice cream dishes.
You could always use a different kind of glass, or just let them lie on their sides – I just find this way easy and compact on my counter top. I just stack them inside one another, and I've never had a problem.
I like mine to be more brown than golden brown, as it makes them more crunchy than chewy – so I let mine cook for about 2-3 minutes on setting 3 on my waffle cone maker. I also press down on the handle of the waffle maker so that it flattens it a bit more.
If you'd like yours less crisp and/or more chewy, just bake them for a little less time than I note in the recipe instructions.

How to shape waffle cones
Just follow the instructions above (and in the recipe card) and you'll be golden (pun intended).
I don't try to make them perfectly shapes, or with completely smooth and rounded tops. Per usual, I let them be perfectly imperfect because it's way less stressful.
See that chipped one in the bottom right of the below photo? I broke it when I was moving stuff around, and SURPRISE! It still tastes just as delicious as the rest of them.

How to make your own choco tacos
If you're like me and totally heartbroken by the announcement that Klondike decided to discontinue the production of Choco Tacos, take some comfort in knowing you can make your own!
Hop on over to this post to find out how to make your own homemade Choco Tacos (and keep your fingers crossed that there's a chance they'll come back some day!).
How to make mini ice cream cones
Smaller cones means more of them! You can get more cones out of the same amount of batter if you reduce the amount you add to the waffle iron – just use 3 tablespoons of batter and you can 8-9 cones.

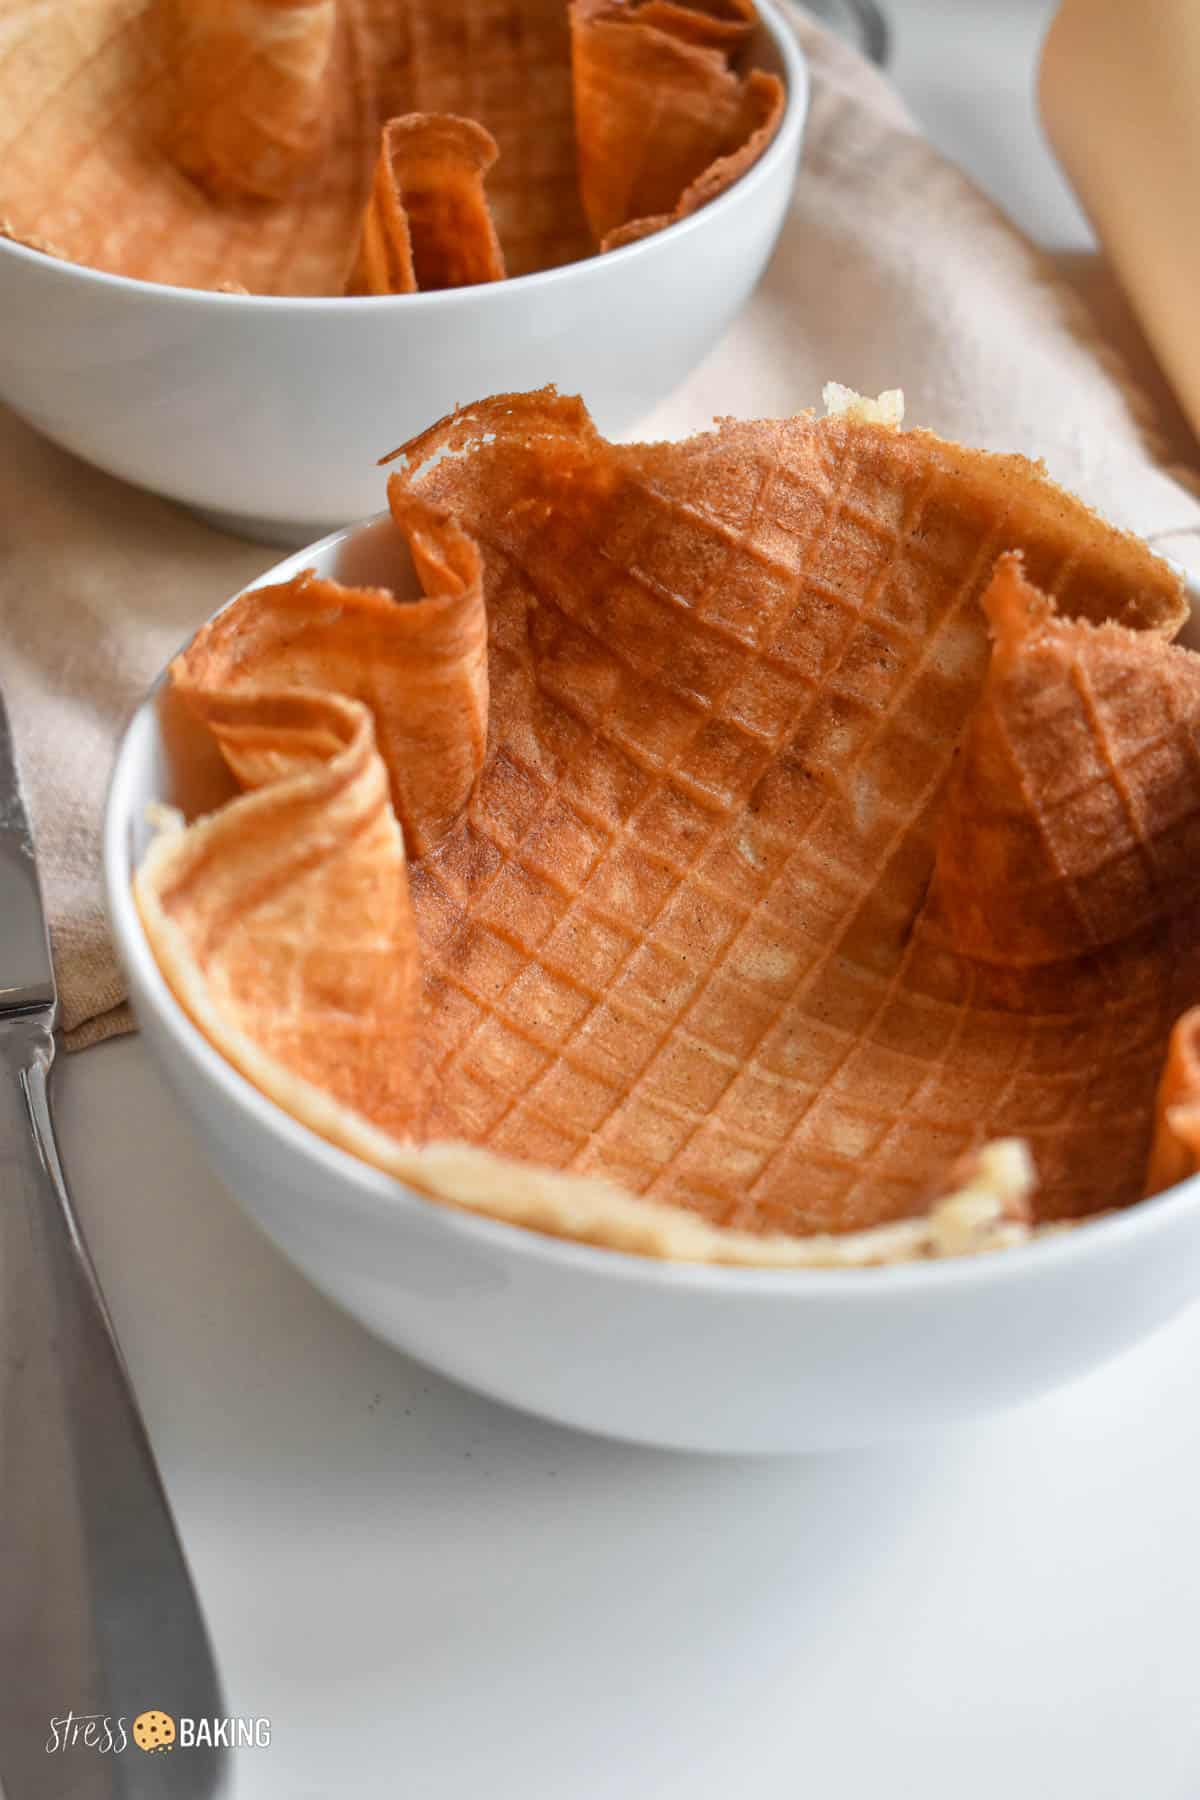
How to make waffle bowls for ice cream
You can use the same ingredients and follow the same process with the waffle maker, you'll just need a different form for setting them.
When you remove them from the waffle iron, carefully place them inside a small bowl (gently folding and pressing the interior a little to make it fit) and let them cool completely inside that bowl.
I also highly recommend dipping the edges in melted chocolate – and maybe even some sprinkles!
Keep in mind: You still want to place them on a plate or in a bowl once you've added your ice cream! You don't want to just stand around holding the waffle bowl by the base… it could end badly.
Also, these won't be as thick as what you'd receive at someplace like Coldstone Creamery or the like – so you could even double up on your waffle bowl and set two of them together.
You know what else I love?
My new Erickson Surfaces photography board. I needed a larger board than the two I have, and I wanted to experiment with darker colors. I picked up their 21″ x 34″ in Cookie Sheet, with Farmhouse White on the other side.
If you've seen a similar background in pictures from posts in the past, it's because I was using an actual cookie sheet. Unfortunately, I don't think anyone makes a 21″ x 34″ metal cookie sheet, so… yeah.
Can you imagine the oven you'd use that in? ‘Cause I'd want one. Immediately.
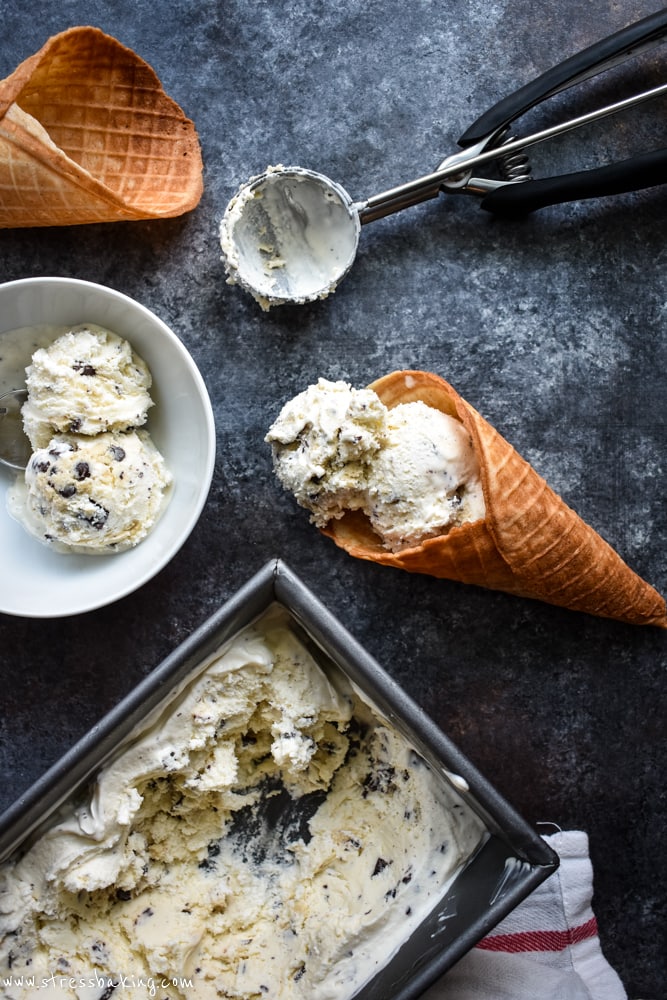
Now that you have this waffle cone recipe, what kind of ice cream are you going to fill yours with first?
Try filling it with one of these ice cream recipes:
- Loaded Mint Chocolate Chip Ice Cream
- Chocolate Chip Cookie Dough Ice Cream
- Bourbon Butter Pecan Ice Cream
- No Churn Homemade Americone Dream Ice Cream
- No Churn Salted Caramel Swirl Ice Cream
- Salted Nutella Fudge Brownie Gelato
- Oreo Ice Cream
- Gingerbread Ice Cream
Leaving a star rating is a great (and free) way to support Stress Baking! ❤️ After you've made this recipe, please consider clicking on the stars below to share your experience!
Homemade Waffle Cones

Ingredients
- 5 tablespoons unsalted butter, melted
- 2 egg whites
- ¼ cup heavy cream
- ½ cup granulated sugar
- ¼ teaspoon ground cinnamon
- ¼ teaspoon sea salt
- 1 teaspoon vanilla bean paste
- 1 teaspoon pure almond extract
- ⅔ cup all purpose flour
Instructions
- In a small saucepan over low heat, melt butter and then set aside to cool.5 tablespoons unsalted butter
- Turn on your waffle cone maker to let it preheat.
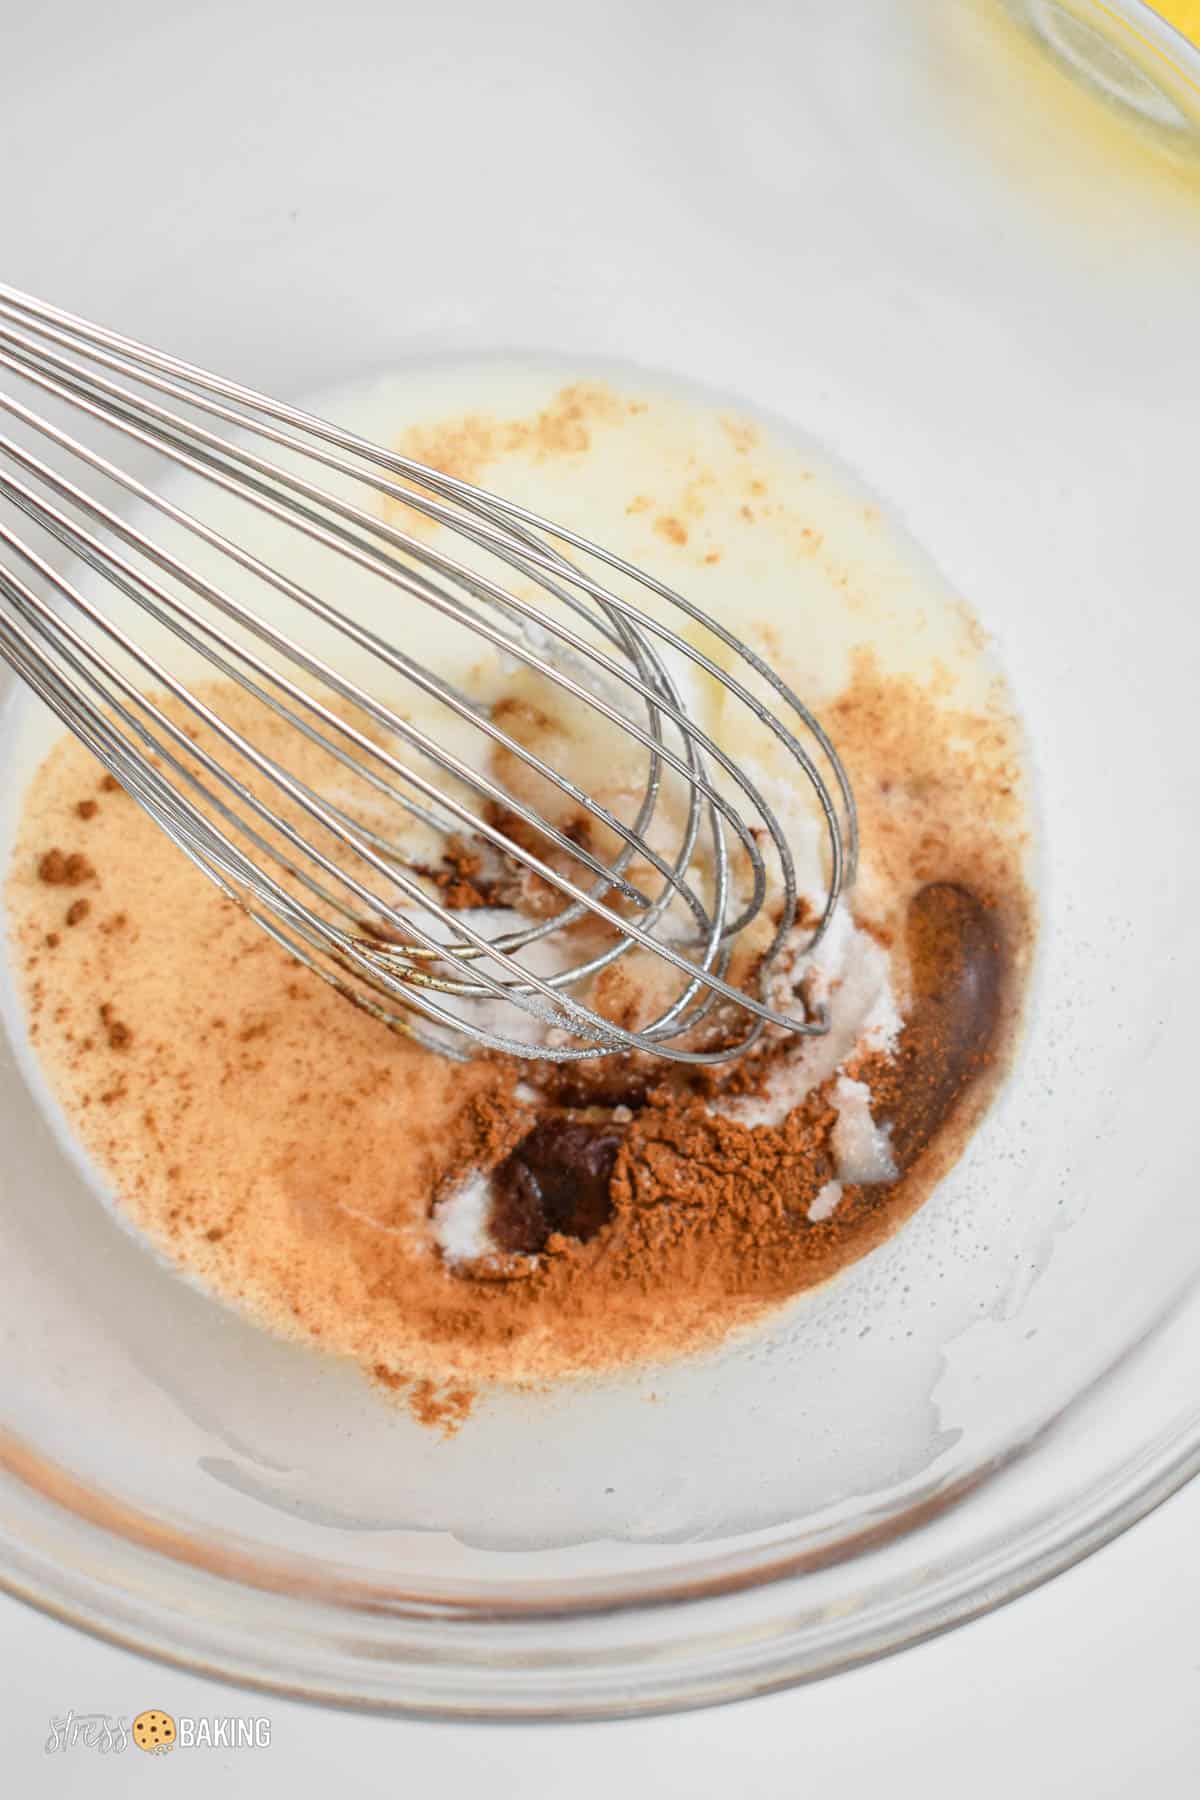
- In a medium bowl, whisk together egg whites and heavy cream until combined.2 egg whites1/4 cup (59 ½ g) heavy cream
- Add sugar, cinnamon, salt, vanilla bean paste and almond extract and whisk until well combined.1/2 cup (100 g) granulated sugar1/4 teaspoon (¼ teaspoon) ground cinnamon1/4 teaspoon (¼ teaspoon) sea salt1 teaspoon vanilla bean paste1 teaspoon pure almond extract
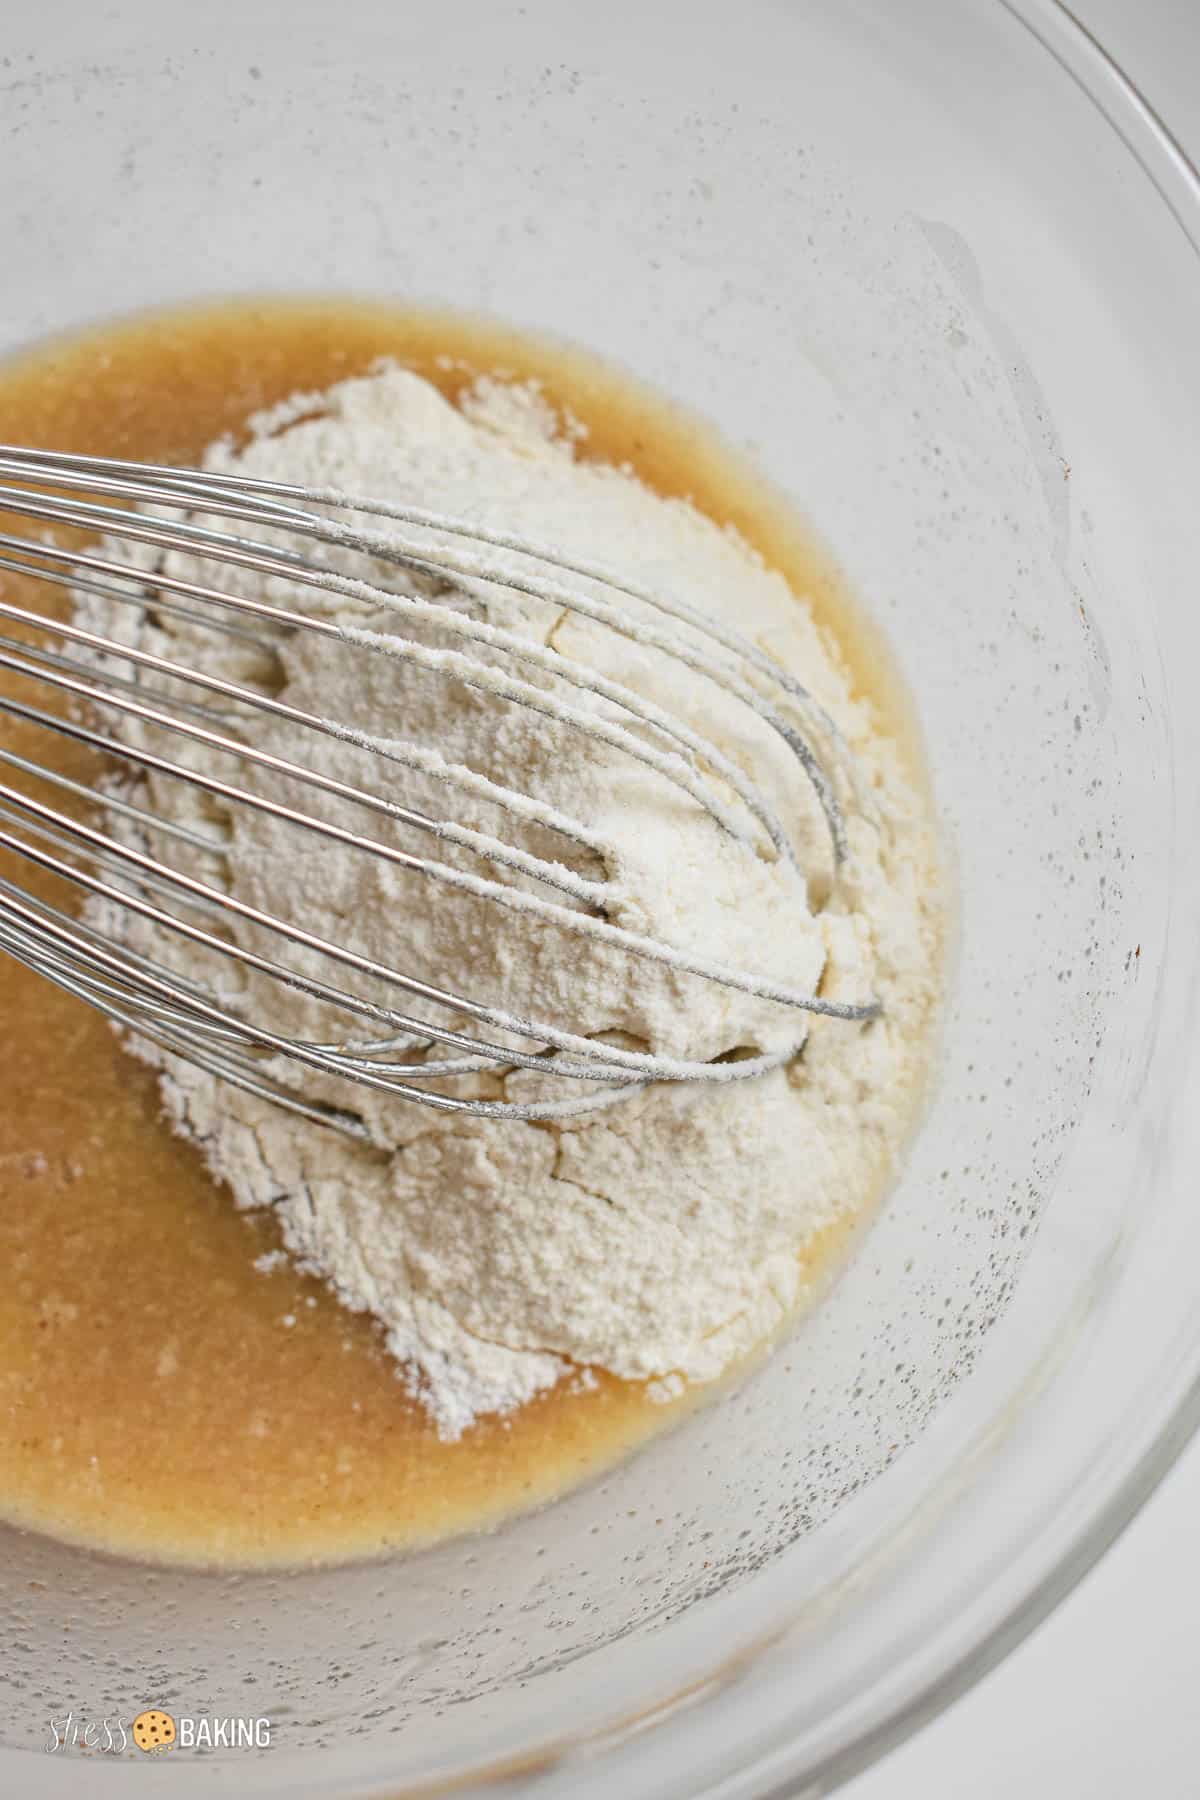
- Add melted butter and whisk to combine.5 tablespoons unsalted butter
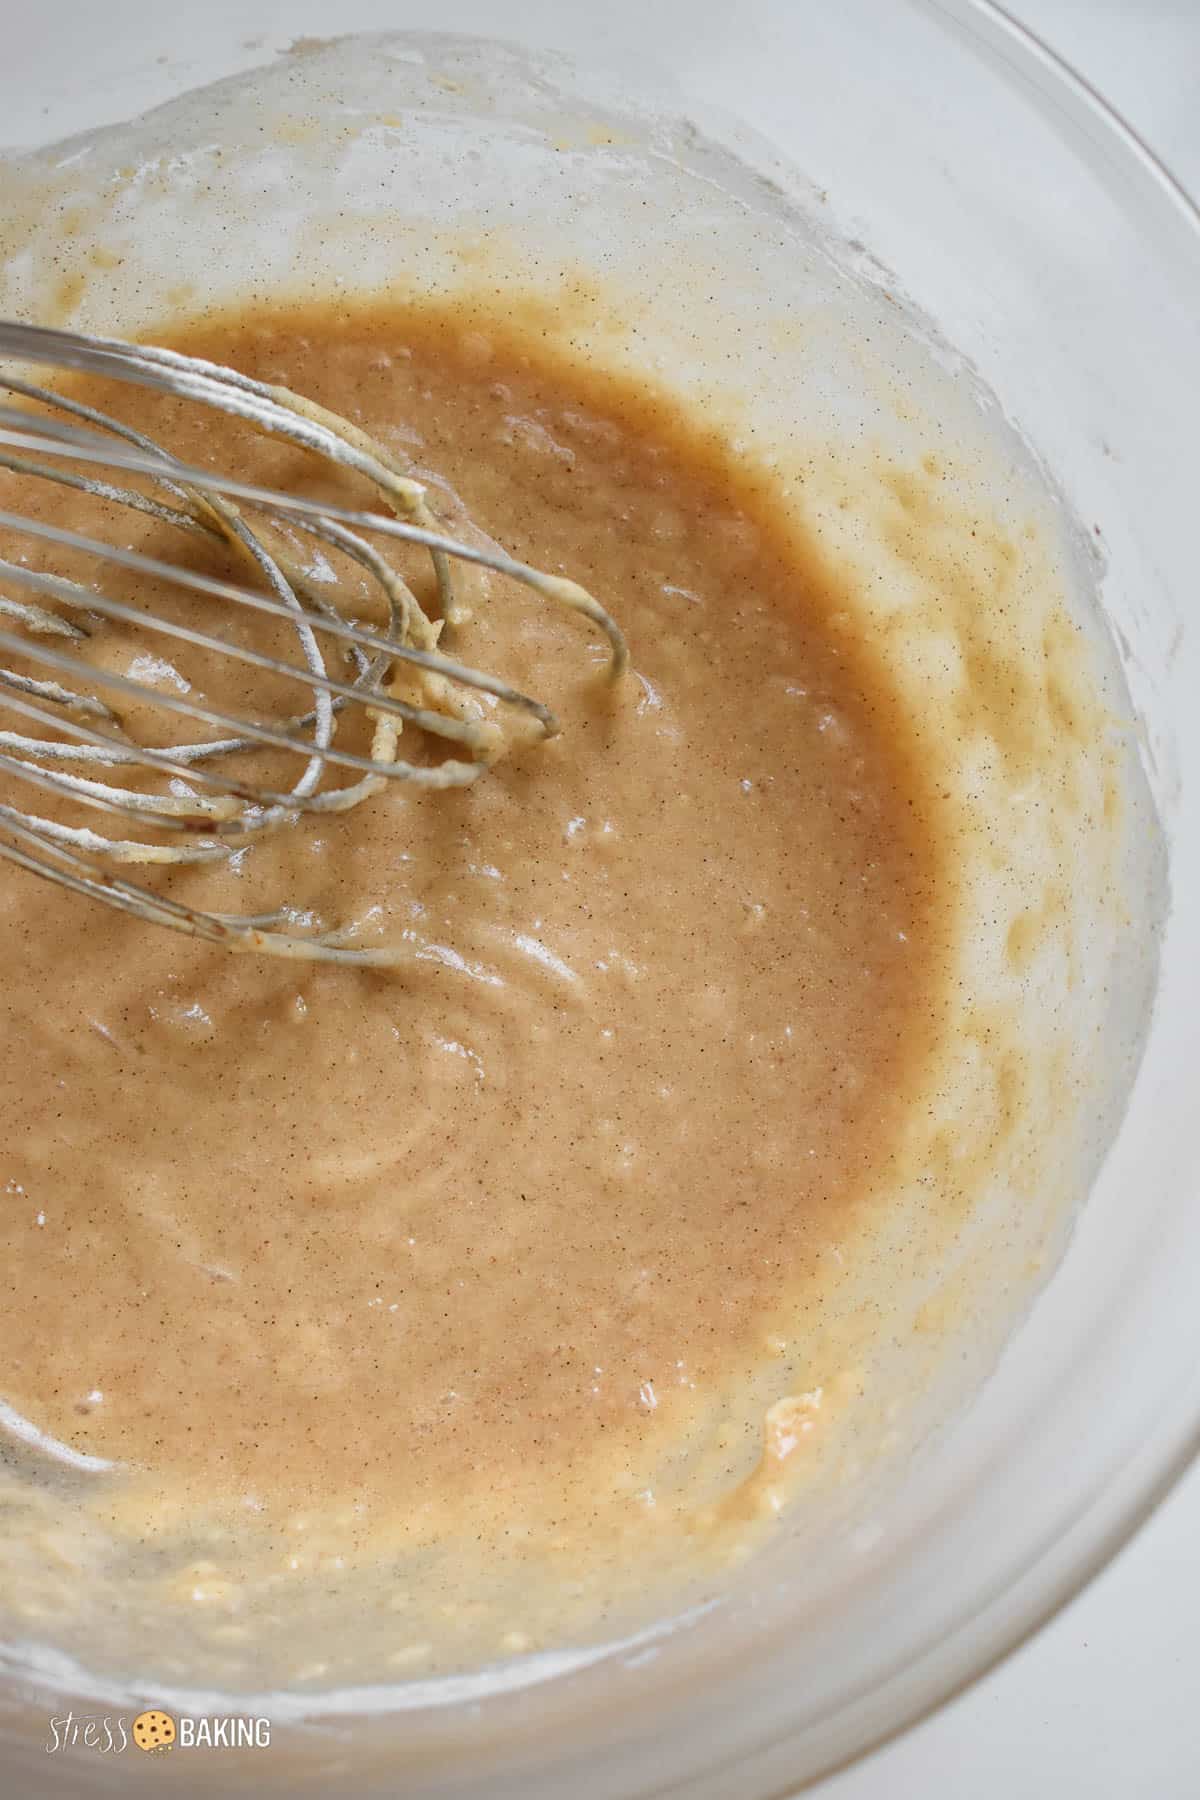
- Add flour and whisk only until just combined and smooth.2/3 cup (83 ⅓ g) all purpose flour
- Spray waffle maker with nonstick spray on both the bottom and top grids.
- Use a 1/4 cup measuring cup to scoop batter into the center of prepared waffle cone maker, and cook according to the manufacturer's instructions.Note: For my Chef's Choice Waffle Cone Express, I find best results cooking on the Color Control setting 3, for 2-3 minutes.
- Lay a dishtowel on the counter next to your waffle cone maker. Once the round is cooked to your desired doneness, carefully and quickly remove it and place it on the dishtowel.
- Position the point of the form close to the edge of the round with the form resting across the diameter of the round. Use the cloth (to protect your fingers) to wrap one edge of the round onto the form, and then roll the cone forward until it's wrapped completely around the form.
- Hold the cone with the seam side down, gently but firmly, against the cloth and allow it to cool for 15 seconds or so. While it's cooling, also make sure you pinch the tip of the cone so that it's sealed!
- Once you feel like the cone has cooled enough to hold it's shape, carefully remove it from the form and let cool upright (I like to place them in these vintage tall ice cream bowls I have, or stacked in a pint glass). You can also lay them on their sides on a wire rack.
- Add your favorite ice cream and serve immediately. Enjoy!
Video
Notes
Nutrition Facts
Nutrition Disclaimer
The provided nutrition information is generated by an automatic API and does not take variations across specific brands into account. This information is provided as a general guideline and should not be treated as official calculations. Learn more here.
These were really delicious! So glad to find your recipe. I LOVE waffle cones but the others I’ve tried just weren’t cutting it. I cooked these at 175 C for 2.5 minutes and they came out perfectly light, buttery and crispy. I only had 4 TB unsalted butter so cut the salt to 1/8 tsp to accomodate the last TB of salted butter.
Thank you!!
Becky
WOW, always wondered how to make these cones. Pinned it. These does look outstanding.
I visited you via EASY BLUEBERRY CRISP – WEEKEND POTLUCK #593
I linked up this week with = Lemon Chicken with Sautéed Green Beans and Easy Pulled Pork Shoulder.
If you have not joined us as yet at SSPS, you will find the linkup information under BLOGGING: seniorsalonpitstop We hope to meet you there virtually.