How to Measure Ingredients for Baking
Part of my Baking Basics series: The basics for measuring wet and dry ingredients, the proper measuring tools, and my favorite tips to make it all easy!
Unless you go to culinary school or enroll in some sort of baking or cooking courses, the proper methods for measuring various ingredients isn't something most people know instinctually.
And guess what? There's nothing wrong with that.
But something I realized based on readers' questions over the course of the last year was that many people end up with recipe flops because of mismeasuring ingredients.
Why measuring ingredients is so important
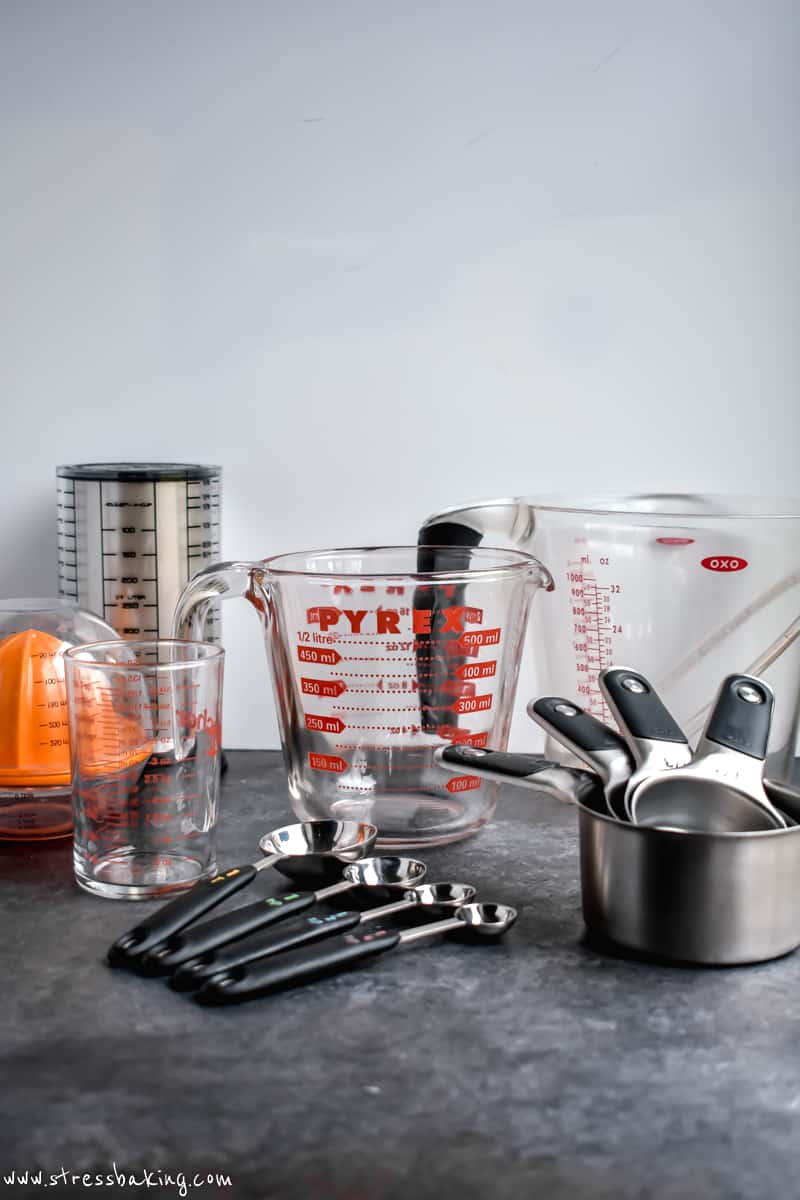
It's a simple thing that can completely change recipe results, so I wanted to take some time to describe the different kinds of measuring tools and walk through the different ways to measure dry, liquid, and even sticky ingredients for the best possible recipes!
Note: You can go the route of measuring your ingredients by weight for extremely precise measurements, but one of the goals of this blog is to make things easy, so feel free to pursue that route on your own… if you dare.
Dry measuring cups
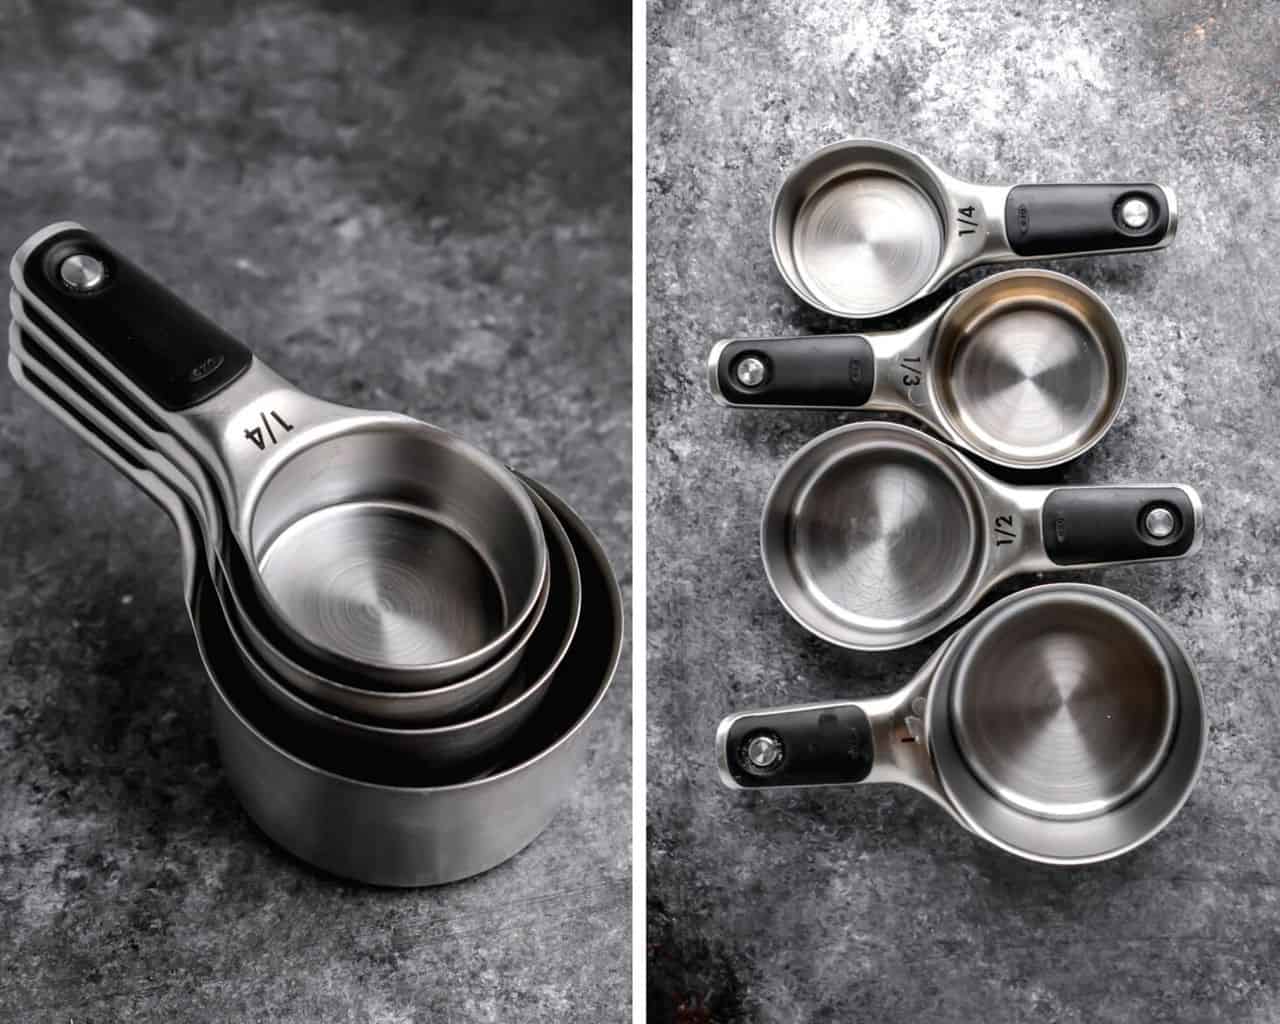
Standard graduated measuring cup sets typically include 1/4 cup, 1/3 cup, 1/2 cup, and 1 cup sizes – my old reliable is this set from OXO.
You want to use these measuring cups for dry ingredients like flour, sugar, brown sugar, and powdered sugar. They can also be used for bulk items like oatmeal, nuts and chocolate chips.
To properly measure dry ingredients, the cup should be slightly overfilled, and then a straight edge should be used to level off the top. Generally speaking, you want to gently scoop the product into the measuring cup so that it's not too compressed, which results in over-measuring. There are exceptions to that rule, which I'll go over below!
Measuring spoons
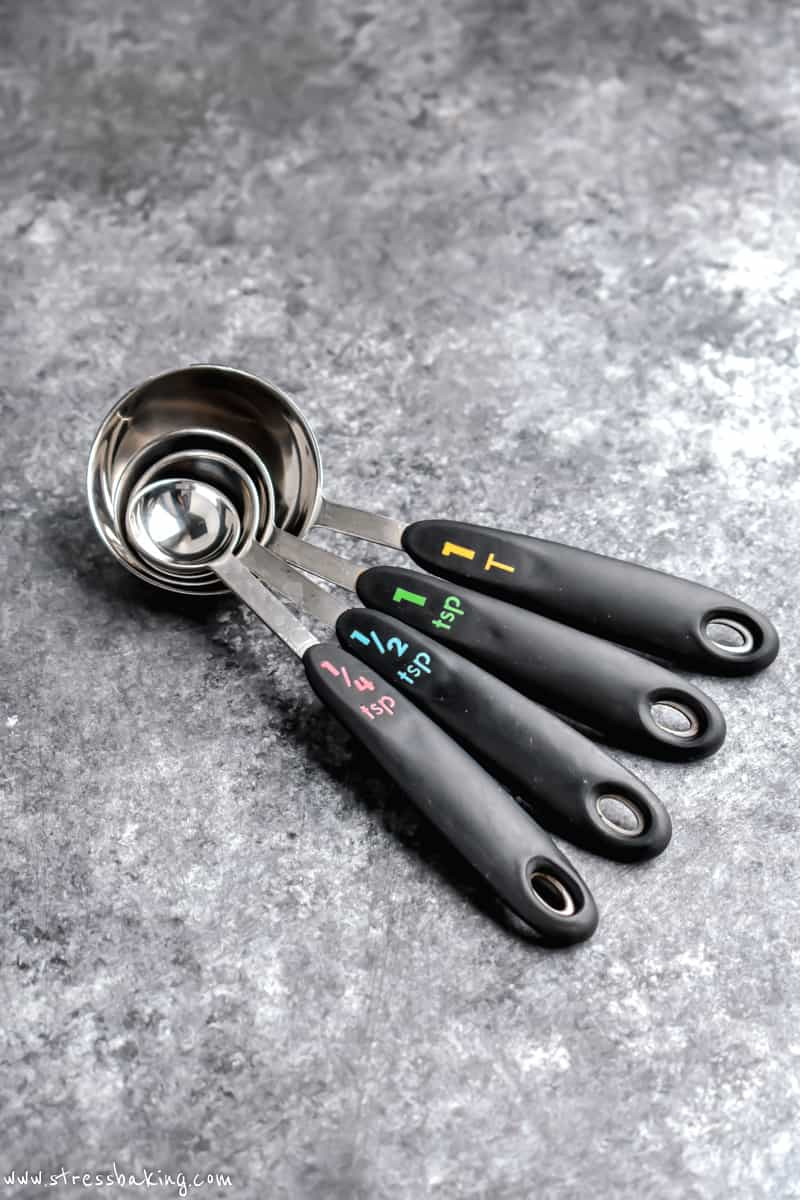
Measuring spoons are your best friend when it comes to very small measurements – most sets come with 1/4 teaspoon, 1/2 teaspoon, 1 teaspoon, and 1 Tablespoon increments.
You can use them for dry or liquid ingredients, and to ensure proper measurement of dry ingredients you can scoop the ingredient onto the spoon until overfilled, then level off with the back of a knife.
Liquid measuring cups
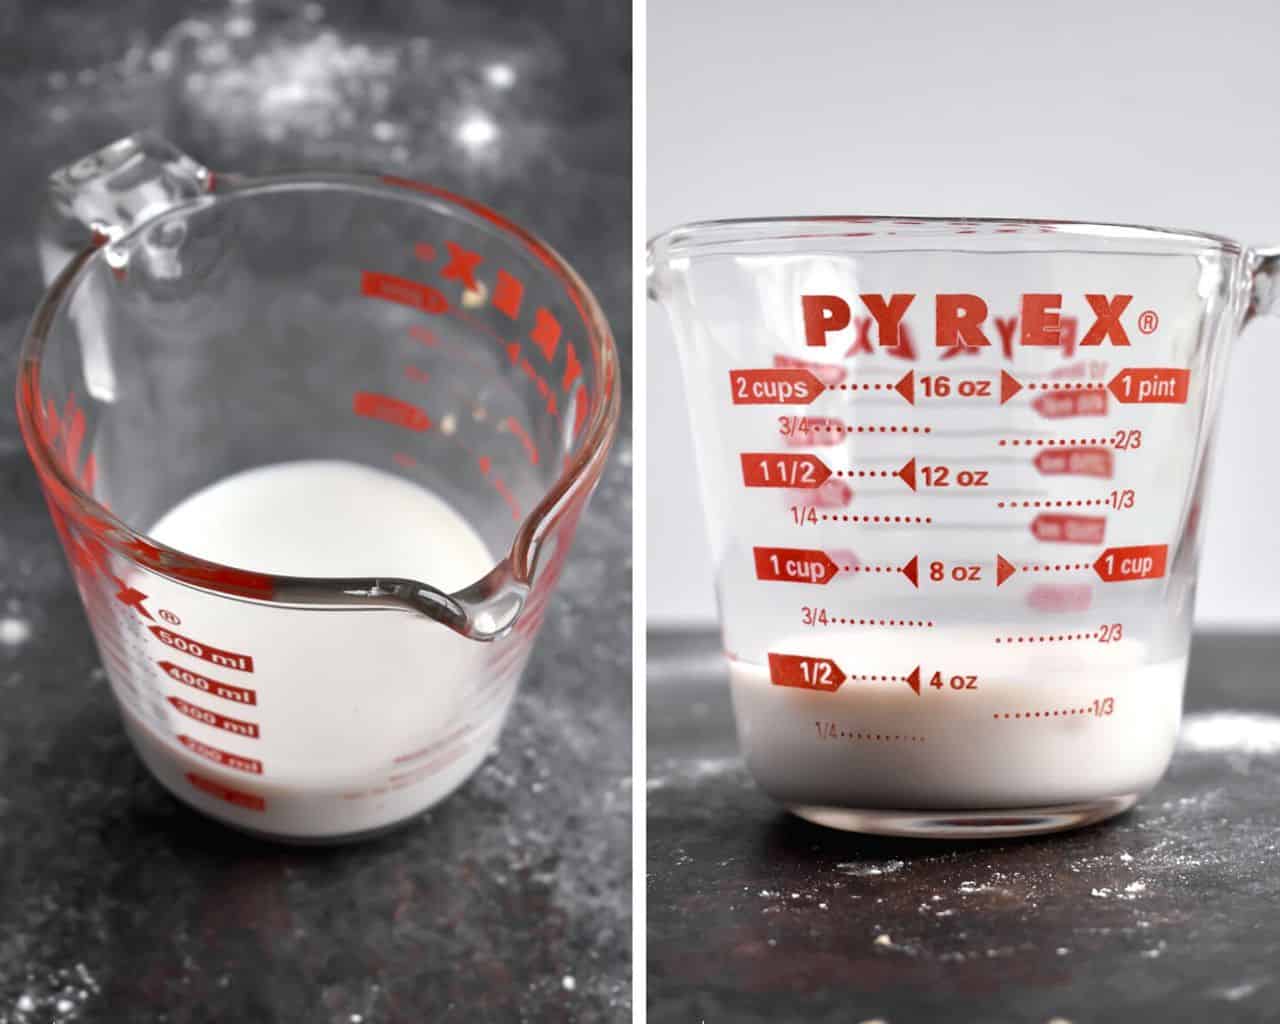
Here's the thing about measuring liquid ingredients – you need to be at eye level so that you can see when the liquid is right at the line. And as you can see above, from the top looking down (like the view most people naturally have), you have no idea if you have the right amount in there.
For that reason, this one isn't my favorite measuring cup, but it works just fine.
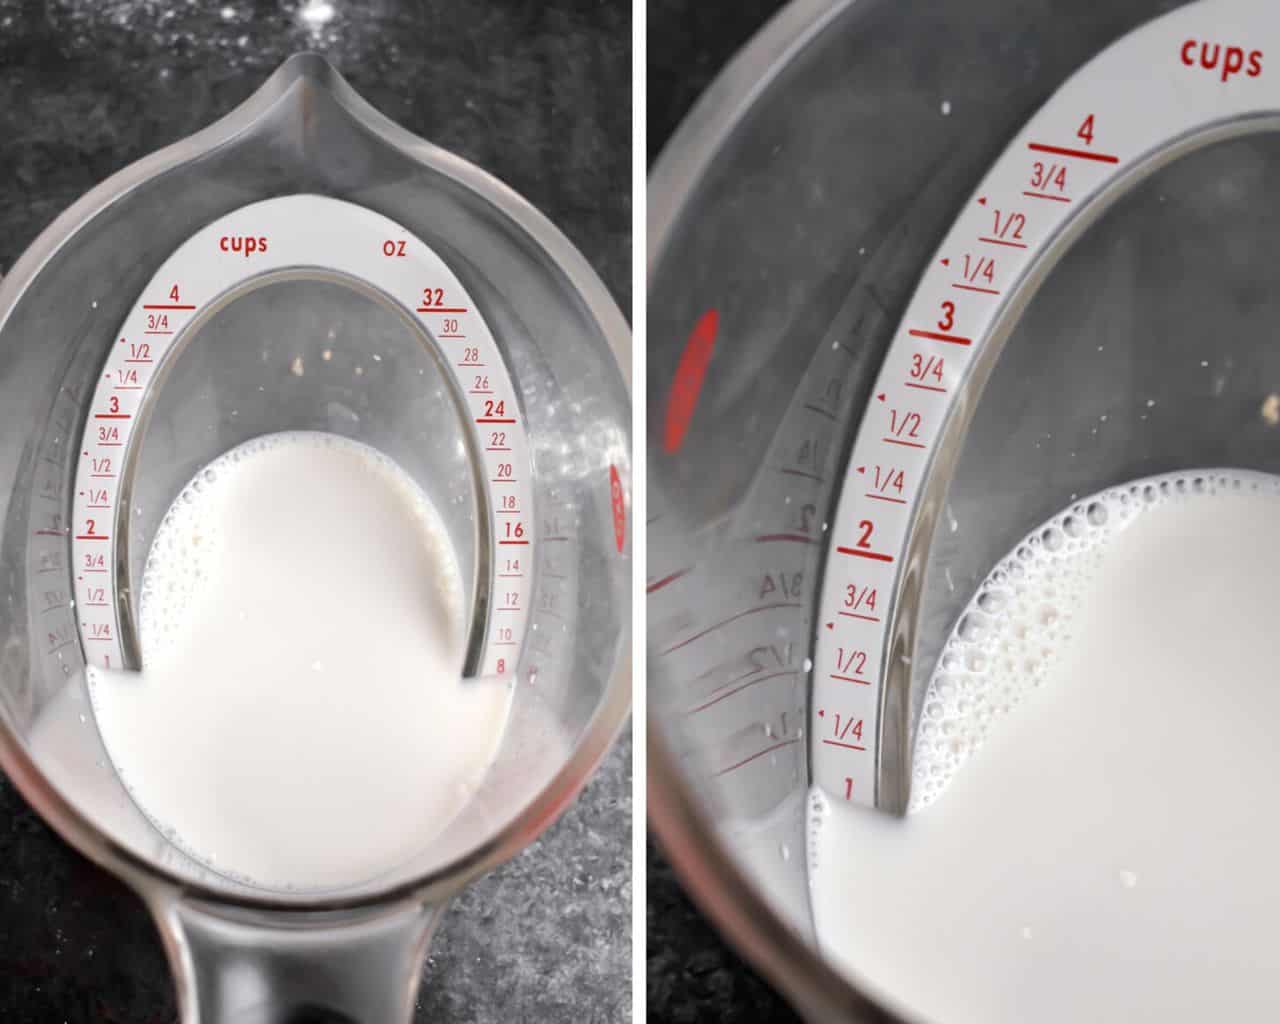
This one, on the other hand, I love. The measurements are listed at an angle going up the inside of the cup, which makes it super easy to see when you've gotten to the measurement you need.
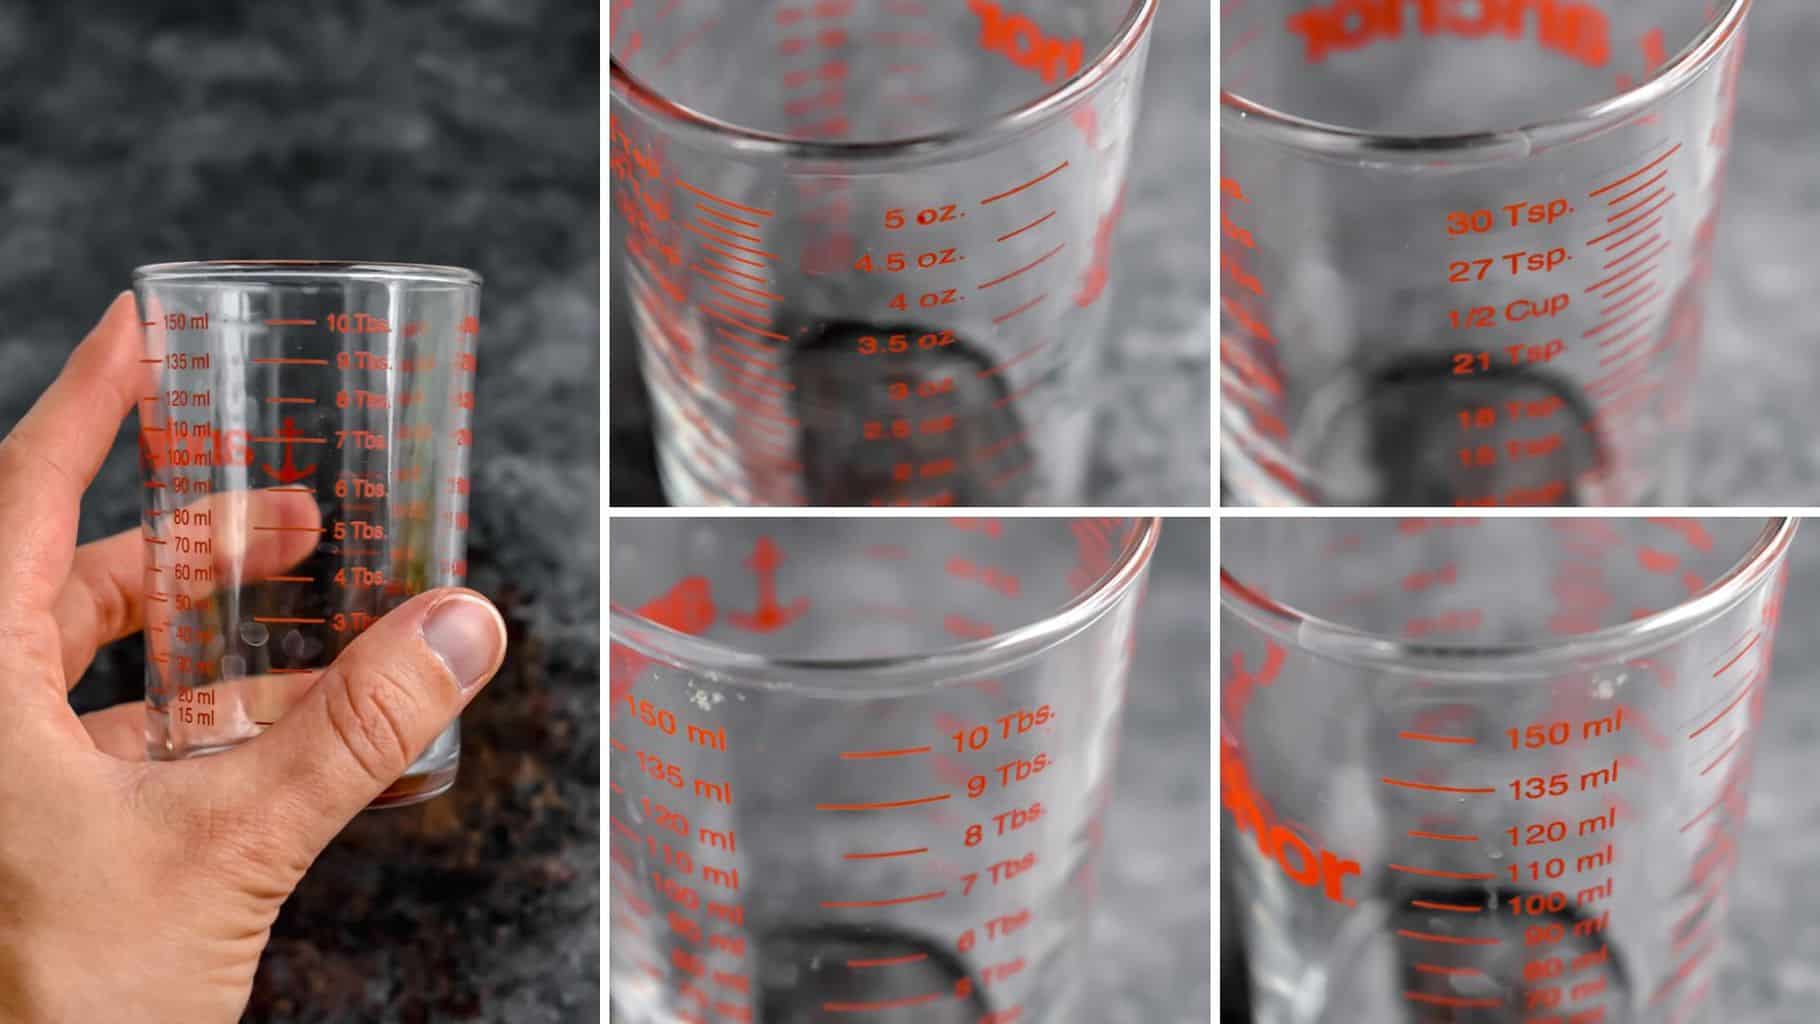
This small 4 ounce measuring glass is perfect when you're dealing with smaller amounts of liquid that might be a bit too much for using measuring spoons. It lists ounces, teaspoons, Tablespoons, and milliliters for ease of use across various types of measurement.
How to measure flour
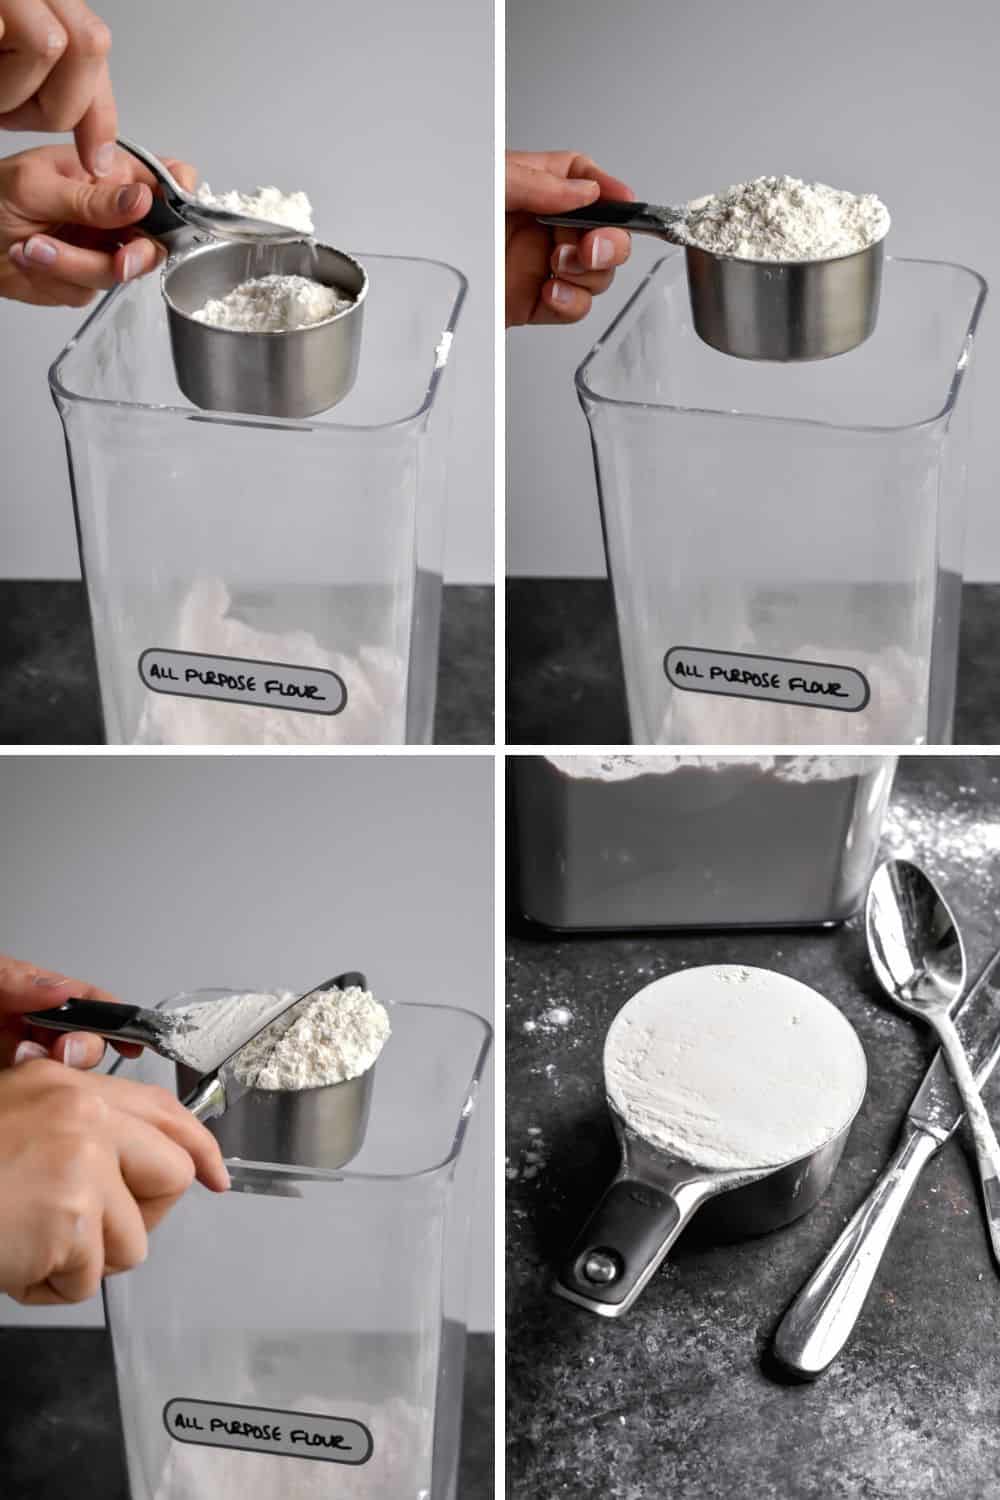
You first want to fluff the flour in the container – it settles and becomes compact over time, so this loosens it up and will help you avoid over-measure.
Now spoon the flour into a measuring cup until overflowing, and use a straight edge to level off the top (I typically use the back edge of a knife).
Boom! Properly measured flour.
How to measure brown sugar
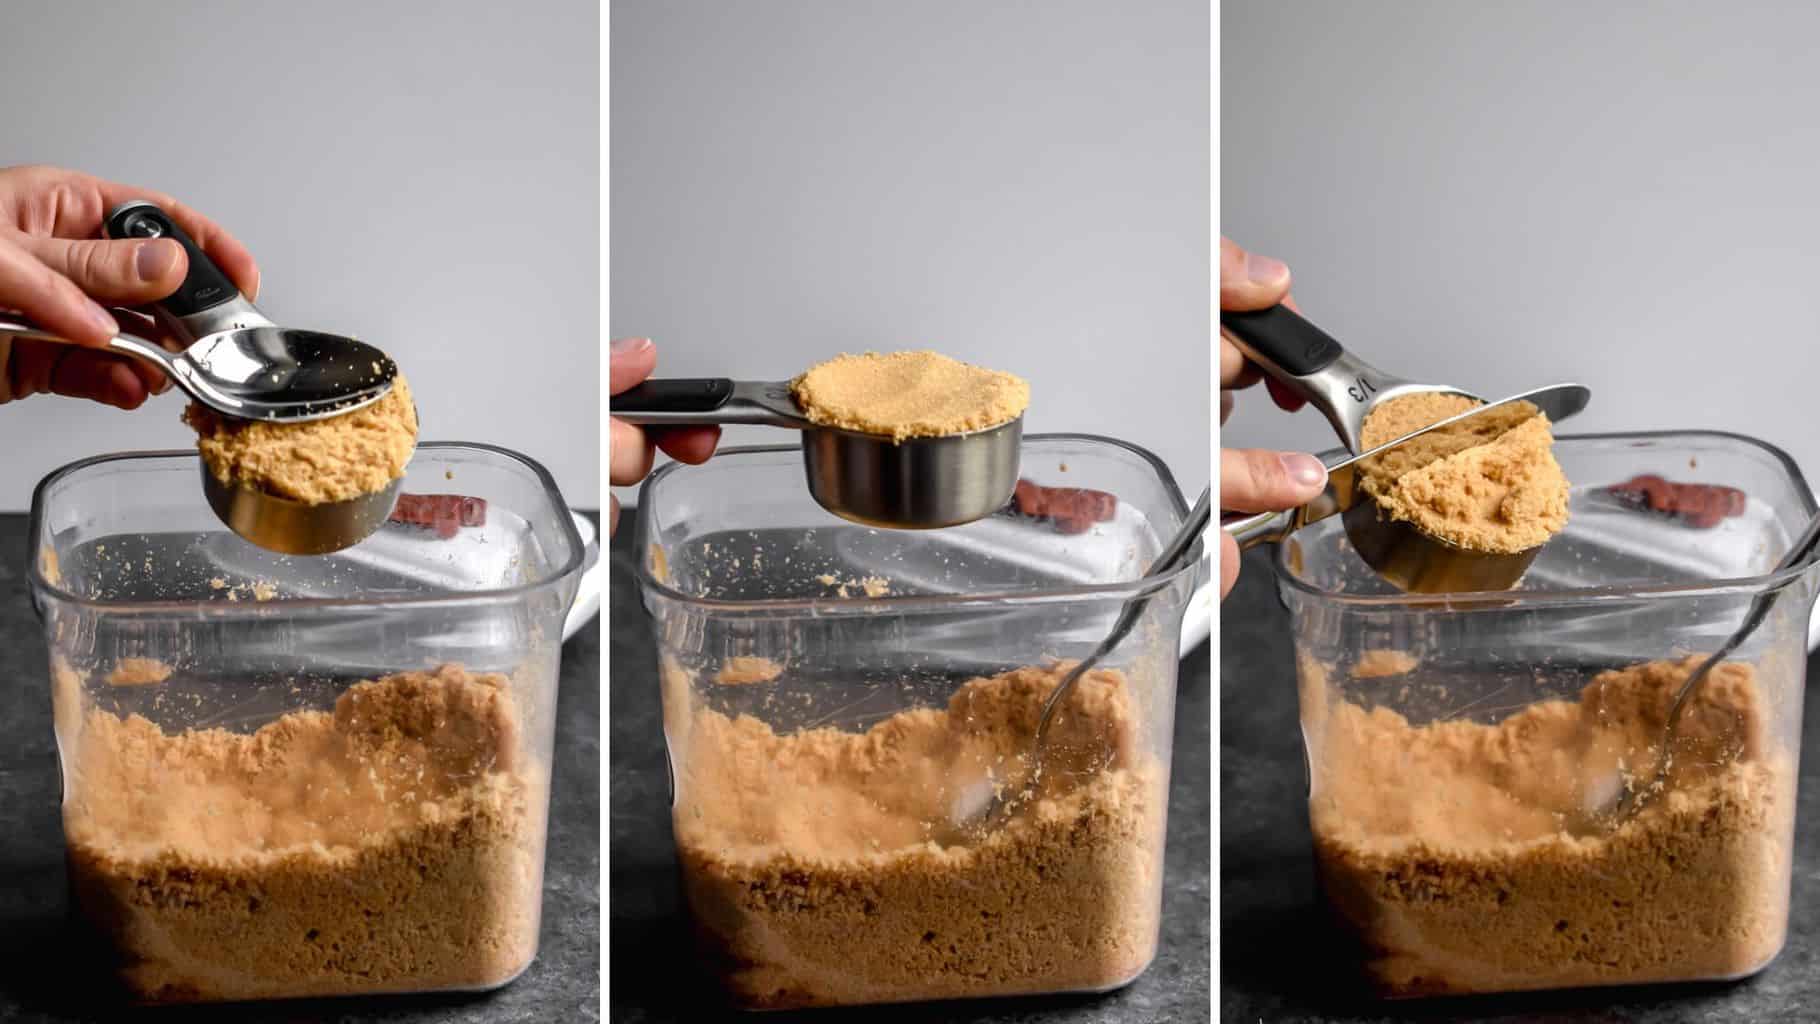
Brown sugar is a dry ingredient, but it's a moist dry ingredient… which I understand sounds counterintuitive. And to keep the right amount of moisture in the container, I like to use brown sugar bears. They soak in water for 15-20 minutes, and then they're placed in the container to keep it soft.
Fun fact: you can also use them dry in containers with things that you want to dry out as they will absorb the moisture!
You still want to scoop it into the measuring cup, but instead of fluffing it and making sure it's not compressed, you want to do the exact opposite. You want it densely packed in!
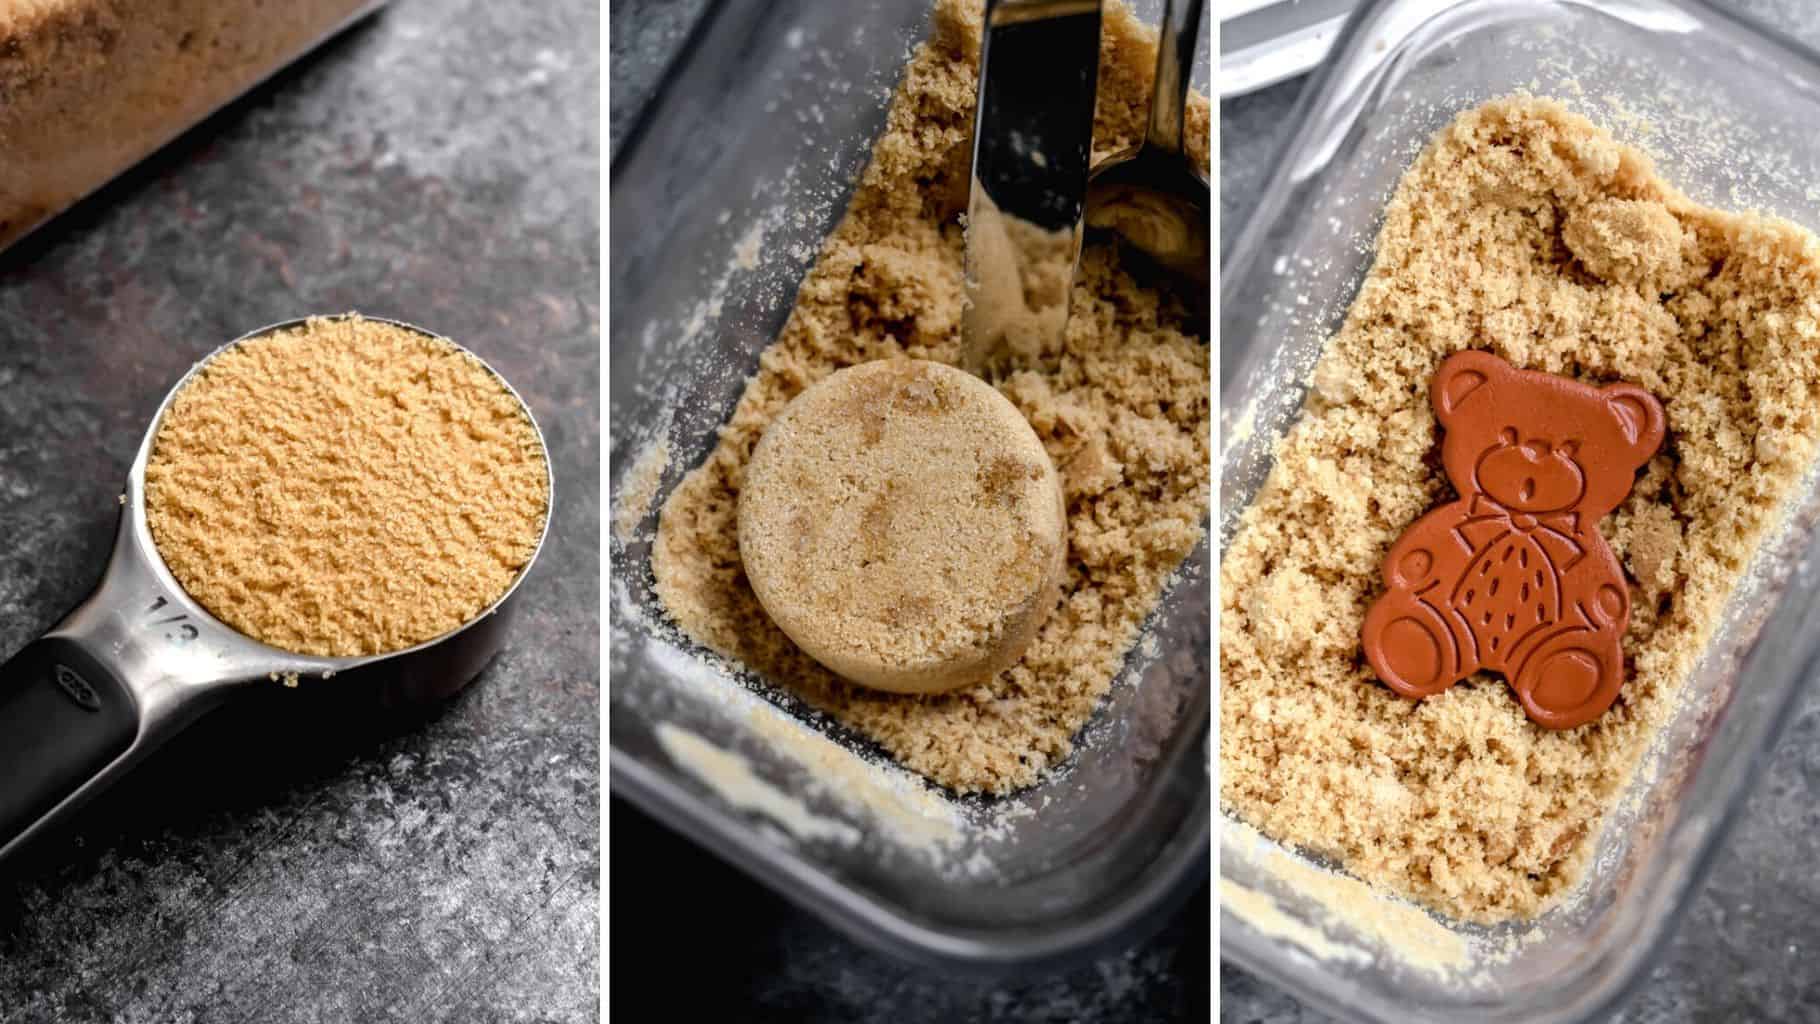
Use the back of the spoon or your fingers to press the brown sugar tightly into the spoon until slightly overfilled, and then level off the top with a straight edge.
When you turn it out, you'll know you did well when it stays in the shape of the cup (see the photo above).
How to measure baking soda and baking powder
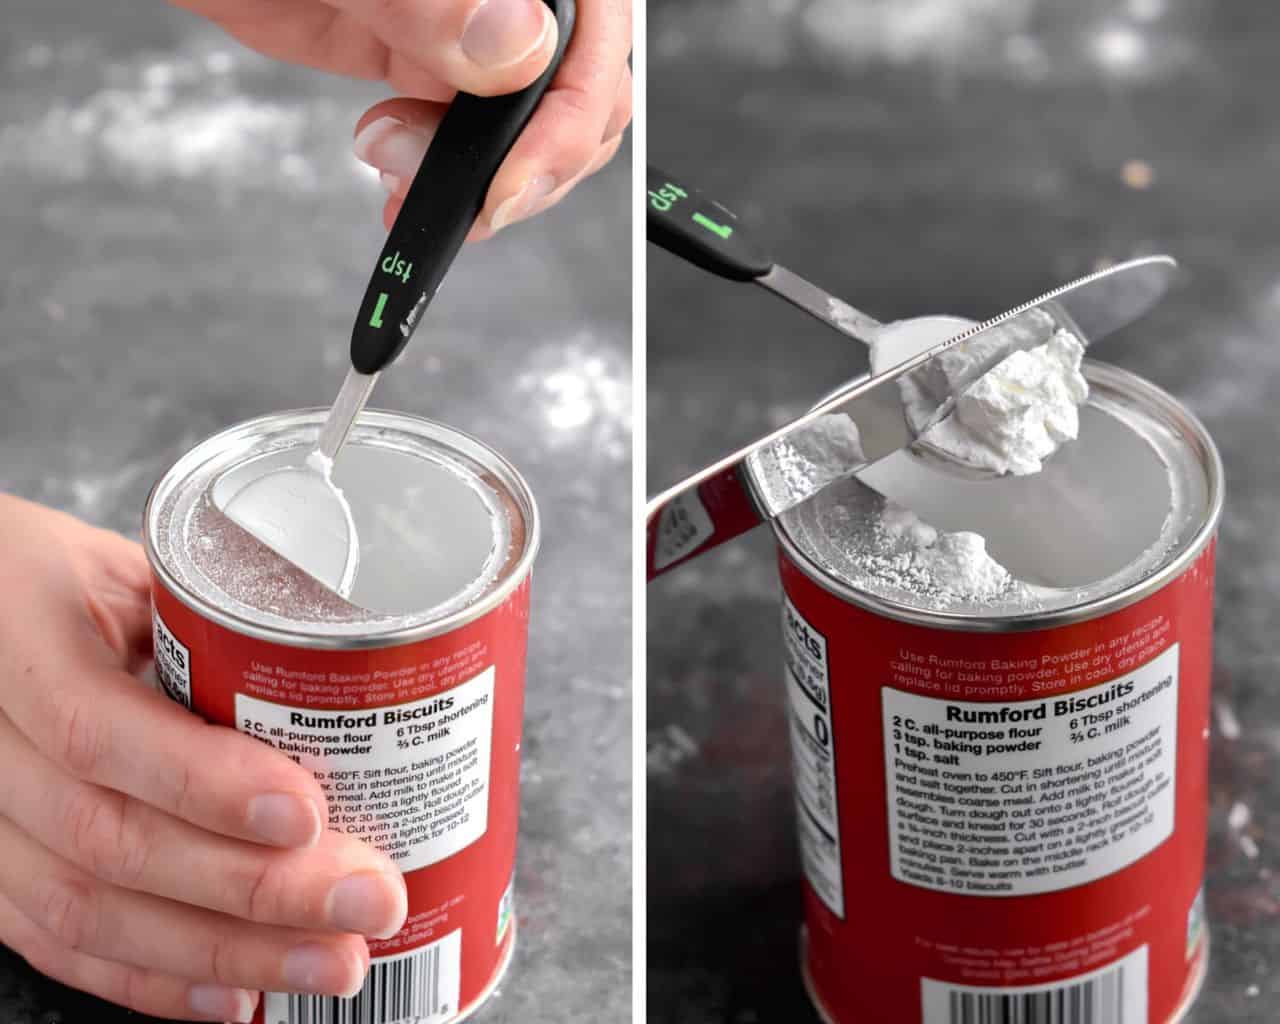
Give the container's content a little stir to loosen it up. Lightly scoop the contents out of the container, and use the packaging edge (like the above left) to level it off. If it doesn't, just use the back of a knife (like the above right).
How to measure salt or sugar
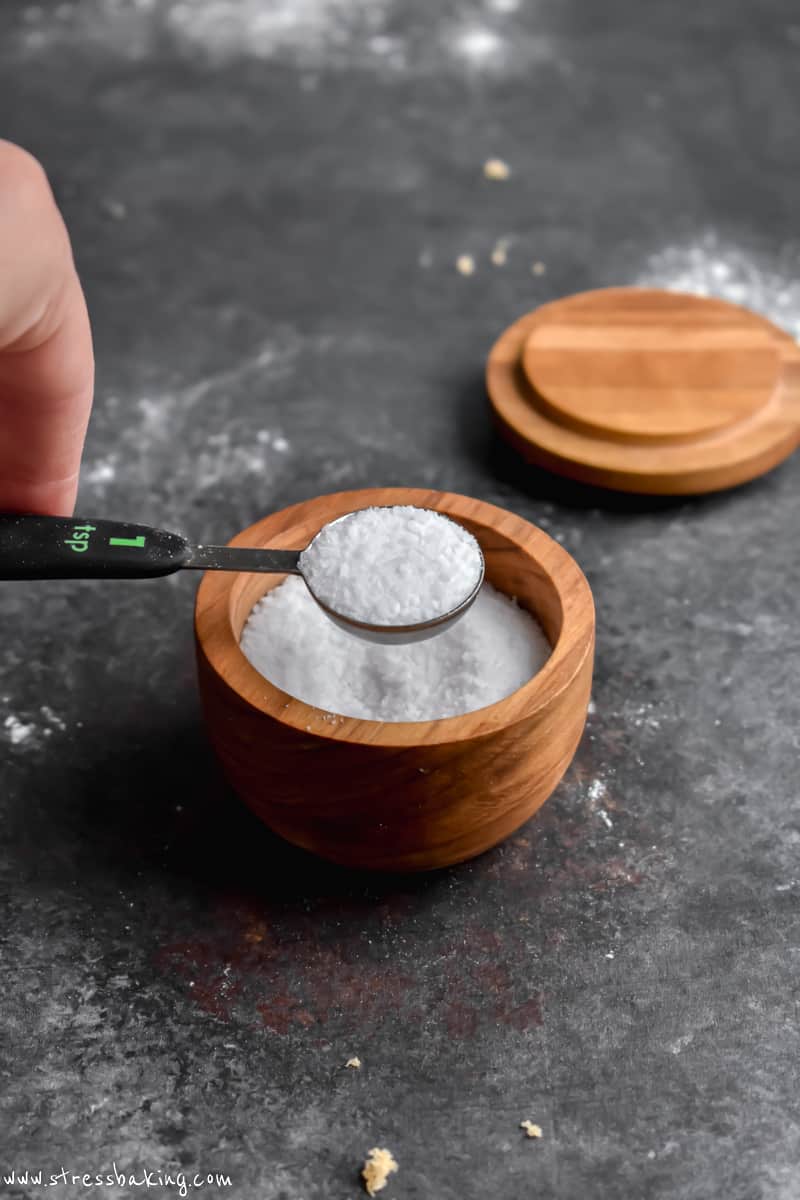
Salt and sugar are easy – scoop and level off with the back of a knife. No fluffing or using another spoon to transfer it in small amounts into the measuring spoon needed!
How to measure extracts
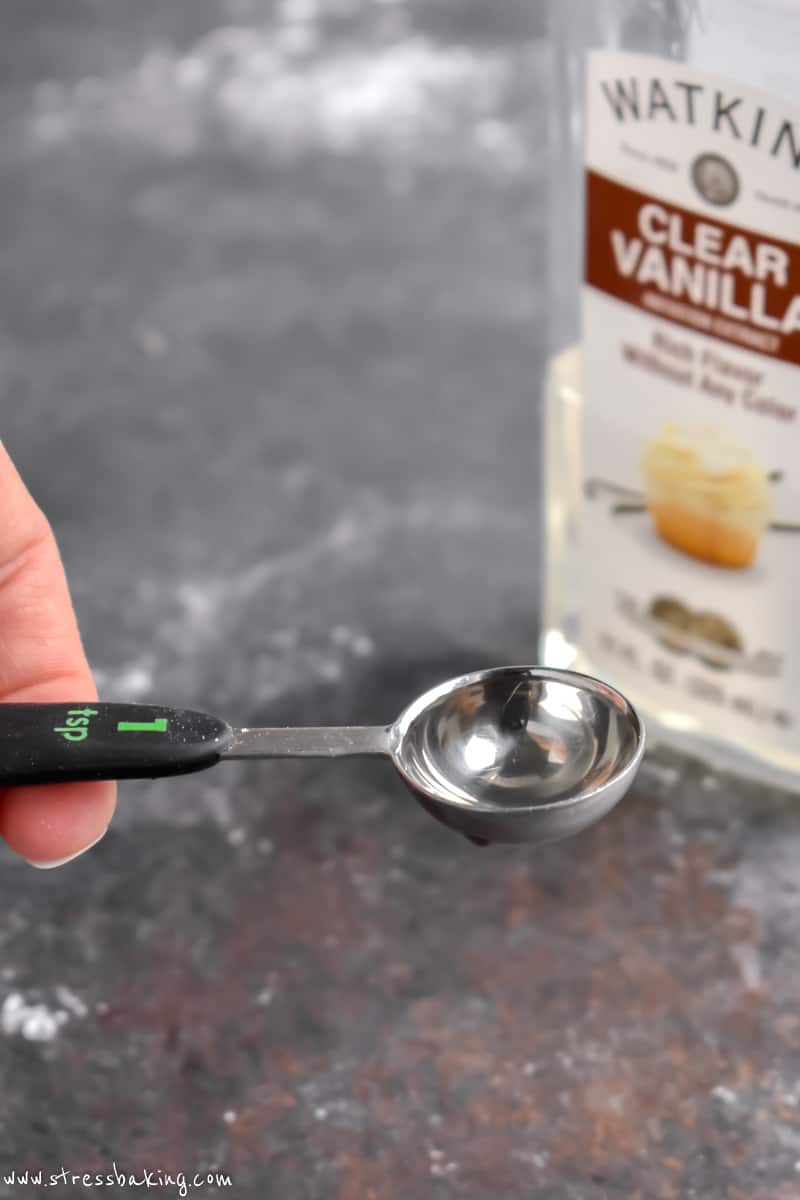
Just slowly pour the extract into the measuring spoon. But make sure you're not doing it over the bowl of ingredients you're adding it to in case it overflows!
Measuring sticky ingredients
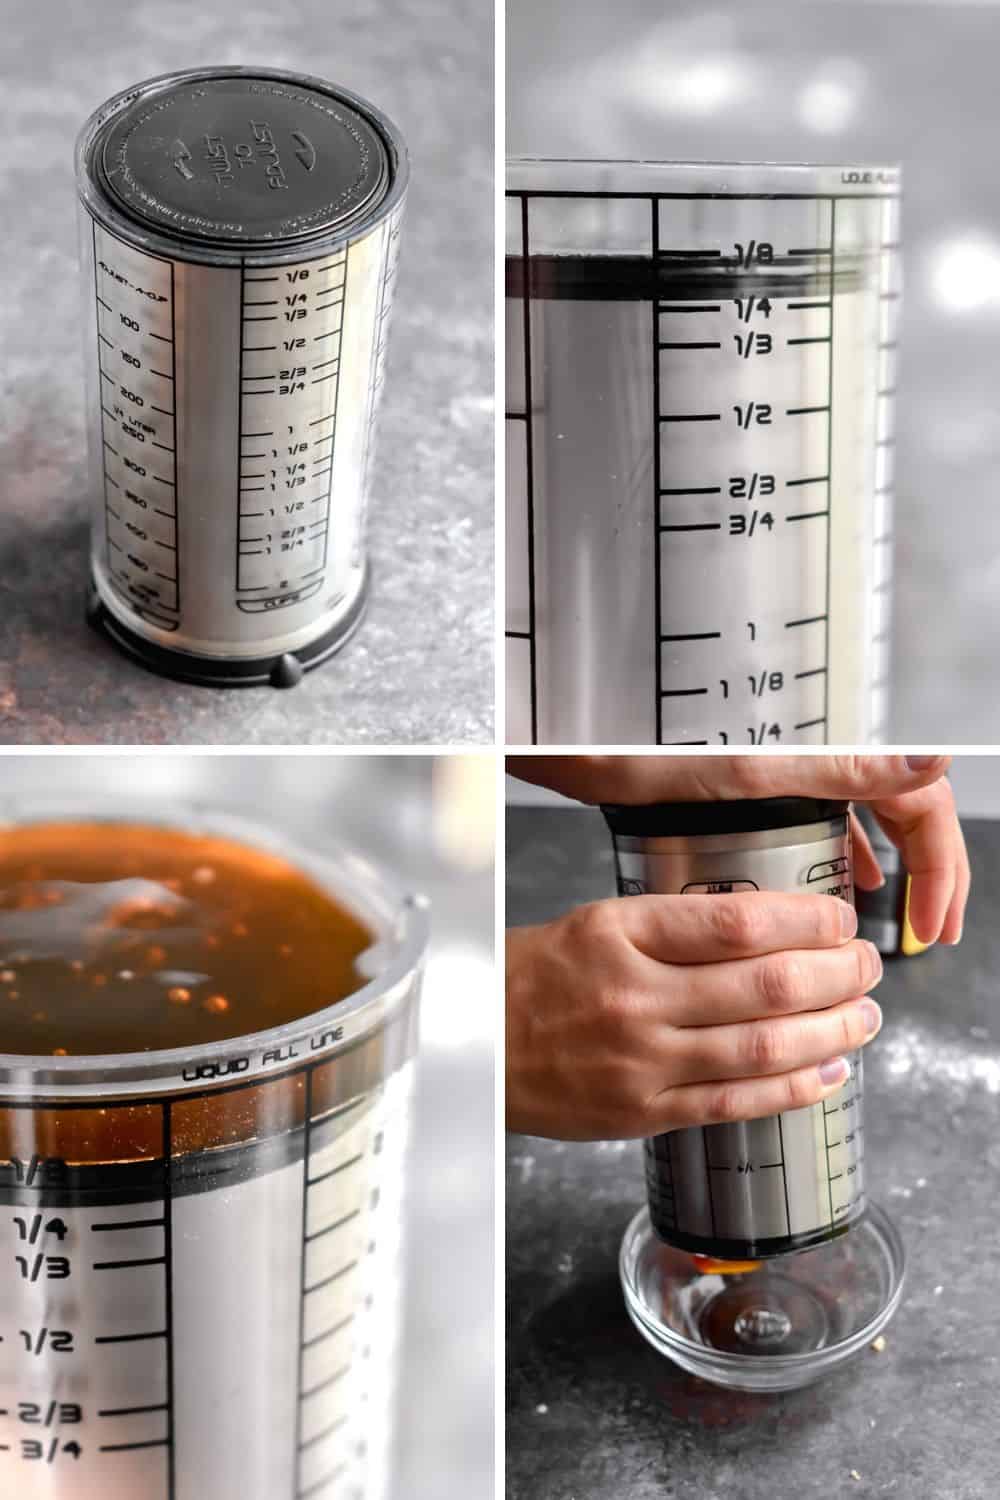
There are a couple of options with ingredients like peanut butter, yogurt, source cream, etc. If you have one of these handy measuring tools you see above, you pull the outer part of the container up until you have the fill line at the measurement you want, pour/spoon the ingredient into the top, and then turn it upside down and press the bottom to push it all out.
Neat, right? Ours is pretty old, but OXO makes one that does the same thing.
My other favorite method is to spray a dry measuring cup (not liquid measuring cups) with nonstick spray, spoon in the contents, level it off with the back of a knife, and then turn it out – it usually slips right out!
Measuring citrus
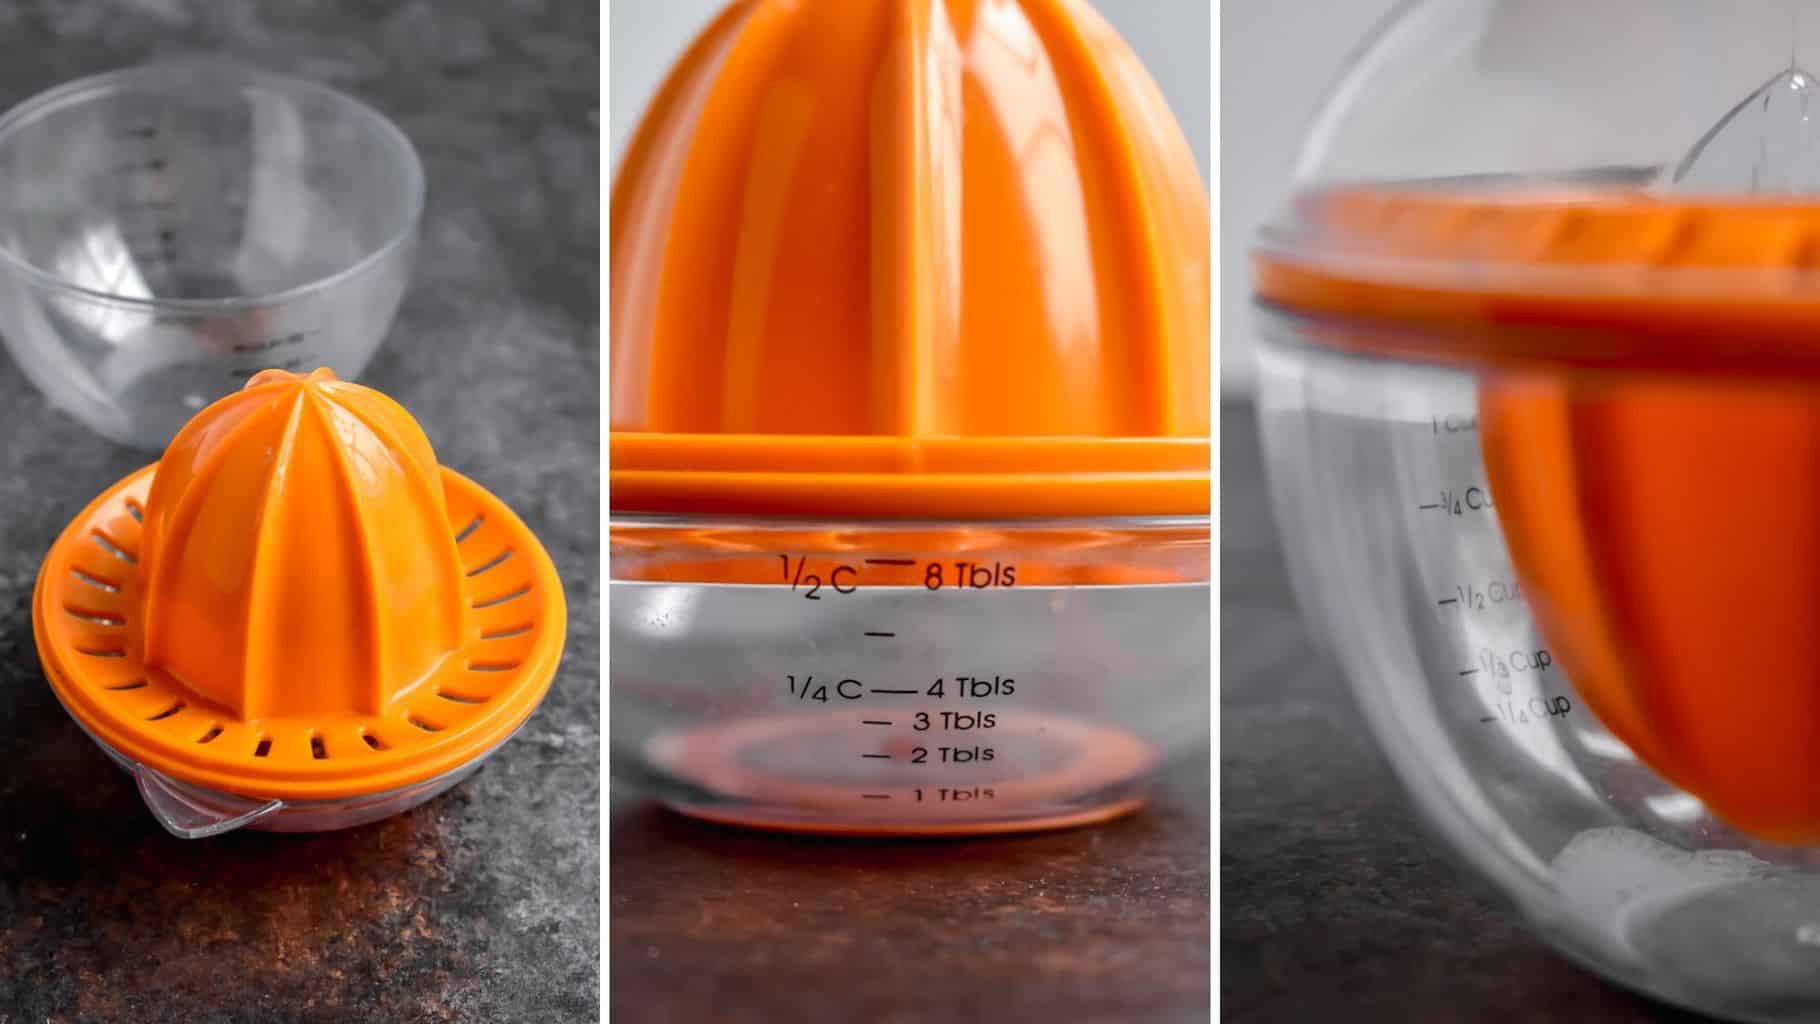
I adore my citrus juicers. The one you see above is what I use most often for oranges, but I've been known to use it for grapefruit and lemons as well.
You just slice the fruit in half, and press the flesh side down over the top and turn it to extract the juice. The liquid will flow down into the built in measuring cup and you can see the measurements along the side so you know how much you have. Then you can just pour out your juice! No seeds or stringy parts to worry about.
Mine is quite old, but this one is similar.
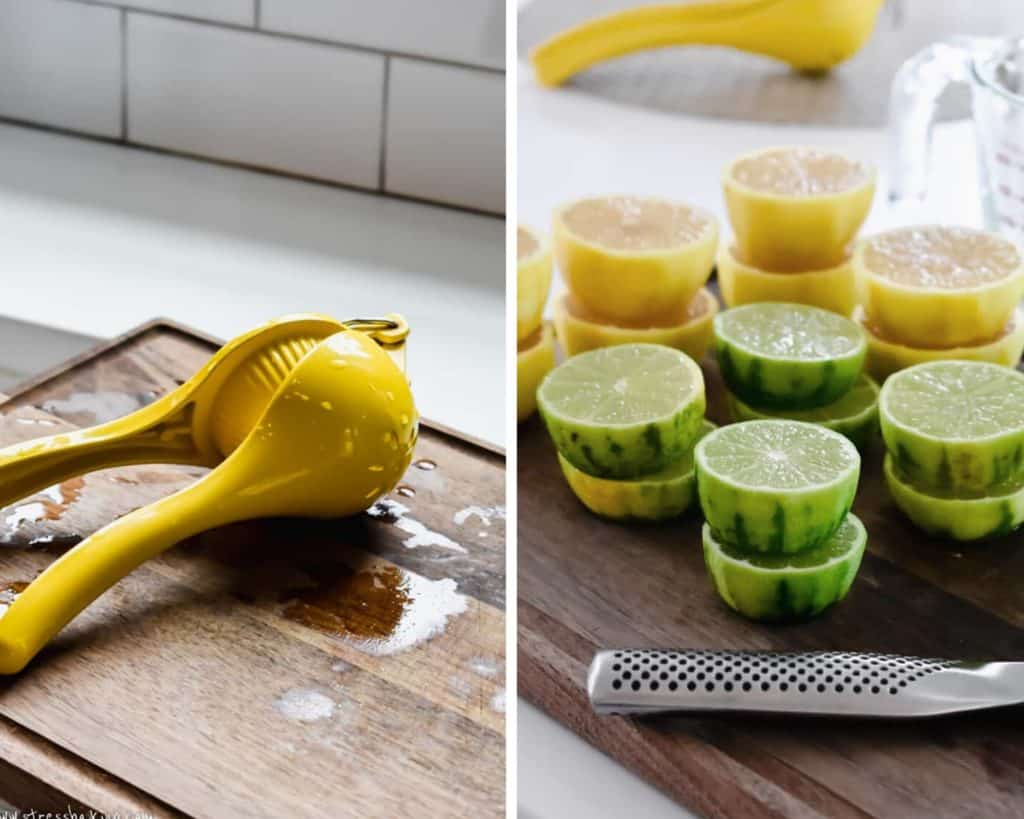
Our other citrus juicer is the go-to for lemons and limes – but you do need a liquid measuring cup to use with it.
Simply slice the fruit in half, slice off a small portion of each end (imagine that you need it to sit flat on the outside end – see photo above), and then place it into the concave side with the shorter side facing up, press the handles together and squeeze the juice over a liquid measuring cup.
Product Recommendations

I hope this information helps!
Do you have any questions about this topic that I didn't answer? Let me know in the comments below!
This article gives an interesting knowledge for organizing a kitchen. Highlighting the importance of essential elements, flow, function, and frequency. I love little things, even plastic, and store it till it literally cannot be used. For know more about the kitchen you can visit Home Aesthetic Hub
Nice easy explanation of measuring tools and when/how to use them. The one other I may suggest is a small weight electronic scale. I never know if I packed hard enough for brown sugar and I absolutely hate trying to get all the crisco out of a measuring cup, so I measured each correctly one time, them]n dumped them into a plate on my scale. Wrote down the weight and know I just weigh them.
Trying the red velvet cake mix cookies this weekend for guests. I know they’ll be great.
Measuring spoons helps to scoop the right proportion of ingredients for baking. Everyone should get them!