No Churn Homemade Americone Dream Ice Cream (Ben & Jerry’s Copycat Recipe!)

A homemade, no churn version of the popular Ben & Jerry's Americone Dream ice cream. Creamy vanilla ice cream is mixed with caramel and chocolate-covered waffle cone pieces for the perfect balance of sweet, salty and crunchy!
If you're subscribed to my newsletter (nudge nudge, wink wink) you saw that a completely silly and ridiculous video that I recorded went crazy viral and it's STILL GOING NUTS. It keeps popping up all over the place on websites and news stations across the country.
I've watched newscasts where the anchors are doing that laugh where you can't breathe and can only let out an occasional squeak, and it makes ME laugh that they're laughing so hard.
It's such a weird and random thing, but I feel like a good laugh at something just plain silly is what we all need right now. The number of tweets, Facebook messages, blog and YouTube comments, and emails that I've gotten from complete strangers about how the laugh it gave them made their days warms my cold, icy heart ❤️️
Speaking of icy – let's talk ice cream. Although I suppose icy ice cream isn't actually very appealing… so let's just pretend that segue actually worked. Just smile and nod, friends. Smile and nod.
I have a tiny (read: huge) obsession with Ben & Jerry's Americone Dream ice cream. I pretty much always have a pint in my freezer, and when I heard their new Pint Slices were going to have Americone Dream? DROOL. However, I have this problem where sometimes the store is out of my favorite flavor.
If I were a normal, reasonable human being I would just say to myself, “Self – you don't need that pint of ice cream. Carry on with your life.” But no. I can't just not have it because apparently I have the logic skills of a toddler. So, what do I do instead? Go home and try to make my own to get me through such a trying time.
Note: That last part was just dripping of sarcasm – please do not think I'm actually that insane.
The Verdict: It is surprisingly easy. The vanilla base is the same one I used for my no churn salted caramel swirl ice cream. In fact, it's even the very same caramel! you could always make your own, but because I had this on hand there was no reason not to use it. The only downside is that I used the rest of the jar and I have to get more. Oh, darn.
The hardest part (and I use that word very loosely) is prepping the waffle cone pieces. I wanted to coat them with as much chocolatey-goodness as I could, so I coated them twice. If you're feeling crazy you could do it three times, but you might end up with giant chunks that have stuck together and would be difficult to distribute.
But, hey – if you want a golf ball-sized hunk of chocolate covered waffle cone pieces I would never try to deter you. I would double dog dare you.
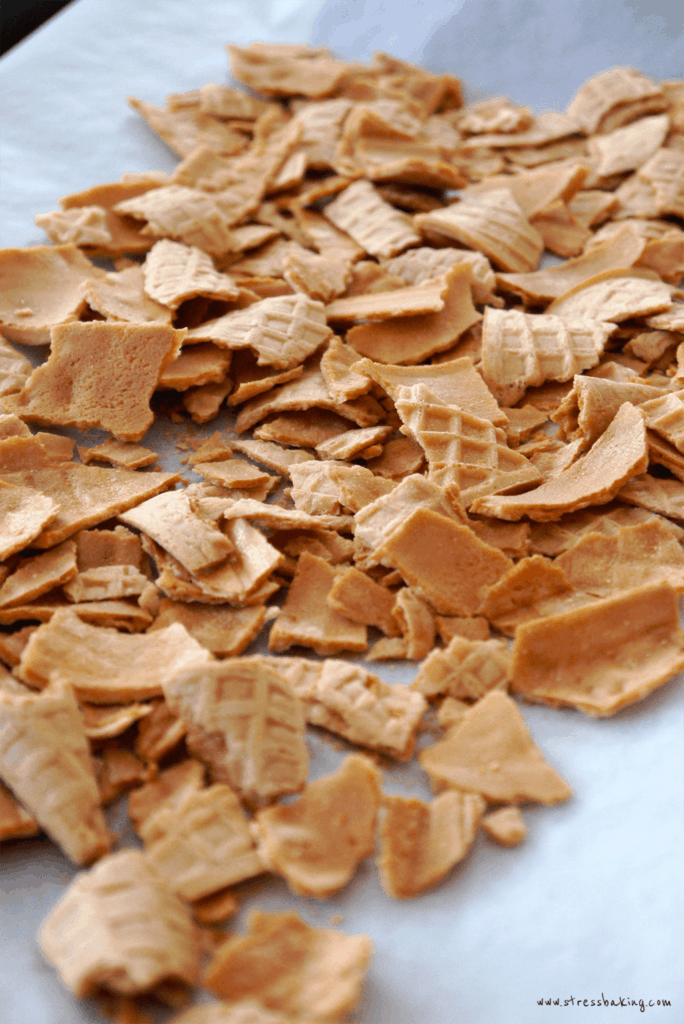
I broke mine into what turned out to be around 1″-sized pieces. There's no hard and fast rule here, just do what feels right – gold ball-sized chunks be damned.
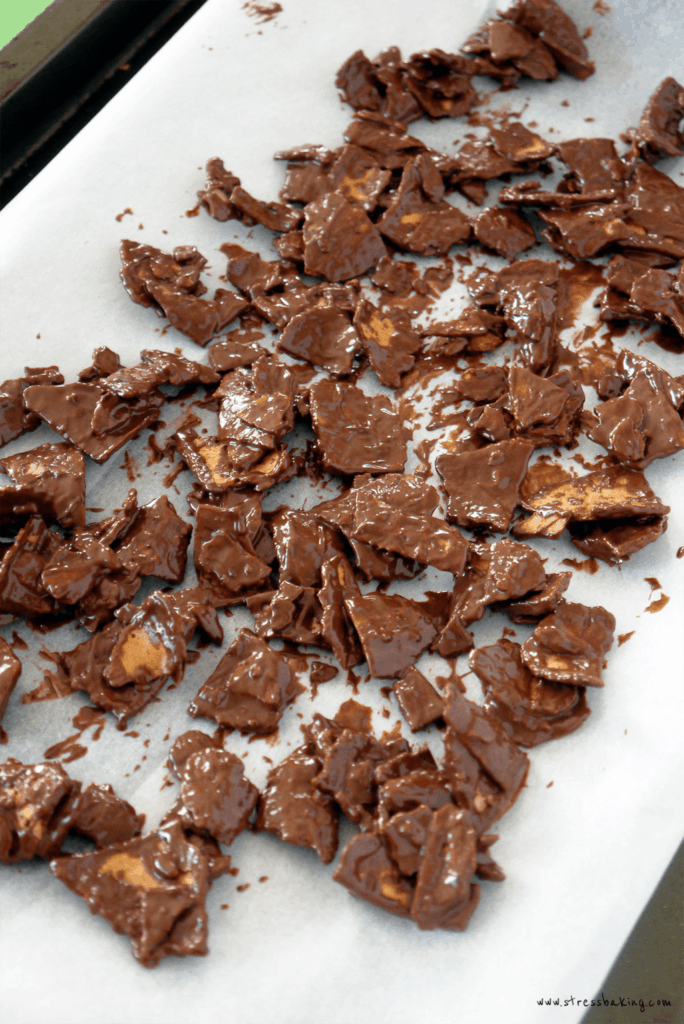
Melt some chocolate and toss the waffle cone pieces in it to coat. Spread them out on a parchment paper-lined baking sheet and stick them in the freezer for a few minutes.
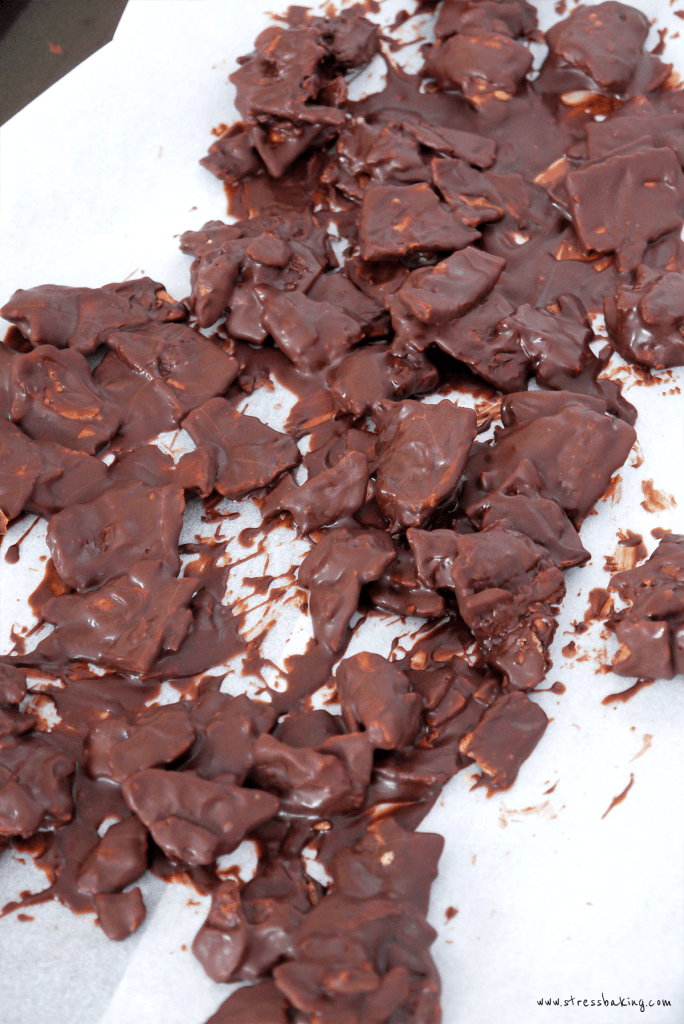
Melt more chocolate and hit 'em again! Back to the freezer with you, you waffley chocolatey bites of heaven.
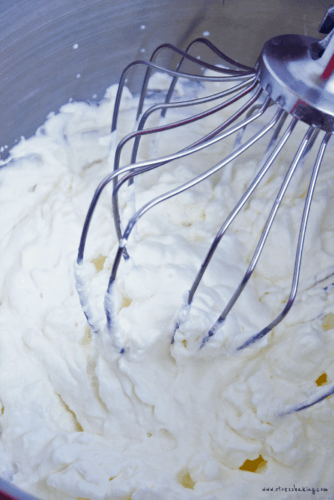
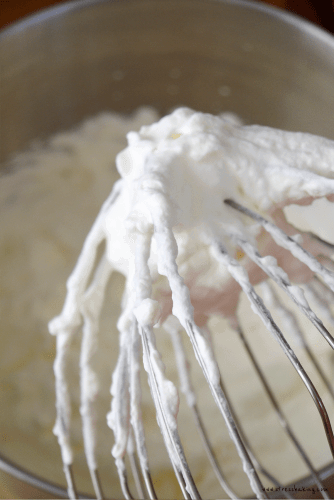
Whip the heavy cream in your nice cold mixing bowl until you've got soft peaks that are on their way to being stiff peaks. We don't want to over whip!
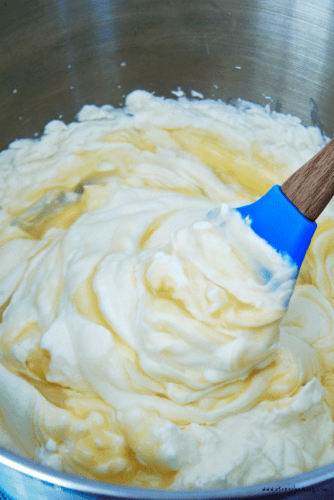
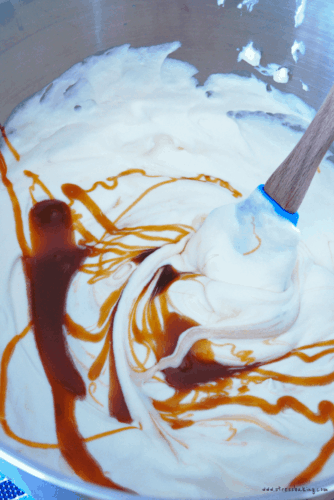
Add in the sweetened condensed milk and stir to combine. Then add the caramel (and do your best to keep the drool in your face) and stir again.
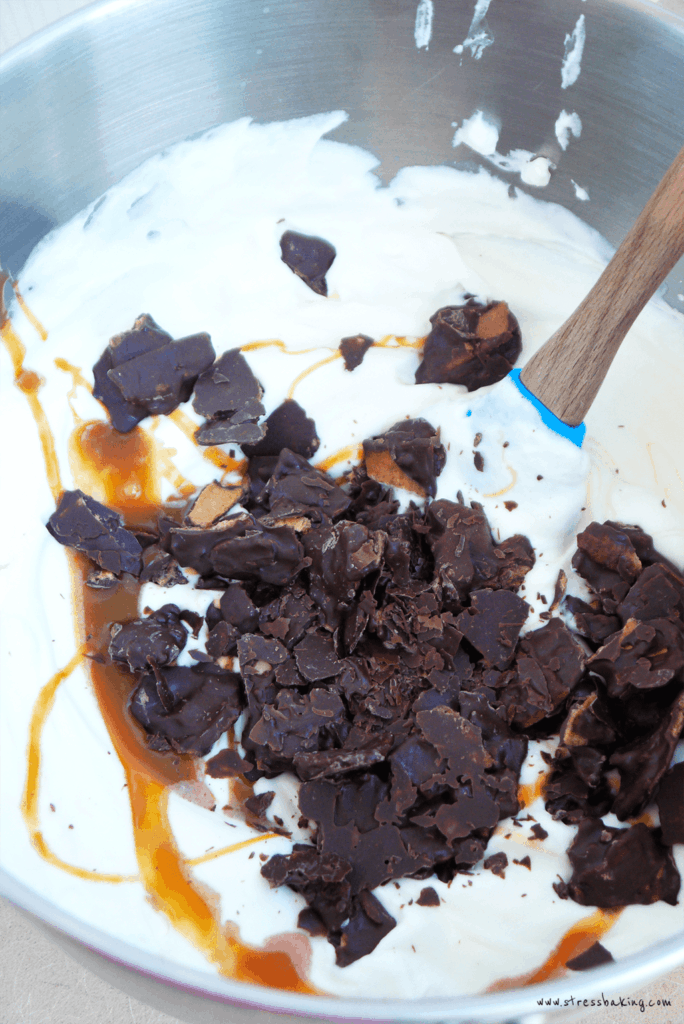
Now for my favorite part: pour in your chocolate covered waffle cone pieces and give it a few stirs to make sure they're evenly distributed.
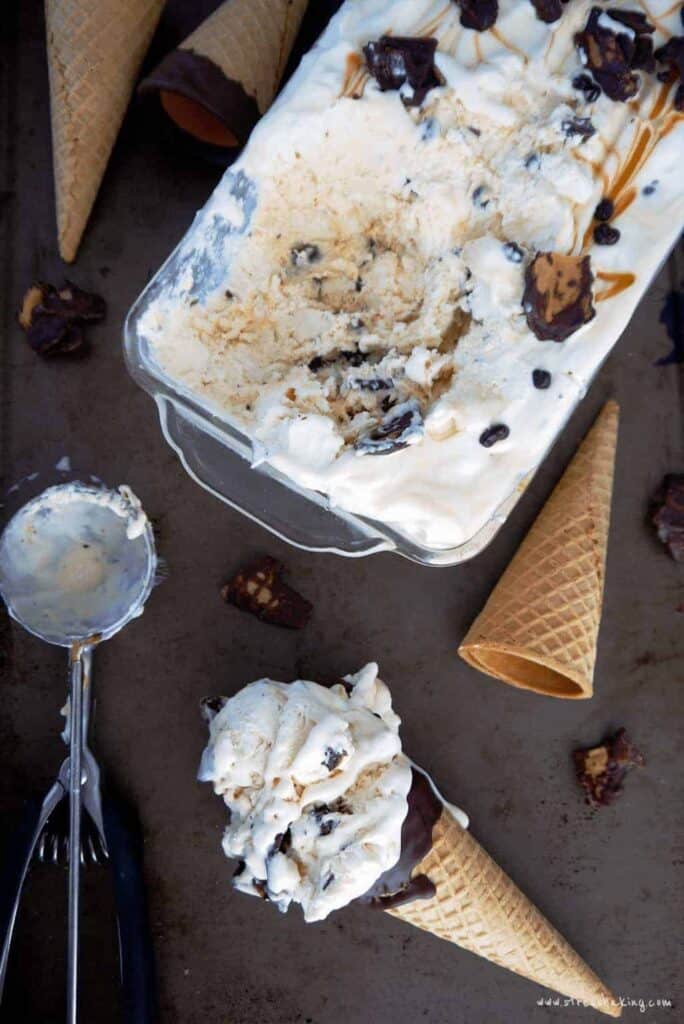
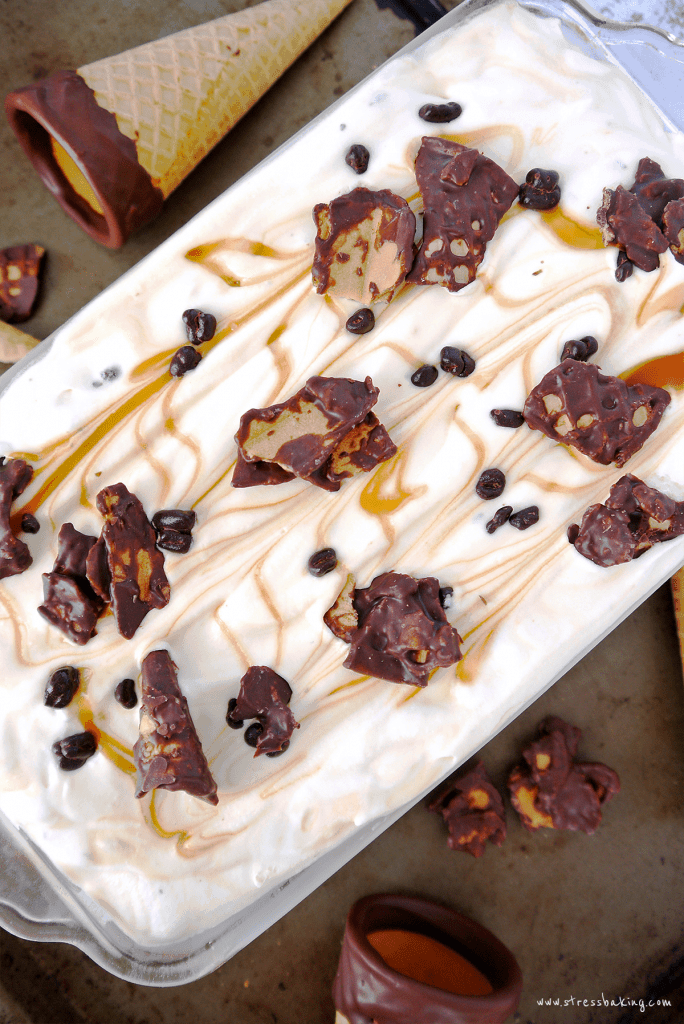
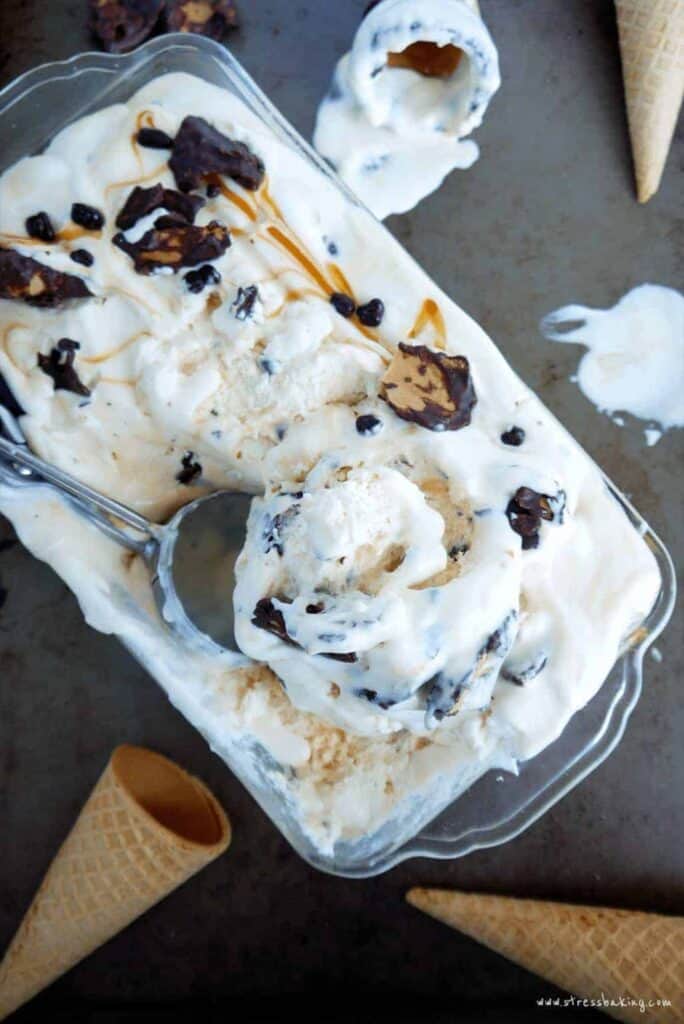
That's it! Pour it into a container, cover and place in the fridge to set. I added a handful of cocoa nibs and extra chocolate covered waffle cone pieces on top just because, but that's not part of the recipe so I'll leave that part up to you. I also like my ice cream on the softer side (and I have zero patience) so I tend to take it out for my first bite after a few hours.
When I took my first bite I had a cartoon character moment where my eyes grew six sizes, the rest of the world faded away into a haze and I heard angels singing. I mumbled to myself, “It's everything I wanted and more.” I'm not kidding when I say I couldn't tell the difference between mine and the real thing.
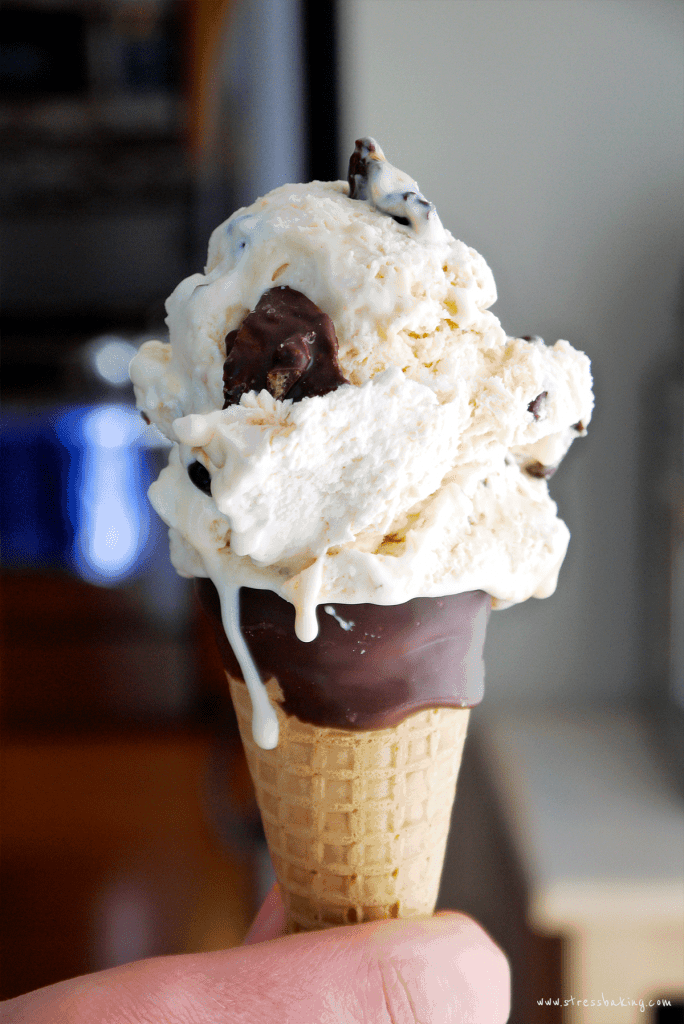
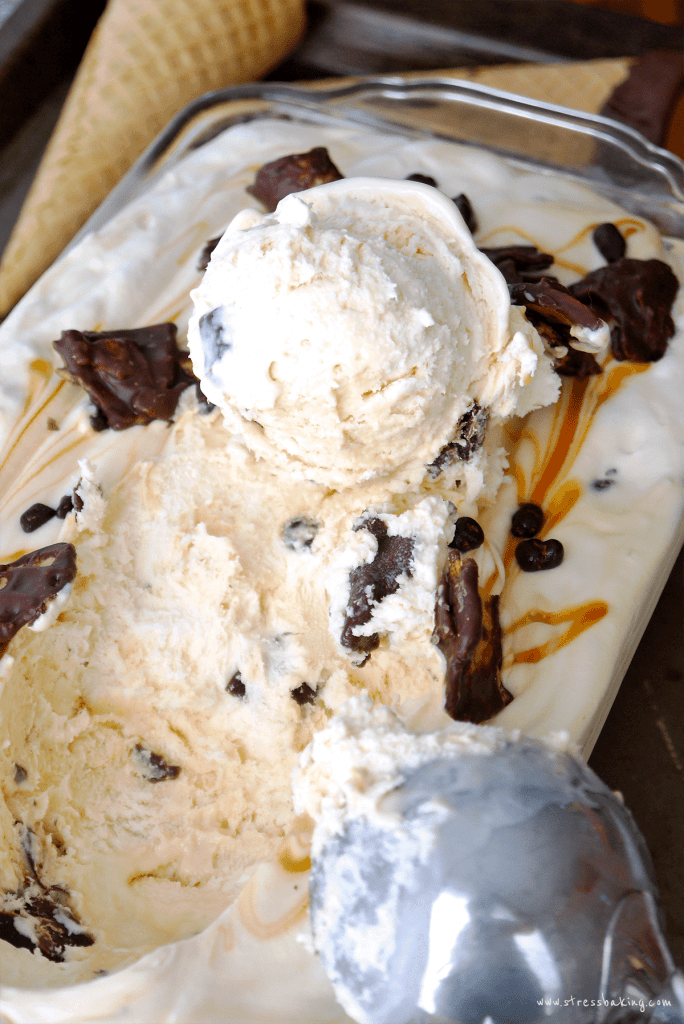
Just look at those chocolatey chunks. Those perfect dribbles of melty ice cream.
I spent so much time gazing at its beauty that it got a little too melty…

Worth it.
What's your favorite Ben & Jerry's flavor? Tell me in the comments and maybe I'll try my hand at making yours, too!
Leaving a star rating is a great (and free) way to support Stress Baking! ❤️ After you've made this recipe, please consider clicking on the stars below to share your experience!
Copycat Homemade Americone Dream Ice Cream (No Churn!)

Ingredients
- 1 ½ cup dark chocolate melting wafers, divided
- 4 waffle cones, broken into small pieces
- 1 pint heavy cream
- 14 ounces sweetened condensed milk
- ½ cup caramel sauce
- 1 teaspoon sea salt
Instructions
- In a medium microwave safe bowl, melt 3/4 cup chocolate wafers according to package directions. Add waffle cone pieces and toss/stir to coat.1 1/2 cup (354 ⅞ g) dark chocolate melting wafers4 waffle cones
- Line a baking sheet with parchment paper and spread out coated waffle pieces in a single layer. and place in freezer for a few minutes.
- Melt the other 3/4 cup chocolate wafers and repeat the same process with the previously coated waffle pieces. Let the pieces set in the freezer again while you make the ice cream base.1 1/2 cup (354 ⅞ g) dark chocolate melting wafers
- In a large bowl (preferably chilled in the freezer for at least 15 minutes), using the whisk attachment of an electric mixer, whip the heavy cream. Starting on a low speed then slowly increase to high speed, whip until the cream forms stiff peaks.1 pint (473 ⅙ ml) heavy cream
- Using a spatula, fold in condensed milk and stir until well combined.14 ounces (397 g) sweetened condensed milk
- Fold in caramel and sea salt.½ cup (118 2/7 g) caramel sauce1 teaspoon sea salt
- Add chocolate covered waffle cone pieces and stir to combine.
- Pour into a freezer-safe container.
- Cover with an airtight lid and place in freezer for at least 8 hours, preferably overnight.
- Scoop, serve, and enjoy!
Nutrition Facts
Nutrition Disclaimer
The provided nutrition information is generated by an automatic API and does not take variations across specific brands into account. This information is provided as a general guideline and should not be treated as official calculations. Learn more here.
Americone Dream is the BEST ice cream ever. Period…
Totally agree!