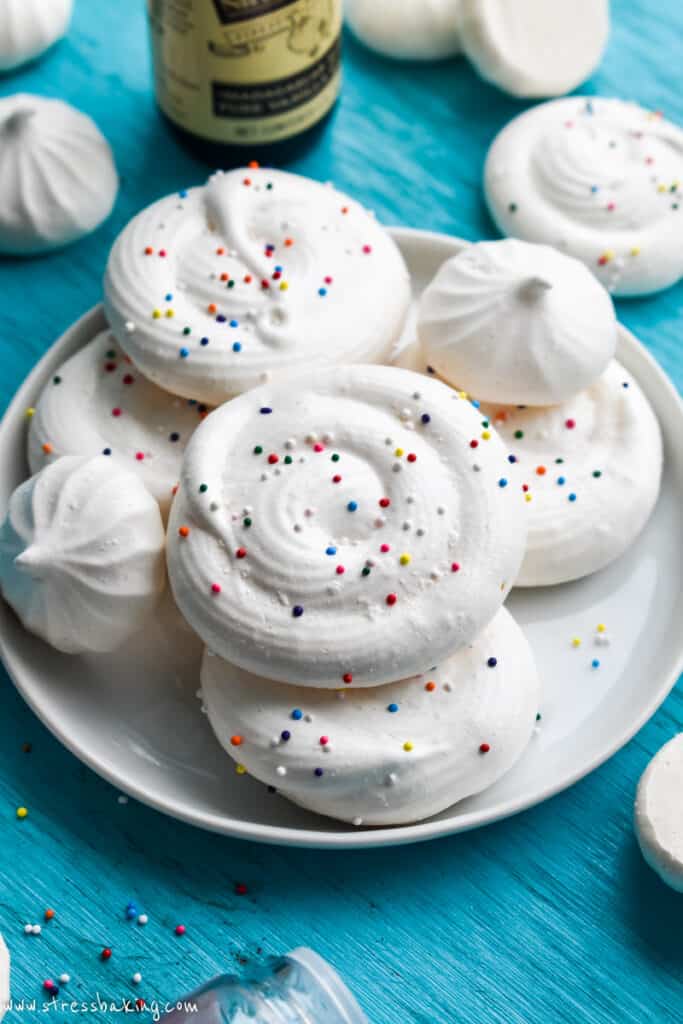
French Meringue Cookies


French meringue cookies are sweet, crisp, light and fluffy little clouds! You only need 5 ingredients, but it does require some skill and patience – this post is full of tips for making the best meringue possible. Try your hand at a pavlova next.
What is French meringue?
French meringue is a style of meringue that's considered to be the easiest to make. Of course, that's subjective! But it's because there's no heating required (like Swiss meringue) and is just the process of whisking together egg whites and sugar.
That said, it does require patience and the right amount of whipping at each stage. We'll get into that process more in the tips below.
It's also the least stable type of meringue, meaning it needs to be baked. In the case of this recipe, we're baking them low and slow for crunchy cookies. This mixture could also be folded into other kinds of batter to give them more volume and lightness.
Check out this video from Nielsen-Massey about making both French and Swiss meringue – it has wonderful visuals that are especially helpful if you're just getting started with meringue.

Tips about the eggs for meringue
Older eggs are better. Generally speaking, older egg whites are thinner and whip more easily to create more volume than thicker fresh egg whites.
Separate your eggs while they're still cold. You want the egg whites to be room temperature before you start working with them, but it's much easier to separate them when they're right out of the fridge.
An easy way to separate egg yolks and whites
Speaking of eggs, my go-to way of separating eggs it to simply use one hand.
- After thoroughly washing your hands, crack the egg against the counter (and not the edge of a bowl since that can potentially puncture the yolk) and into a bowl.
- Lower your fingers underneath the yolk and gently lift it out of the bowl, letting the whites drip down through my fingers and back into the bowl. You may need to open your middle fingers slightly to allow the whites more room to separate, but be careful not to let the yolk itself slip through.
- Transfer the yolk to a separate bowl, and then repeat the same process for the rest of your eggs!

Save the egg yolks for another recipe and store them in covered in the fridge. Sounds like a good excuse to make a key lime pie, fruit tart, or some eggnog!
And remember – even the smallest amount of yolk can ruin your meringue, so make sure you're only working with 100% egg whites.
9 Tips for the best French meringue cookies
1. Make sure everything is clean. You have to be sure to use a clean and dry bowl, preferably glass or metal. Even the tiniest amount of moisture, dirt or grease can prevent your meringue from reaching it's fullest and fluffiest potential.
Pretend a health inspector is coming by, or your pickiest and most intrusive relative that comments on everything when they come to visit. Whatever gets you in the right mindset.
2. Weather is a factor. I know, it's not like you're making these outside! But if it's a stormy or otherwise humid day, it can affect your results. That's because meringue doesn't like more moisture than it can handle. So if you live in the middle of the rain forest without air conditioning, you might have a hard time getting proper results.
3. Stand mixer > hand mixer > handheld whisk. Using a stand mixer will give your arm a rest and be the most uniform, but a hand mixer will allow you to most thoroughly incorporate any rogue sugar crystals on the sides of the bowl.
You could also use a whisk and some serious arm muscles, but I don't have that kind of will – power to you if you do!
4. Beat to soft peaks before adding sugar, then to stiff peaks with the sugar. You want to combine the egg whites, cream of tartar and salt to frothy, soft peaks first. That means when you lift the mixer whisk out of the mixture, the tops flop over.
Then you'll slowly add your sugar and peak everything to stiff peaks.
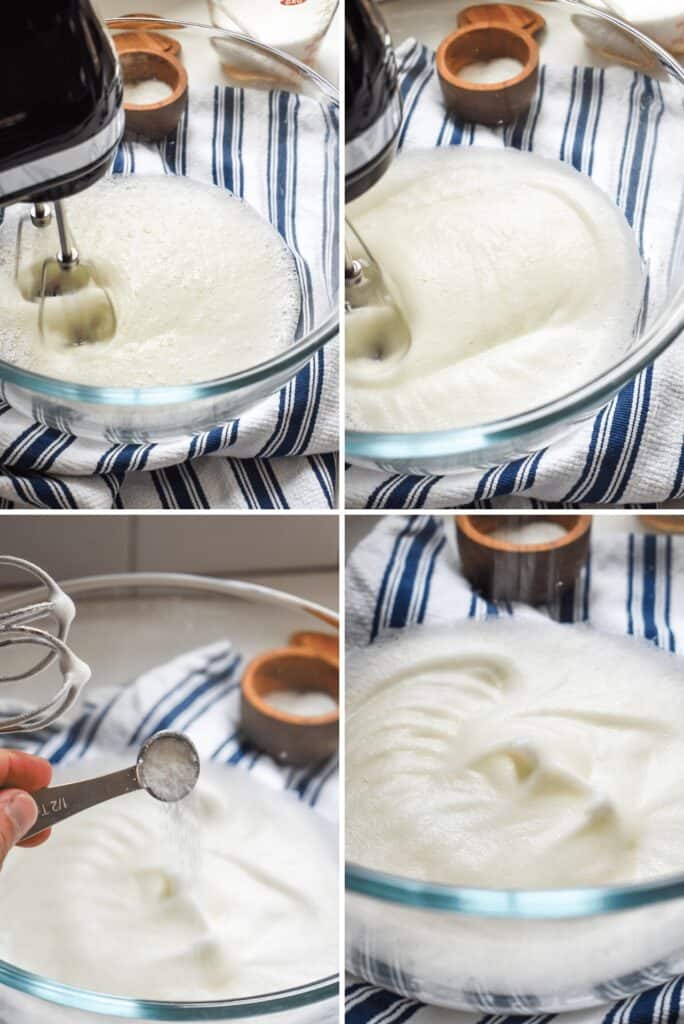
5. Add your sugar slowly. And by slowly, I mean in speed and in small amounts. I typically add it 1 teaspoon at a time, mixing after each addition until the sugar has completely dissolved before adding more.
It takes more time, but yields the most consistent results.
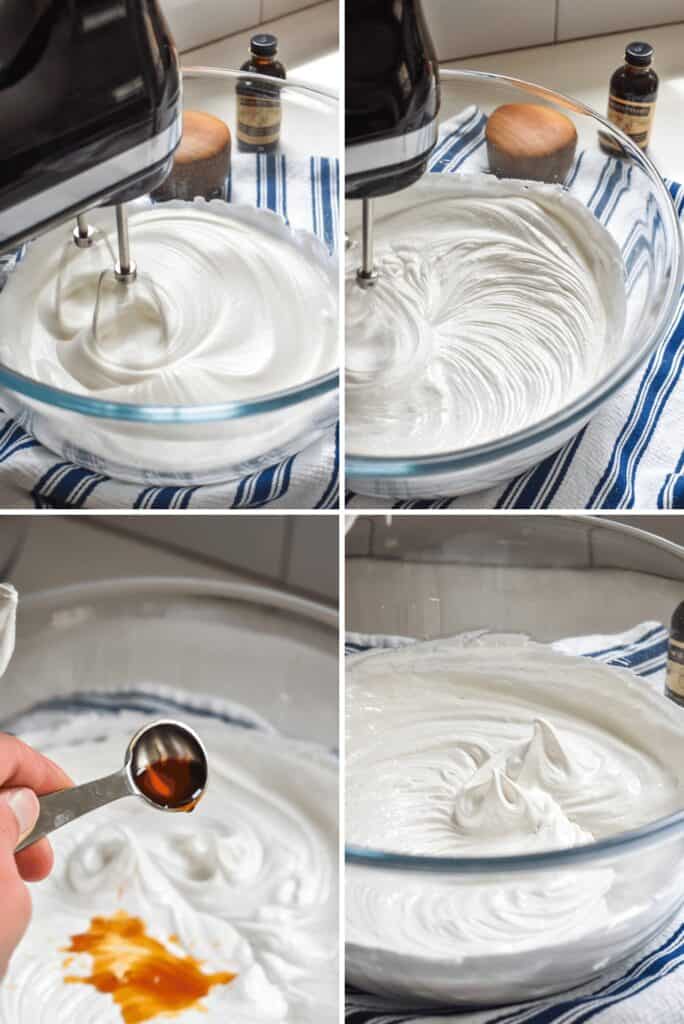
6. Be patient! To get to stiff peaks, it may take several minutes, and you just gotta hang in there. You want the resulting meringue to be glossy with stiff peaks. That means when you pull the whisk out of the mixture, the tops stand up on their own.
See the last frame of the photo below – stiff peaks are key to successful meringue cookies.
7. Prepare and bake your meringue right away. As mentioned above, French meringue is the least stable kind of meringue and should be used right away. If it sits out for too long, it will deflate and “weep”.
8. Bake low and slow, and leave that oven door closed! You want to gradually reduce the heat after baking to prevent them from cracking due to the temperature difference. To give our cookies the best chance, we bake at 200°F for an hour, and then turn the oven off. This allows them to slowly come to a lower temperature that's closer to room temperature. Just keep the oven door closed and let them hang out for another hour.
9. Don't have cream of tartar? Substitute lemon juice. As a general rule, you want 1/8 teaspoon cream of tartar for each egg white you're using in the recipe (so in the case of this recipe, 1/2 teaspoon in total).
The cream of tartar is an acid that stabilizes the egg whites – but if you don't have any, you can substitute 1/2 teaspoon lemon juice for each egg white (2 teaspoons for this recipe).
Piping your meringue
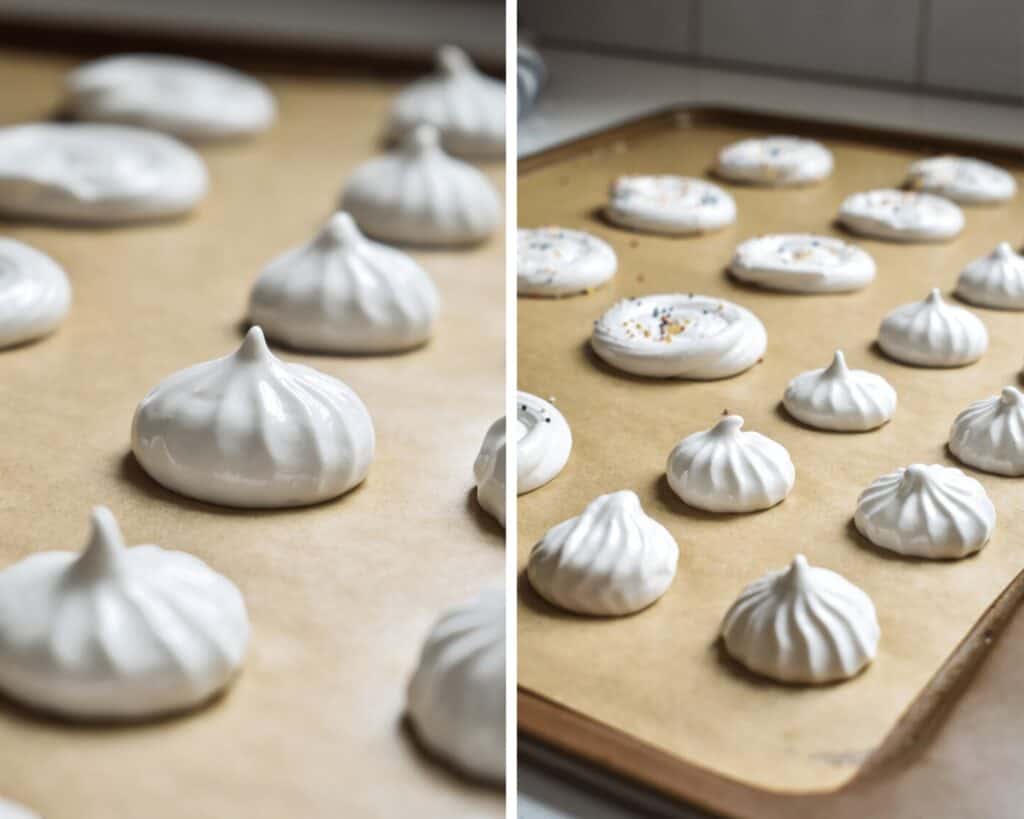
Contrary to what feels like basically everyone else in the baking world, I actually don't love the super sharp ridges of a traditional meringue “kiss” cookies style of piping with a French star piping tip.
I like to use the same piping tip, but I press down a bit more to make them look more like little dumplings! I also enjoy piping them into round spiral shapes so they're more cookie-shaped.
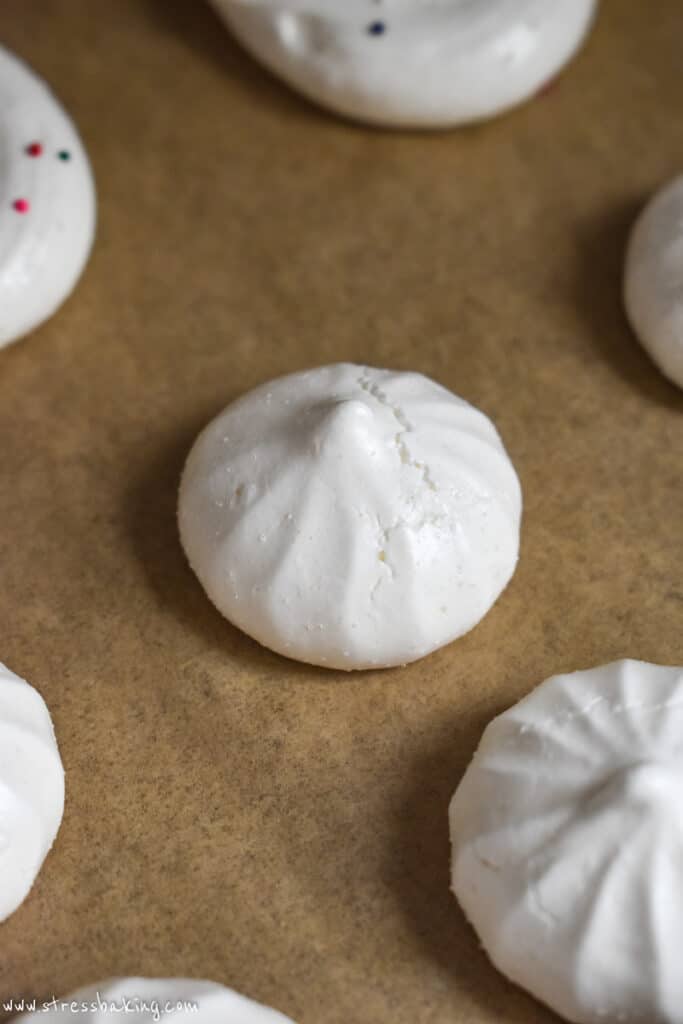
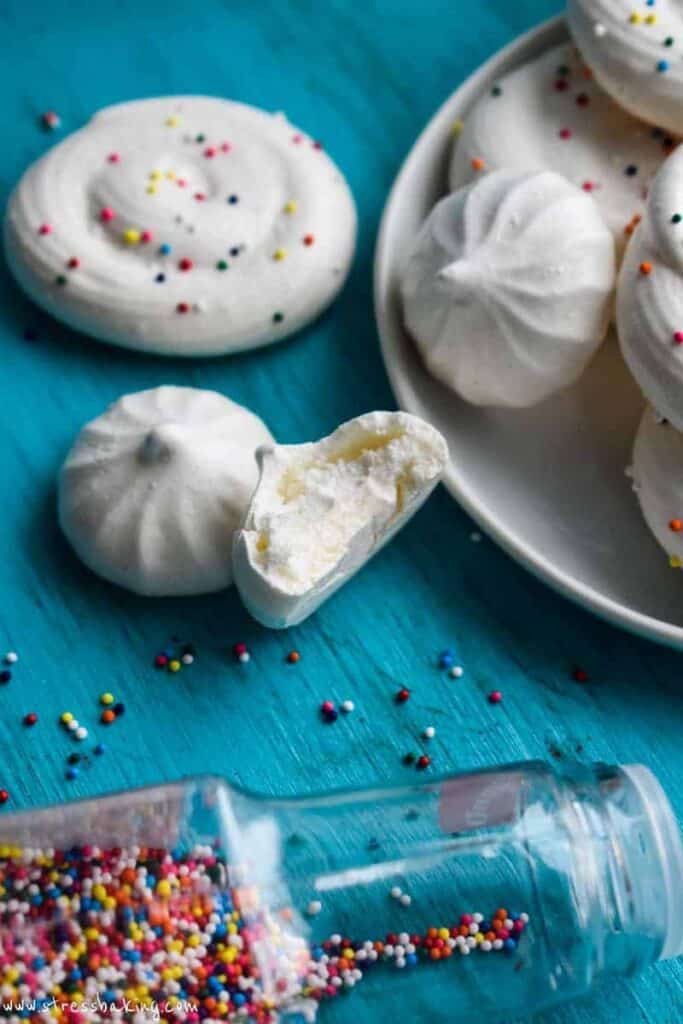
Cracks aren't the end of the world
See the photo below for an example of a cracked meringue – they'll still be delicious, they're just not as pretty.
All the information I've listed above in this post should help you avoid those cracks, but don't beat yourself up if any of them have a crack or two.
Flavor and color variations
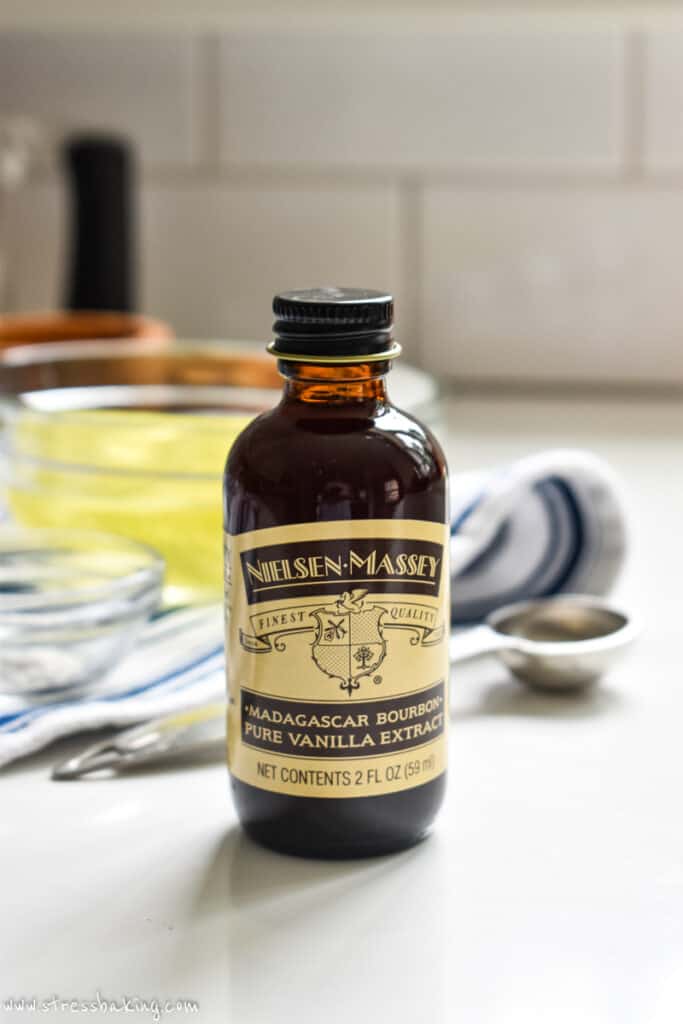
For these cookies, I like to keep things simple and classic by using Nielsen-Massey Pure Vanilla Extract. It doesn't add color, so the meringue cookies look like fluffy little clouds and it brings me joy.
But the good news is you can adapt the flavor of extract to whatever you'd like!
But if you wanted to mix things up, you could swap the vanilla extract for other flavors like almond, lemon, orange, rose water, etc. You just want to be careful with oil based extracts like peppermint, as it can affect your results.
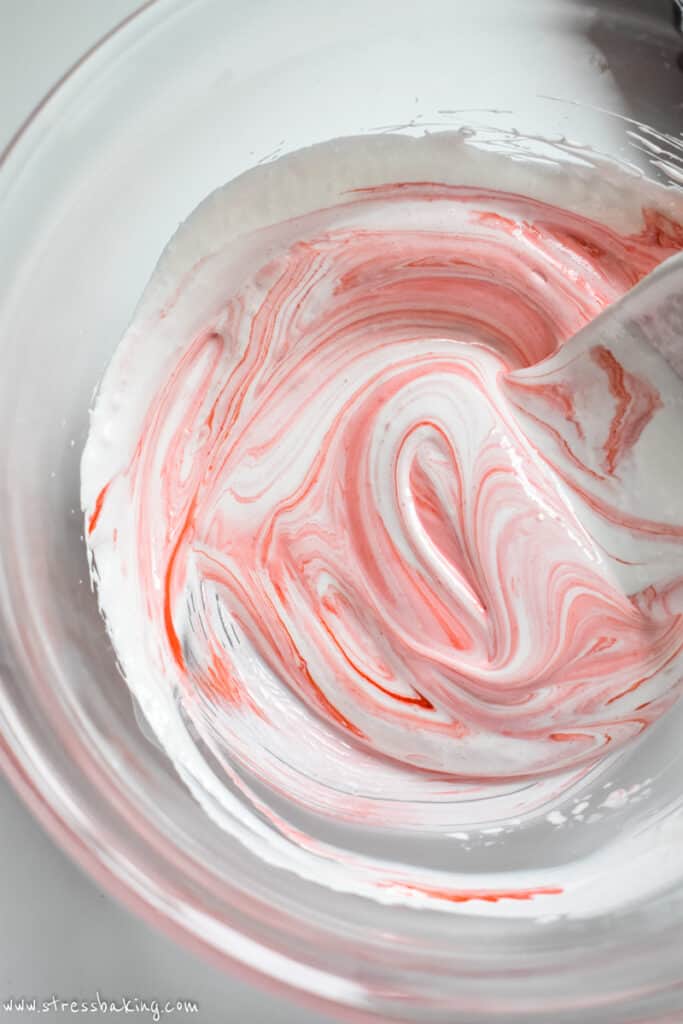
If you want to add food coloring, add it as the last step and gently fold it in. And if you're making multiple colors, separate into different bowls and work quickly to fold in each color being piping onto prepared baking sheets.
Remember that the longer the meringue goes without being baked and the more you fuss with it, the less stable it becomes and will have a more difficult time holding its shape.
If you want to add sprinkles to the tops, add them to the tops of each cookie just before placing in the oven to bake. But don't use anything too heavy – stick to smaller, lighter sprinkle types.
If you'd prefer to have the bottoms dipped in sprinkles, wait until they've completed cooled after baking and dip the bottoms in some melted chocolate or white chocolate, and then dip into sprinkles and place on parchment paper to set.
How to store meringue cookies
Meringue cookies can be stored in an airtight container at room temperature for about 2 weeks.
If you want to freeze them, wait until they've completely cooled and then transfer them to a freezer-friendly hard-sided container and store in the freezer for up to 1 month.
When you're ready to eat them, let them come to room temperature in the container.
Thanks to my friends at Nielsen-Massey for providing the product for this recipe!
Leaving a star rating is a great (and free) way to support Stress Baking! ❤️ After you've made this recipe, please consider clicking on the stars below to share your experience!
French Meringue Cookies

Equipment
Ingredients
- 4 egg whites, room temperature
- ½ teaspoon cream of tartar*
- pinch of kosher salt
- 1 cup granulated sugar
- 1 teaspoon pure vanilla extract
- 1 drop food coloring, optional
Instructions
- Preheat oven to 200°F and line two baking sheets with parchment paper.
- In the bowl of a very clean and dry stand mixer fitted with a whisk attachment (or large bowl with a handheld mixer), combine egg whites, cream of tartar and salt, and whip on medium-high speed until combined and frothy and form soft peaks – about 30 to 60 seconds.4 egg whites1/2 teaspoon (½ teaspoon) cream of tartar*pinch of kosher salt
- With the mixer running, add sugar 1 teaspoon at a time, mixing after each addition until the sugar has fully dissolved.1 cup (200 g) granulated sugar
- Continue to mix until the meringue holds stuff peaks and is glossy in appearance. This can take up to 10 minutes, so be patient!
- Add vanilla extract and beat just to combine (about 10 seconds).1 teaspoon pure vanilla extract
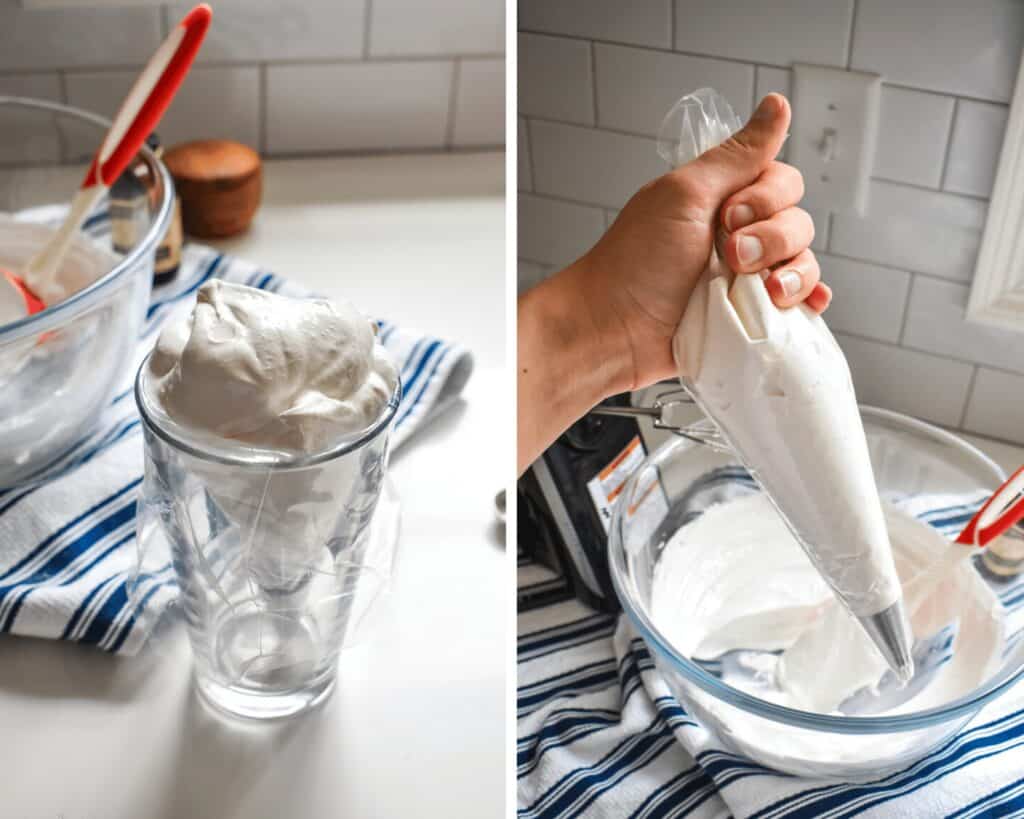
- Transfer the meringue mixture to a clean piping bag fitted with a pastry tip (I like to use a French Star tip) and pipe into desired shape onto prepared baking sheets about 1″ apart. They won't spread, but you still want to give them a little room.
- Place on the middle rack of the oven and bake for 1 hour. Now turn off the oven – but don't open the door! Let them rest in the oven for another 1 hour while the oven naturally cools down.
- Remove from the oven and let cool completely before transferring to an airtight container for storage. Enjoy!
Notes
Nutrition Facts
Nutrition Disclaimer
The provided nutrition information is generated by an automatic API and does not take variations across specific brands into account. This information is provided as a general guideline and should not be treated as official calculations. Learn more here.
Unlike this recipe says, these meringues do not take that much skill. I am not even a teenager and I made these by myself without any adult help
Unfortunately mine look great but they fall apart like they are too dry and then the part that is supposed to be chewy turns into a really hard chew, YUCK. What did I do wrong? It took a long time to get them to stiff peaks..maybe that was the problem?
That might have been why – if they’re overwhipped, it can lead to a tough texture in the finished product. It’s also possible too much sugar might have accidentally been added (or that it was added too quickly instead of a little at a time), or that the egg whites were still cold instead of room temperature, or that your kitchen had too much moisture in the air, or that they weren’t baked at the right temperature for the right amount of time. Everyone’s oven is different, so I’d suggest doing a calibration of your oven to check for hot and cold spots – I have a post about how to do that!: https://stressbaking.com/how-to-calibrate-your-oven/
French meringues are a difficult one to get right because they are so finicky and it usually takes quite a bit of practice – don’t be discouraged!
My grand-nephew gave me an A+ for these “cloud” cookies. Made me proud
So glad to hear he liked it – thank you for sharing your experience!
Today was my first attempt at making meringue cookies. Ive never even tried them before so I followed your recipe exact and added green food coloring. They looked pretty with only a few of them cracking. I tried one and they were awful! Lol. At first they were eggy then light and melty and ended with a dense gooeyness. I think it could have been the humidity or i may have over beat the egg whites a bit. I dont know.. I think this will take some practice and a lower humid day for sure.
As I mentioned in the post, humidity can definitely affect your results. However, if you’re saying they were eggy and dense, that sounds like they actually didn’t cook through all the way because that shouldn’t be the case at all, hah. You might have also overbeat the egg whites, or the final mixture might not have been fully incorporated.
Don’t be too discouraged, these take time to master!
@Louise, if there’s any humidity the cookies won’t turn out. I tried on a stormy day and had to put the oven on the dehydrator option for another hour. They were more wafer like
Always love meringues. My mom used to use this basic recipe and make larger “champagne cup” looking meringues. Then she’d make lemon pie filling (and got to use the yolks) to fill them once they were cool. Topped them with a meringue kiss.
Now I’ve got to make them or they’ll be on my mind forever.