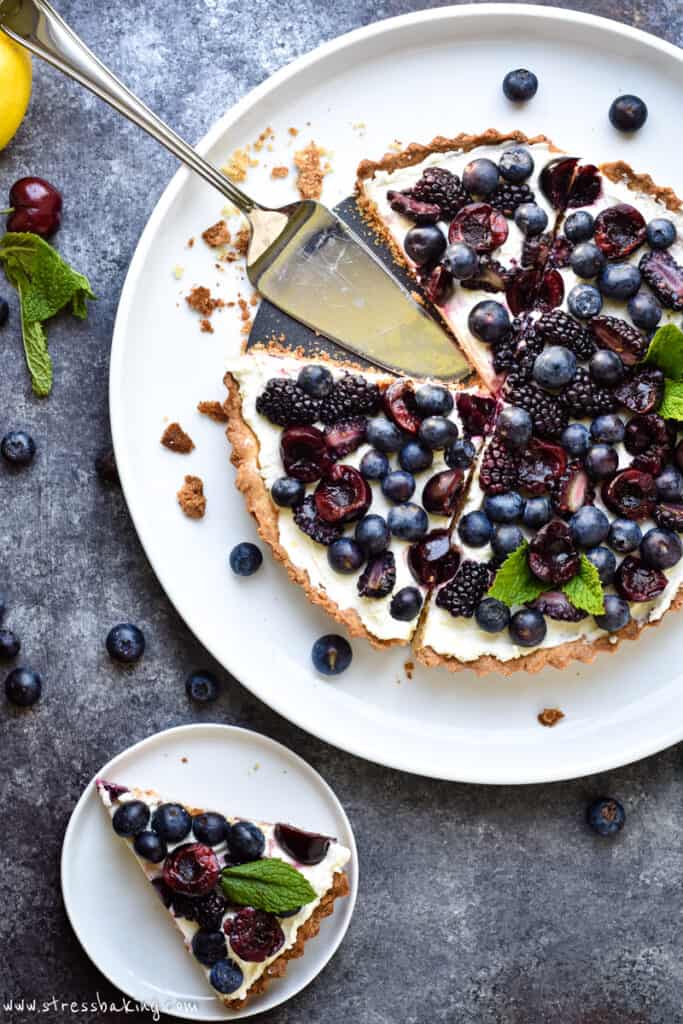
Fresh Fruit Tart with Lemon Mascarpone Cream

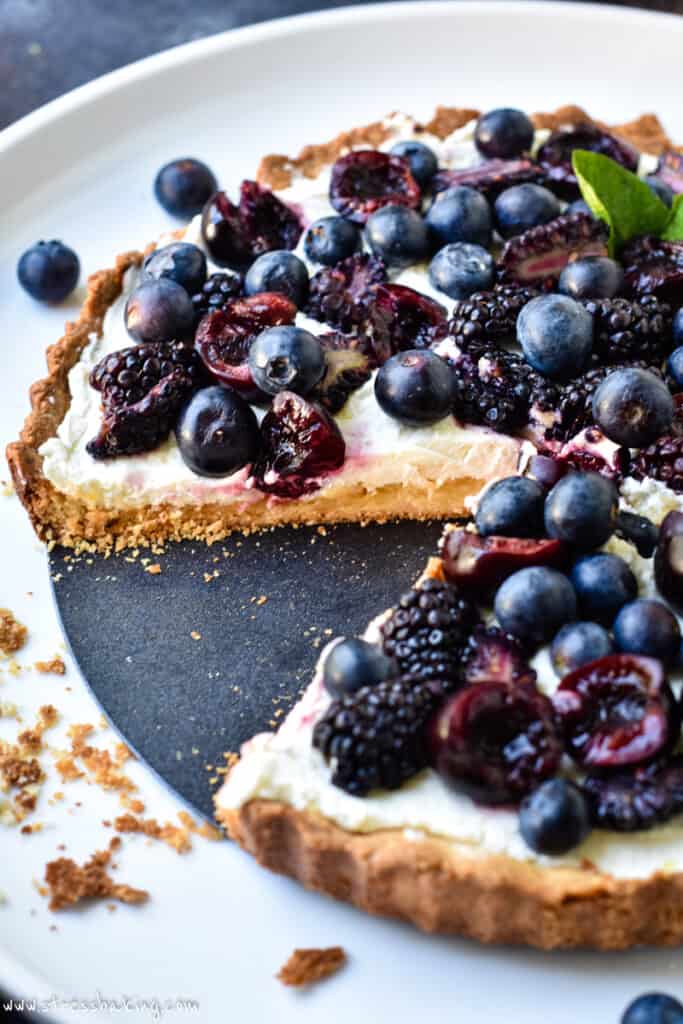
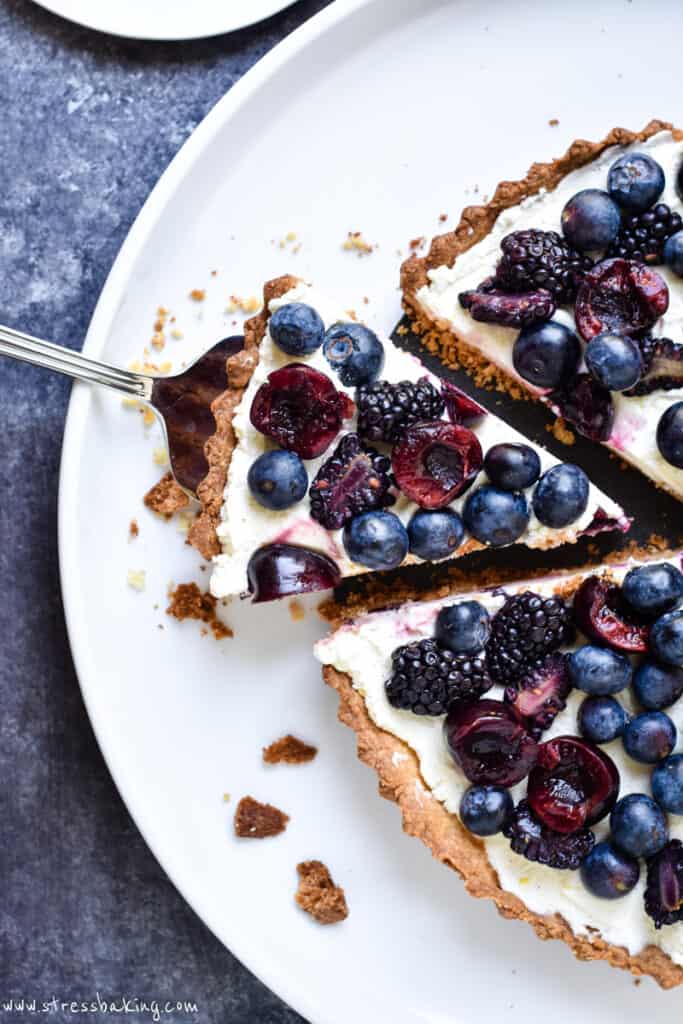
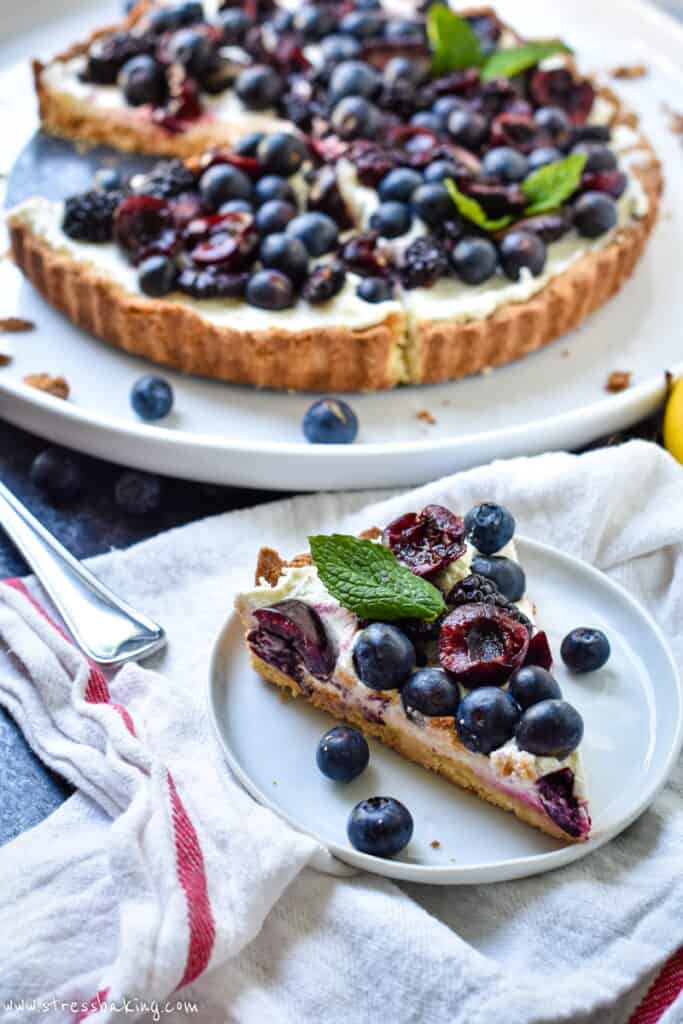
This fresh fruit tart is bursting with vibrant, juicy berries, lemon mascarpone cream filling and a sweet buttery crust. A beautiful spring or summer dessert!
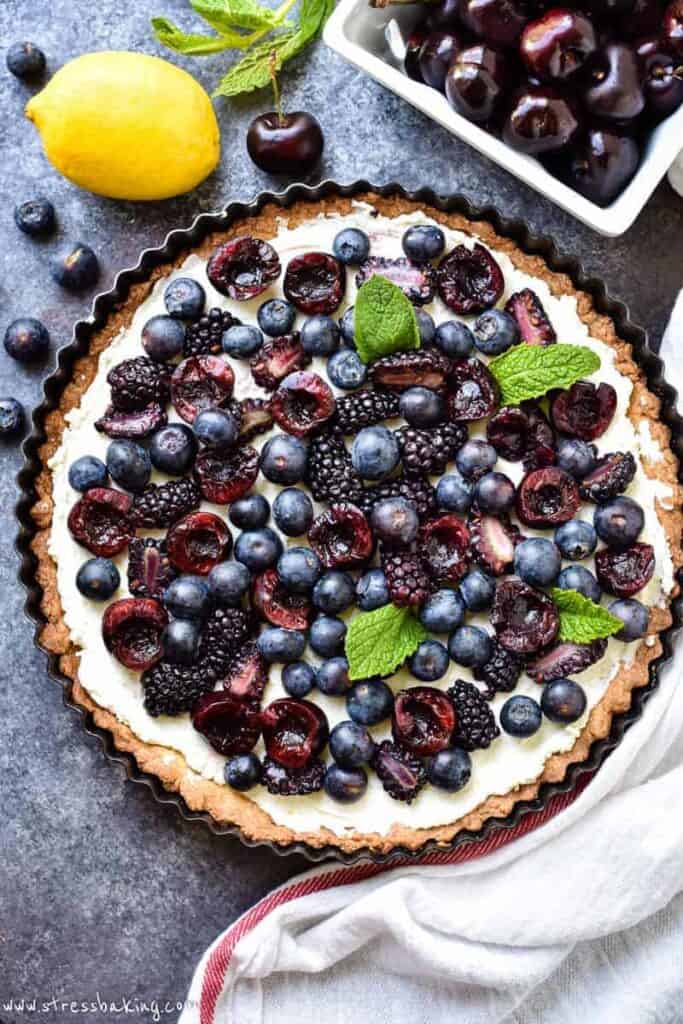
Let's talk about this gorgeous, vibrant, delicious fresh fruit tart.
It's colorful, it's light, it has a buttery crust that I could seriously just eat all on its own.
Fruit tarts are great for a summery dessert when the cake feels too heavy, but could also be easily turned into a cold-weather dessert by using more wintery berries and omitting the lemon in the cream.
How to make the tart crust
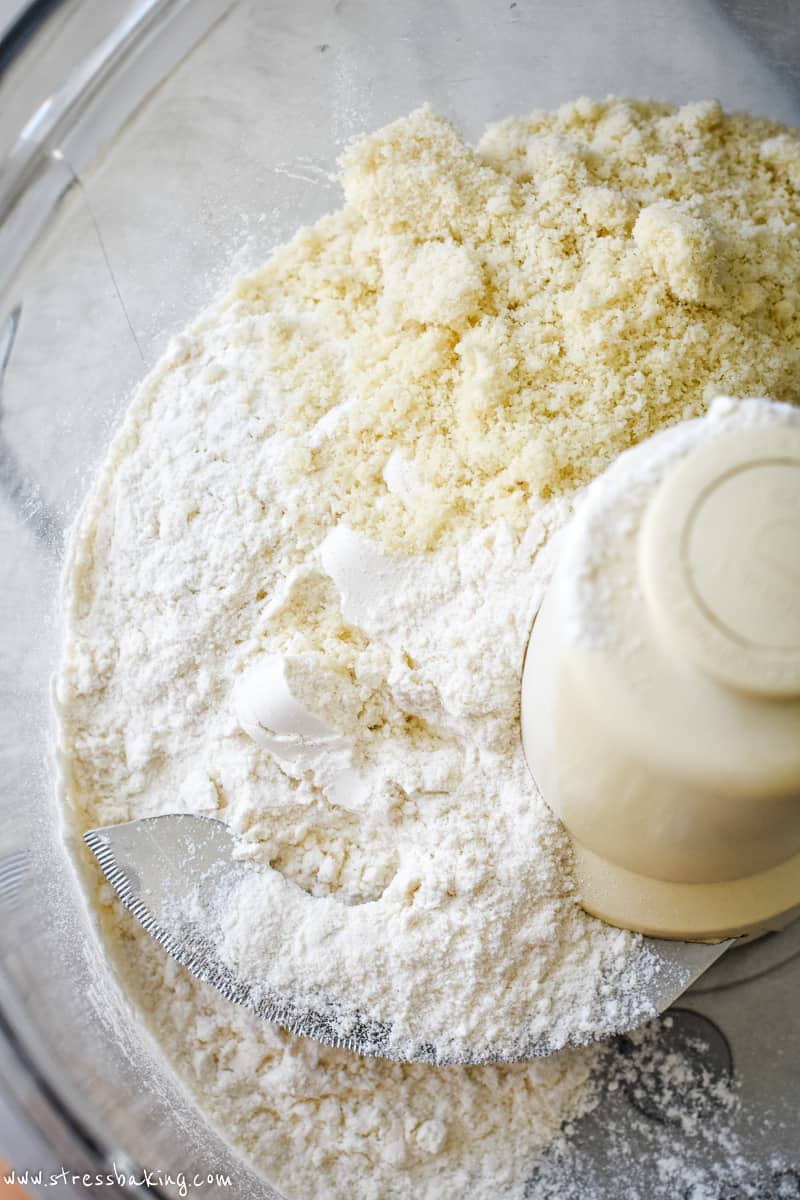
Step 1: In a food processor, add all-purpose flour, almond flour, sugar, and salt and pulse a few times to combine.
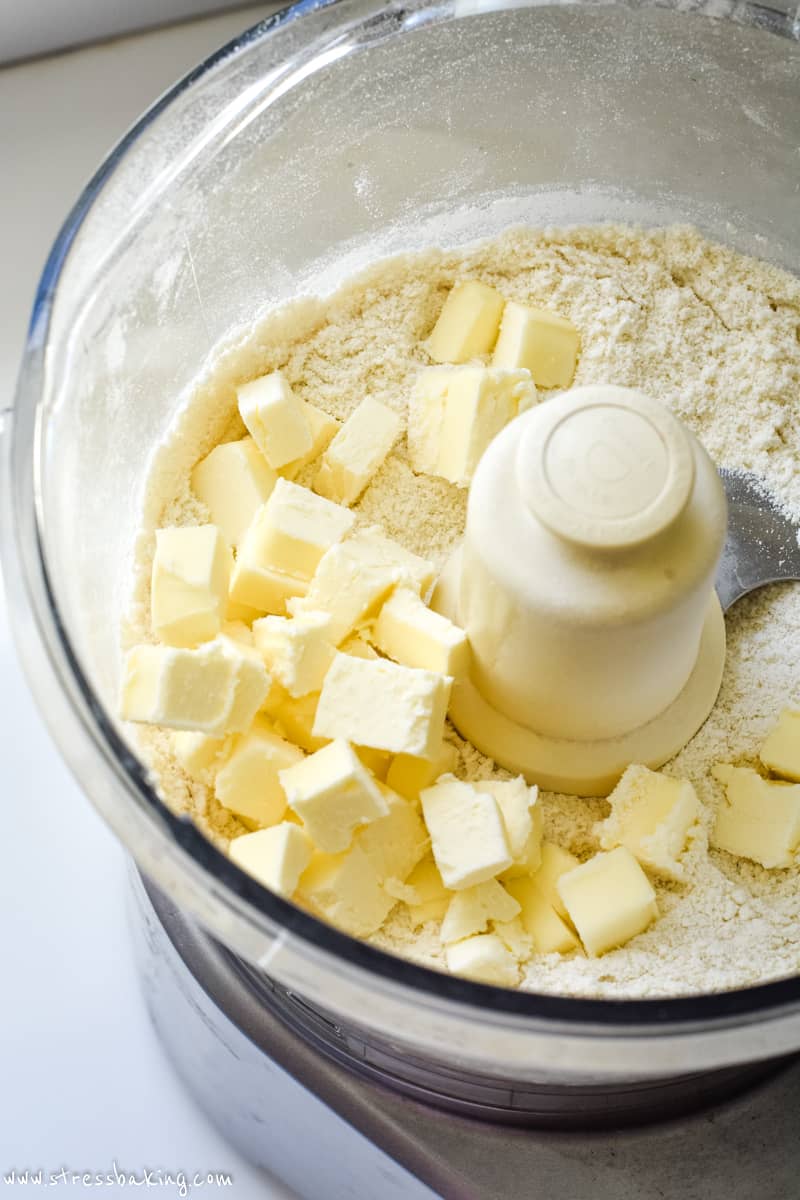
Step 2: Add cubed butter and pulse until the mixture forms pea-sized crumbs.
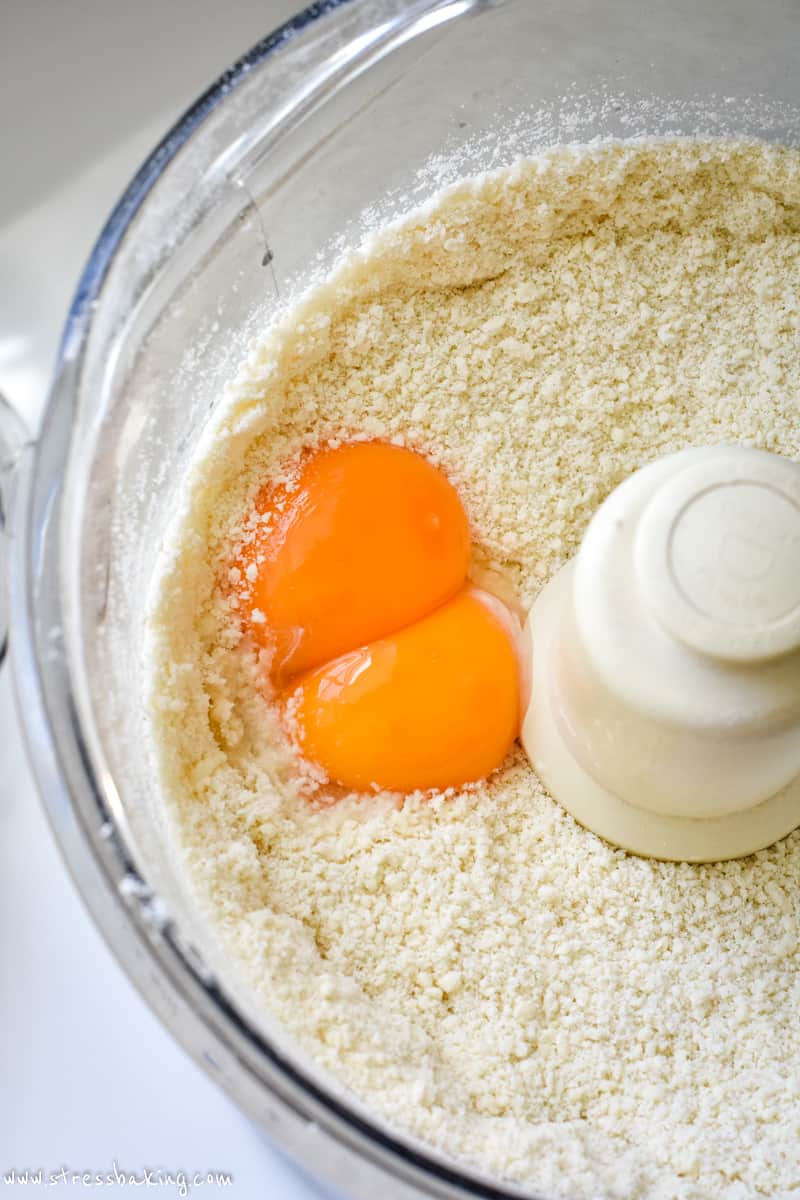
Step 3: Add egg and almond extract and pulse to combine until dough comes together and forms a ball.
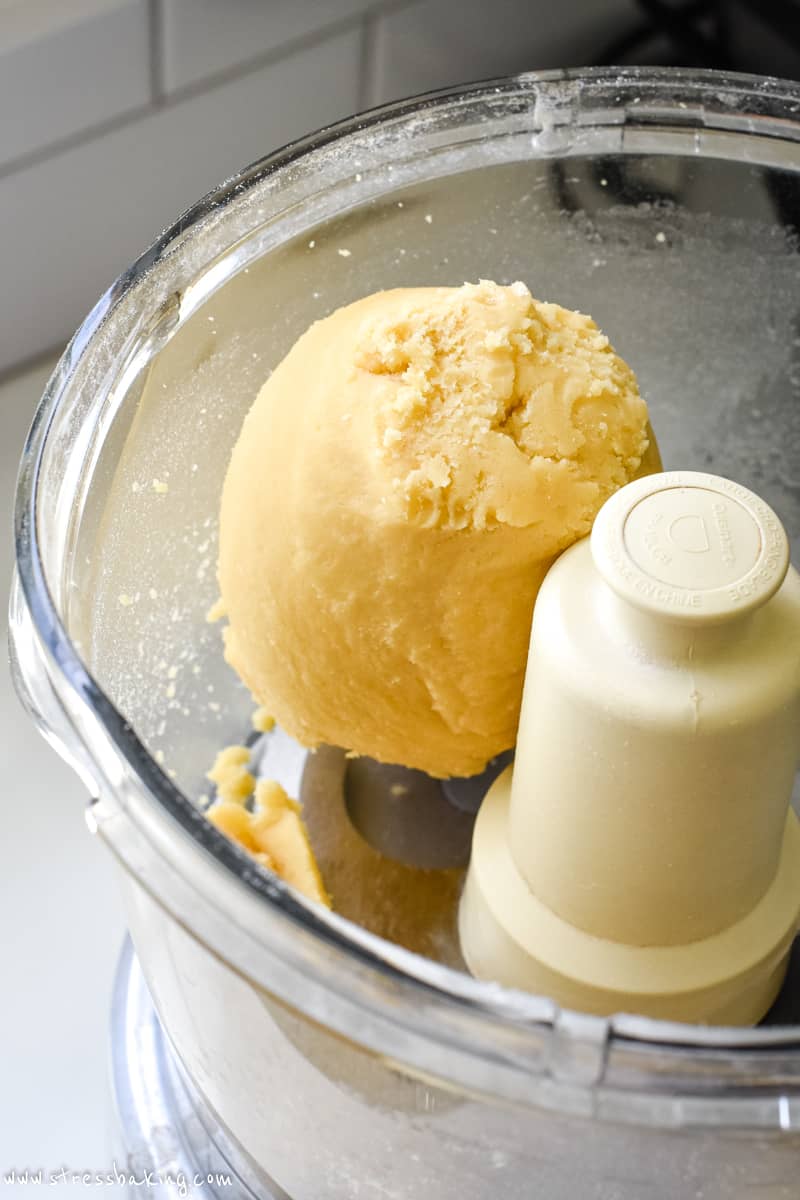
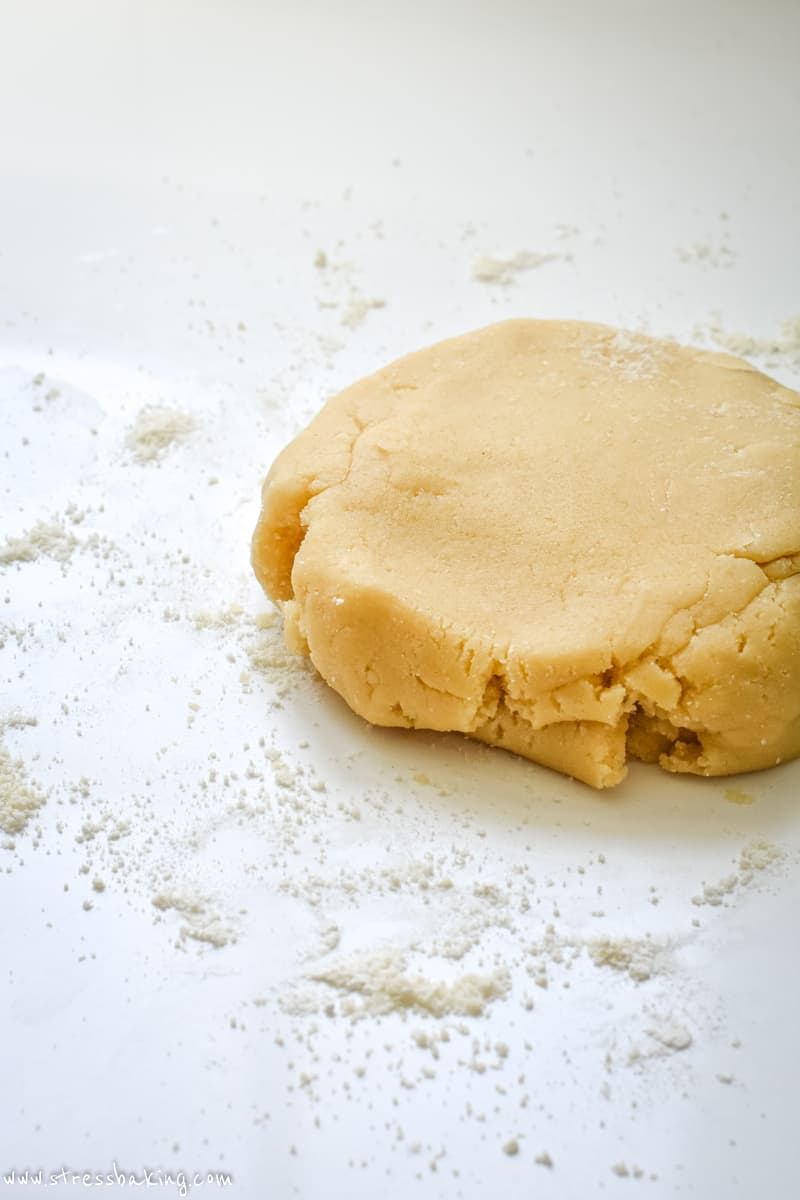
Step 4: Turn the dough out onto a lightly floured work surface and, if needed, knead until the dough is well combined and slightly sticky.
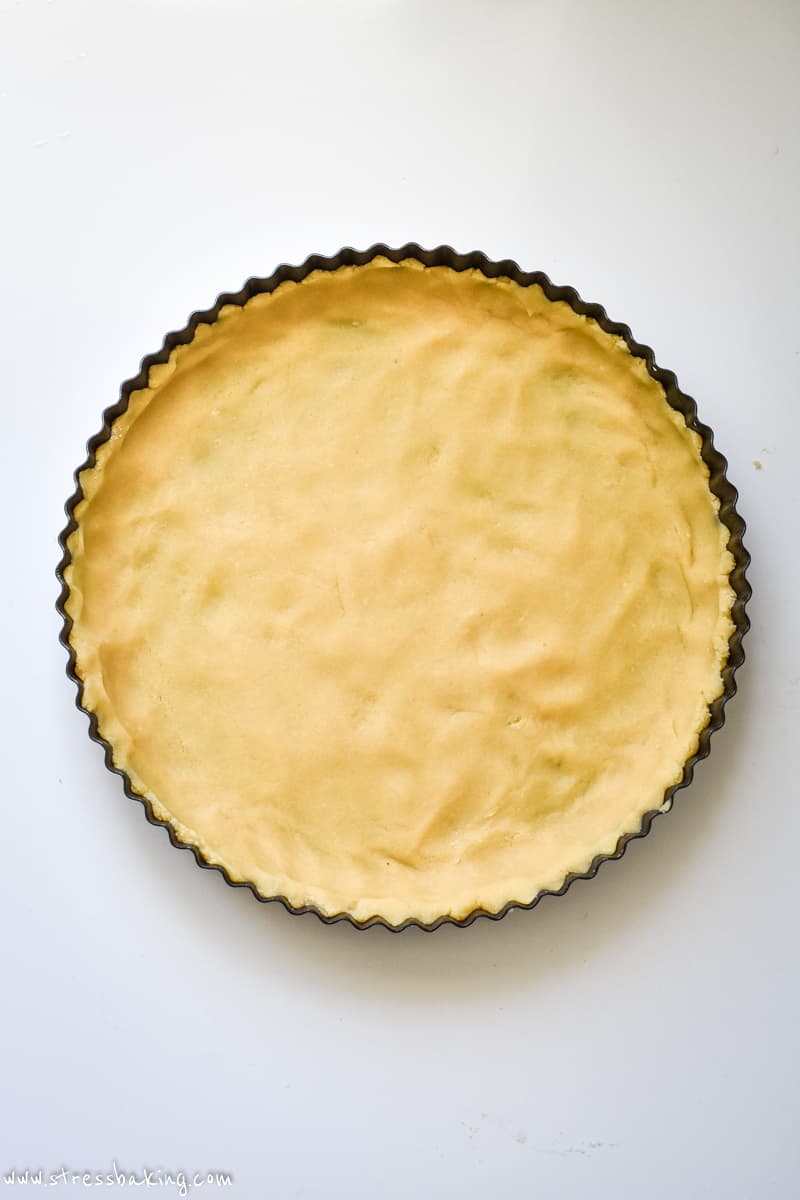
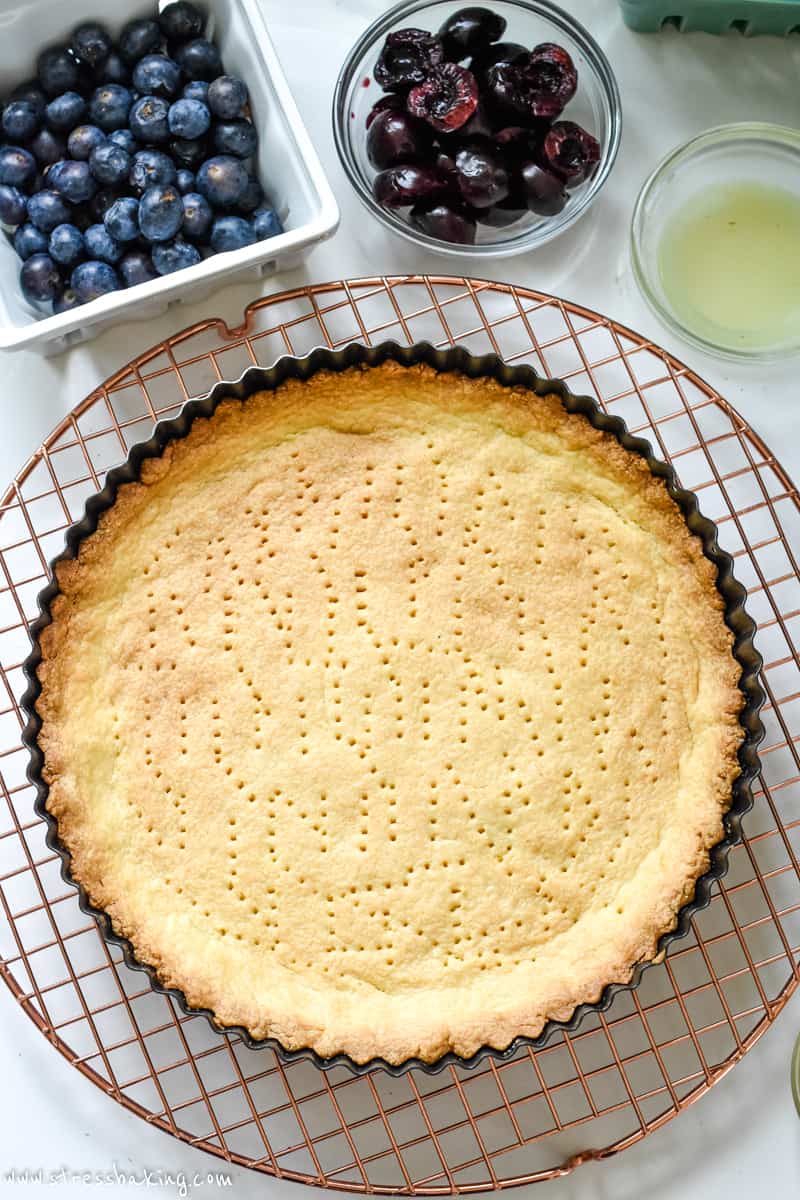
Step 5: Press dough into the bottom and up the sides of a 9″ tart or springform pan (just make sure it has a removable bottom).
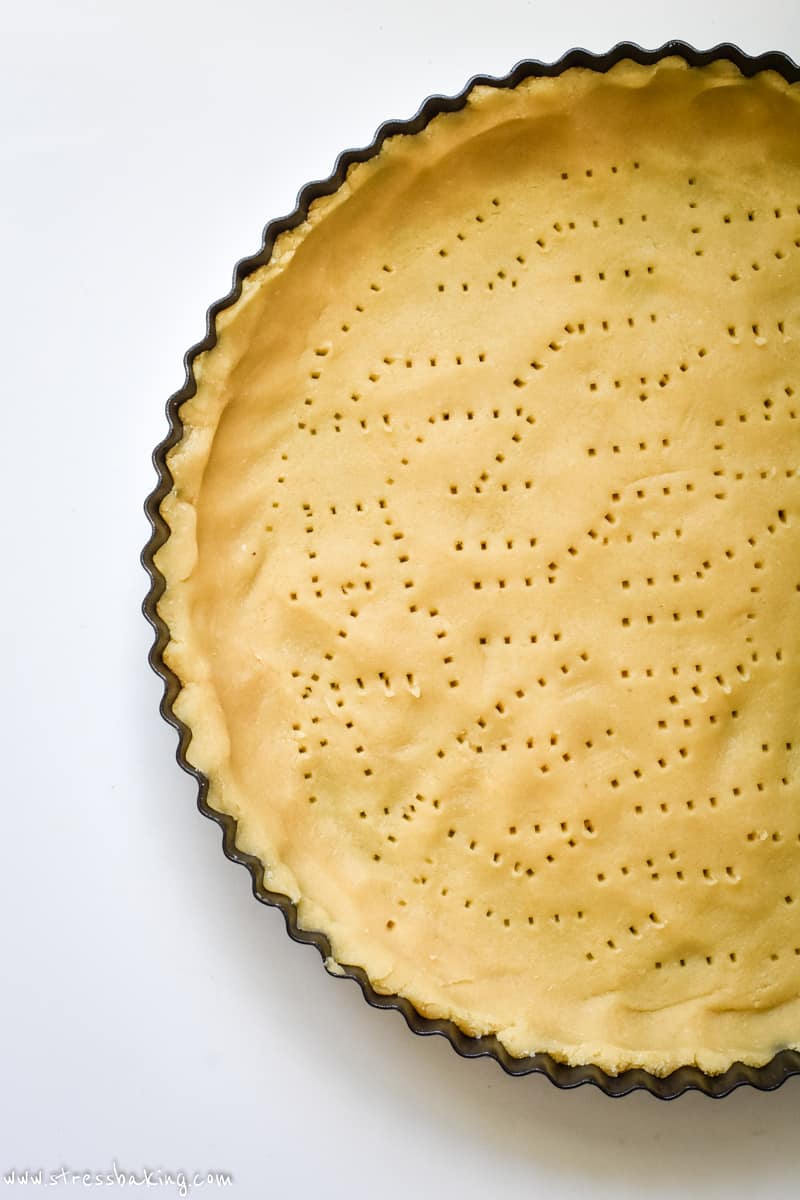
Step 6: Prick the bottom of the crust all over with a fork. Cover in plastic wrap and place in freezer until firm (about 30 minutes).
Why use 2 egg yolks instead of 1 whole egg for the crust?
Rather than simply using one whole egg, I ask you to separate the yolks from the whites to only use the yolks for this recipe.
Egg whites are mostly protein and help create structure. Egg yolks are mostly fats, vitamins and minerals (with some protein) that provide moisture.
Since we're not trying to make a fluffy cake (and we're even taking the step of poking holes in the crust to prevent that sort of thing), we're going to leave the whites out.
We're looking for a flaky crust and not a crumbly one, so the moisture that the yolks provide will help hold things together with provide a nice depth of flavor as well.
Tip: Save the whites to make a beautiful pavlova later!
Why do you poke holes in the crust?
Because it's fun! Just kidding. Well, not really, because to me it is fun – but that's not the reason.
The process of poking holes in the crust is called “docking”, and it allows the steam to escape while it bakes.
If you didn't do it, the steam would cause your crust to have pockets of air and bubbles all over the place. This would result in uneven baking, with some parts of the crust more cooked than others, and an uneven surface for that delicious filling you're going to add later.
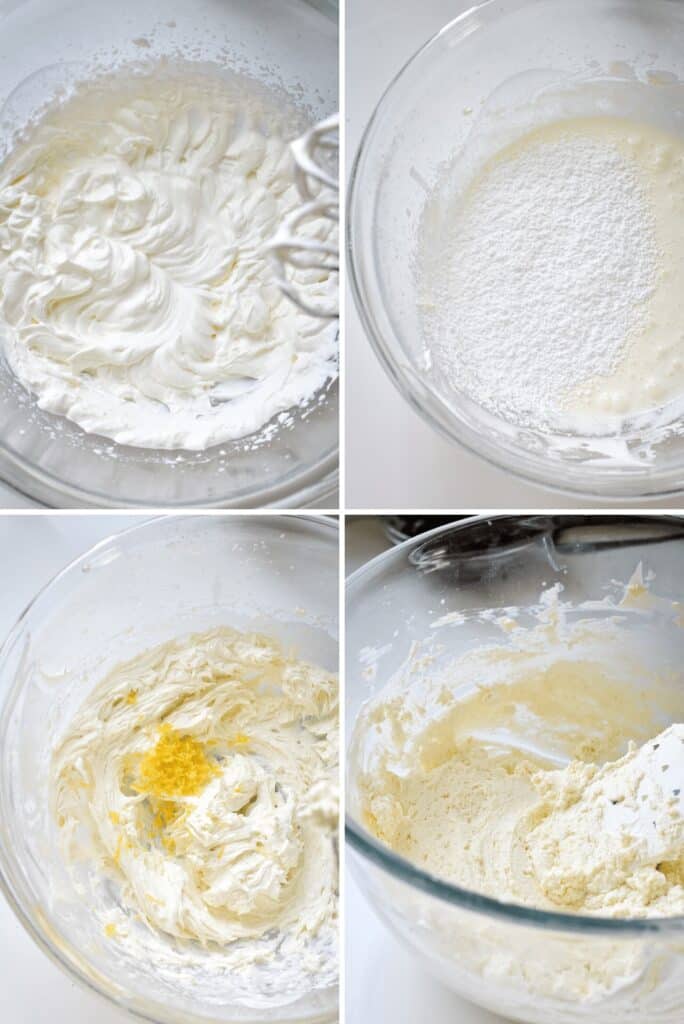
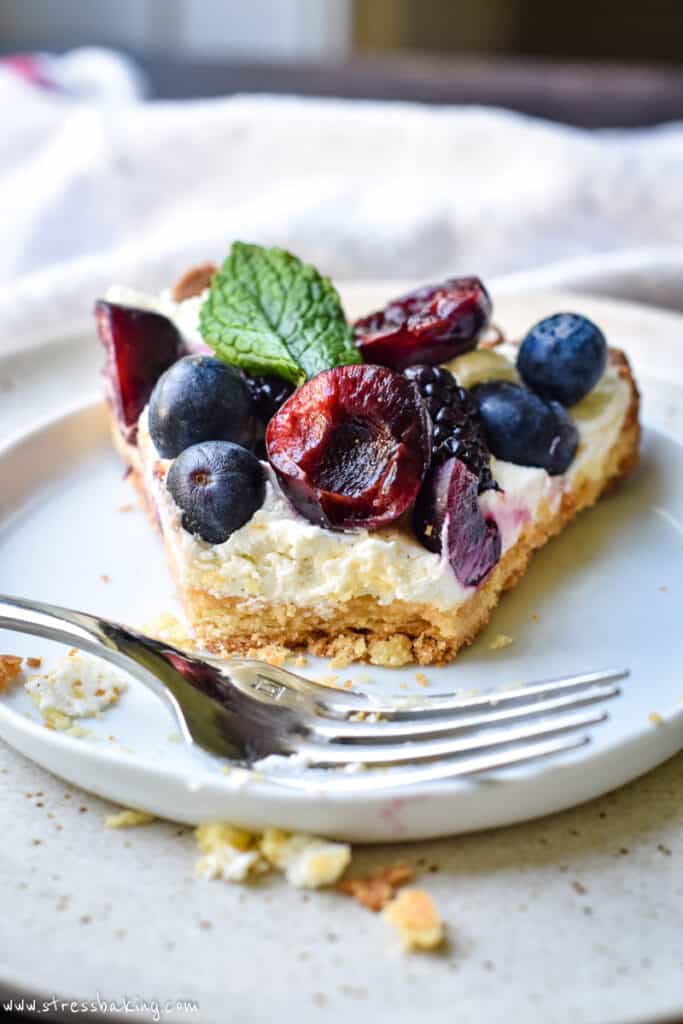
Making the lemon mascarpone cream filling
My favorite thing about this filling is that it's thicker than whipped cream, but it's not a curd. And also that I'm making it “wrong”… on purpose. [gasp]
Typically when you're adding citrus to dairy, you want to follow a very precise order of operations to prevent the cream from curdling. If you're not familiar with what curdled mascarpone looks like, do a quick Google search – but be warned… it's not pretty.
Some people have noted that they thought the mascarpone “curdled” when they folded in the lemon juice, but that should not be the case (unless you went a little crazy with your whisk or spatula). Your lemon mousse will not be completely smooth, but it should still be creamy, light and fluffy.
Take a peek at the photos in this post as well as this post that's dedicated entirely to my lemon mascarpone mousse!
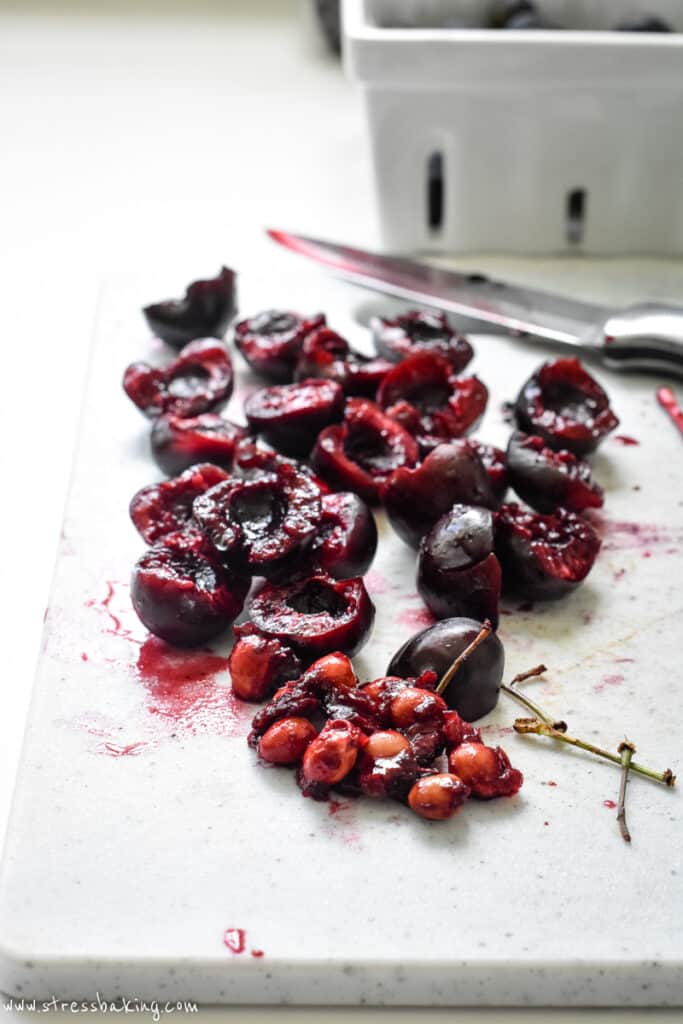
How to pit fresh cherries
Side note: You don't have to use cherries in this fruit tart recipe – it's just my personal preference!
If you own a cherry pitter, you're golden. If not, there are a few ways you can remove the hard pit in the center.
And for the record, no matter what method you use, I recommend doing this over a sink (and wearing an apron) because you could get splattered with cherry juice.
- Bottle and chopstick method: Remove the stem and place the cherry centered on top of a bottle (wine or soda) with the top facing up. While holding the cherry in place, place the flat end of a chopstick above the cherry where the stem used to be. Push the chopstick down into the cherry until you can feel the pit and push it through the bottom until the pit drops into the bottle.
- Chopstick method. You'd follow the same process as above, just without the bottle! Hold it in your hand so that the bottom center of the cherry is between two fingers, then poke the chopstick down the center and out the bottom.
- Knife and spin method. Remove the stem and run a pairing knife around the pit until you've sliced it all the way around. Then gently turn each cherry side in opposite directions until they've separated, and remove the pit with your fingers.
How much fruit should I use?
It depends on the types of fruit you're using:
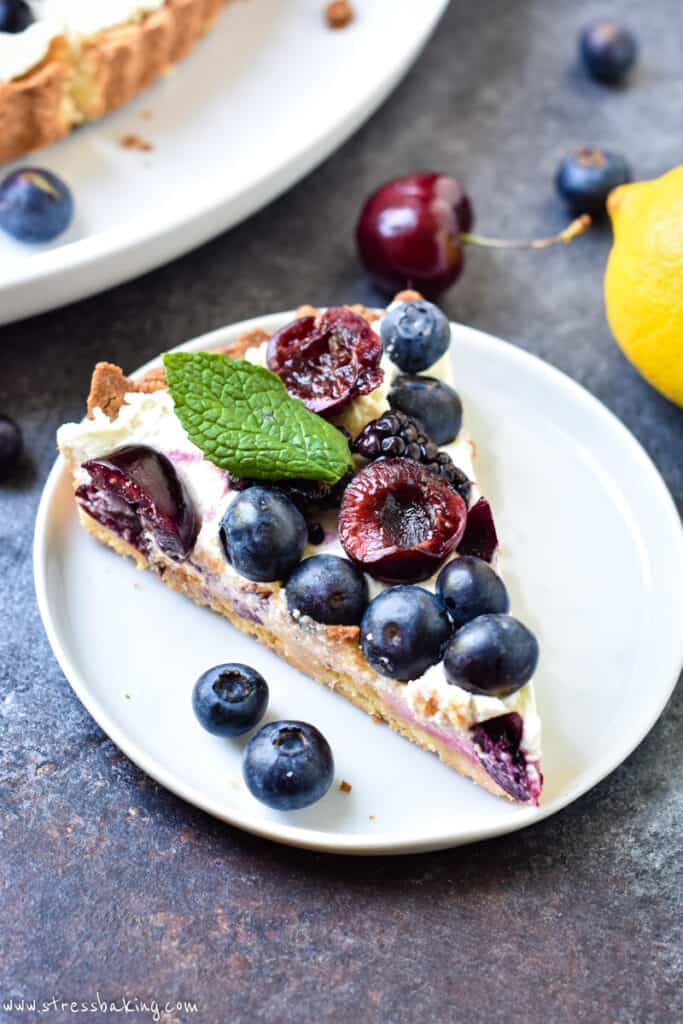
- If you're sticking to blueberries, blackberries, raspberries, and/or cherries, 1.5 to 2 pints (or 3-4 dry cups) works best.
- If you're planning to use larger sliced fruits like kiwi, apples, oranges or strawberries, you'll have to play with the quantities a bit to suit your needs.
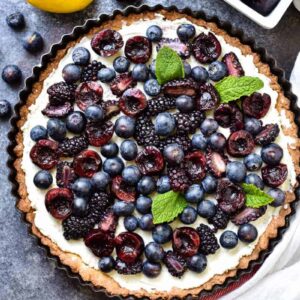
I was feeling the dark blues and purples this time around, but a mix of bright colors would be super summery!
Do I have to add a fruit glaze?
I actually prefer it without! It adds quite a bit of sweetness that I don't find that I need – but if you enjoy it for that classic glossy appearance you're used to seeing on fruit tarts, it's really easy to do.
- In a small bowl, whisk to combine 2 Tablespoons fruit preserve of choice with 1 Tablespoon water. Apricot preserves go surprisingly well with just about any fruit combination.
- Warm in the microwave for about 15 seconds, then give it another whisk to combine. Use a pastry brush to glaze the tops of the fruit and let it set.
That's it!
How to store your fruit tart
Once it's fully assembled, it's best served the same day.
But as long as you keep it stored in an airtight container in the fridge, it can last up to 5 days.
The crust will get a bit softer as time goes on, but honestly? I think it's just as delicious on day 5!
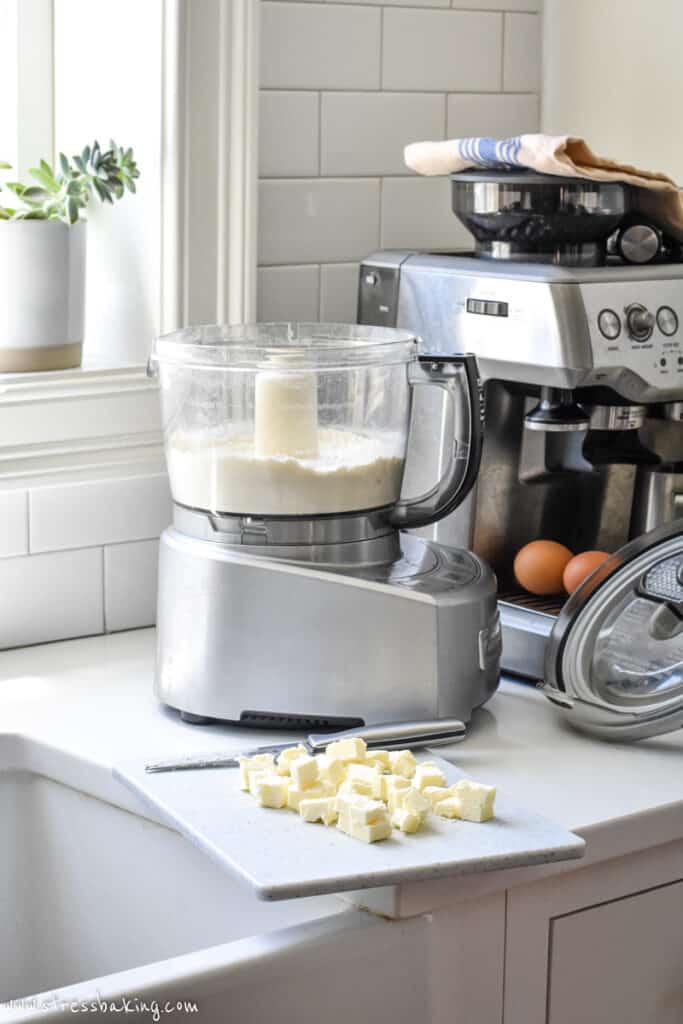
Behind the scenes
And just in case you ever thought my setup for photos was glamorous, for this recipe I was teetering between the kitchen sink and our Breville because it was the only spot with the right lighting.
Please note the eggs on the drip tray. Classy.
Rating this recipe is a great (and free) way to support Stress Baking. After you've enjoyed this recipe, click on the stars below to share your experience – thank you!
Fresh Fruit Tart with Lemon Mascarpone Cream
Ingredients
Crust
- 1 cup all-purpose flour
- ½ cup almond flour, can substitute for another 1/2 cup all-purpose flour
- ¼ cup granulated sugar
- ½ teaspoon kosher salt
- ½ cup unsalted butter, cold and cubed
- 2 egg yolks, room temperature
- ½ teaspoon pure almond extract
Cream
- ½ cup heavy cream
- 8 ounces mascarpone cheese
- ¼ cup confectioners’ sugar (powdered sugar), sifted
- ½ teaspoon pure almond extract
- ½ teaspoon pure vanilla extract
- 2 Tablespoons freshly squeezed lemon juice
- 2 teaspoons lemon zest
Fruit
- 1 pint fresh blueberries
- ½ pint fresh blackberries
- ½ pint fresh cherries, pitted and sliced in half
- Fresh mint leaves, optional
Glaze (optional)
- 2 tablespoons fruit preserves, optional
- 1 tablespoon water, optional
Instructions
Crust
- In a food processor, add all-purpose flour, almond flour, sugar, and salt and pulse a few times to combine.1 cup (125 g) all-purpose flour1/2 cup (56 g) almond flour1/4 cup (50 g) granulated sugar1/2 teaspoon (½ teaspoon) kosher salt
- Add cubed butter and pulse until the mixture forms pea-sized crumbs.1/2 cup (113 ½ g) unsalted butter
- Add egg and almond extract and pulse to combine until dough comes together and forms a ball.2 egg yolks1/2 teaspoon (½ teaspoon) pure almond extract
- Turn the dough out onto a lightly floured work surface and, if needed, knead until dough is well combined and slightly sticky.
- Press dough into the bottom and up the sides of a 9" tart or springform pan (just make sure it has a removable bottom). Prick the bottom of the crust all over with a fork.
- Cover with plastic and place in freezer until firm (about 30 minutes).
- Once crust is firm, preheat oven to 350°F. Bake crust until golden brown all over, about 30 minutes. Let cool completely in the pan on a wire rack.
Cream
- In the large bowl of a stand mixer fitted with a whisk attachment or using a hand mixer, beat heavy cream until stiff peaks form (about 3 minutes). Transfer to separate bowl and set aside.1/2 cup (119 g) heavy cream
- In the same large mixing bowl in which you beat the cream, beat the mascarpone cheese for 1 minute on medium speed.8 ounces (226 ⅘ g) mascarpone cheese
- Add powdered sugar, almond extract, and vanilla extract and beat on medium-high speed until combined. Fold in your lemon juice and lemon zest.1/4 cup (30 g) confectioners’ sugar (powdered sugar)1/2 teaspoon (½ teaspoon) pure almond extract1/2 teaspoon (½ teaspoon) pure vanilla extract2 Tablespoons freshly squeezed lemon juice2 teaspoons lemon zest
- Gently fold in the whipped heavy cream you set aside earlier until just combined. Spread in an even layer into prepared, cooled crust.
- Garnish with fresh fruits. Refrigerate until ready to serve. Slice, and enjoy!1 pint (473 ⅙ ml) fresh blueberries1/2 pint (236 ⅗ ml) fresh blackberries1/2 pint (236 ⅗ ml) fresh cherriesFresh mint leaves
- Optional fruit glaze: If you'd like to glaze the fruit for a glossy finish, whisk to combine 2 Tablespoons fruit preserve with 1 Tablespoon water in a small bowl. Warm in the microwave for about 15 seconds, give it another whisk to combine, then use a pastry brush to glaze the tops of the fruit.1 tablespoon water
Video
Notes
Nutrition Facts
Nutrition Disclaimer
The provided nutrition information is generated by an automatic API and does not take variations across specific brands into account. This information is provided as a general guideline and should not be treated as official calculations. Learn more here.
This looks fantastic. I am looking forward to making this recipe.
However, PLEASE change your webpage so that advertisements DO NOT print on the recipe printout. It takes up nearly a full page – making the printout longer and more difficult to follow. UGH.
Thanks for sharing this feedback – your point has been taken. I will talk to the maker of the recipe card to see what can be done about the ad placement in the card itself (as I don’t actually have control over that aspect). But please also keep in mind that the content I’m providing is 100% free to readers, and the ads are how I get paid to continue providing you all with completely free recipe content :)
If you’d be willing to email me a screenshot or picture of how the printable version is showing up for you so I can share that with the recipe card developer, that would be super helpful!
@Leslie Kiszka, Thank you so much for this recipe!! I have read 5 other recipes and I’m picking yours. I’m making it for mother’s day. Thanks again.