Why You Mix Dry and Wet Ingredients Separately

Part of my Baking Basics series: Have you ever wondered why recipes call for mixing dry and wet ingredients in separate bowls before combining them? This post explains why, and what can happen if you don't!
The real reason
It's actually pretty simple: you want to mix dry and wet ingredients separately to give yourself the best chance of evenly distributing all the dry ingredients.
It helps to keep in mind that baking really is a science and not always as forgiving as cooking – so taking the extra time and steps to properly incorporate your ingredients gives your recipe the best chance of success!
Delicious, delicious success.
What happens if you don't separate dry and wet ingredients?
For example, let's say you're making cookies.
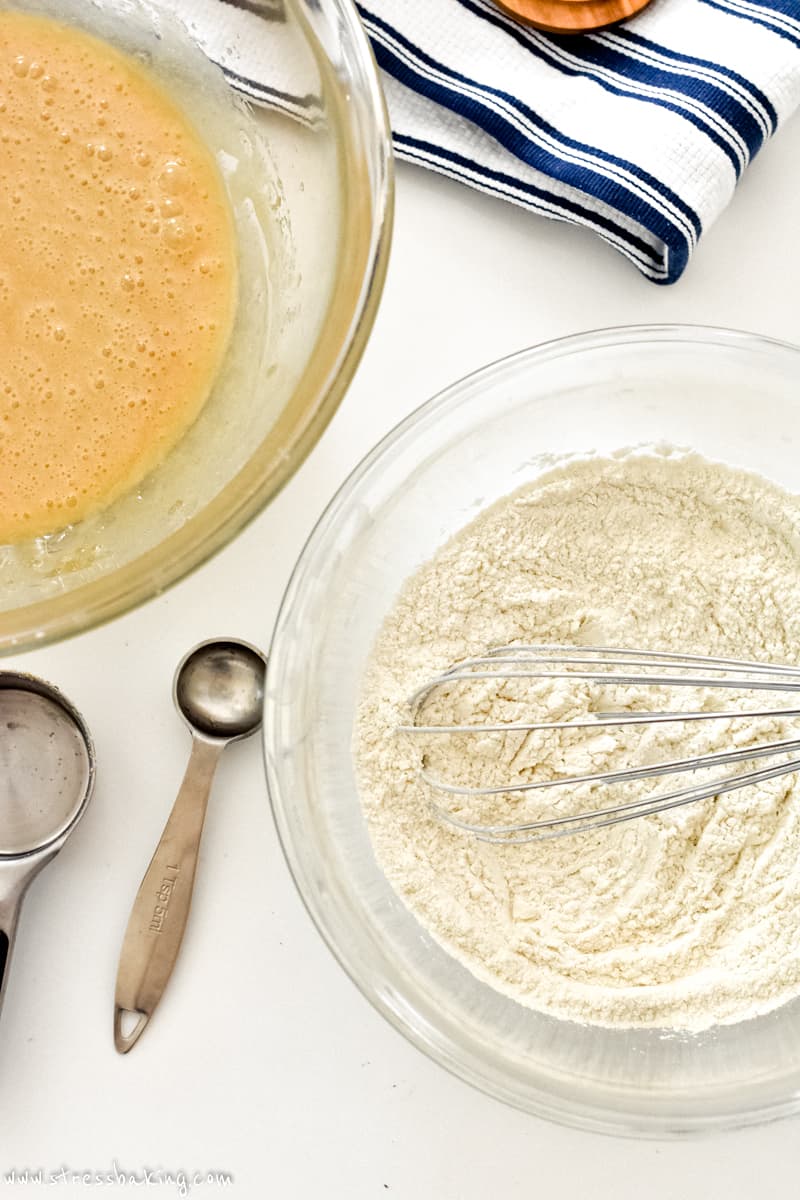
Peanut butter espresso cookies, to be precise. The first step of the recipe calls for whisking together flour, espresso powder, baking soda, baking powder, cinnamon and salt.
The next step is to use a separate bowl to combine the butter, peanut butter, and brown sugar (and eventually the egg and vanilla).
Then you add the dry ingredients into the bowl of wet ingredients – which is also why you'll see that I always call for the bowl of wet ingredients to be the larger of the two since that's where all your ingredients are going to end up together.
If we didn't do it that way, we could risk having an uneven distribution of all the leavening agents and flavors. So you could end up with cookies that are deflated on one side, have none of the espresso flavor, and entirely too much salt.
And I don't think I have to explain that lopsided, weird-tasting cookies is not a good look.
Does it matter if you mix wet into dry, or vice versa?
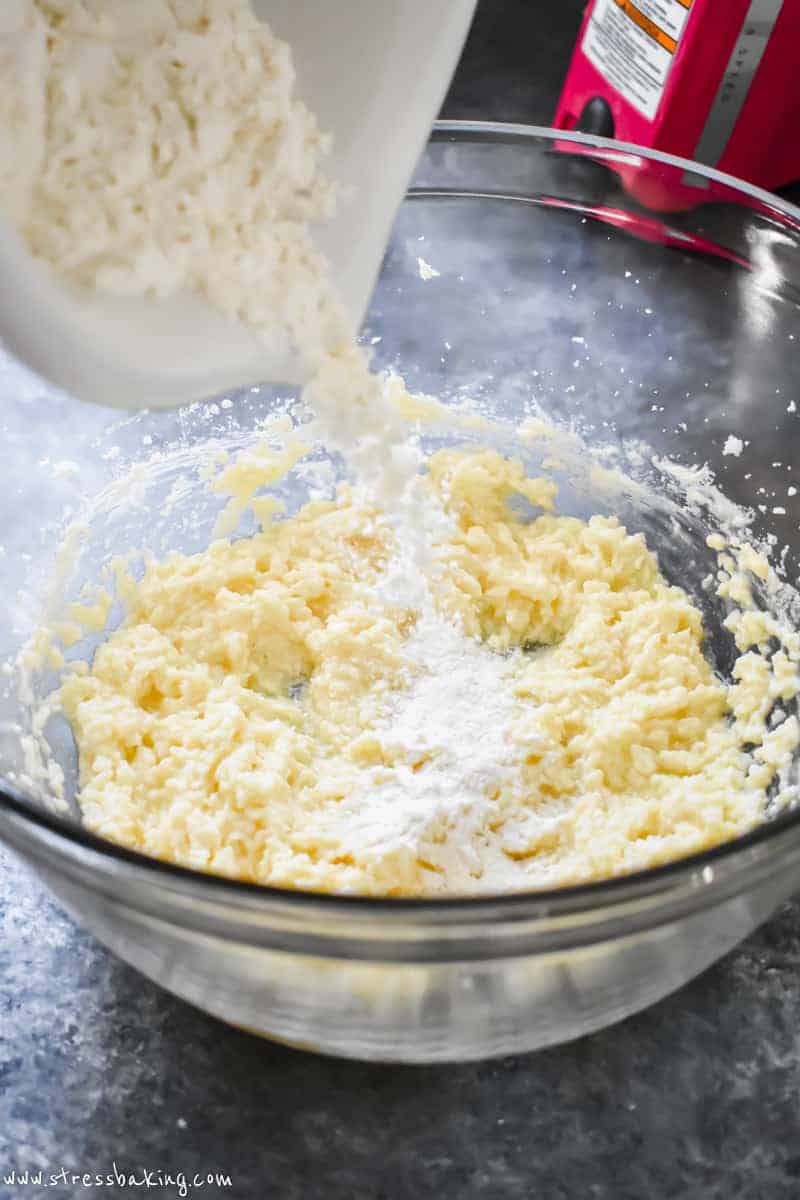
Generally speaking, yes – you want to add the dry ingredients to the bowl of wet ingredients.
Adding the wet ingredients to the bowl of dry ingredients can end up being clumpy and messy. You know that thing where you have an exploding pocket of flour in your batter or dough? No good.
The other thing about adding wet to dry is that you'll have to work harder to completely combine the ingredients, which can result in overmixing your dough/batter, which can mean overdeveloping the gluten in the flour.
What about alternating adding wet and dry ingredients?
Sometimes you'll see a recipe call for a process of adding portioned quantities of wet and dry ingredients in an alternating fashion – i.e. “alternate adding your dry ingredients and milk, ending with the dry ingredients”. There's a reason for that!
For some recipes, the quantity of dry ingredients could be such that adding all the dry ingredients at once would cause the batter to be too thick and difficult to mix (which would result in overmixing, as I mentioned above).
And if you were to add all the liquid at once, it could oversaturate the mixture and you'd end up with separation that would be difficult (or maybe even impossible) to correct.
By adding them in an alternating fashion (and mixing until just combined between each one) you're giving everything a chance to combine evenly.

Why is sugar considered a wet ingredient?
Seems pretty silly, doesn't it? Sugar is measured as a dry ingredient because it's… well… dry, but is usually listed in recipes to be combined with all the wet ingredients. Why? Because science.
The ratio of wet to dry ingredients is critical to all the different kinds of baked goods. There needs to be a certain balance to get a fluffy cake, or a chewy cookie – if that balance is off, your cake might be chewy and your cookie fluffy. Yikes.
You want to combine (more accurately, dissolve) the sugar with liquid ingredients because that will inhibit the gluten-forming proteins. This allows you to add the right amount of liquid to a recipe to get the right consistency and desired texture.
Boom! Science.

I hope this information helps!
Do you have any questions about this topic that I didn't answer? Let me know in the comments below!
Excellent info. never before understood why about wet and dry.
I way over mixed my first attempt at Italian bread and have a dense bread with fine texture. but they’re edible!
Glad this helped!
I always learned to make a well in the dry ingredients and then add the liquids. When did that procedure change to adding dry to wet?
I doubt that anything “changed”, this is just the way I do things based on my own personal experience :) As I noted in the post, I find that adding wet to dry can end up being clumpy and more difficult to combine (potentially resulting in overmixing the batter). But if the well method works for you, power to you!