One Bowl Chocolate Depression Cake Recipe

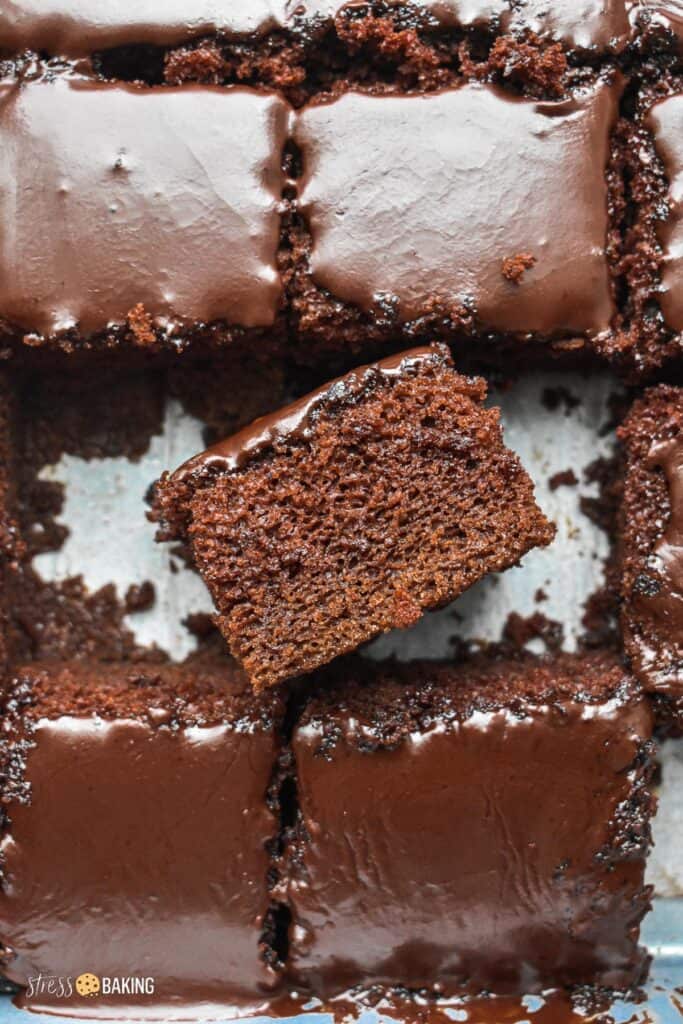
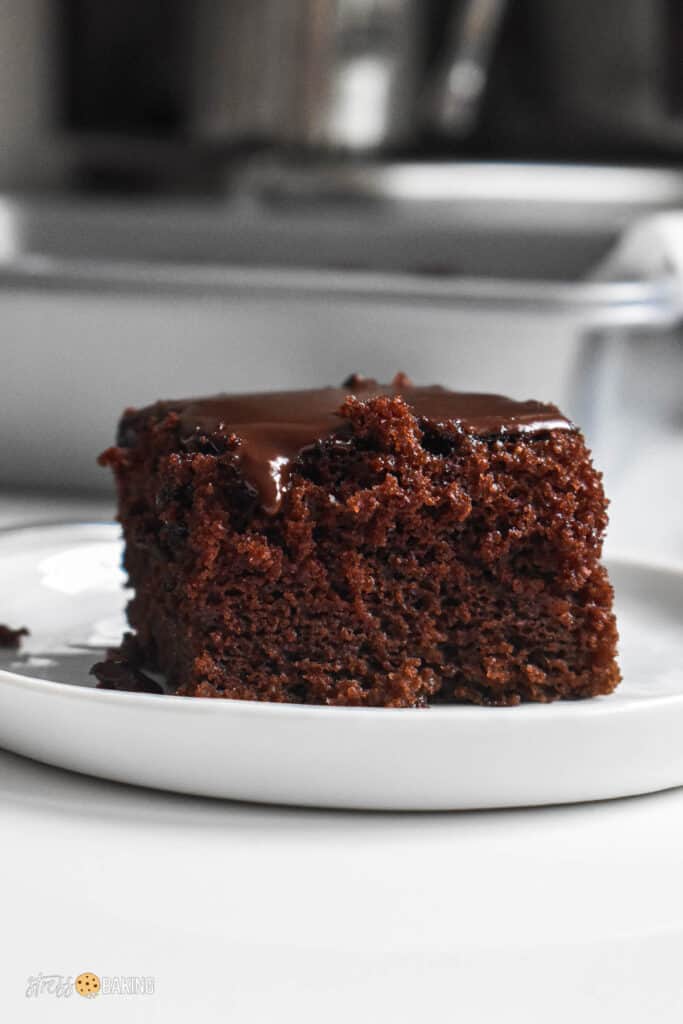
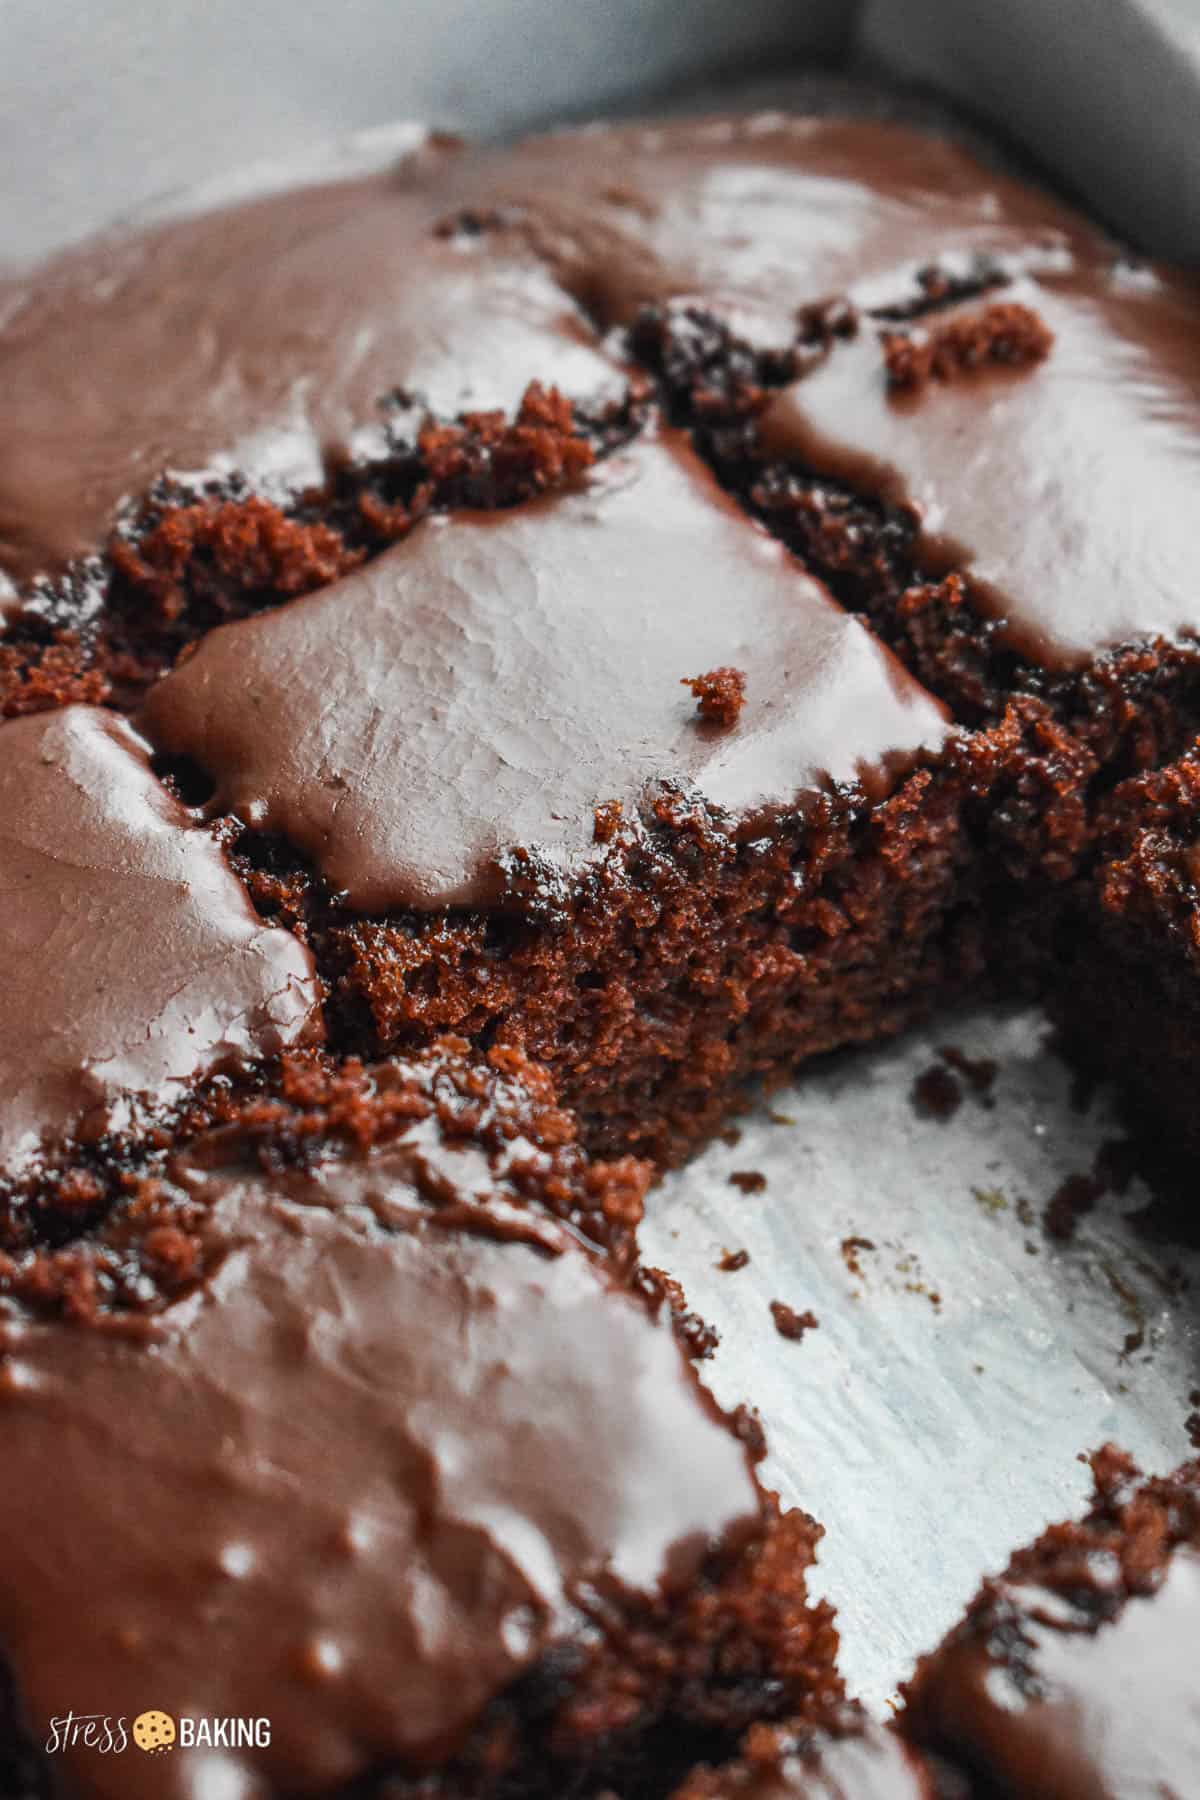
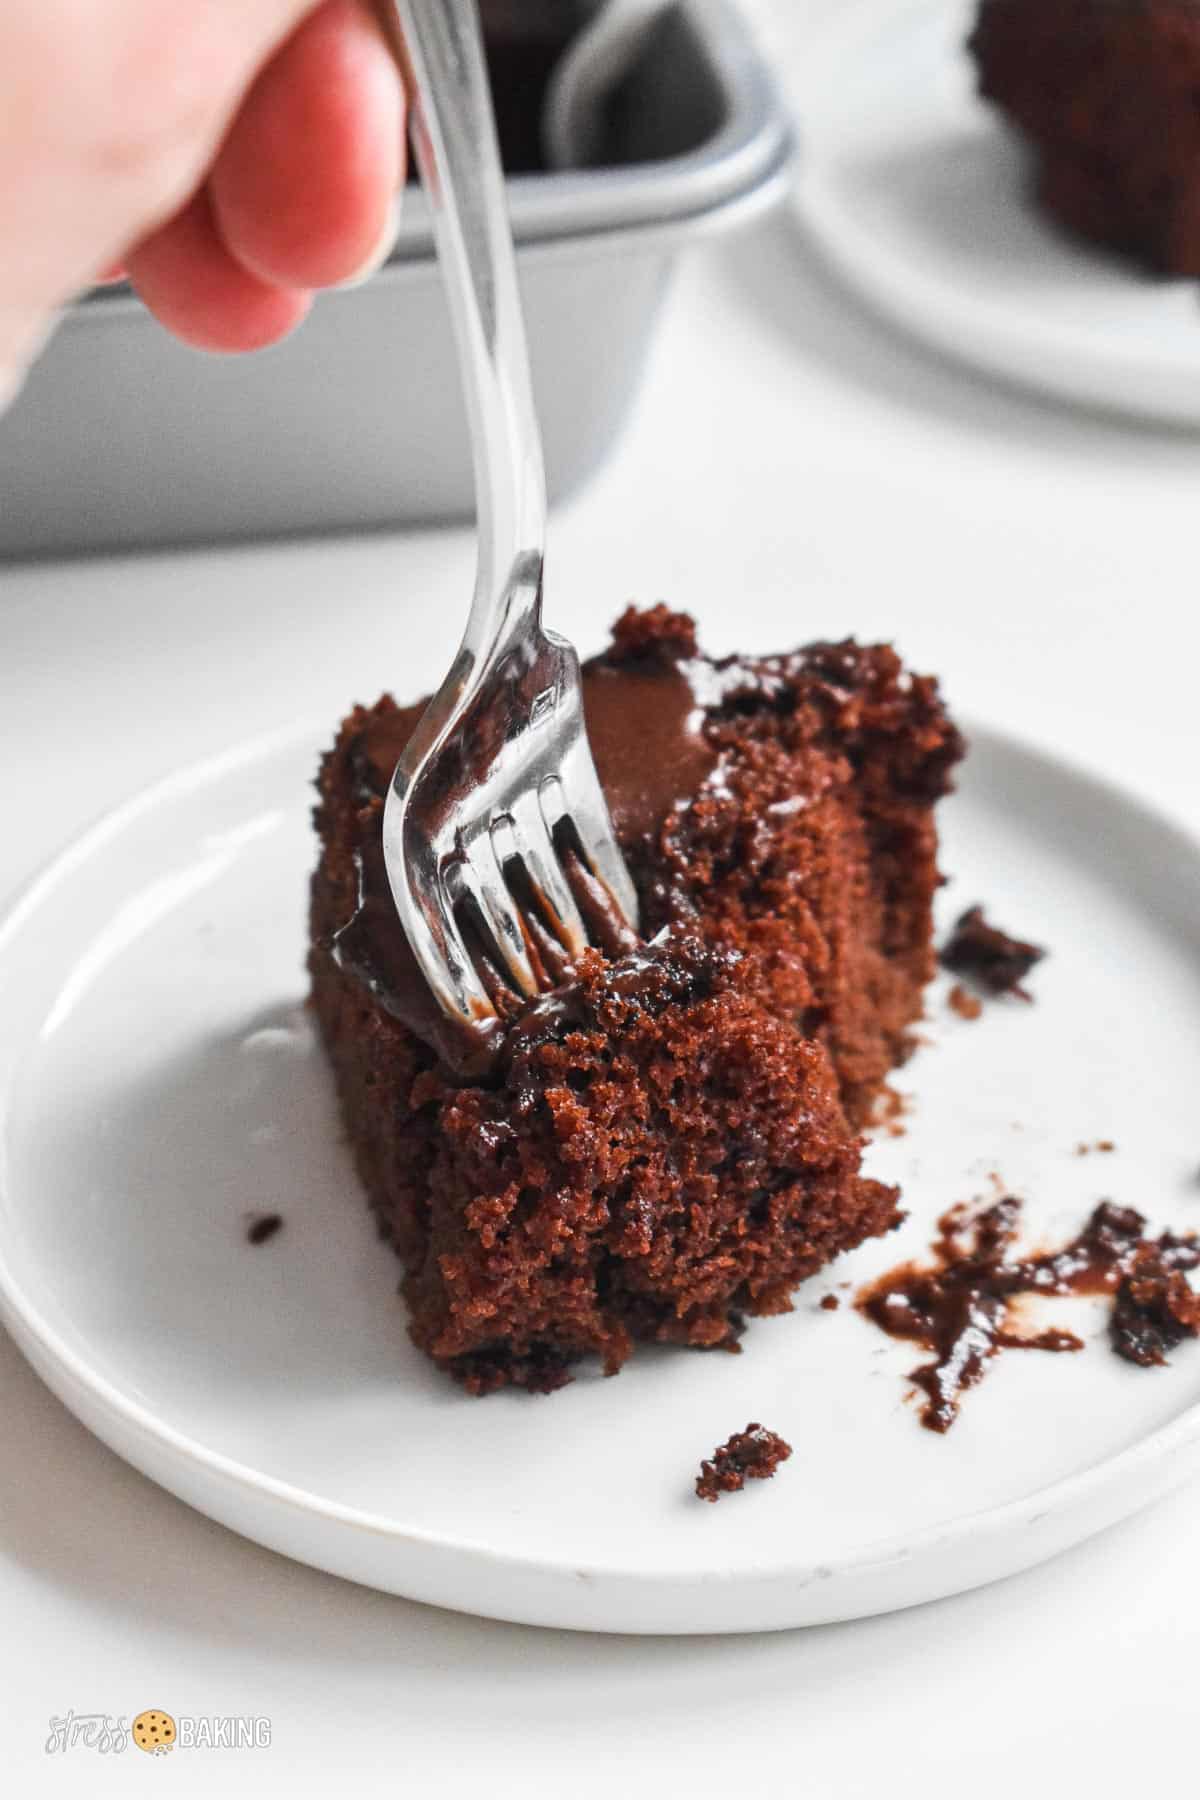
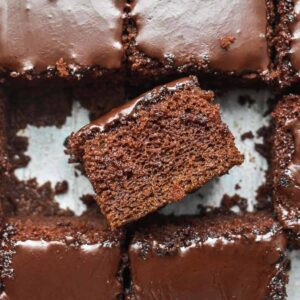
Call it chocolate depression cake, crazy cake or wacky cake – this simple chocolate cake recipe remains the same! No eggs, no butter, no milk, no mixer, and it's all made in one bowl. The result is a moist, rich, fudgy sweet chocolate cake that's perfect for when you're low on fresh ingredients.
Why is it called a depression cake?
Before you pull out your Jump to Conclusions mat, this isn't called a “depression cake” because it makes you depressed or cures your depression (though to be honest, it might a little).
It's called a depression cake because it was a type of cake that was commonly made during the Great Depression era that followed the Stock Market Crash of 1929. It omitted (or used very little) ingredients that were either hard to obtain or too expensive for most families: eggs, butter, milk, and sugar.
At that time (much more so than today for most), dessert was considered a luxury and this chocolate cake recipe was an affordable option thanks to the ingredient substitutions made.
Thanks to the minimal ingredients and lack of need for a mixer, this one bowl cake is a great dessert recipe for beginner cooks! It's also a great dessert to make with your kids.
What is a depression cake made of?
Here are the ingredients we're using to act as substitutes for the usual eggs, butter and milk in standard cake recipes:
- Baking soda + vinegar: These two act as the substitute for eggs in this recipe. The baking soda reacts with the vinegar to give the cake its lift and texture (and you won't taste the vinegar at all, don't worry).
- Oil: Oil is going to replace the butter – I tend to use olive oil, but you can also use canola or vegetable oil.
- Warm water: Water is replacing the milk, and we're specifically using warm water (not boiling) to help the cocoa powder bloom.
The rest of the ingredients are the usual suspects for a chocolate cake recipe:
- Flour
- Granulated sugar
- Cocoa powder
- Salt
- Vanilla extract
- Ground cinnamon (optional, but encouraged!)
How to make chocolate depression cake
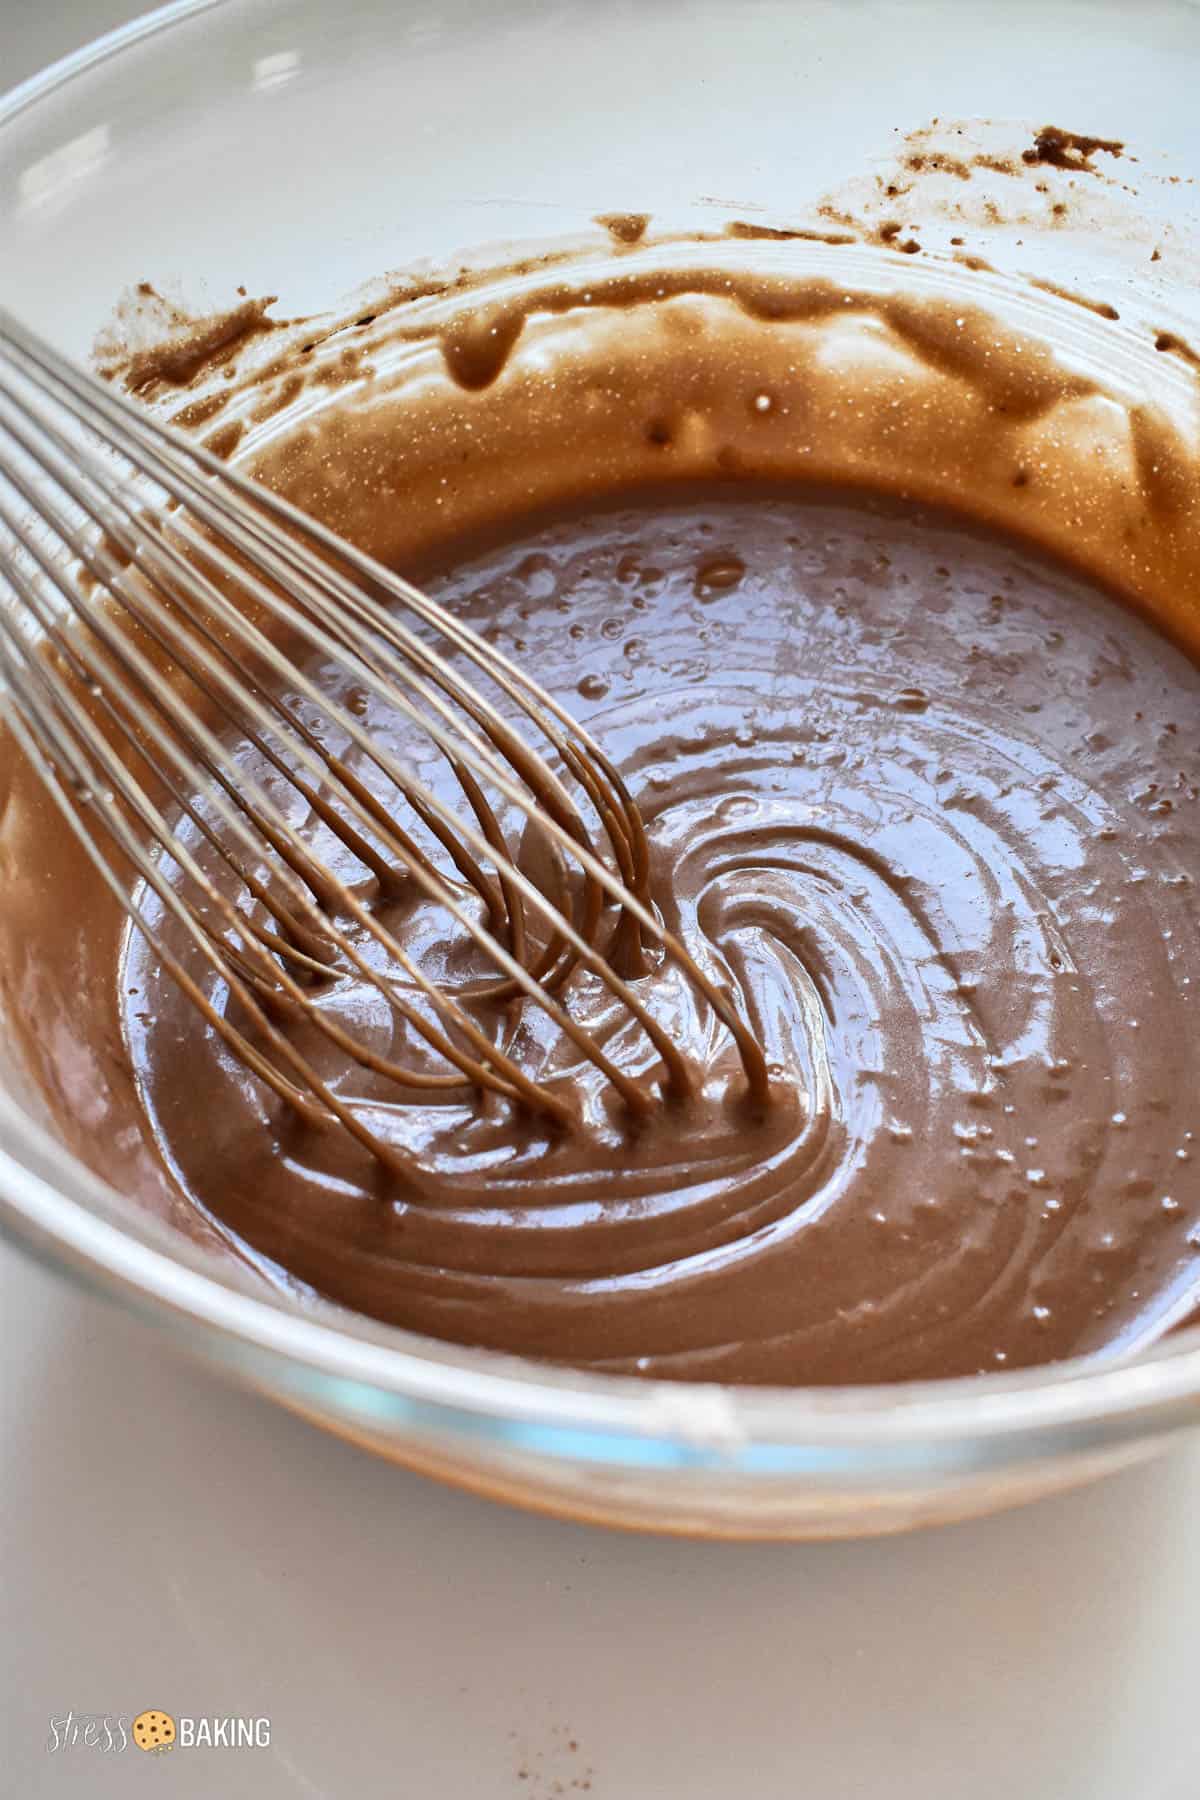
Quite possibly the best part about this cake recipe is that it's just so simple. You combine all the dry ingredients in a bowl, and then add the wet ingredients to the same bowl, and whisk to combine. That's it!
More specifically:
- Preheat oven to 350°F, and prepare an 8×8″ baking dish with parchment paper and nonstick spray. Set aside.
- In a large bowl, combine flour, granulated sugar, cocoa powder, baking soda, salt and ground cinnamon, and whisk to combine.
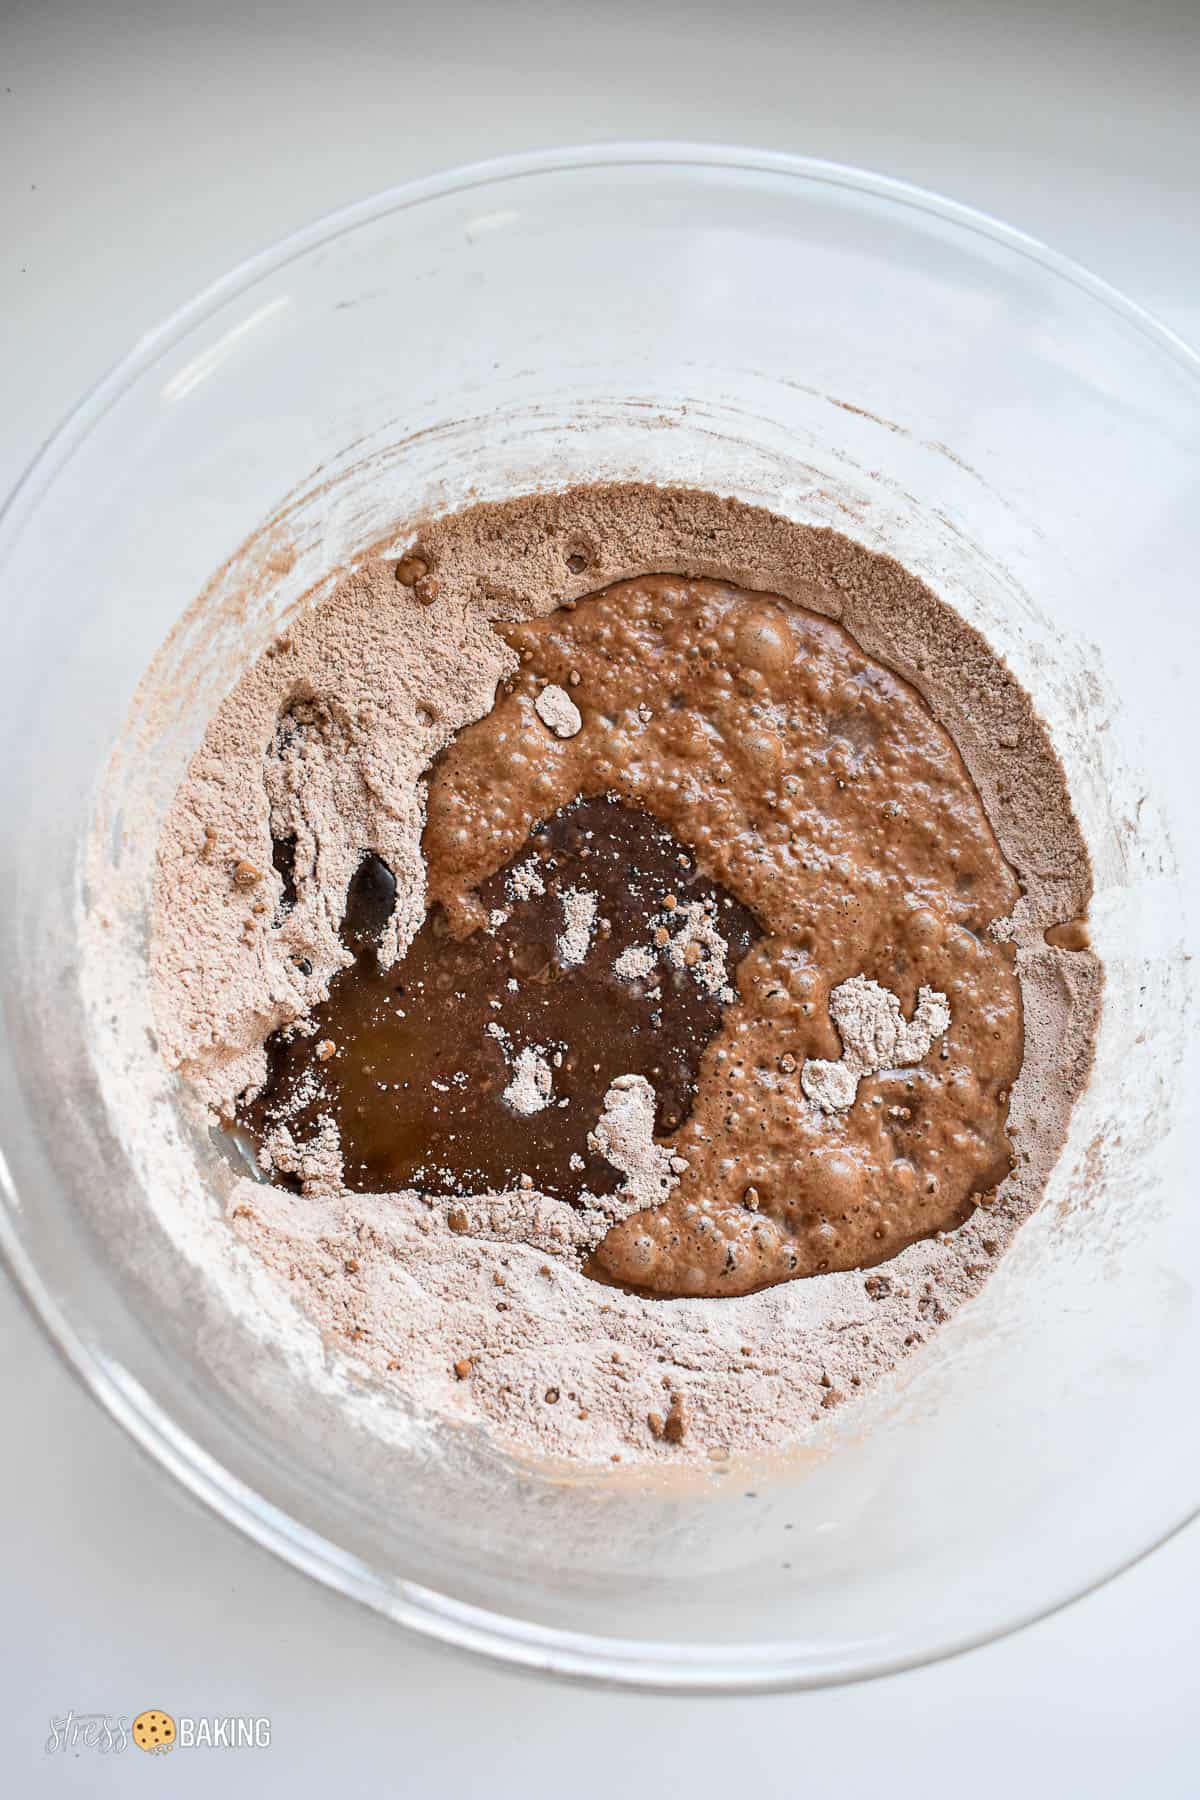
- Add water, oil, vanilla and vinegar and whisk until fully combined.
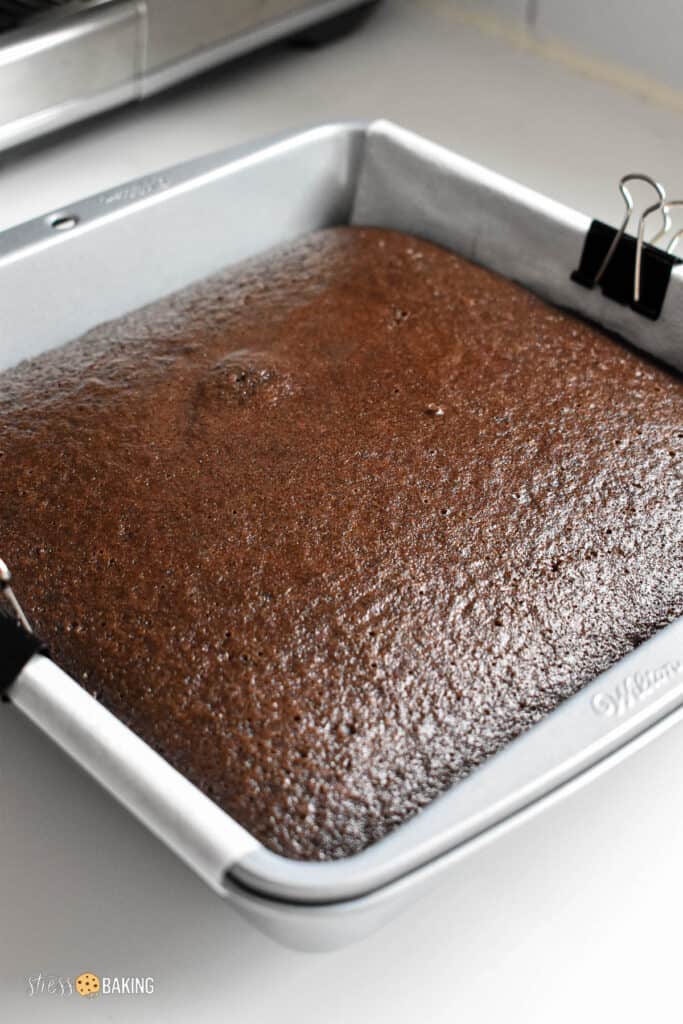
- Pour the batter into your prepared baking dish. Bake for 25-30 minutes or until a toothpick inserted into the center comes out with a few moist crumbs. Let the cake cool for at least 1 hour or until completely cooled before you make your icing.

Chocolate icing
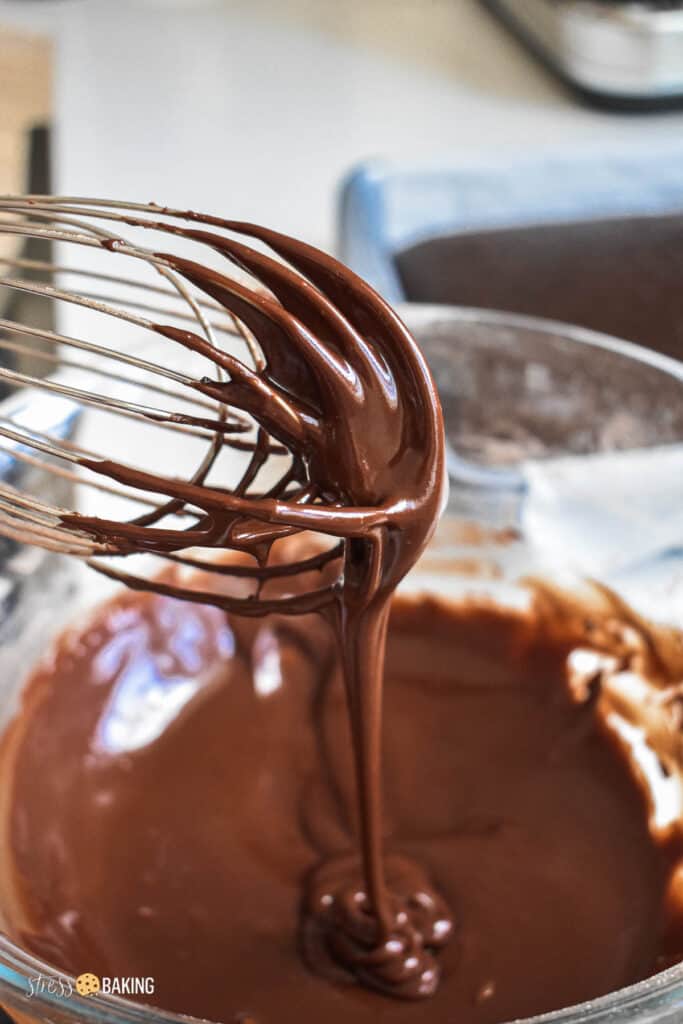
The chocolate icing on this cake also avoids the use of butter or milk, and sets relatively quickly after you ice the cake. It's quite sweet, but the pairing of the icing and this particular cake recipe even each other out.
If you don't want to use this, you can certainly swap it for your favorite frosting recipe instead if you want something less “depressing” ;)
Here are some of my favorites:
- Mascarpone Whipped Cream Frosting
- Vanilla Whiskey Frosting
- Chocolate Buttercream Frosting
- Blackberry Buttercream Frosting
- Red Velvet Frosting
- Cannoli Frosting
- Cookie Butter Frosting
- Cream Cheese Frosting
- Cookie Dough Frosting
What's the difference between icing and frosting?
People tend to use the terms “icing” and “frosting” interchangeably, but they actually are different!
Icing is thin and less spreadable than frosting, and usually needs to be poured or drizzled over your baked goods. It also sets/hardens quickly.
Frosting is thick and fluffy – think a buttercream frosting piped high on top of a cupcake.
Can depression cake be made as cupcakes?
You can definitely make a depression cake as cupcakes instead!
Fill each cupcake tin about 3/4 full with the cake batter, and bake for about half the time indicated in the recipe card – around 12-15 minutes or until a toothpick inserted into the center comes out with moist crumbs.
How to store depression cake
Store in an airtight container (or cover the cake with plastic wrap) at room temperature for up to 5 days. It will keep longer in the refrigerator, but keep it tightly covered to keep it from drying out.
Can you freeze chocolate cake?
You can! Let the cake cool completely after being, then wrap the unfrosted cake in several layers of plastic wrap, followed my aluminum foil, and then place it inside a freezer-safe bag or container. It can be stored in the freezer for up to 1 month.
When you're ready to frost and serve the cake, let the frozen cake come to room temperature before frosting (about 3 hours, maybe less).
Want more chocolate cake recipes?
- The Best Chocolate Mug Cake (No Eggs, Quick and Easy!)
- Double Chocolate Layer Cake (Chocolate Mayonnaise Cake)
- Jack and Coke Chocolate Poke Cake
Rating this recipe is a great (and free) way to support Stress Baking. After you've enjoyed this recipe, click on the stars below to share your experience – thank you!
Chocolate Depression Cake
Equipment
Ingredients
Chocolate Cake
- 1 ½ cups all purpose flour
- 1 cup granulated sugar
- ⅓ cup cocoa powder
- 1 teaspoon baking soda
- ¼ teaspoon ground cinnamon, optional, but encouraged
- ½ teaspoon salt
- 1 cup warm water
- ⅓ cup oil
- 1 teaspoon pure vanilla extract
- 1 teaspoon vinegar
Chocolate Icing
- 1 ½ cups confectioners’ sugar (powdered sugar), sifted
- ¼ cup cocoa powder
- 2 tablespoons pure vanilla extract
- 2 tablespoons water
- pinch salt, to cut sweetness
Instructions
Chocolate Cake
- Preheat oven to 350°F, and prepare an 8×8″ baking dish with parchment paper and nonstick spray. Set aside.
- In a large bowl, combine flour, granulated sugar, cocoa powder, baking soda, salt and ground cinnamon, and whisk to combine.1 1/2 cups (187 ½ g) all purpose flour1 cup (200 g) granulated sugar1/3 cup (28 ⅔ g) cocoa powder1 teaspoon (4 g) baking soda1/4 teaspoon (½ g) ground cinnamon1/2 teaspoon (3 g) salt
- Add water, oil, vanilla and vinegar and whisk until fully combined.1 cup (236 ⅗ ml) warm water1/3 cup (78 6/7 ml) oil1 teaspoon (5 ml) pure vanilla extract1 teaspoon (5 ml) vinegar
- Pour the batter into your prepared baking dish. Bake for 25-30 minutes or until a toothpick inserted into the center comes out with a few moist crumbs. Let the cake cool for at least 1 hour or until completely cooled before you make your icing.
Chocolate Icing
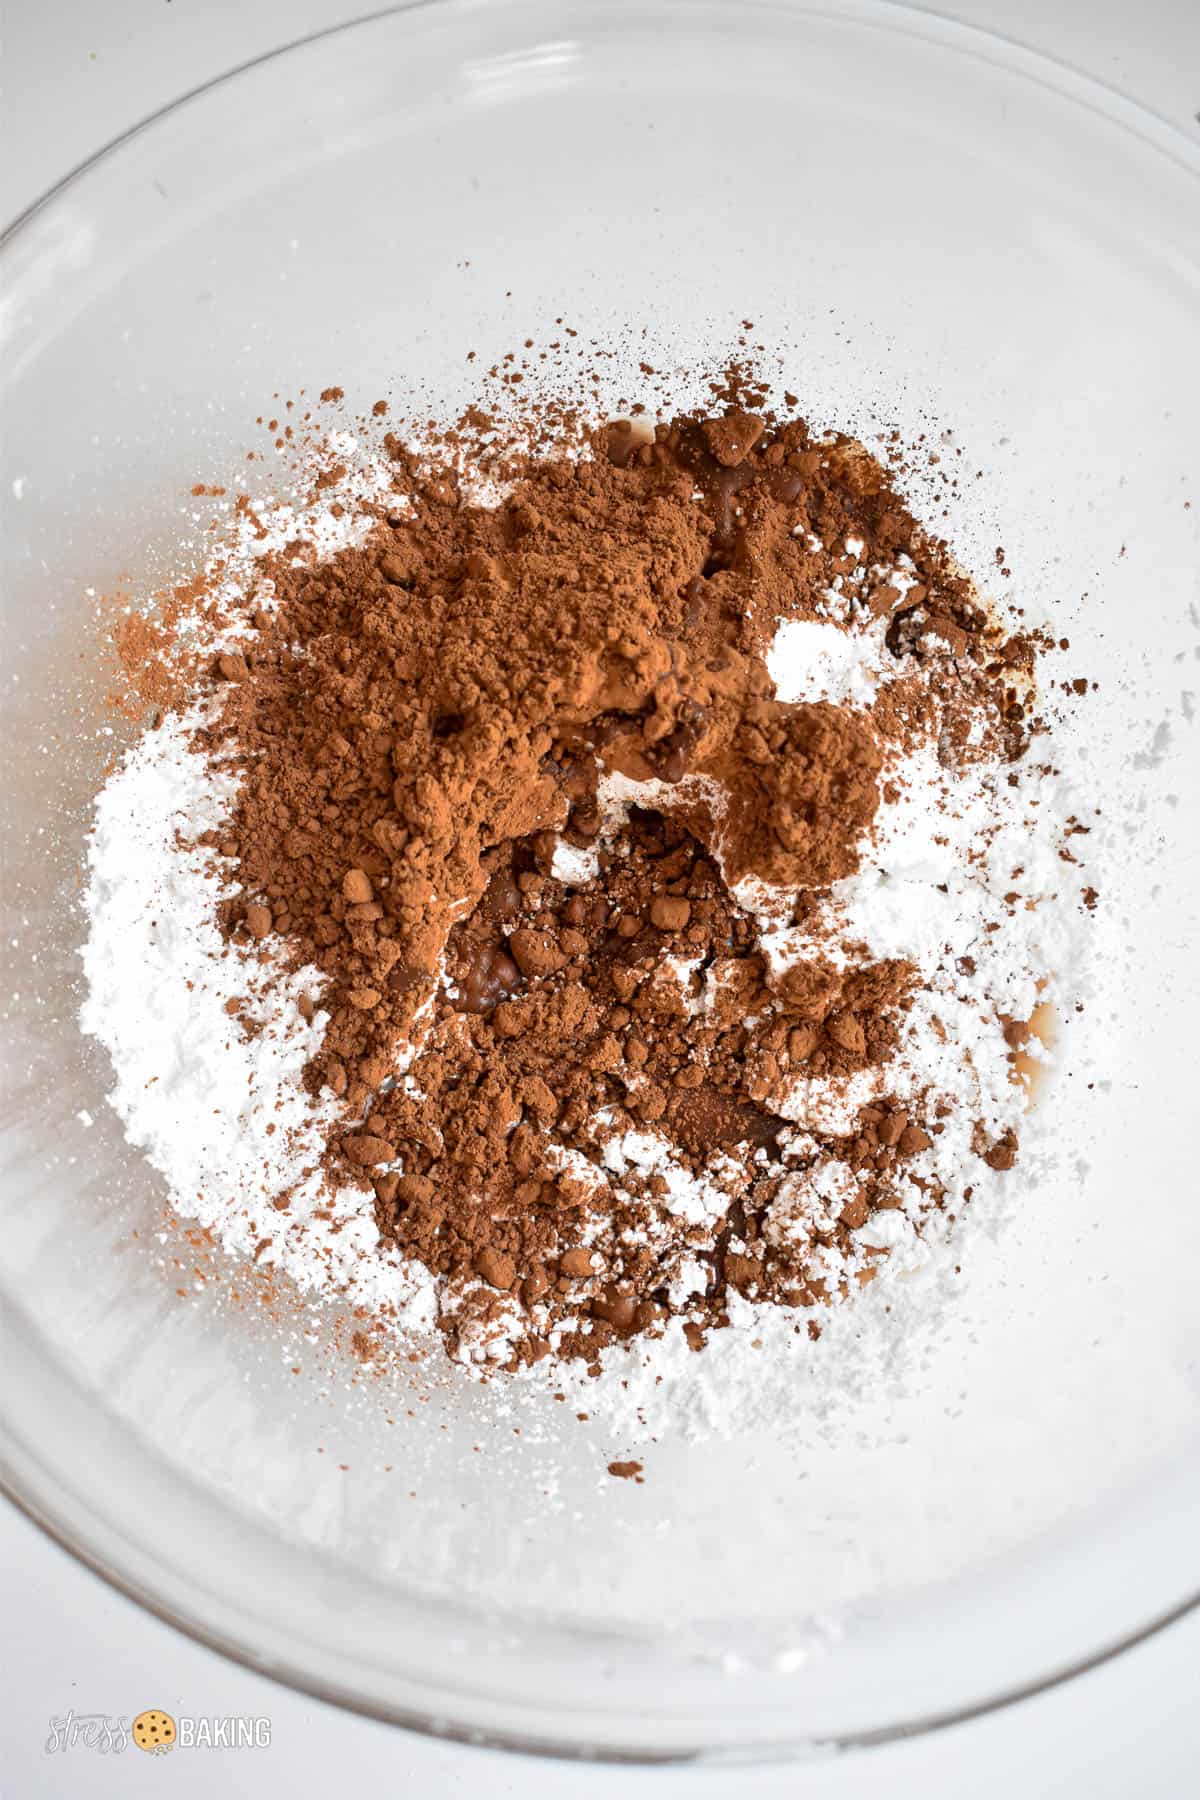
- In a medium bowl, combine powdered sugar, cocoa powder, vanilla extract and water and whisk to combine.1 1/2 cups (180 g) confectioners’ sugar (powdered sugar)1/4 cup (21 ½ g) cocoa powder2 tablespoons (29 4/7 ml) pure vanilla extract2 tablespoons (29 4/7 ml) water
- Give it a taste and if it's too sweet, add a pinch of salt and whisk again to combine.pinch salt
- The icing should be thick, but pourable. If you need to thin it out more, add 1/2 tablespoon water at a time and whisk to combine after each addition until it reaches the desired consistency.
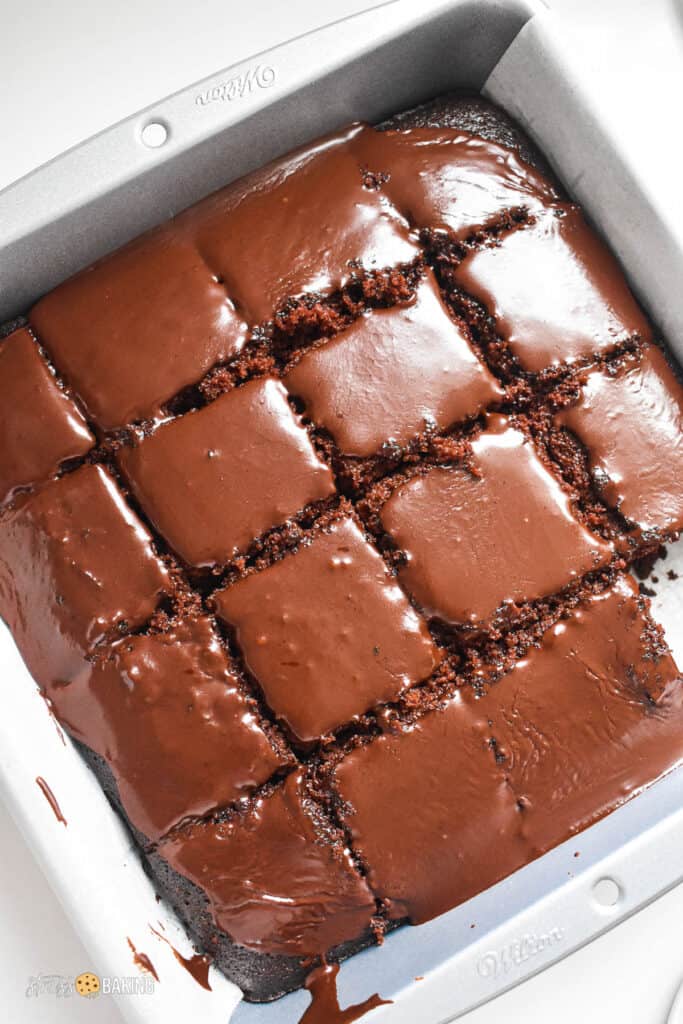
- Pour the icing on top of the cake and use a spatula to spread it evenly over the top of the cake. The icing will set relatively quickly, so you won't have to wait long to slice the cake into 9-16 pieces, serve and enjoy!
Video
Notes
Nutrition Facts
Nutrition Disclaimer
The provided nutrition information is generated by an automatic API and does not take variations across specific brands into account. This information is provided as a general guideline and should not be treated as official calculations. Learn more here.
This is pretty easy, especially because it is easy to keep the ingredients readily available. I did not I use the cinnamon though, a personal preference. And I left out the salt, because for me “too sweet” doesn’t exist! Good recipe, thanks.
I’m so glad you liked it – thank you for coming back to share your feedback!
Wow! I just tried this recipe and I am blown away at how good it is! So chocolatey and fluffy and not overly sweet. I will definitely make this again. I used less icing and sprinkled with powdered sugar to serve.
So glad you liked it!
I made this for my coworkers who needed some vegan-friendly cupcakes. It turned out AMAZE-BALLS!! Everyone preferred this recipe over traditional chocolate cupcakes. Super moist, holds well, and delicious. Even people who turned their nose at “vegan” desserts were all over this. Thank you!!
Ahhh this is so great to hear!
Funny enough, I have butter but not oil
Will it still work the same?
It should! Just melt the butter and let it cool slightly before adding it.
This was EXACTLY what I needed this week. Thinfs were heavy and I really wanted cake, but didn’t have a lot of the normal ingredients. Nothing depressing about this lol!
Haha, I know that feeling!
Keep doing your awesome work
This article has so much amazing information. Today I learned so many things in this blog post. Keep doing your awesome work