Red Velvet Cupcakes with Cream Cheese Frosting
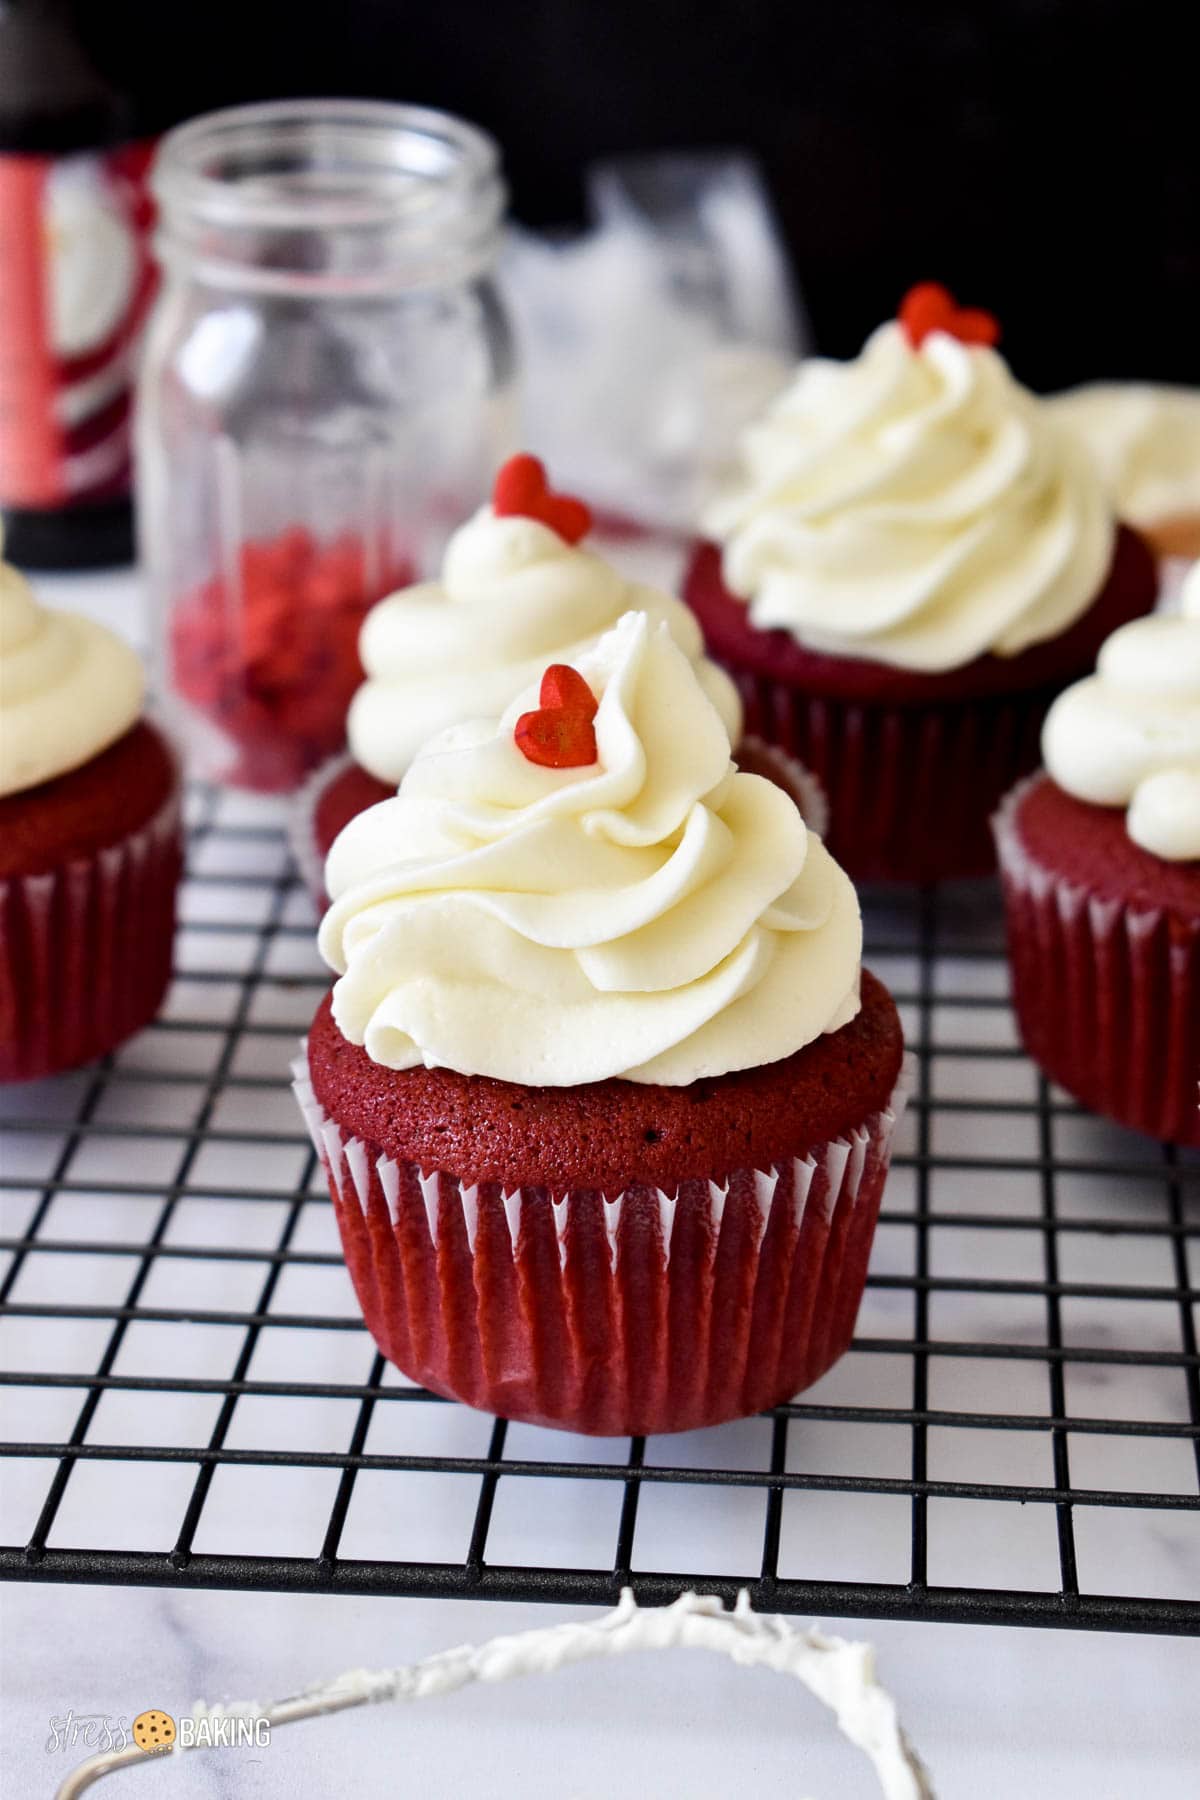
Rich in color and flavor, these moist red velvet cupcakes are topped with a slightly sweet, tangy cream cheese frosting that's perfect for any occasion (not just Valentine's Day)!
Marilyn said: “My daughter and I made these last weekend. They turned out amazing. We are making them again soon for my other daughter's baby shower. ⭐⭐⭐⭐⭐“
If you're on a red velvet kick, try my red velvet cookies or red velvet donuts next.
Red velvet cupcakes just scream decadence, don't they? They're so pretty, it's hard to imagine a scenario that couldn't be dressed up by serving them for dessert!
I make my red velvet cupcakes less dense than what you would find in a slice of red velvet cake, and for me that makes these the perfect red velvet cupcakes.
How, you ask? By using melted butter instead of oil, and reducing the number of eggs.
I really prefer it that way when they're in cupcake form – I don't love trying to shove dense, heavy cupcakes in my face. I mean, I'll do it… but I'd prefer not to.

Table of Contents
What is the actual flavor of red velvet cake?
When you break it down, red velvet cake is actually a vanilla cake that has a little bit of cocoa powder and red food coloring added. So the flavor is more similar to a vanilla cake than a rich chocolate cake.
What makes red velvet so special?
Fair question, since I just told you it's basically just vanilla cake with a little extra stuff mixed in.
The reaction of vinegar and buttermilk combined together makes the cake moist, light and fluffy – and it also brings out the color in the cocoa powder, which we then emphasize even more with the addition of red food coloring.
Why do you put vinegar in red velvet cake?
The vinegar is essential in helping the baking soda leaven the cake. If you're thinking “But Leslie – the ingredients say to use baking powder, not baking soda!”, let me explain:
- Baking soda is sodium bicarbonate, which requires an acid and a liquid to become activated and help baked goods rise.
- Baking powder includes sodium bicarbonate and an acid, and it only needs a liquid to become activated.
Science for the win!
Key Ingredients for Red Velvet Cupcakes

- Cake flour – I highly recommend using cake flour over all purpose flour, as it provides a more tender crumb to the cupcakes. You can even make your own cake flour if you want! All that said, you can still use all purpose flour in a pinch though.
- Granulated sugar – For sweetness that every good cupcake recipe requires.
- Unsweetened cocoa powder – Nothing fancy, just good ol' unsweetened cocoa powder.
- Baking powder – The leavening agent of choice, which will interact with the vinegar and buttermilk
- Eggs – Room temperature eggs are essential to easily incorporate with the rest of the ingredients. Cold eggs can be difficult to combine and seize up other ingredients it interacts with.
- Unsalted butter – Melted and slightly cooled, adds flavor and some moisture
- Buttermilk – Buttermilk is a must, as regular milk won't give the same tender crumb and lightness we're looking for. You can even make your own buttermilk, it's super easy and quick!
- White vinegar – As I explained earlier, baking powder needs a liquid to interact with, and vinegar specifically helps kicks off the leavening process. It also helps produce the tender crumb we're looking for, as well as preserve that bright red color we know and love in red velvet.
- Pure vanilla extract – The good stuff, not the artificial stuff.
- Red velvet bakery emulsion – I exclusively use LorAnn Red Velvet Bakery Emulsion, because it's more concentrated and adds flavor to the finished product. If you can't find that, you can also just use red food gel paste or red food coloring for similar results.
How to Make Red Velvet Cupcakes

Step 1: In a large bowl, whisk together cake flour, sugar, cocoa powder, salt and baking powder.

Step 2: In another large bowl, whisk to combine eggs, melted butter, buttermilk, vinegar and vanilla extract.

Step 3: Add flour mixture to bowl of wet mixture and beat on medium-high speed until mostly combined.

Step 4: Add food coloring to reach your desired color of red, and beat again until well combined.

Step 5: Fill cupcake liners 3/4 full. Use a large cookie scoop to make it easy!

Step 6: Bake for 20 minutes or until a toothpick inserted into the middle of a cupcake comes out clean.


Step 7: Carefully remove the cupcakes from the pan and transfer them to a wire rack to cool completely.
While the cupcakes are cooling, you can make your frosting! It can be placed in the fridge until your cupcakes are completely cooled and ready to be decorated.
Key Ingredients for Cream Cheese Frosting
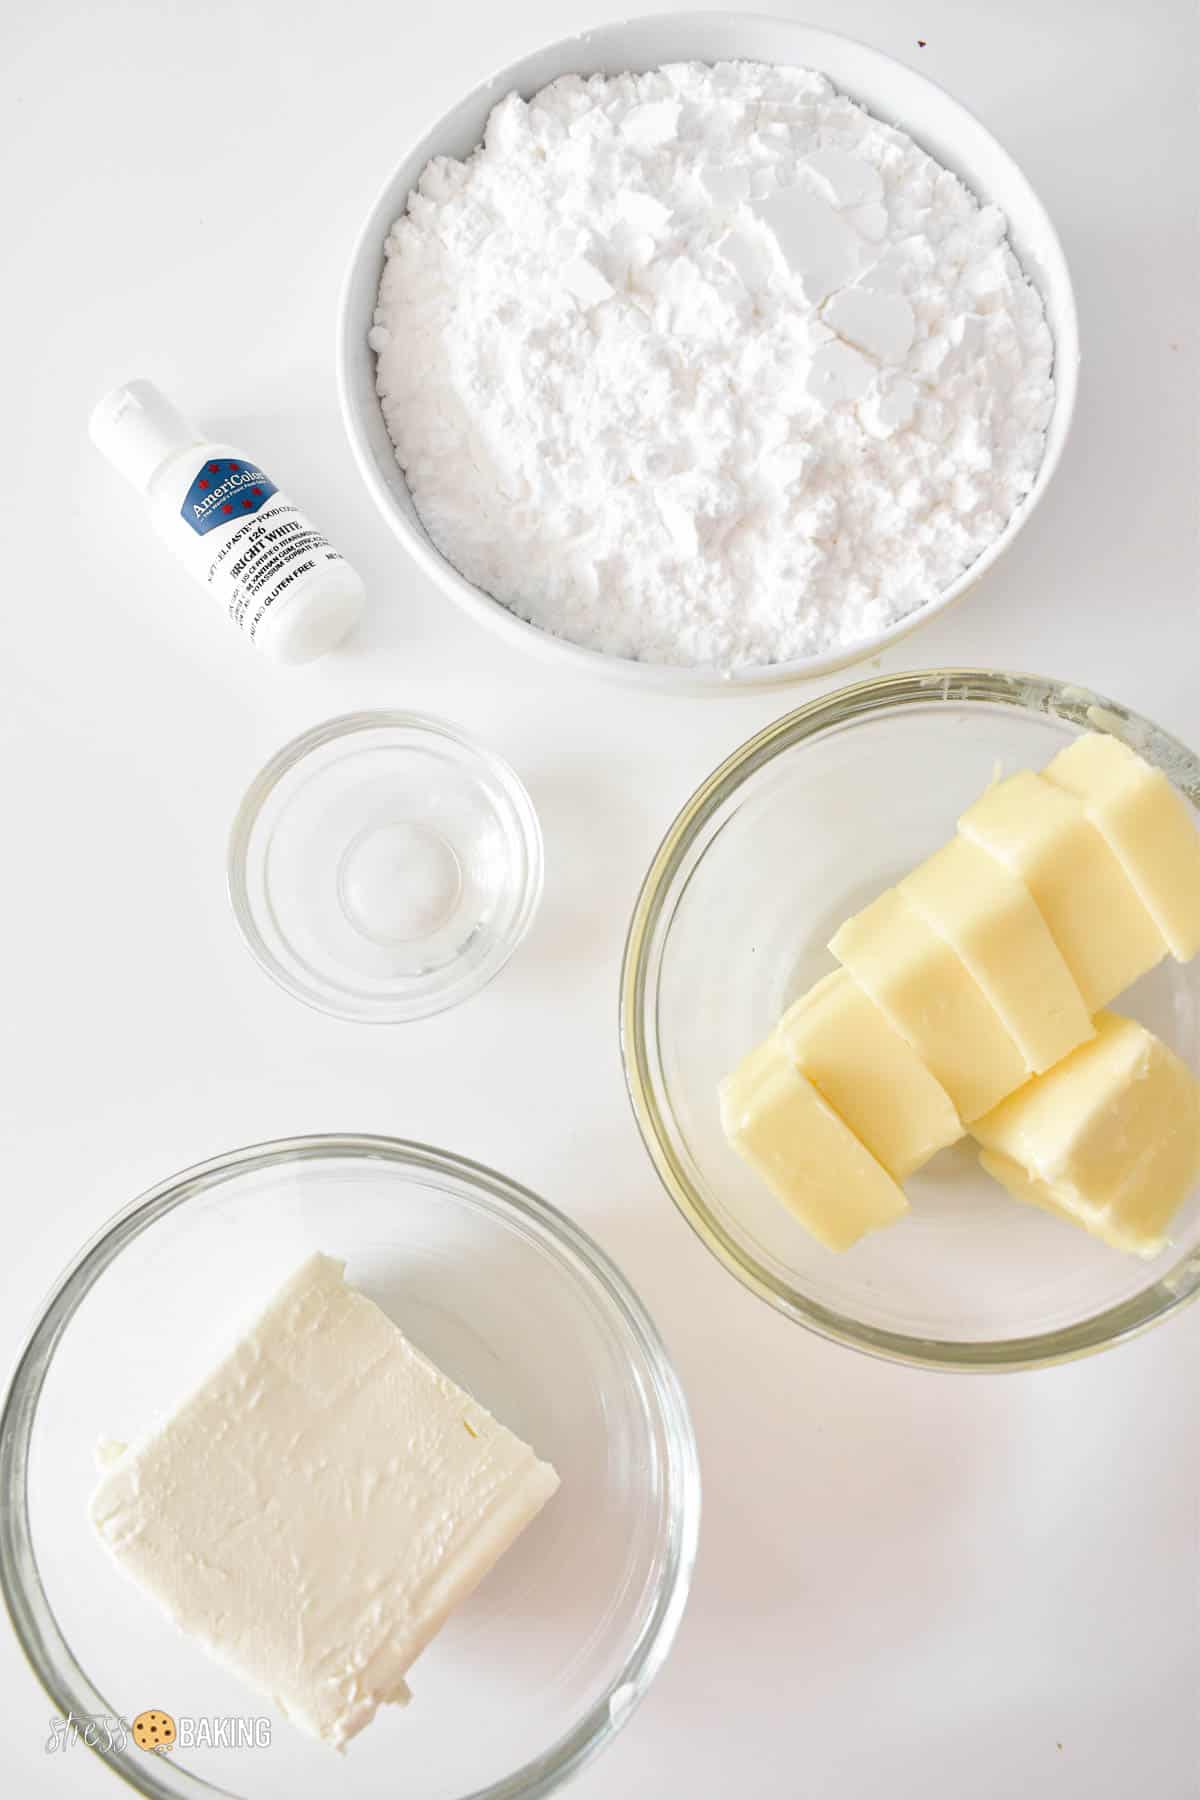
- Cream cheese – Because, you know, cream cheese frosting. Room temperature blocks of cream cheese, not the spreadable kind you use on bagels.
- Unsalted butter – Adds structure and flavor to the frosting.
- Clear vanilla extract – I use clear vanilla extract in my frosting since it doesn't add any color to it – but you could always use pure vanilla extract. Just note that it will add a bit of color and darken your frosting a tad.
- Powdered sugar – Adds sweetness and structure to the frosting, and can be scaled up or down based on your personal preference for sweetness.
- White food gel paste – This is totally optional, and purely a personal preference. I like to add Bright White food gel paste to my cream cheese frosting to eliminate a little of the yellowish hue that naturally comes with butter-based frostings.
How to Make Cream Cheese Frosting
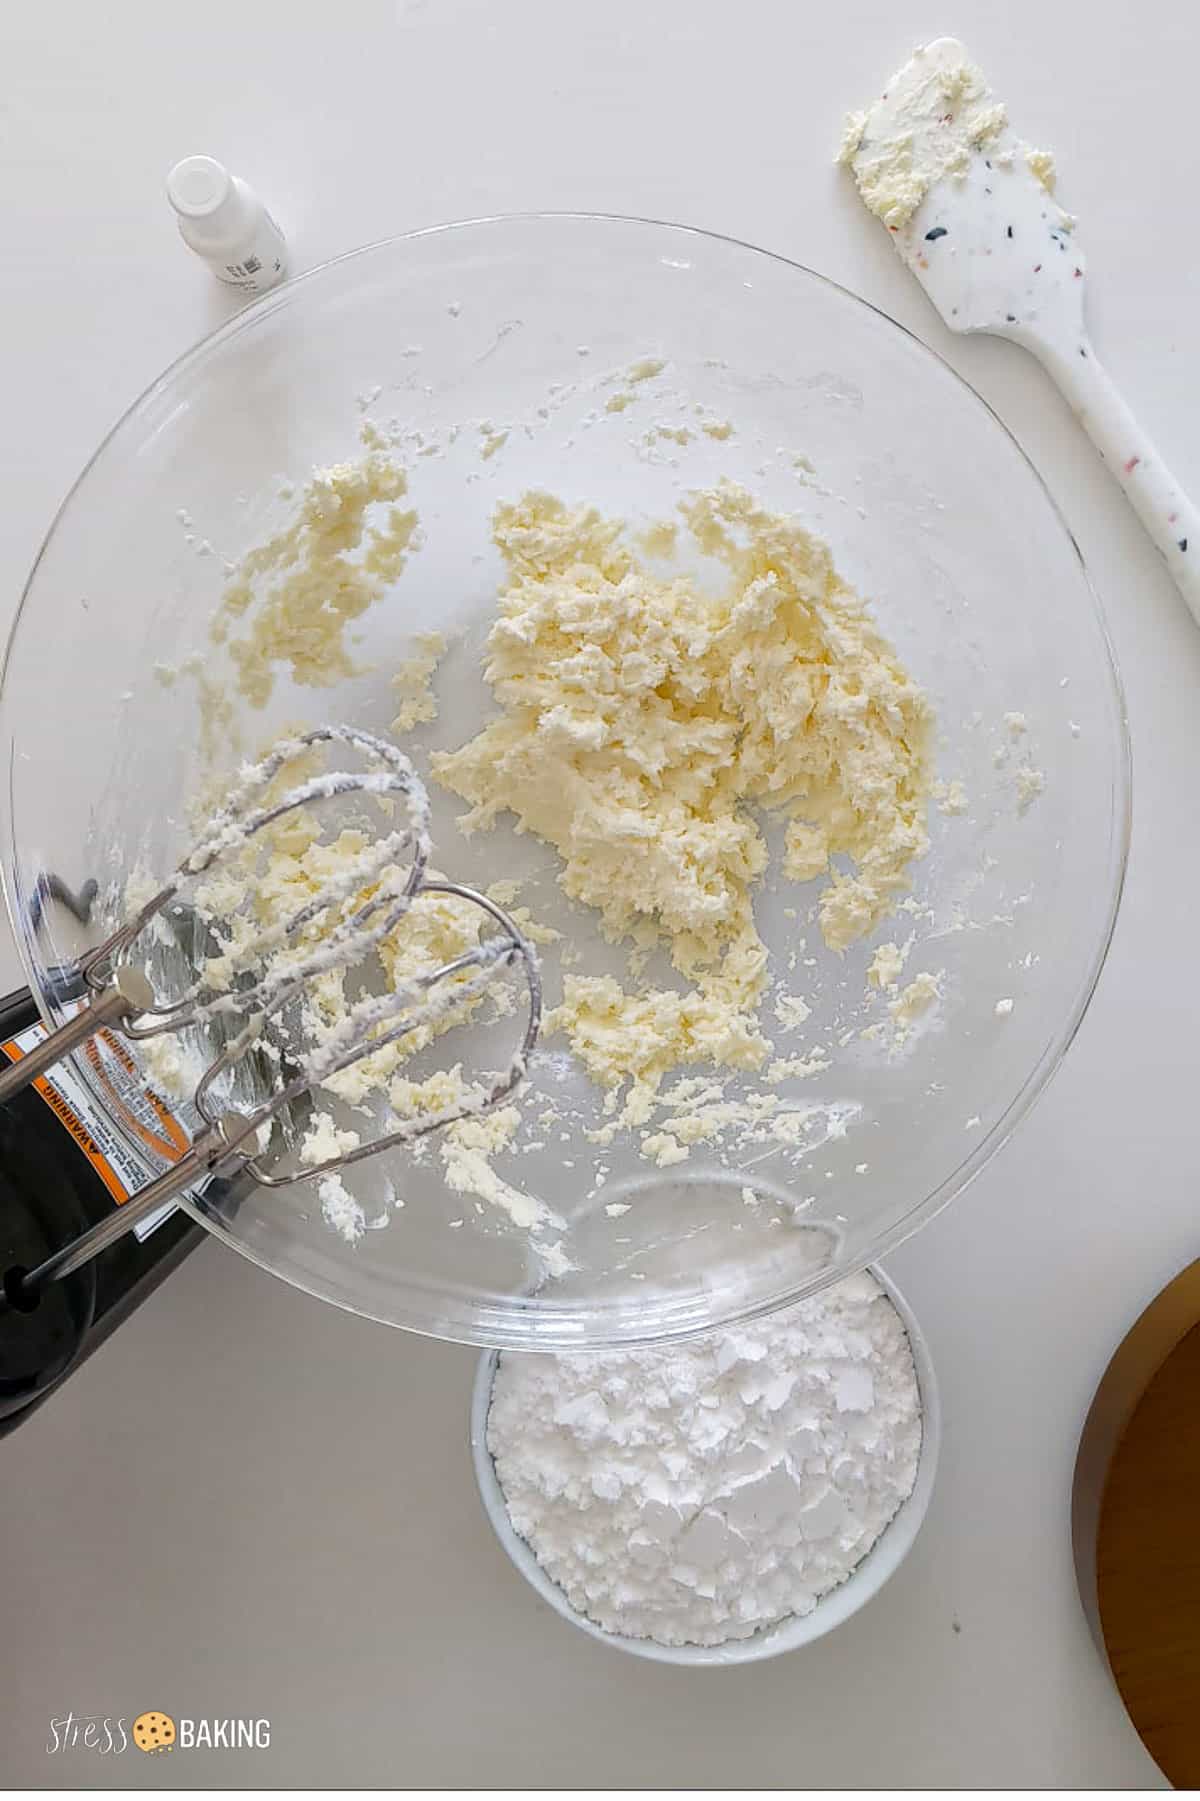
Step 1: In a large bowl, combine cream cheese and butter and beat on medium high speed until smooth. Add vanilla extract.
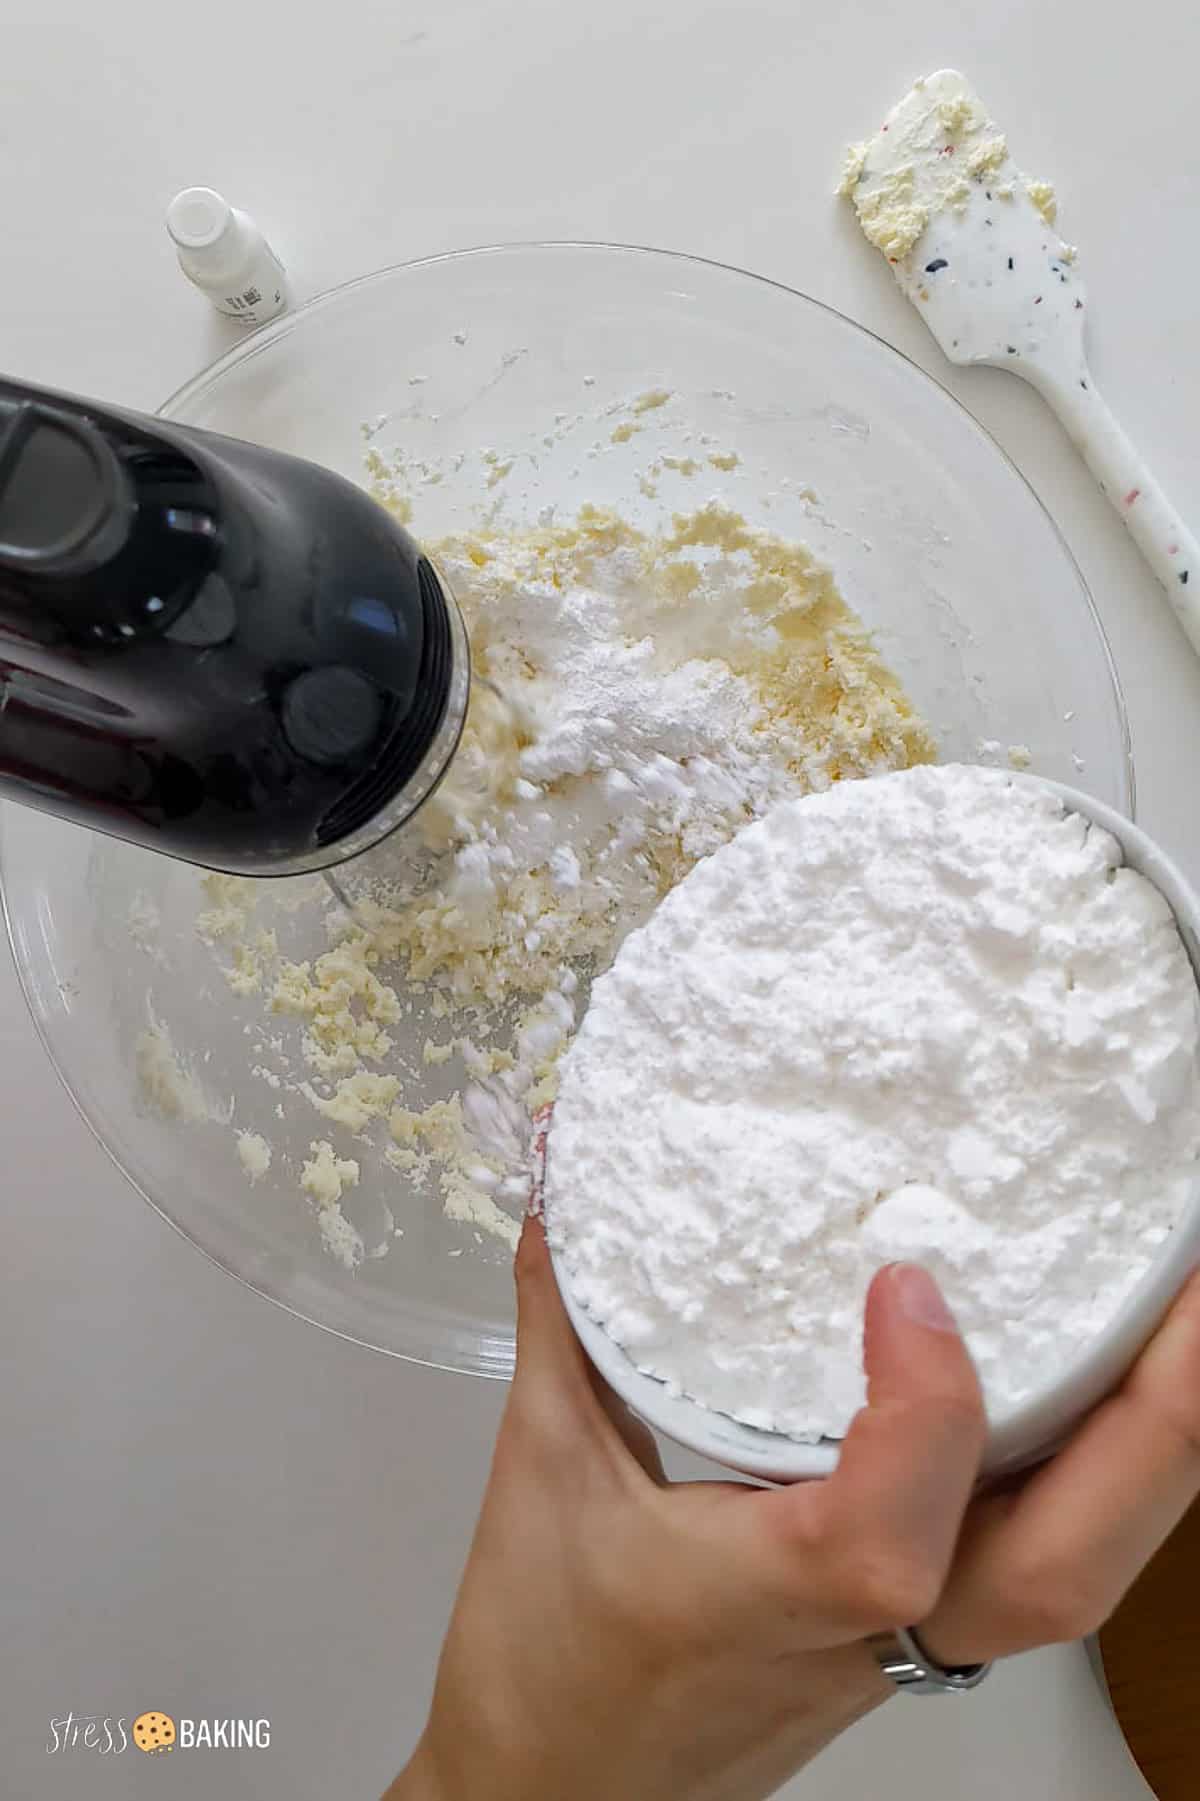
Step 2: Now reduce the mixer speed to low and gradually add powdered sugar.
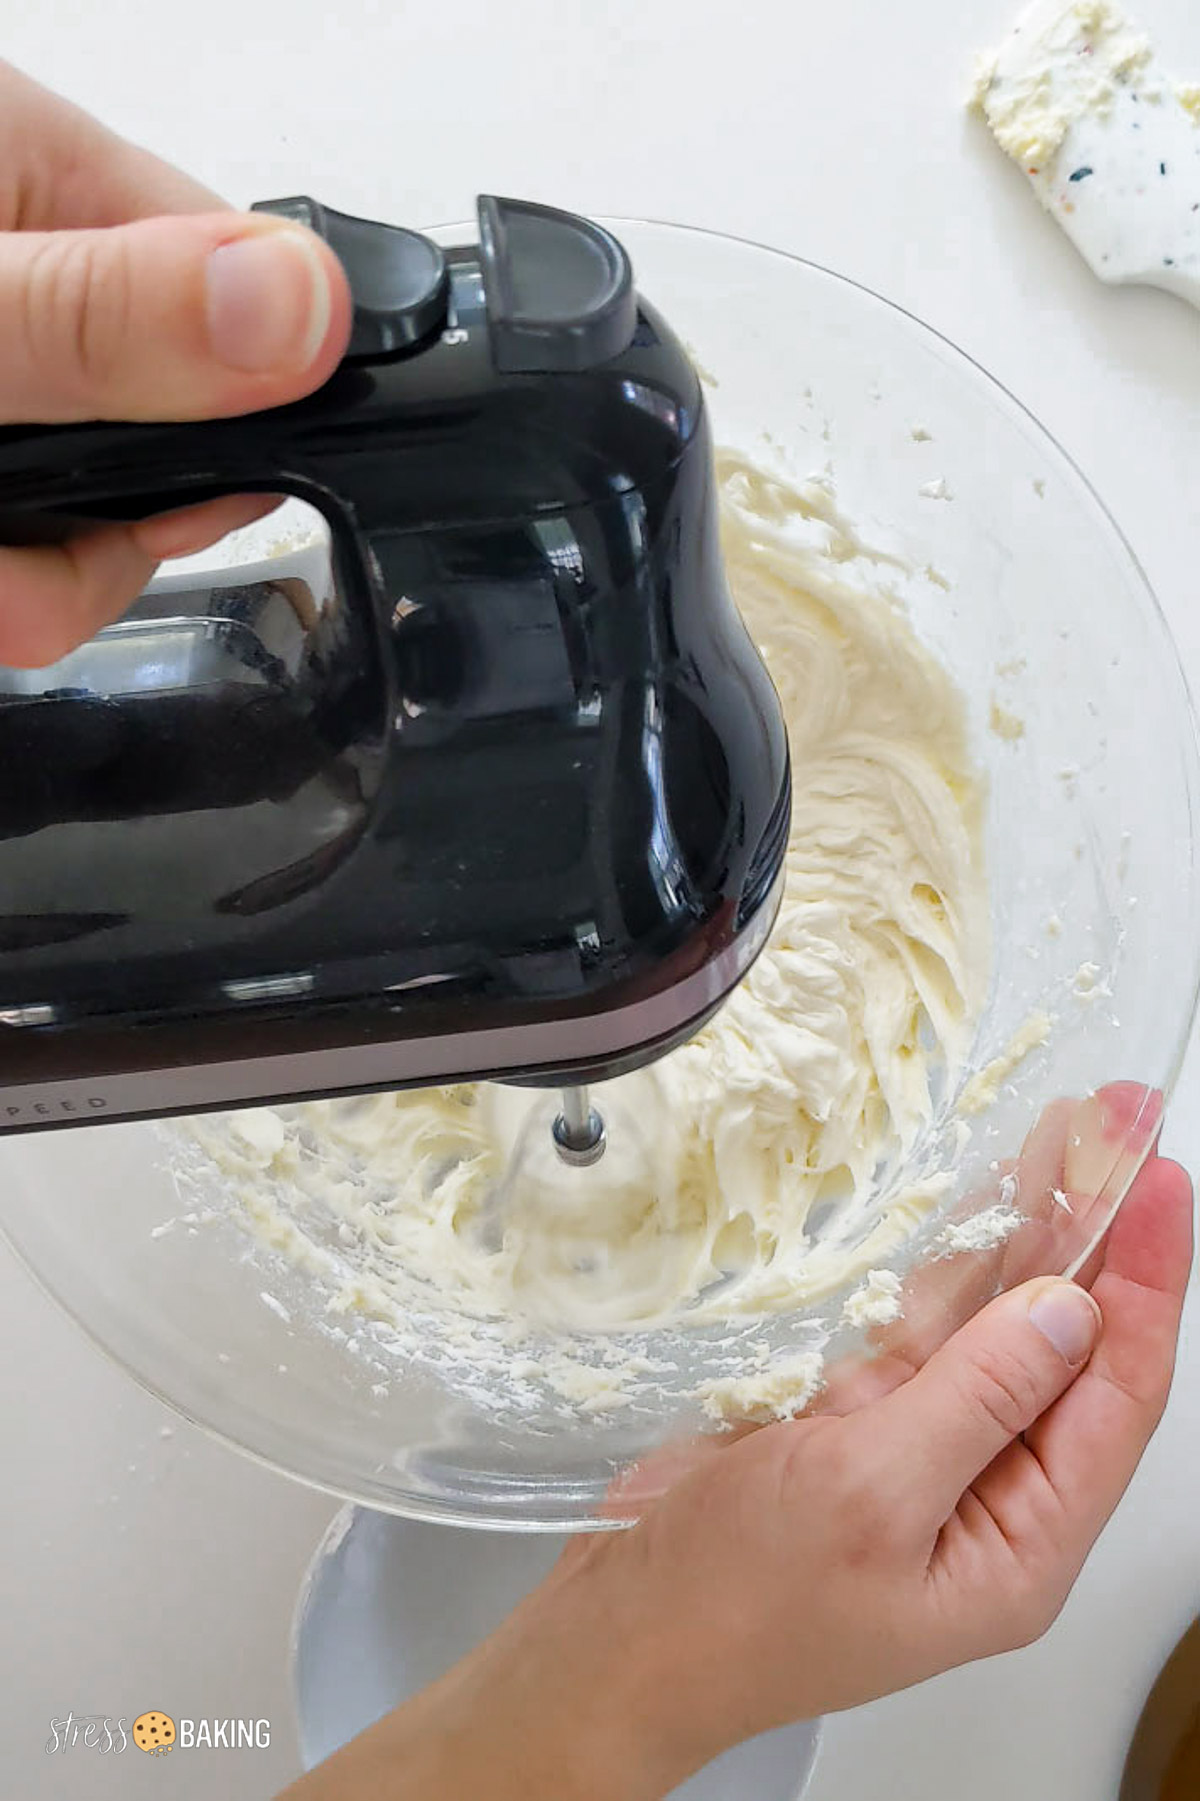
Step 3: Turn up the speed to high and beat until frosting forms stiff peaks.
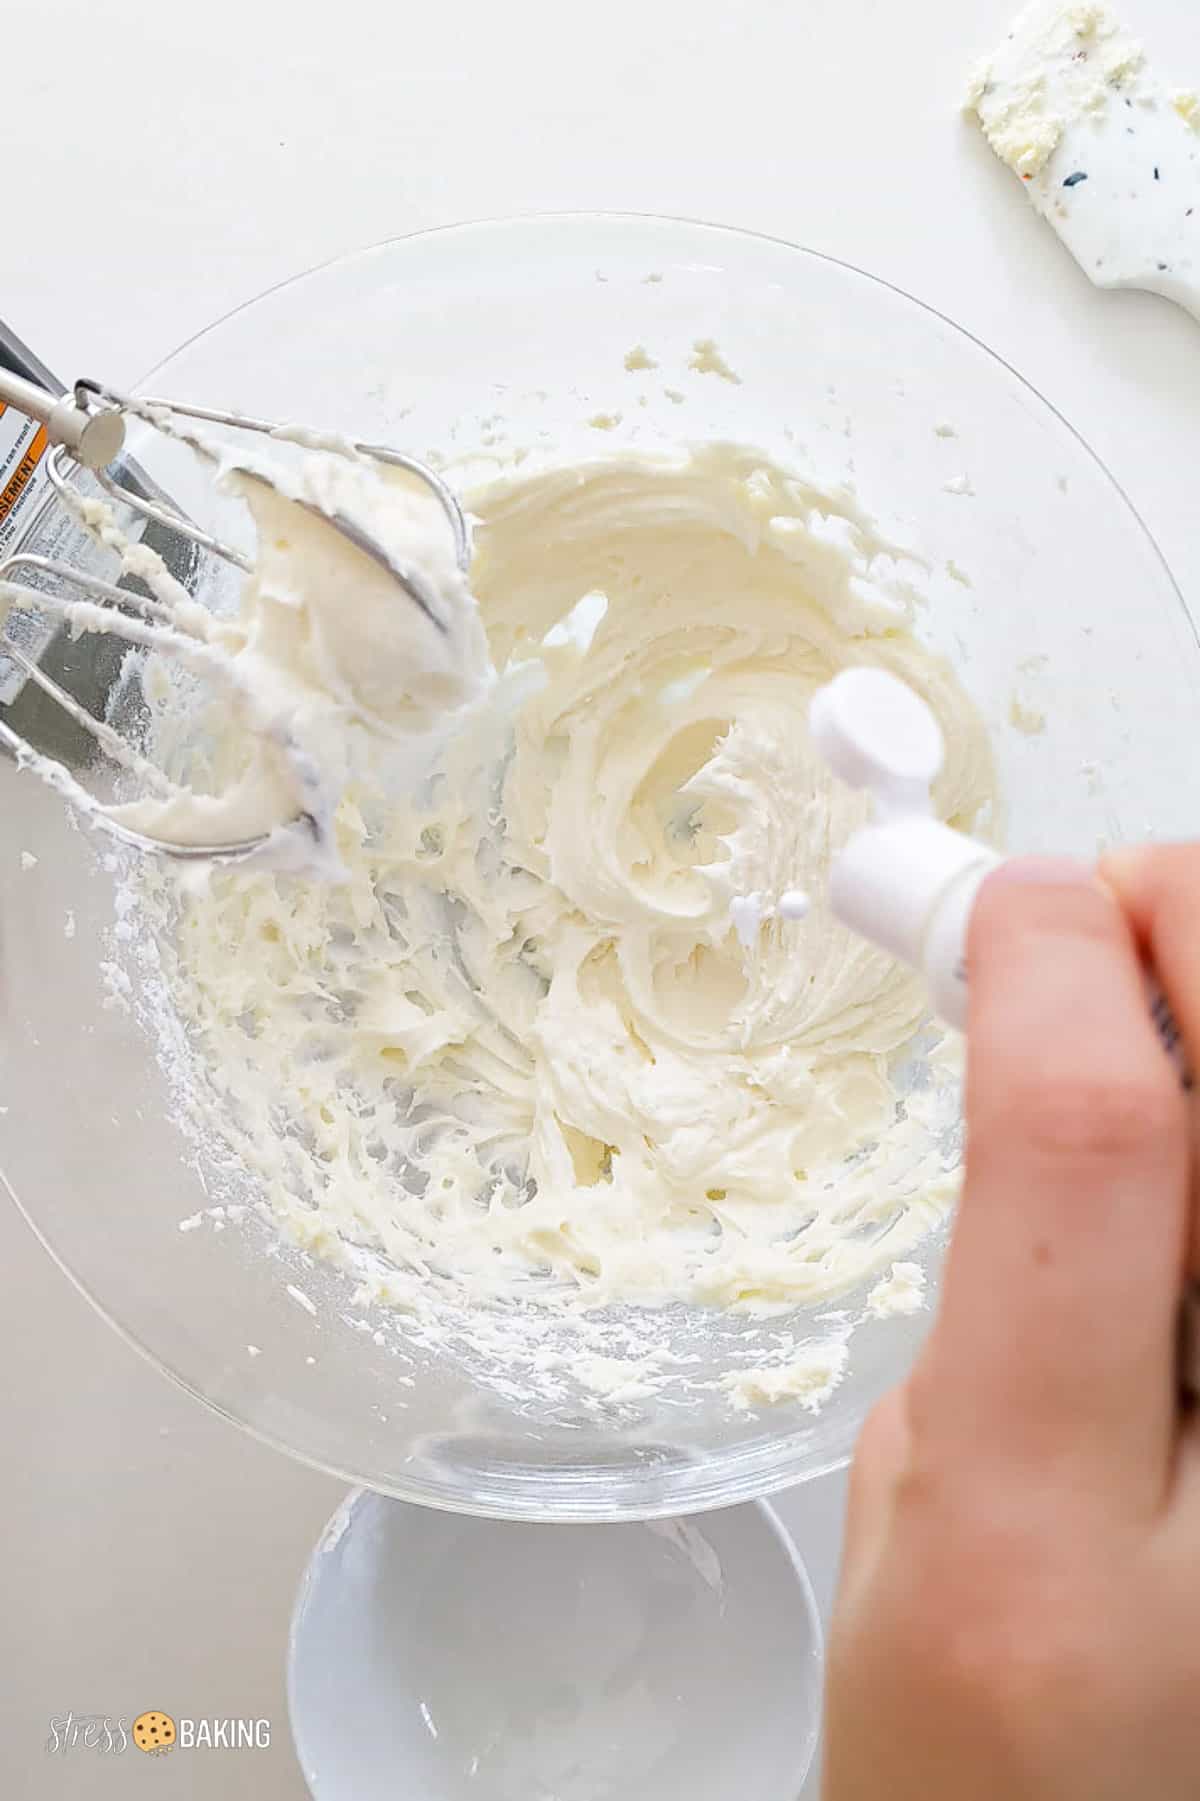
Step 4: If you're going to add white gel paste (or any other color), add a couple drops and beat again to combine and your desired color is reached.
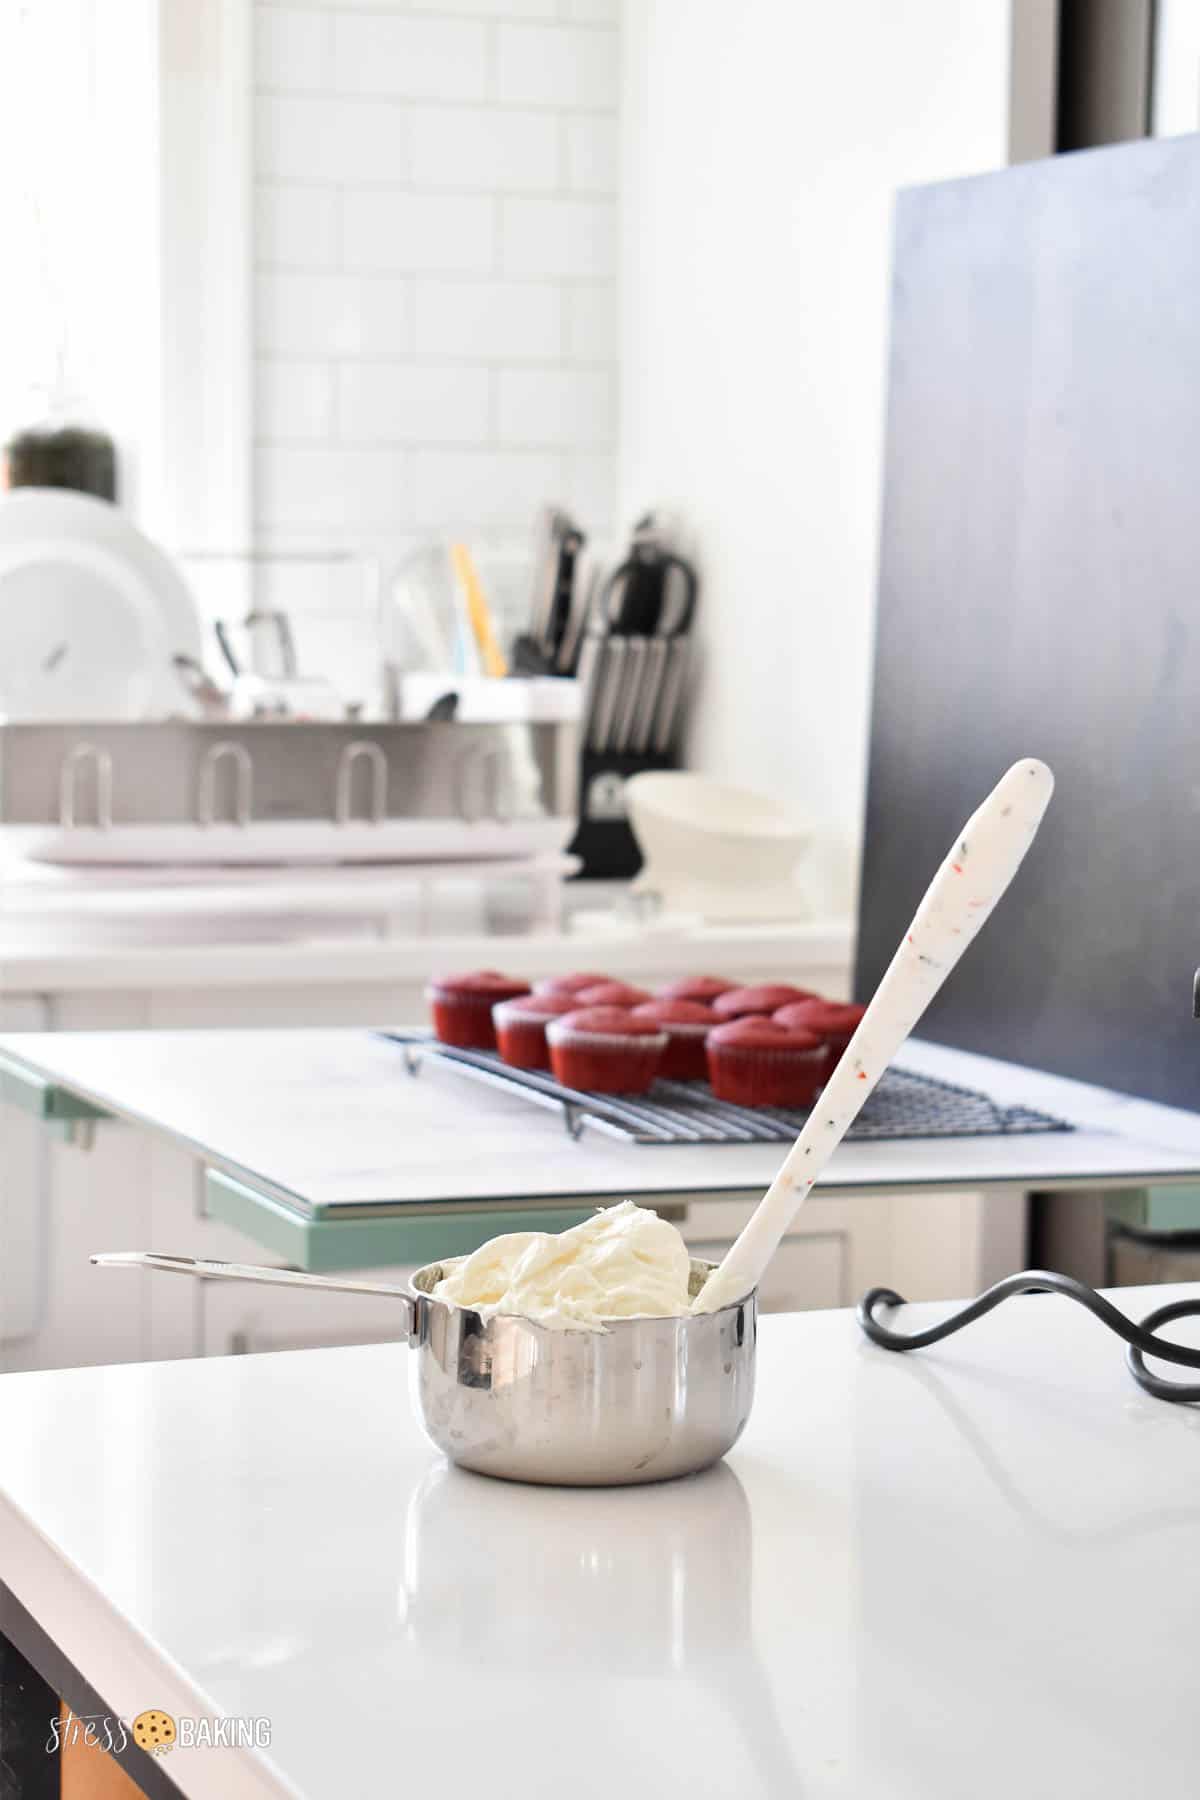
Once the cupcakes are cooled and the frosting is whipped, you're ready to transfer the frosting to a piping bag fitted with the piping tip of your choice and start decorating!


Substitutions & Variations
- Red Velvet Bakery Emulsion: I exclusively use LorAnn Red Velvet Bakery Emulsion, because it's more concentrated and adds flavor to the finished product. If you can't find that, you can also just use red food gel paste or red food coloring.
- Coloring the frosting: I like to add Bright White food gel paste to my cream cheese frosting to eliminate a little of the yellowish hue. But you can color your frosting in whatever color you'd like! I highly recommend using food gel paste instead of food coloring, as it's more concentrated and requires less of it to tint your baked goods.
- Vanilla extract: I use clear vanilla extract in my frosting since it doesn't add any color to it – but you could always use pure vanilla extract. Just note that it will add a bit of color and darken your frosting a tad.
- Amount of frosting: I like to add very generous amounts of frosting to the tops of my cupcakes, but if you like it a little more lowkey, you can cut the frosting recipe in half. The amount in the recipe card makes about 4 cups of frosting.
How to Store Red Velvet Cupcakes
Once you've frosted the cupcakes, they'll need to be stored in an airtight container in the refrigerator for up to 4 days.


FAQs
You can, as long as they're unfrosted. You can store cooked, cooled cupcakes in a freezer-safe bag for up to 3 months – thaw overnight in the fridge and then bring them to room temperature before frosting.
You can! Store the frosting in a freezer-safe container for up to 3 months – thaw overnight in the fridge and then use a hand mixer to mix it briefly before piping onto your cupcakes.
You can, but the cupcakes won't rise as much, as you'll risk them sinking a bit when they cool.
This recipe yields 18-20 cupcakes, but I frequently cut the recipe in half and that makes 9-10 cupcakes.
The recipe yields about 4 cups of frosting, which is enough to very generously pipe high onto 20 cupcakes.
When you break it down, red velvet cake is actually a vanilla cake that has a little bit of cocoa powder and red food coloring added. So the flavor is more similar to a vanilla cake than a rich chocolate cake.
Fair question, since I just told you it's basically just vanilla cake with a little extra stuff mixed in. The reaction of vinegar and buttermilk combined together makes the cake moist, light and fluffy – and it also brings out the color in the cocoa powder, which we then emphasize even more with the addition of red food coloring.
The vinegar is essential in helping the baking soda leaven the cake. If you're thinking “But Leslie – the ingredients say to use baking powder, not baking soda!”, let me explain: Baking soda is sodium bicarbonate, which requires an acid and a liquid to become activated and help baked goods rise. Baking powder includes sodium bicarbonate and an acid, and it only needs a liquid to become activated.

Leaving a comment and star rating is a great (and free) way to support Stress Baking. After you've enjoyed this recipe, click on the stars below and leave a comment to share your experience – thank you!
Red Velvet Cupcakes with Cream Cheese Frosting
Ingredients
Red Velvet Cupcakes
- 2 cups cake flour
- 1 ½ cups granulated sugar
- ¼ cup unsweetened cocoa powder
- 1 teaspoon salt
- 1 teaspoon baking powder
- 2 large eggs, room temperature
- 1 cup unsalted butter, melted and slightly cooled
- 1 cup buttermilk
- 1 teaspoon white vinegar
- 1 teaspoon pure vanilla extract
- 2 tablespoons red velvet bakery emulsion, or red velvet food coloring, plus more if desired
Cream Cheese Frosting
- 8 ounces cream cheese (block, not spread), room temperature
- 8 ounces unsalted butter, room temperature
- 2 teaspoons clear vanilla extract, can substitute pure vanilla extract
- 4 cups confectioners’ sugar (powdered sugar)
Instructions
Red Velvet Cupcakes
- Preheat oven to 350°F. Line two muffin pans with 18-20 liners and set aside.
- In a large bowl, whisk together cake flour, sugar, cocoa powder, salt and baking powder. Set aside.2 cups (250 g) cake flour1 1/2 cups (300 g) granulated sugar1/4 cup (21 ½ g) unsweetened cocoa powder1 teaspoon salt1 teaspoon baking powder
- In another large bowl, whisk to combine eggs, melted butter, buttermilk, vinegar and vanilla extract.2 large (2) eggs1 cup (227 g) unsalted butter1 cup (240 g) buttermilk1 teaspoon white vinegar1 teaspoon pure vanilla extract
- Add flour mixture to bowl of wet mixture and beat on medium-high speed until mostly combined.
- Add food coloring to reach your desired color of red, and beat again until well combined.2 tablespoons red velvet bakery emulsion
- In your prepared pan, fill cupcake liners 3/4 full. Bake for 20 minutes or until a toothpick inserted into the middle of a cupcake comes out clean.
- Place on wire rack to cool completely before frosting.
Cream Cheese Frosting
- In a large bowl, combine cream cheese and butter and beat on medium high speed until smooth.8 ounces (113 ⅖ g) cream cheese (block, not spread)8 ounces (113 ⅖ g) unsalted butter
- Add vanilla extract. Now reduce the mixer speed to low and gradually add powdered sugar. Turn up the speed to high and beat until frosting forms stiff peaks. Taste test – if you want it sweeter, add more powdered sugar. If you want less cream cheese flavor and more vanilla, add a little more vanilla extract.2 teaspoons (1 teaspoon) clear vanilla extract4 cups (240 g) confectioners’ sugar (powdered sugar)
- If you want to color the frosting, now's the time to do it. I recommend using soft gel paste food coloring as it doesn't thin out your frosting the way normal food coloring gel does. Add a drop of color at a time and beat well until you reach the desired color. If you want to do multiple colors, just divide out your frosting into different bowls and beat the desired color into each individually.
- Frost cupcakes generously, serve and enjoy!
Video
Notes
- Storage: Once you've frosted the cupcakes, they'll need to be stored in an airtight container in the refrigerator for up to 4 days.
- Freezing: You can store cooked, cooled cupcakes in a freezer-safe bag for up to 3 months – thaw overnight in the fridge and then bring them to room temperature before frosting. You can also store the frosting in a freezer-safe container for up to 3 months – thaw overnight in the fridge and then use a hand mixer to mix it briefly before piping onto your cupcakes.
- Red Velvet Bakery Emulsion: I exclusively use LorAnn Red Velvet Bakery Emulsion, because it's more concentrated and adds flavor to the finished product. If you can't find that, you can also just use red food gel paste or red food coloring.
- Coloring the frosting: I like to add Bright White food gel paste to my cream cheese frosting to eliminate a little of the yellowish hue. But you can color your frosting in whatever color you'd like! I highly recommend using food gel paste instead of food coloring, as it's more concentrated and requires less of it to tint your baked goods.
- Vanilla extract: I use clear vanilla extract in my frosting since it doesn't add any color to it – but you could always use pure vanilla extract. Just note that it will add a bit of color and darken your frosting a tad.
- Amount of frosting: I like to add very generous amounts of frosting to the tops of my cupcakes, but if you like it a little more lowkey, you can cut the frosting recipe in half. The amount in the recipe card makes about 4 cups of frosting.
Nutrition Facts
Nutrition Disclaimer
The provided nutrition information is generated by an automatic API and does not take variations across specific brands into account. This information is provided as a general guideline and should not be treated as official calculations. Learn more here.


My daughter and I made these last weekend. They turned out Amazing. We are making them again soon for my other daughters Baby Shower.
That’s wonderful to hear, thank you so much for sharing your feedback! (and congrats to your daughter!)
Beautiful photos, looks so yummy!
XO JNESS
jenessasheffield
Thank you, Jenessa!
These look delicious and fun! Love the toping!
http://fabuloustorture.blogspot.com
Thank you – I thought they were pretty darn adorable myself!
These were declicious and so pretty on our table as a centerpiece. A big hit with all. Thanks Leslie
I’m so glad they were a hit – they were so much fun to decorate!