No Chill Sugar Cookie Cutouts

These cut out sugar cookies are soft, hold their shape, are made in one bowl, and will be ready in 30 minutes – no chilling required! Try my chocolate sugar cookie cutouts or maple sugar cookies next.
I love sugar cookies. And I love the flavor of royal icing (well – I love the flavor of my royal icing, which is why I'm sharing it with you in this post). And I love piling sprinkles on my cookies and sharing them with others.
But I do not love having to chill my sugar cookie dough and wait, especially during the frantic holiday season. I need my cookies now, man!
That's why I'm sharing my favorite, tried and true sugar cookie recipe that requires zero chilling. This recipe has no chill.
… except for the fact that it's completely chill, because it's low maintenance and isn't asking the world of you. It's that friend you know isn't going to cause a lot of drama, and don't we all want more of those friends in our lives? Of course, we do.
Why these are the best sugar cookie cutouts
- No chilling! Did I mention these are no chill sugar cookies? ;) That means no extra steps and no waiting, so you can whip these up in less than 30 minutes.
- They hold their shape during baking, so whatever you wanted them to look like when you cut them out of the dough is how they're going to look when they're done baking.
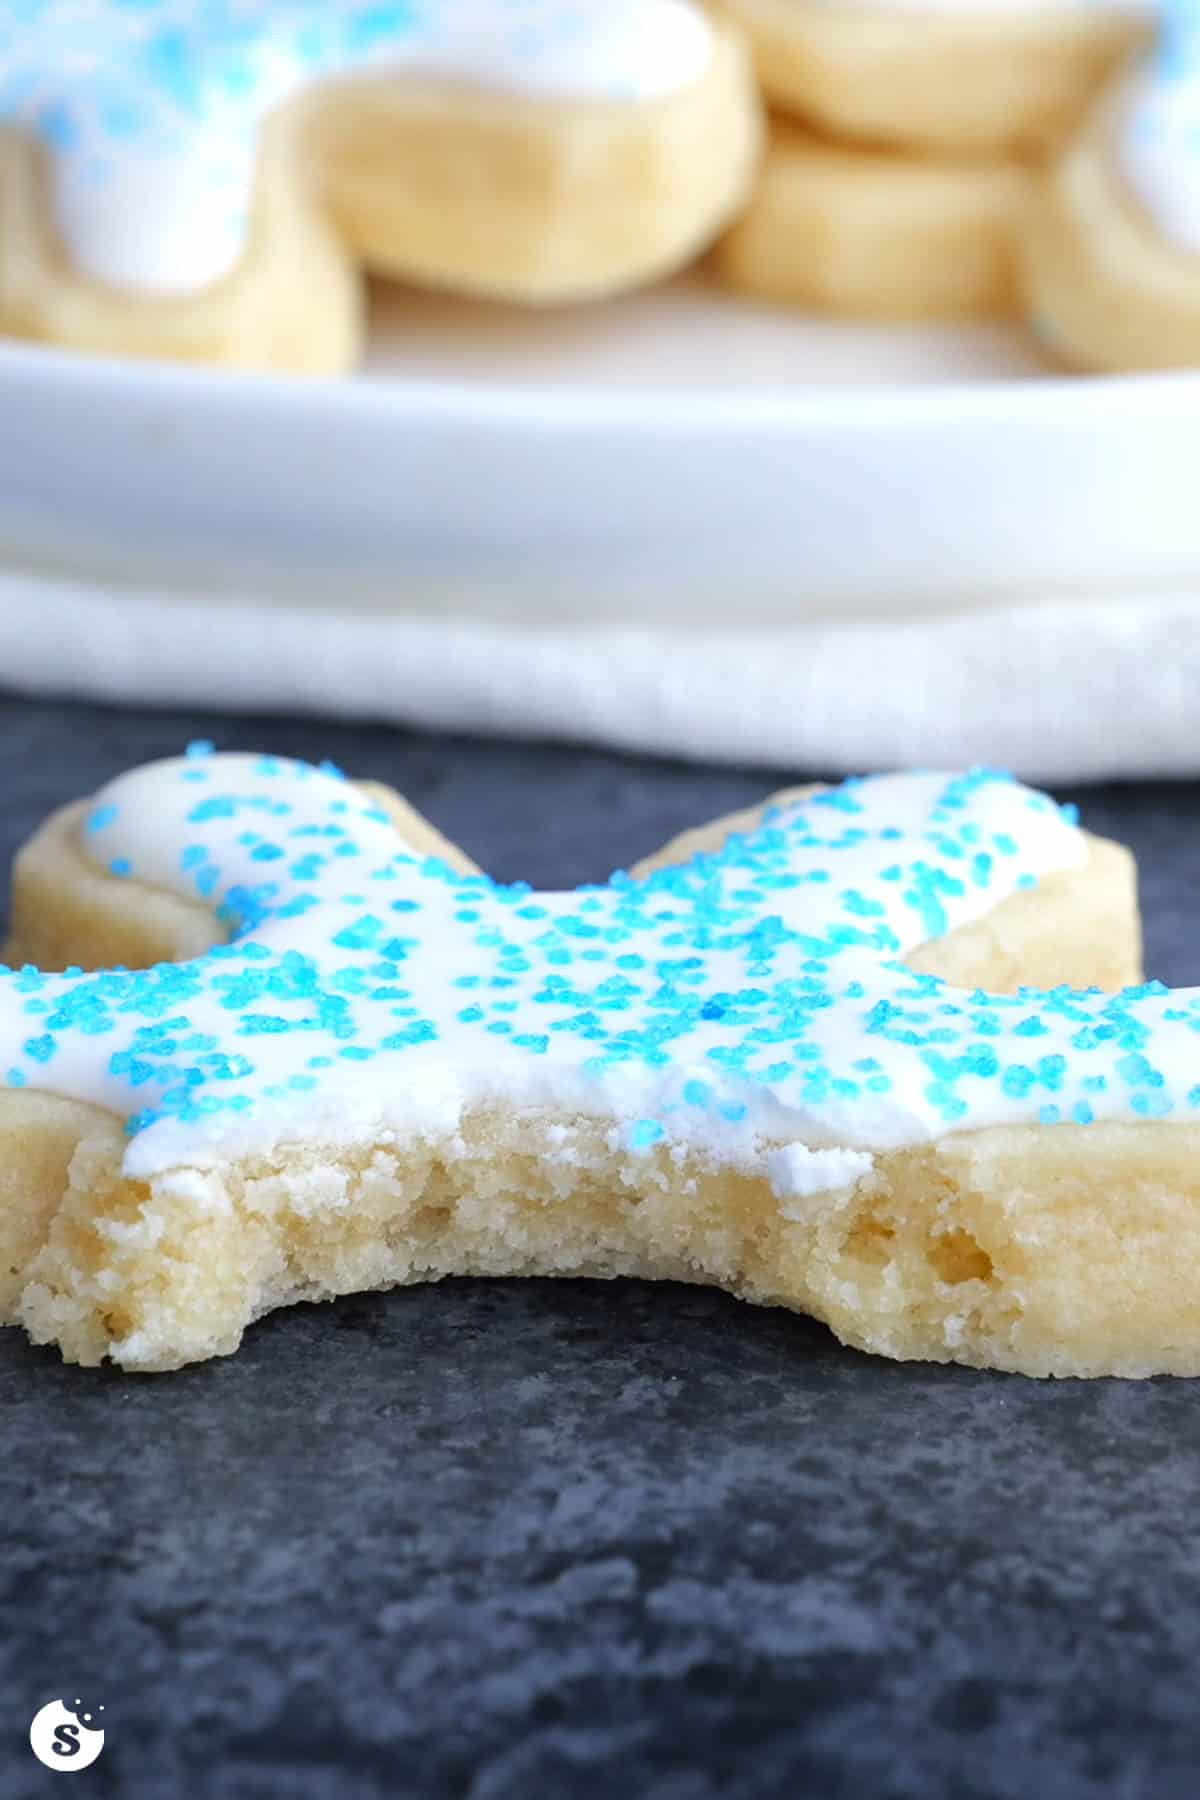
- They're sturdy. They hold up well to being frosted and decorated with royal icing, making them the perfect Christmas cookie recipe.
- But they're still soft! They're sturdy, but they're not stiff. You still get a soft sugar cookie, not something that's going to crunch when you bite into it.
Ingredients for sugar cookies
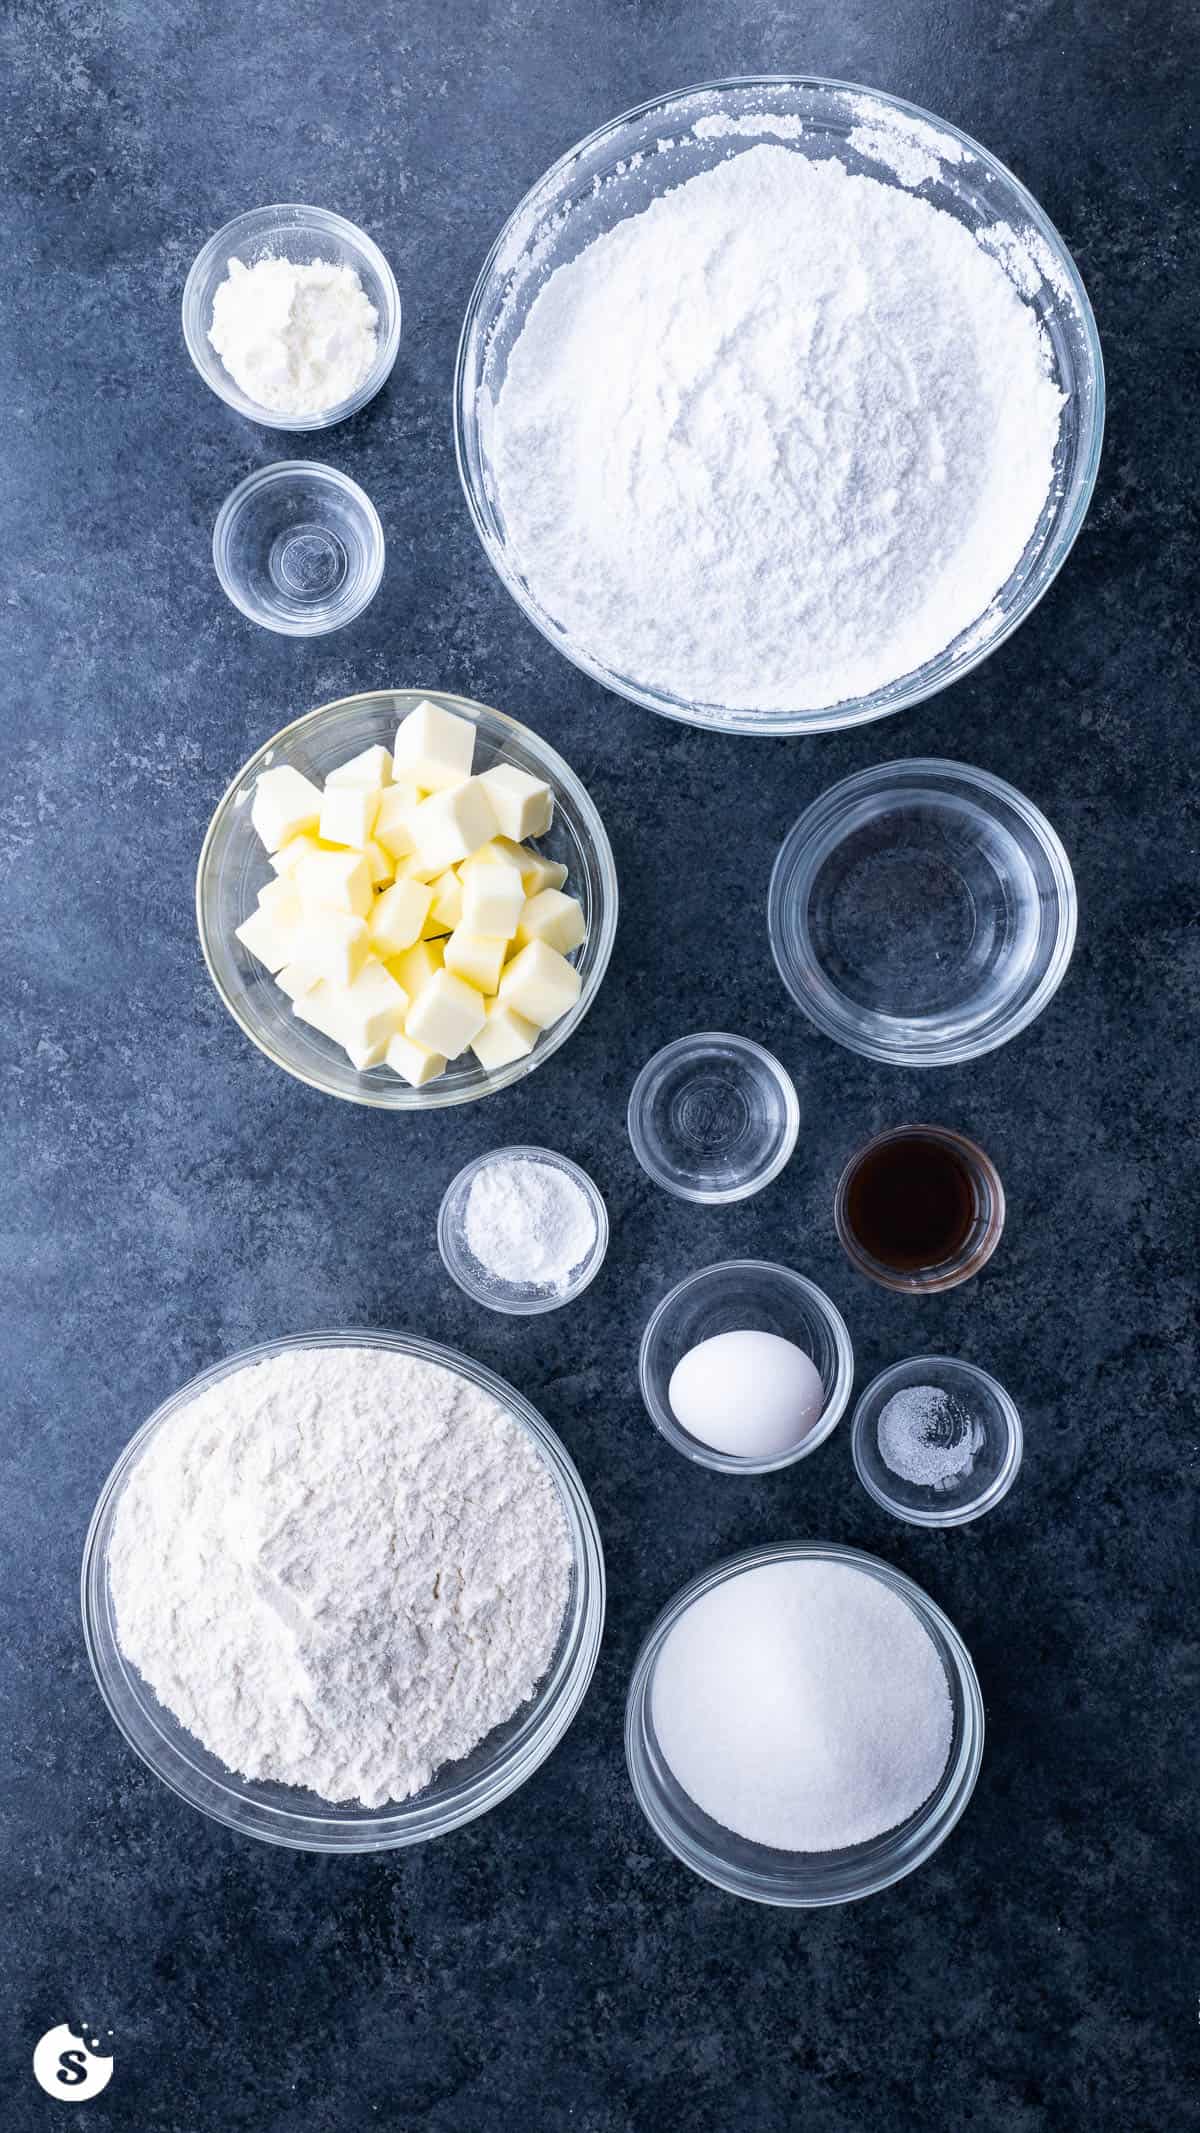
- Unsalted butter – Softened to room temperature, and cut into cubes to make things easier on yourself.
- Granulated sugar – You can substitute cane sugar, but know that the color of your cookies after they've baked will be different.
- Egg – Room temperature, to make it easier to incorporate with the rest of the ingredients.
- Pure almond extract – This gives the sugar cookies their signature flavor.
- Pure vanilla extract – This balances and enhances the rest of the cookies' flavors.
- All-purpose flour – Fluffed and measured correctly! If it's overmeasured, you can end up with dry cookies.
- Baking powder – Just enough to give them a little lift, but not so much they lose their shape while baking.
- Salt – I always use unsalted butter so that I can control the amount of salt in my recipes, and for this one you only need a pinch.
And the ingredients for the royal icing:
- Powdered sugar
- Meringue powder
- Water
- Almond extract
Making cookie cutter sugar cookies

Start with cubed unsalted butter, softened to room temperature.
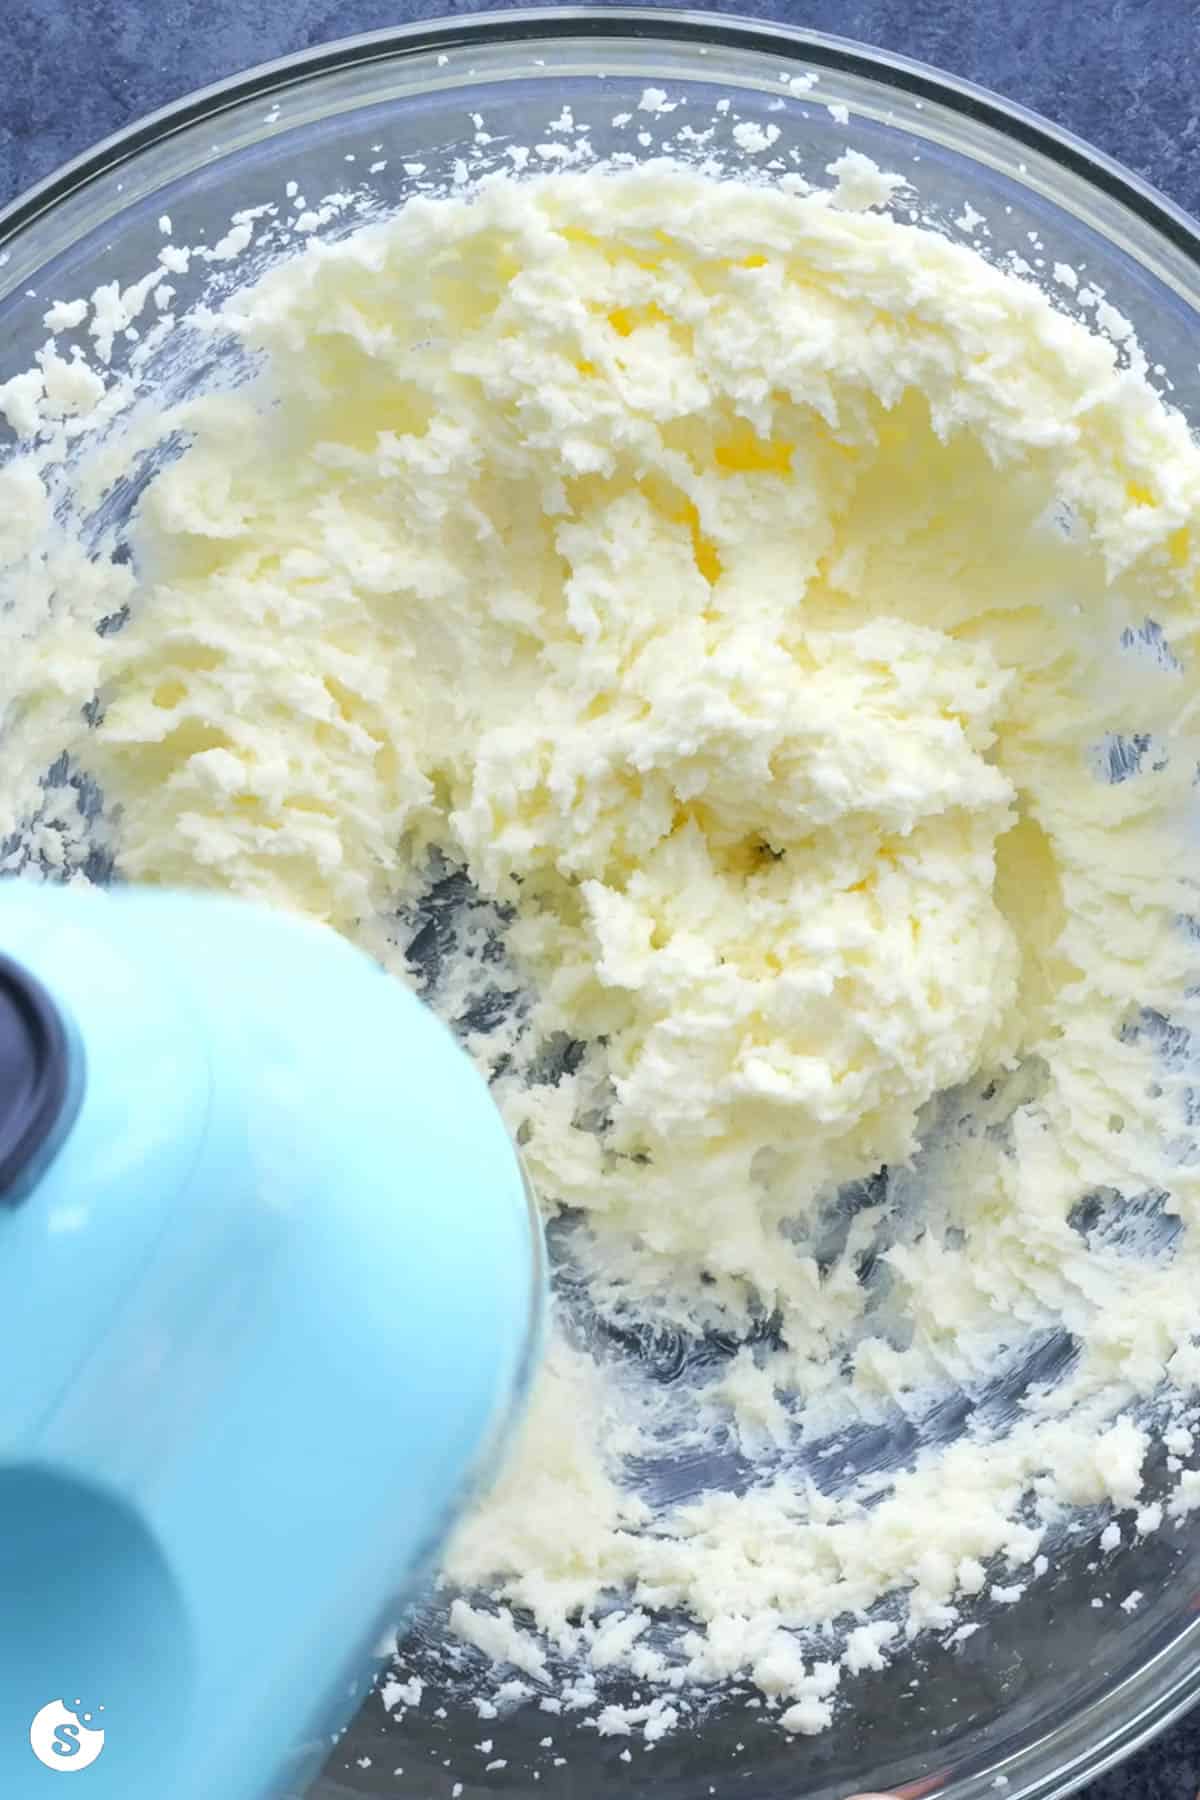
In a large bowl of a stand mixer or using a hand mixer, beat butter and sugar until well combined and smooth (about 2-3 minutes).
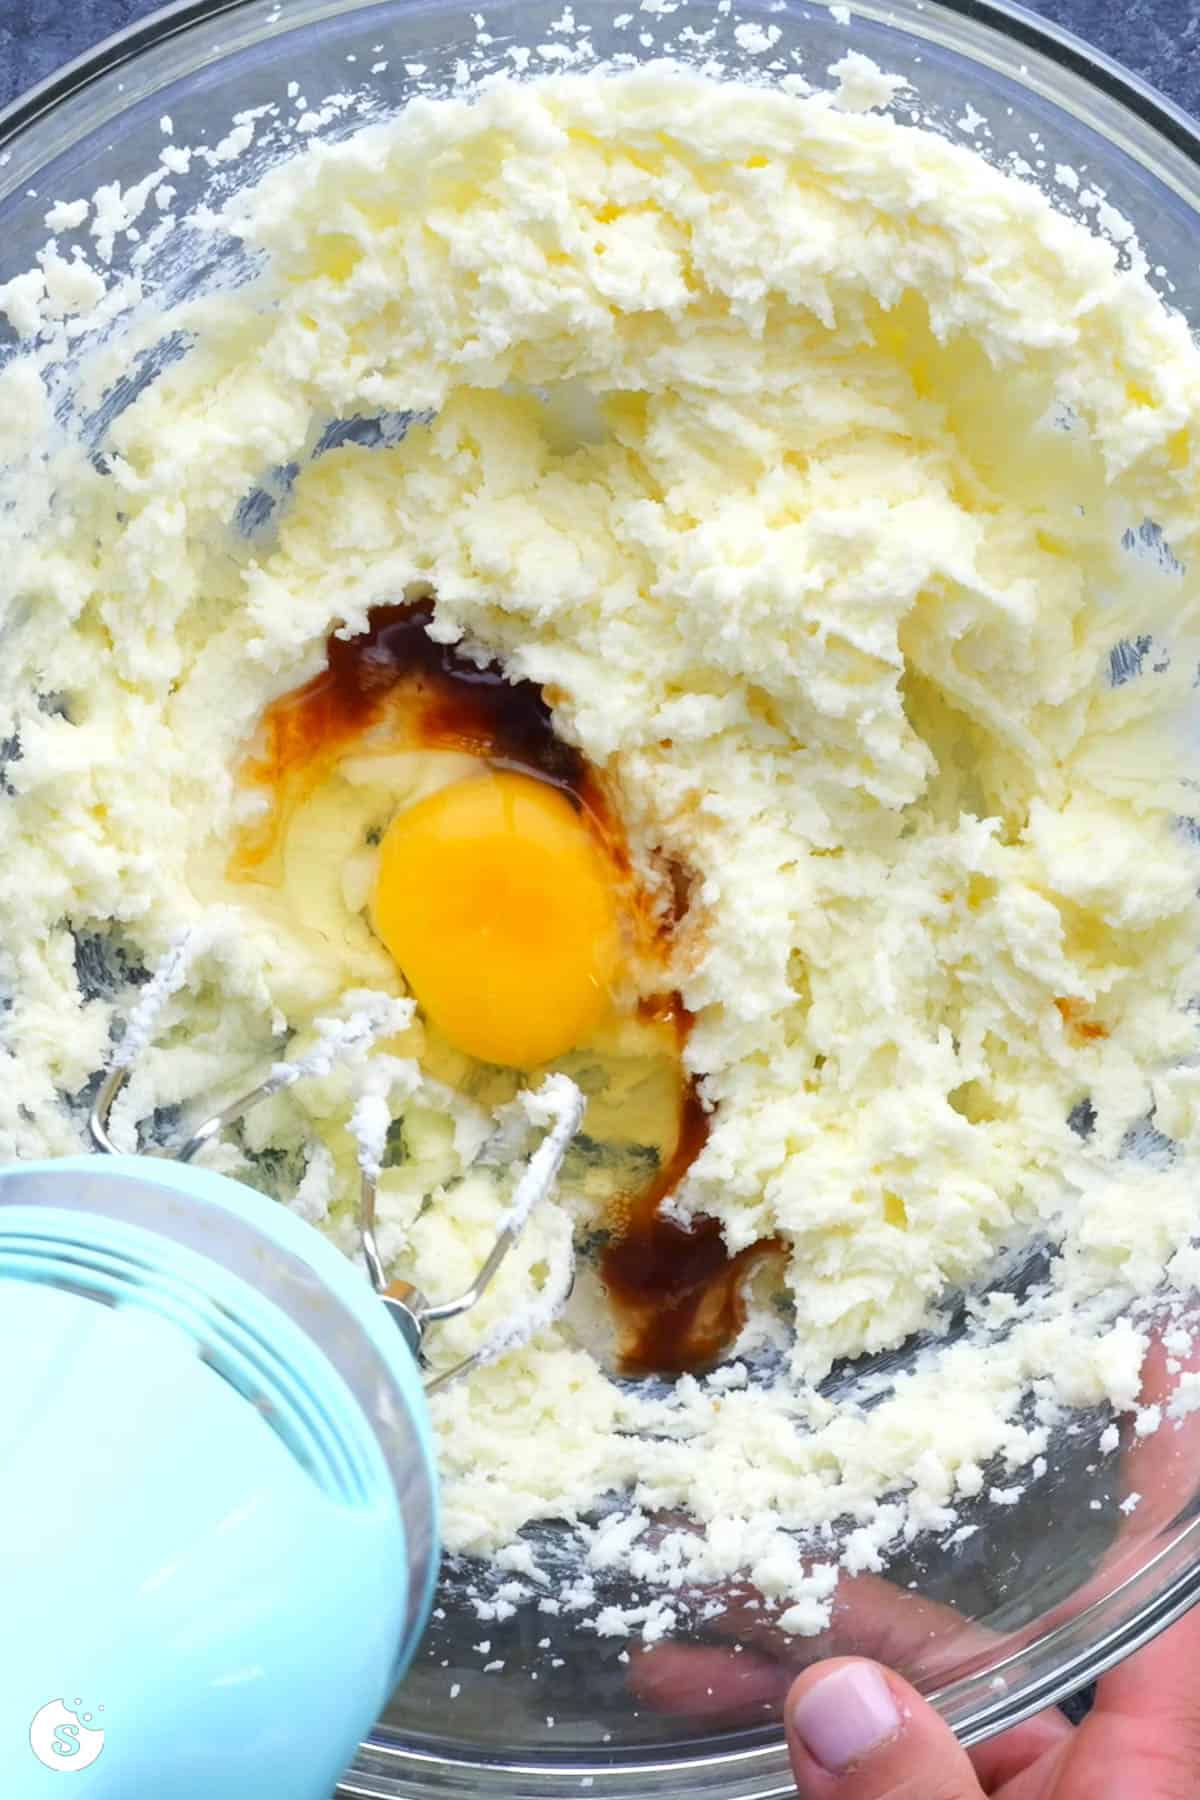
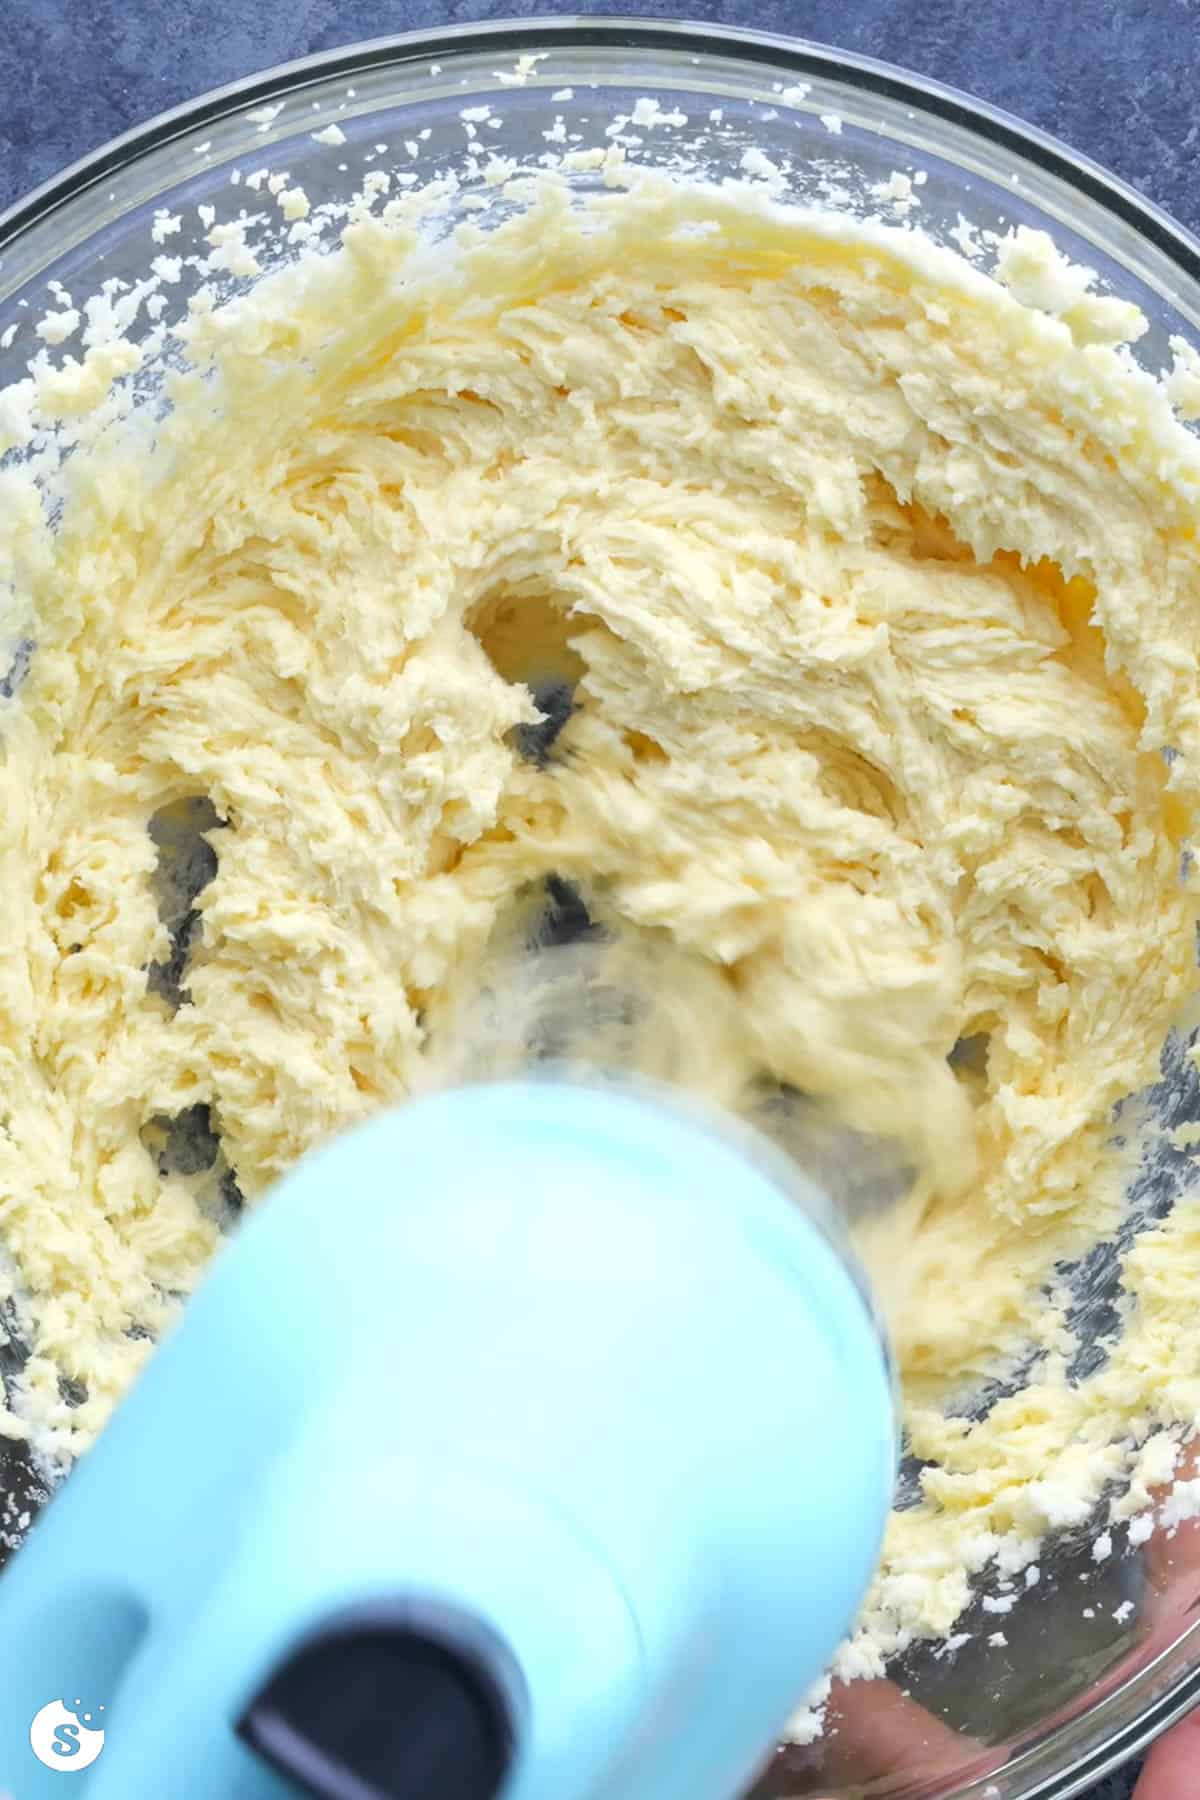
Add egg, almond extract, and vanilla extract and beat again to combine.
Don't leave out or substitute the almond extract! That's what's giving these cookies their classic sugar cookie flavor.
You'll notice the color go from a pale yellow to a more yolky-color.
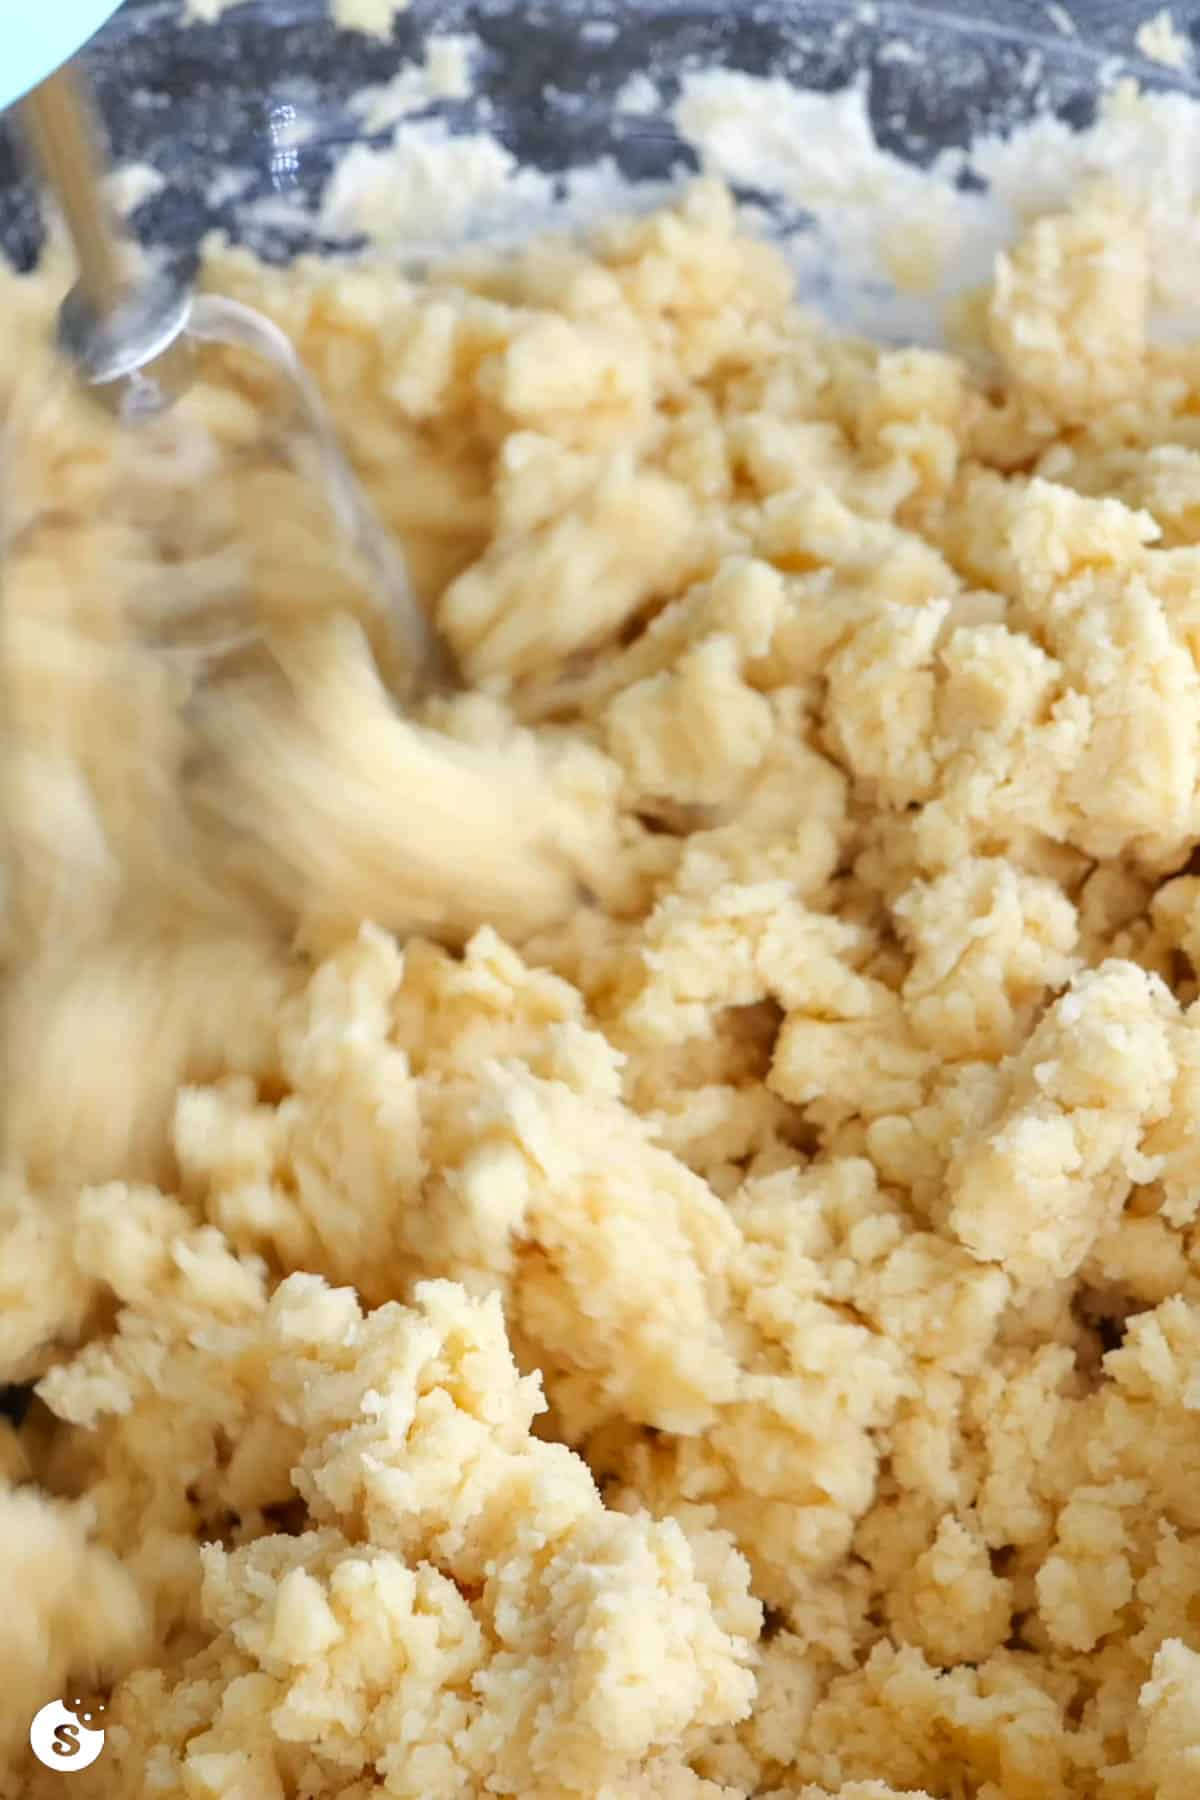
Add flour and baking powder (and a pinch of salt, if desired), and beat on low speed to start.
As the dry ingredients incorporate, slowly increase the speed and beat until dough is combined and sticks together when pressed.
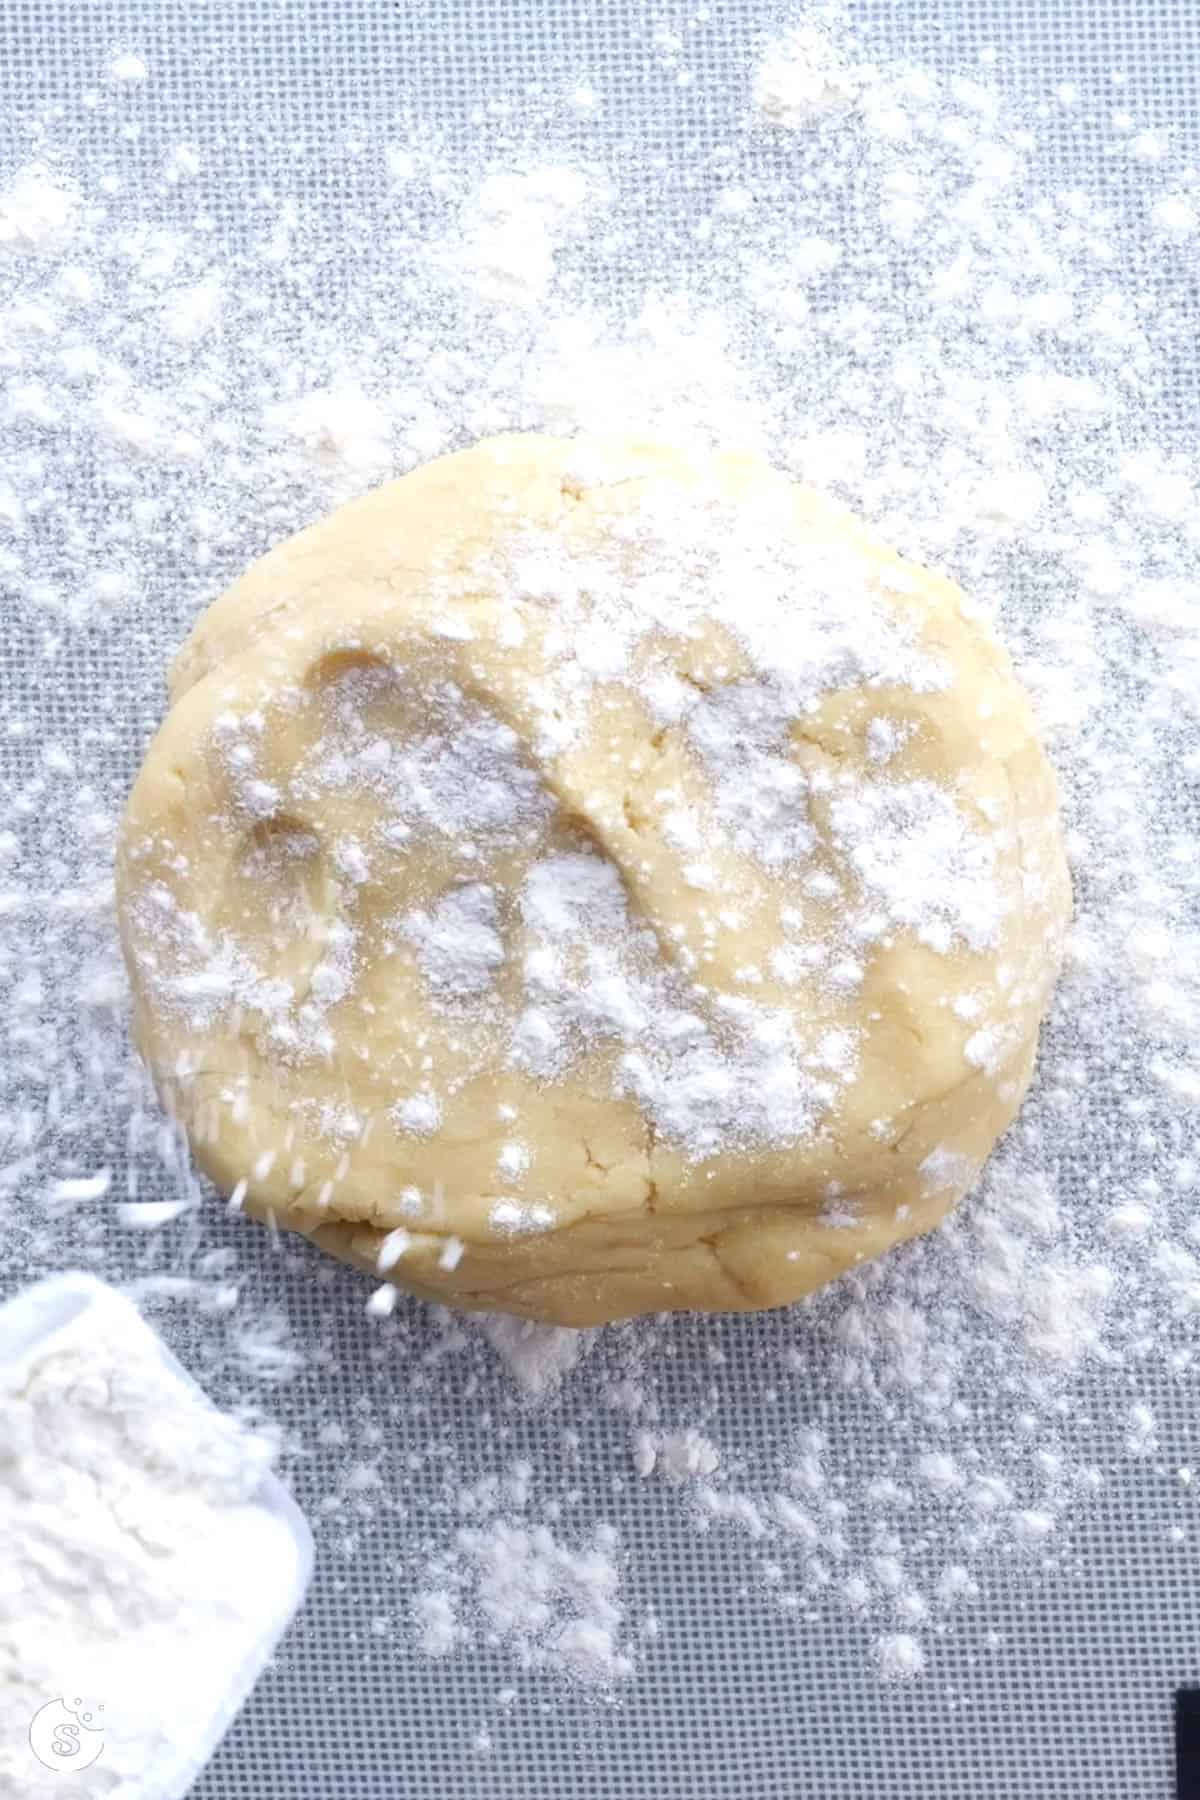
On a floured surface (I like to lay down a large silicon baking mat), roll out dough with a rolling pin about 1/4″ thick.
I like to use rolling pin rings for this, because it ensures your dough will be flat and even – which means more consistent baking results!
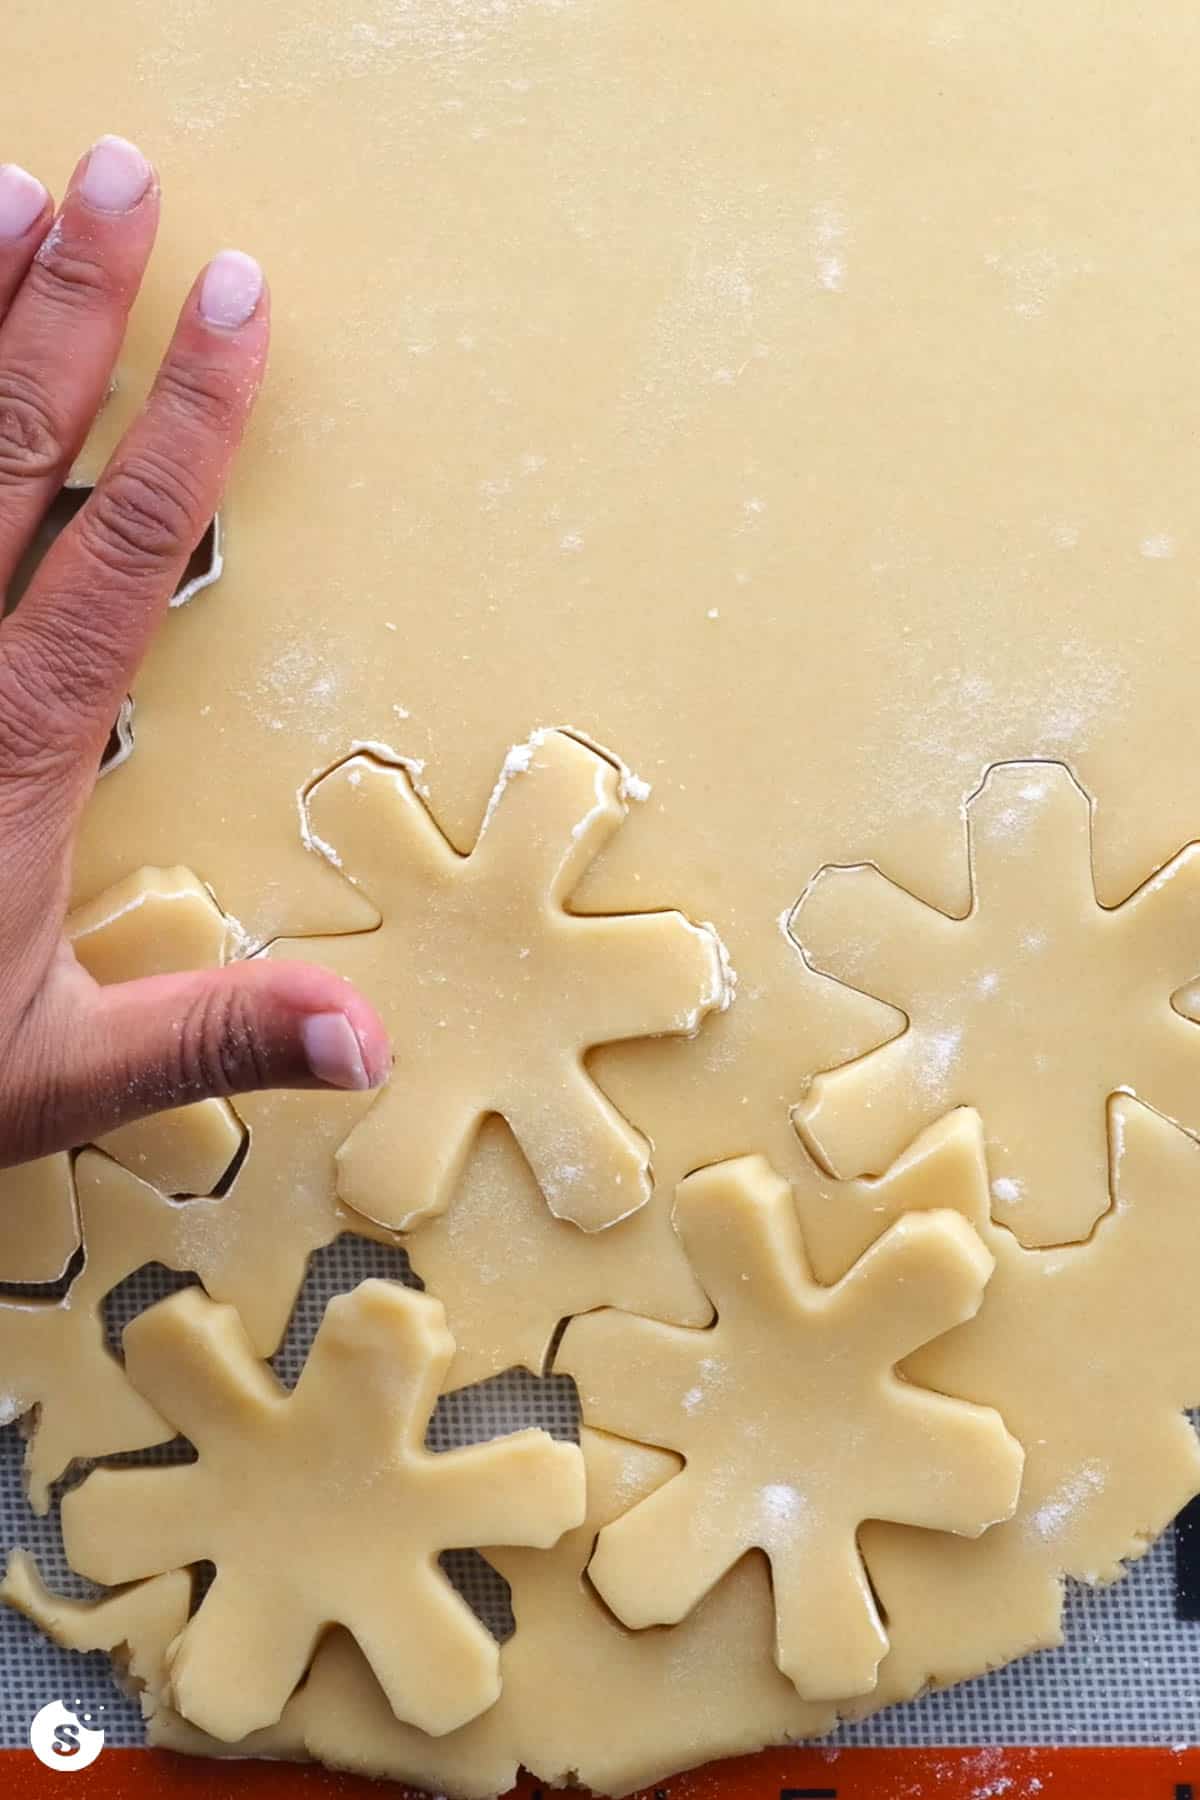
Use your favorite cookie cutters to cut out shapes and place them on your prepared baking sheets.
Have a fairly detailed shape that could easily tear? My favorite method to ensure the dough comes out intact is to wiggle the cookie cutter in place a little, and then tear the dough around it away.
Keep in mind the cookies will not spread, so you can place them closer together than you would with other cookies.
Re-roll the remaining dough (adding flour to your surface as needed) and continue cutting until you've used it all.
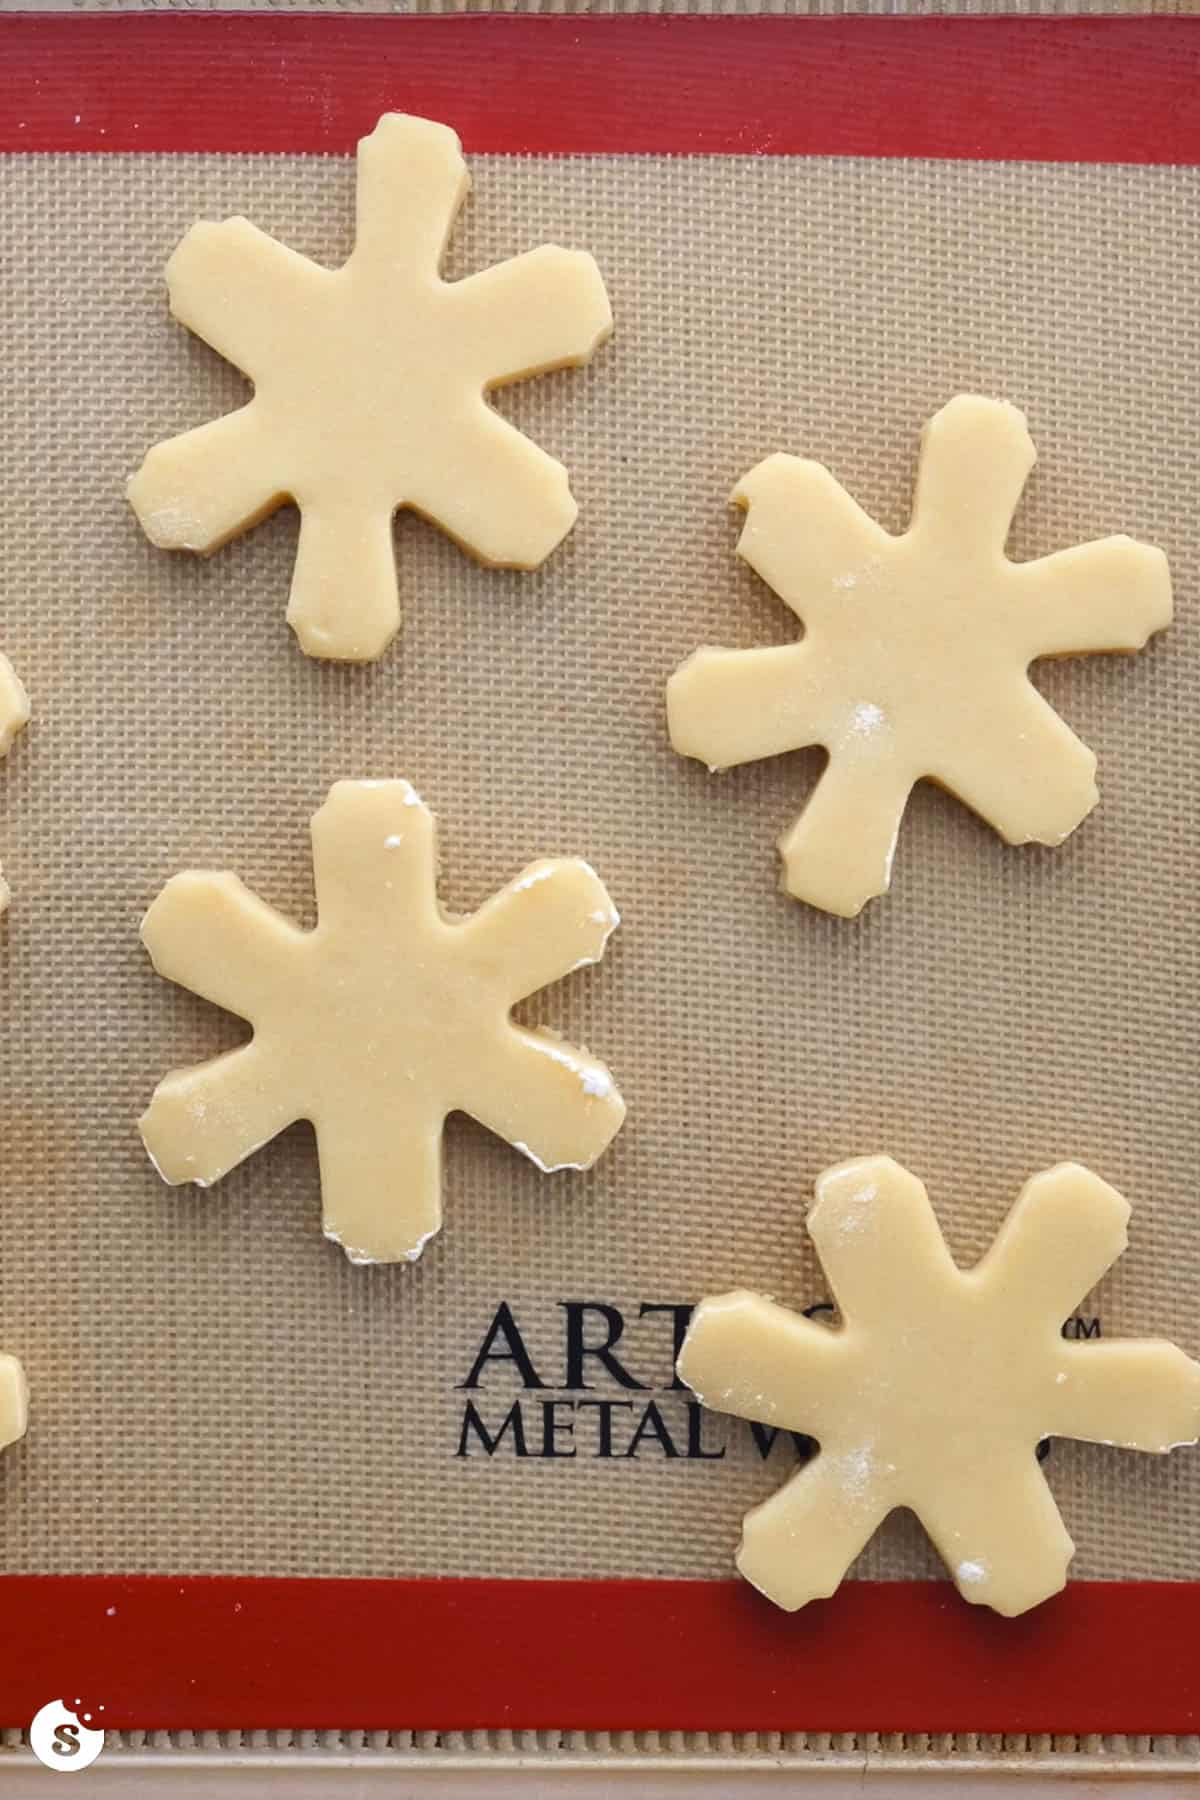
Bake for 7-8 minutes – I find 8 minutes to usually be perfect. You want to pull them out of the oven when they're no longer glossy, and before they start to brown.
Let cool on the baking sheet for 5-10 minutes, then transfer to wire racks to cool completely.
How to make royal icing
I know a lot of people don't like the flavor of royal icing, but maybe it's just because you haven't tried mine! Almond extract makes all the difference in flavor, as far as I'm concerned.
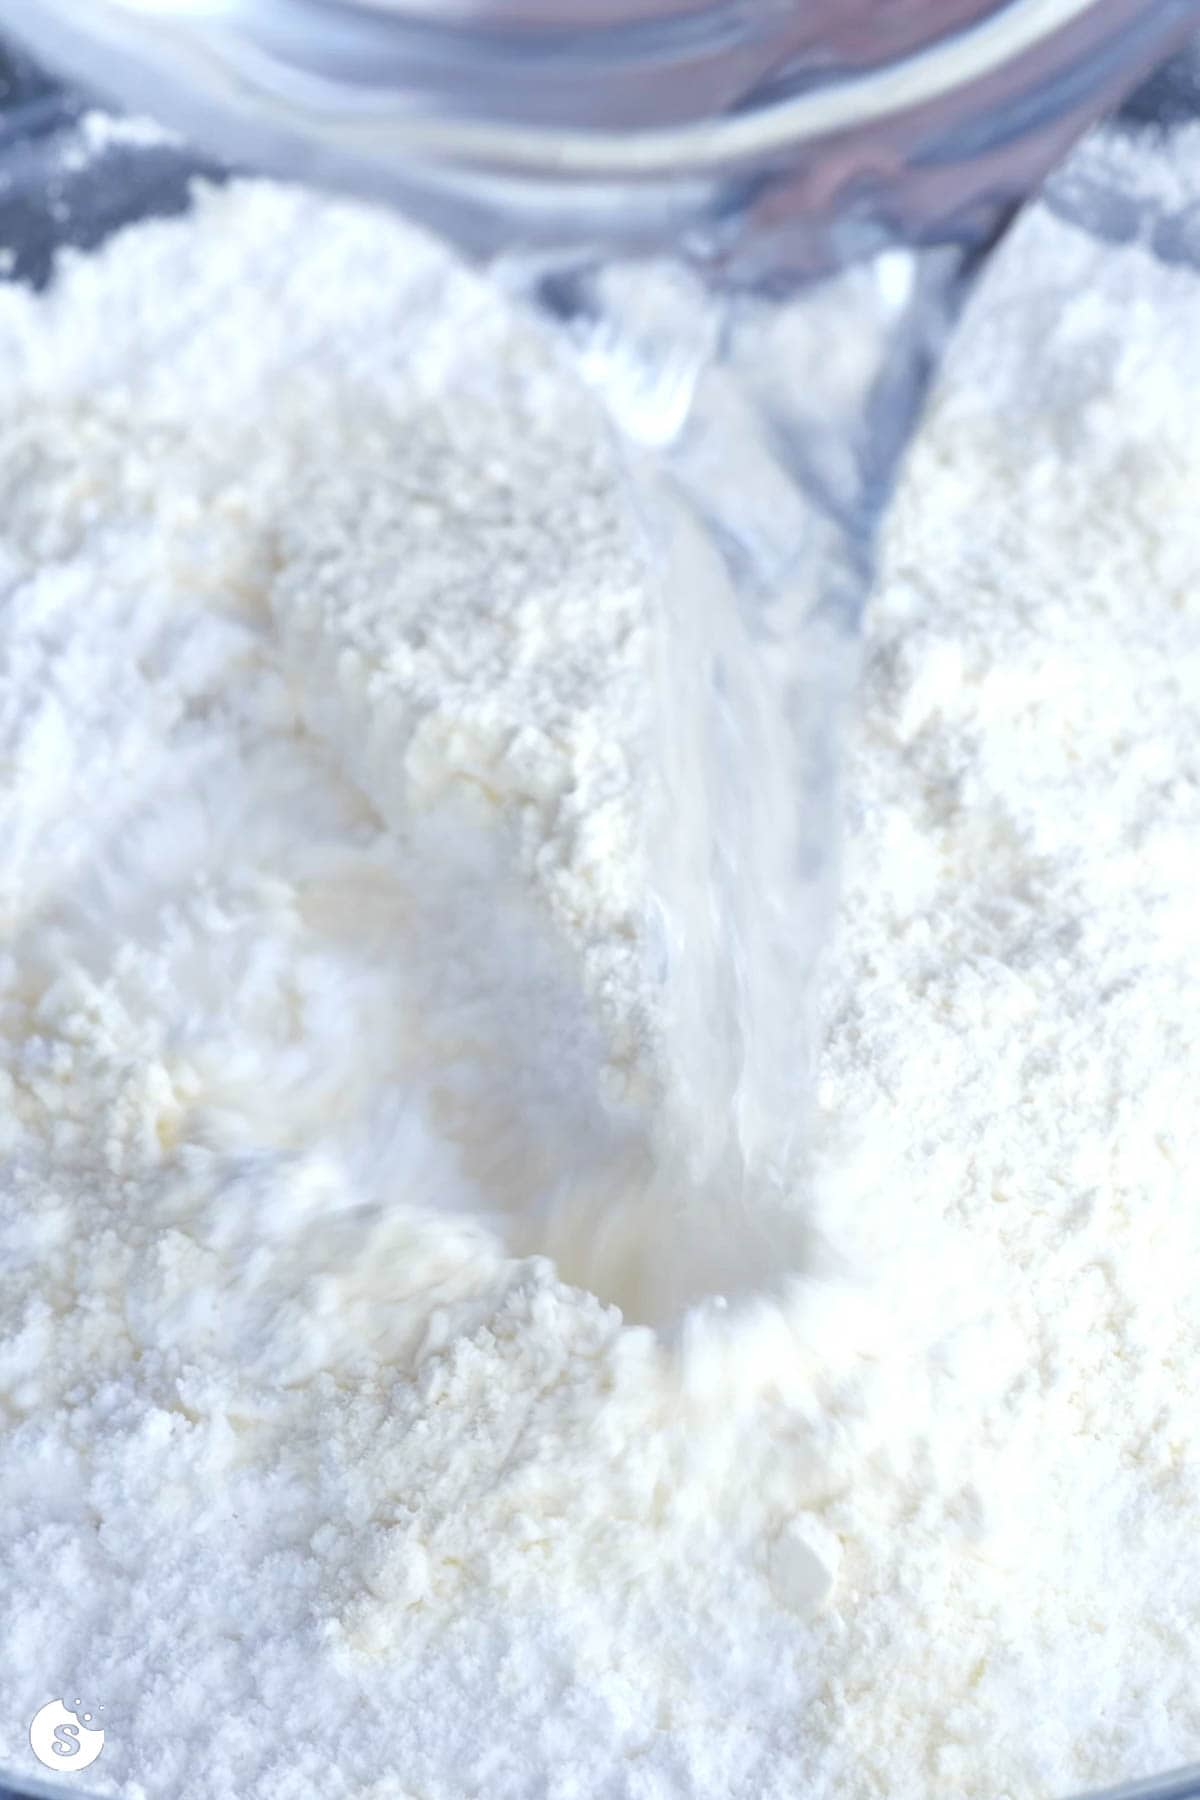
You'll start by combining all the ingredients in a large bowl – but make sure you're using sifted powdered sugar.
The worst thing is having clumps of powdered sugar in your icing, leaving it clumpy, unattractive, and hard to work with.
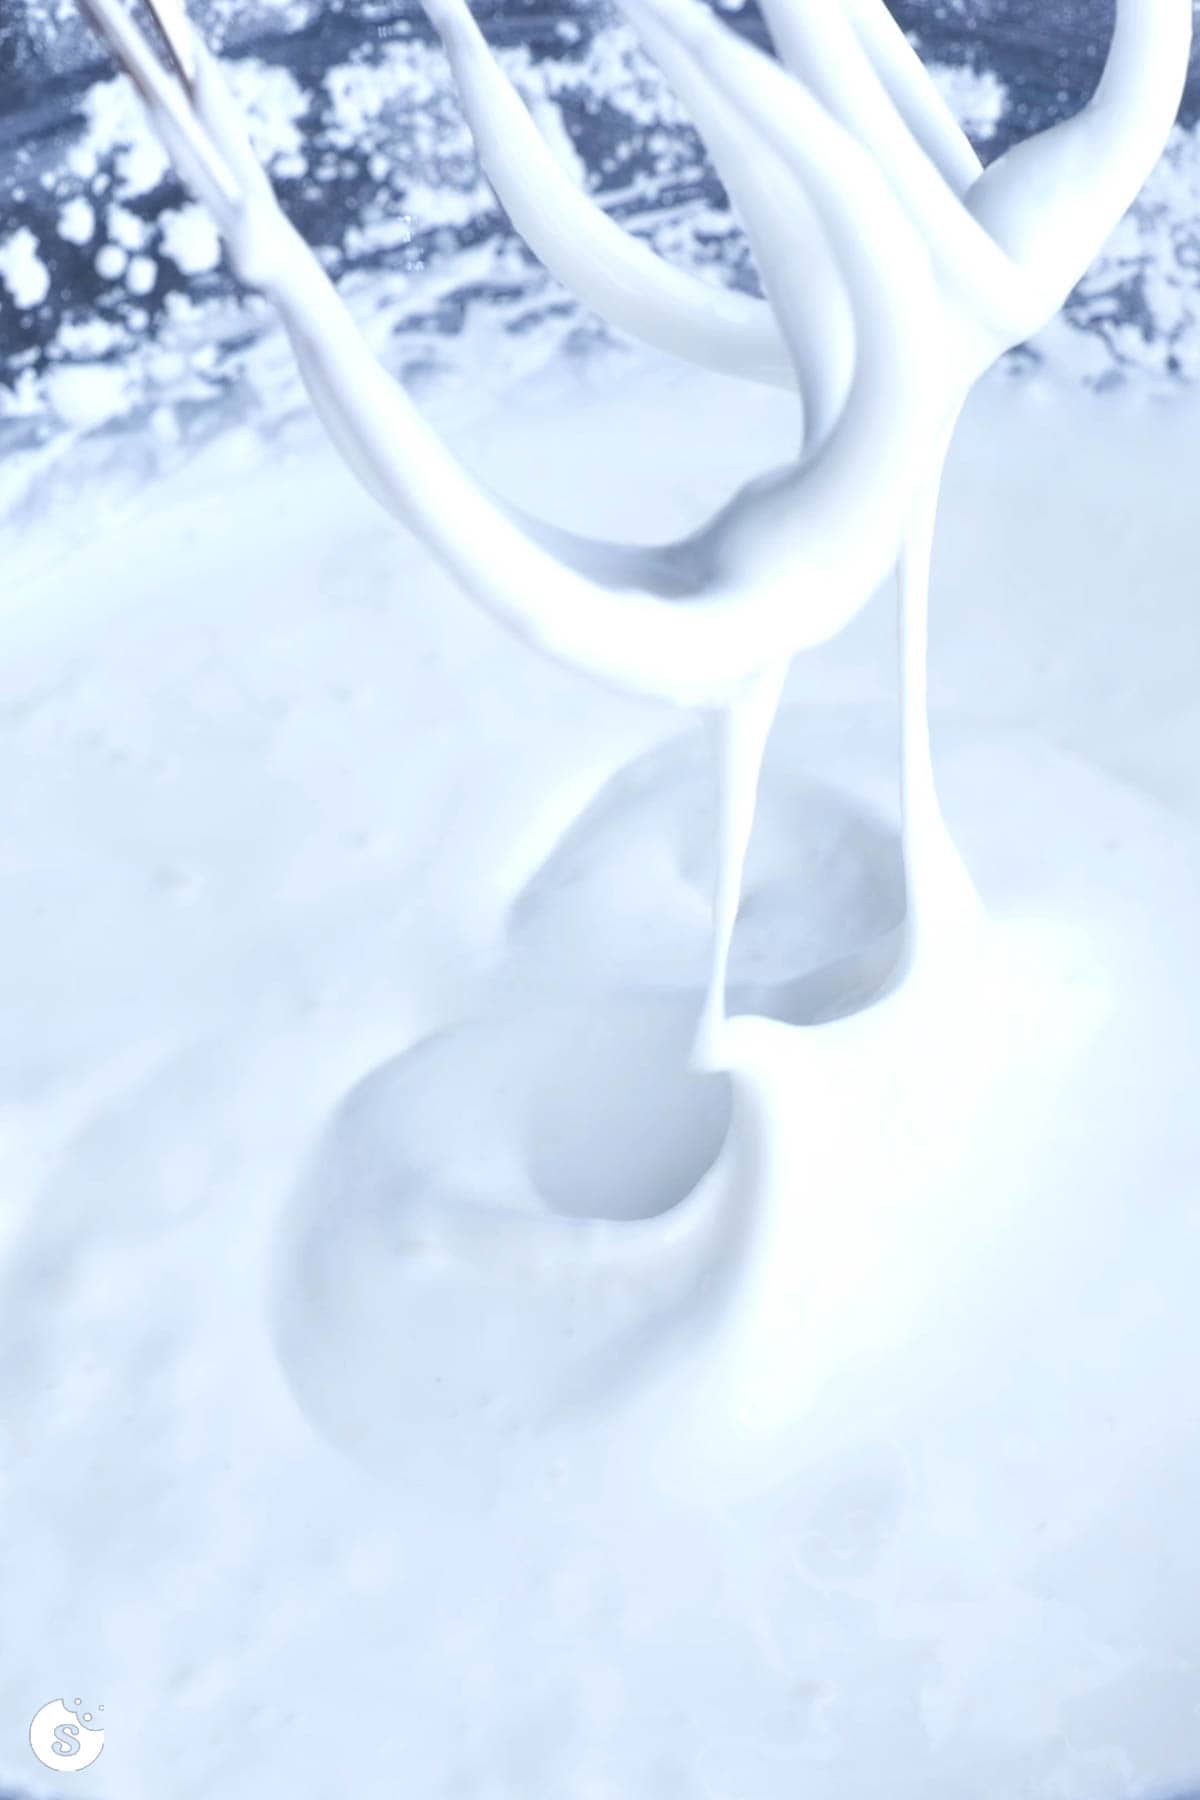
Beat the icing on low speed to gradually combine everything, then increase to high speed to get it to the desired consistency.
Then you can start portioning out the icing to smaller bowls to add food coloring gels, if desired.
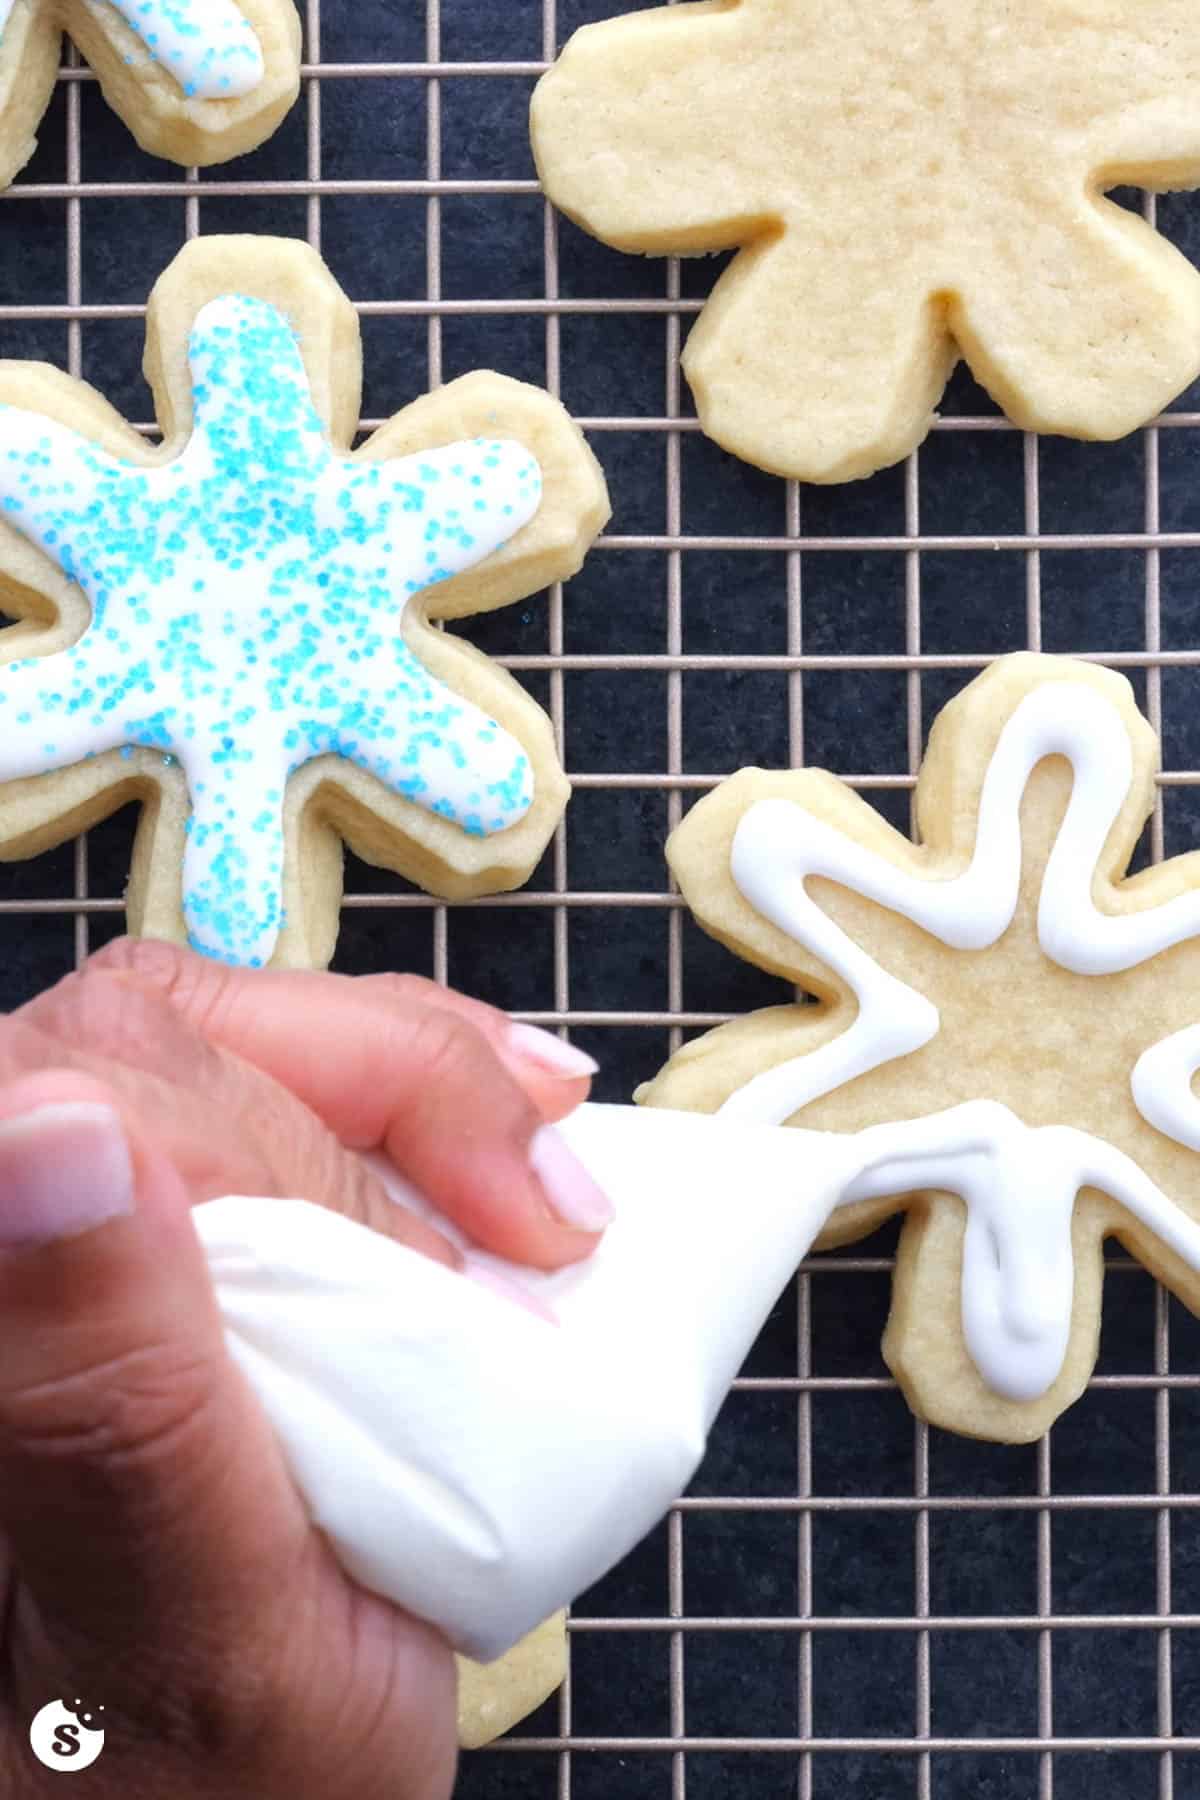
Transfer icing to piping bags fitted with piping tips, and start decorating.
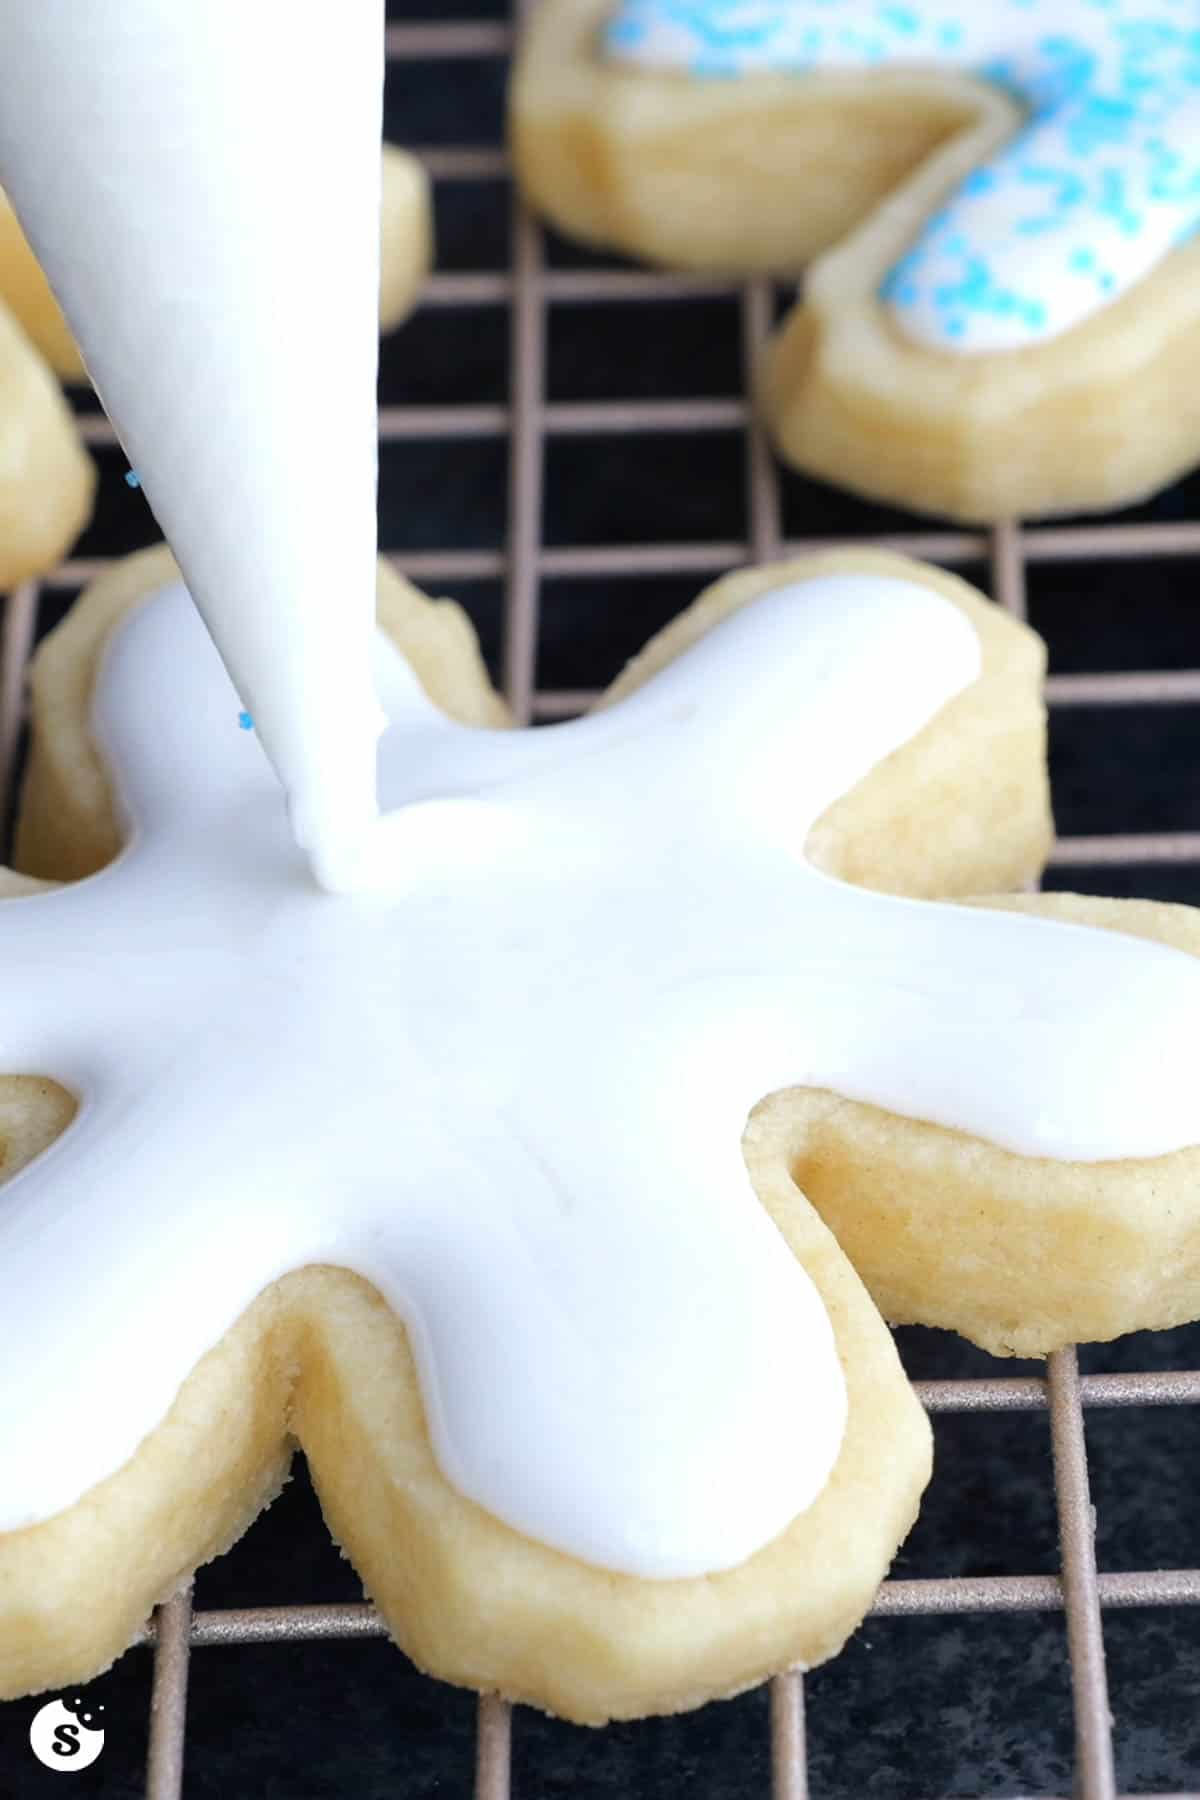
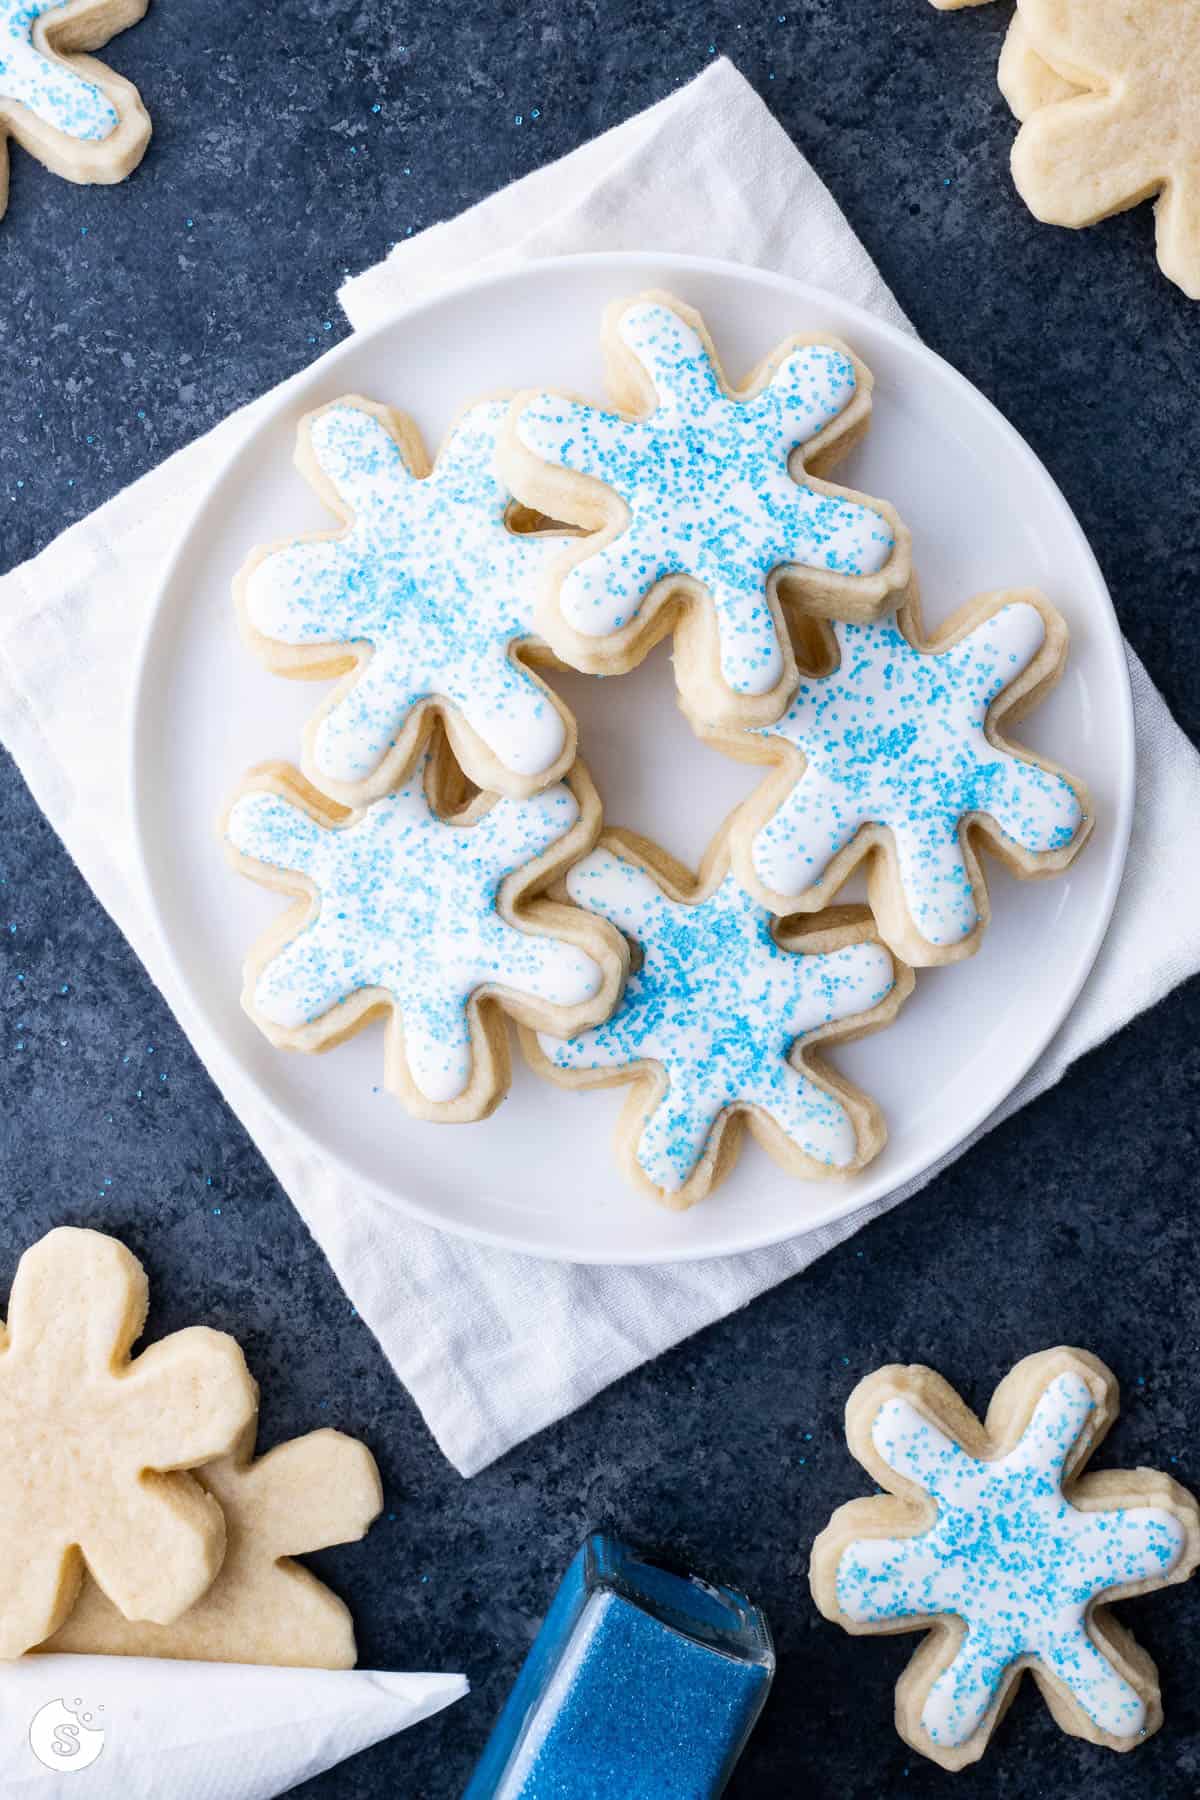
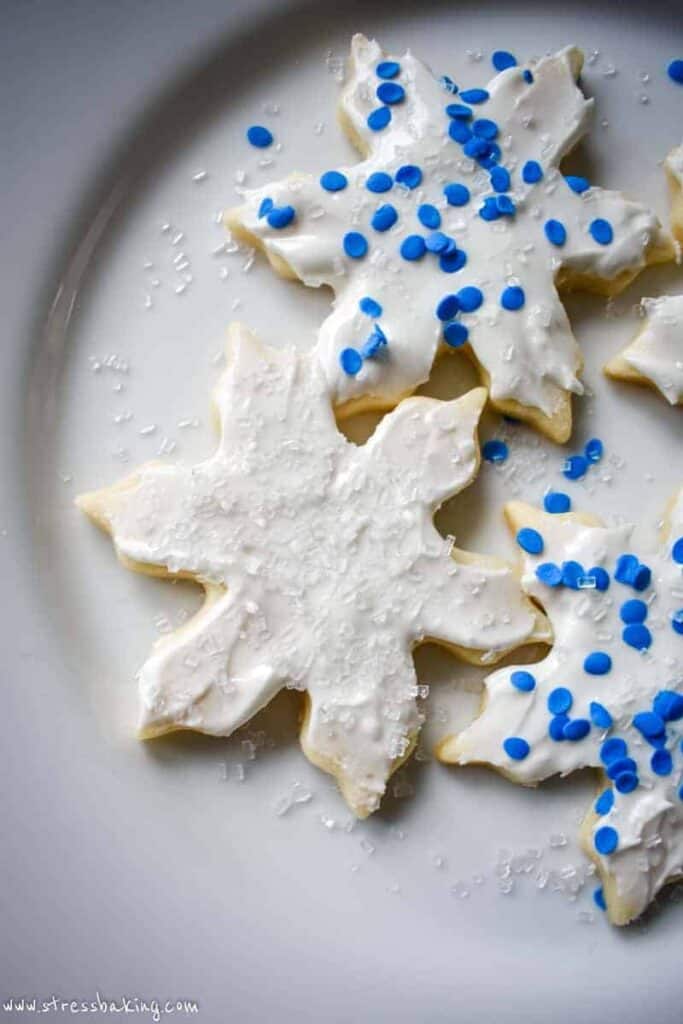
Start with the outline, then flood the inside to fill it in. Top immediately with any sprinkles or other decorations!
Different royal icing consistencies
- Stiff: The icing has been beaten to stiff peaks and completely holds it's shape. Good for shapes like flowers and ruffles that you want to ensure don't budge from where you've piped them.
- Piping: If you lift the whisk from the bowl, the icing that drips back into the bowl will meld back in with the rest after 25-30 seconds. Best for piping letters, numbers and thin lines.
- Medium: If you lift the whisk from the bowl, the icing that drips back into the bowl will meld back in with the rest after about 15 seconds. Best for piping outlines and borders, and can also be used for thick flooding.
- Flood: If you lift the whisk from the bowl, the icing that drips back into the bowl will meld back in with the rest after about 5-10 seconds. Best for flooding, or for “wet on wet” decorating, like dragging a toothpick between two colors for a swirly tie die effect.
Icing too thick? Add a little water and beat it again. Icing too thin? Add a little powdered sugar and beat it again.
ROYAL ICING TIP
- Icing too thick? Add a little water and beat it with the mixer again.
- Icing too thin? Add a little powdered sugar and beat it with the mixer again.
Medium and piping consistency
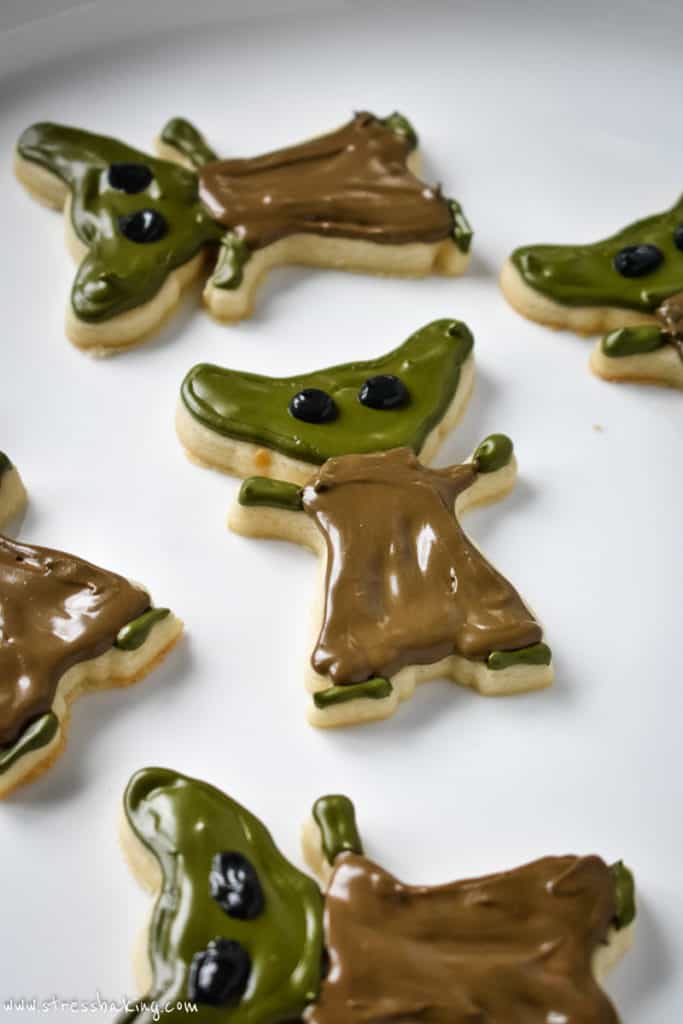
For the Baby Yoda cookies you see here, I decided to use a Medium consistency for his green skin and his clothing. He's kinda wrinkly, and so are his clothes – so I went with the imperfect aesthetic.
Side note: Have you seen this viral hack about how to make Baby Yoda Cookies? I didn't have an angel cookie cutter, but I do have a mouse cookie cutter and it did the job!
I used a Piping consistency for his little eyes, though I probably could have gotten away with Medium for that as well. I didn't get super detailed for the Baby Yoda cookies, so I didn't feel the need to create different piping bags with different levels of consistency.
Another side note: If you're going to make Grogu cookies, you should also make some Star Wars caramel-filled chocolates. Just saying.
Stiff royal icing
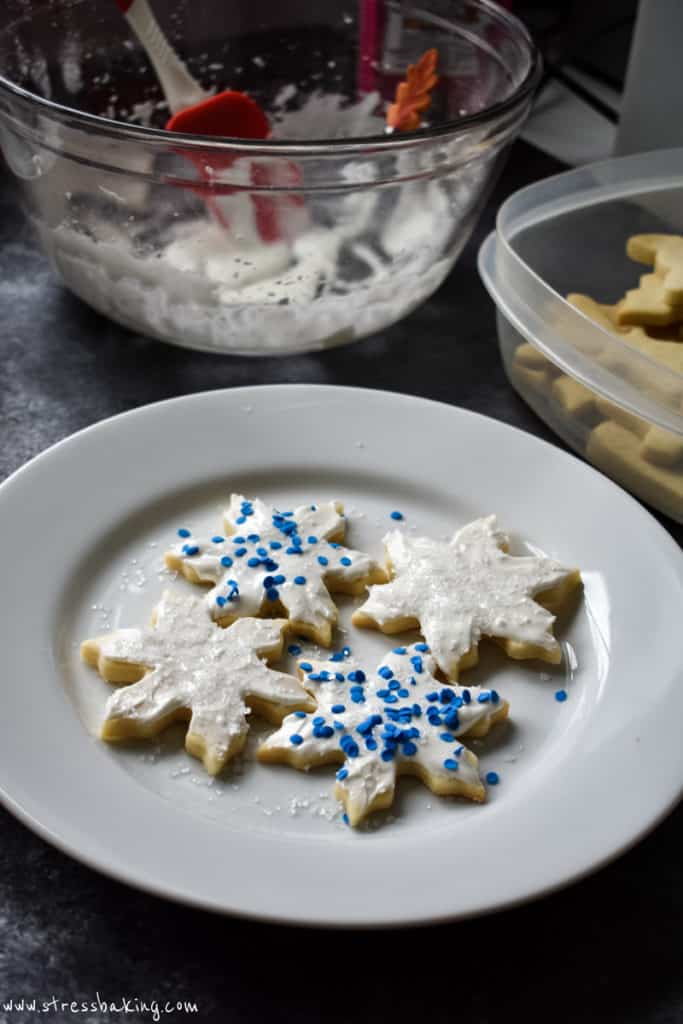
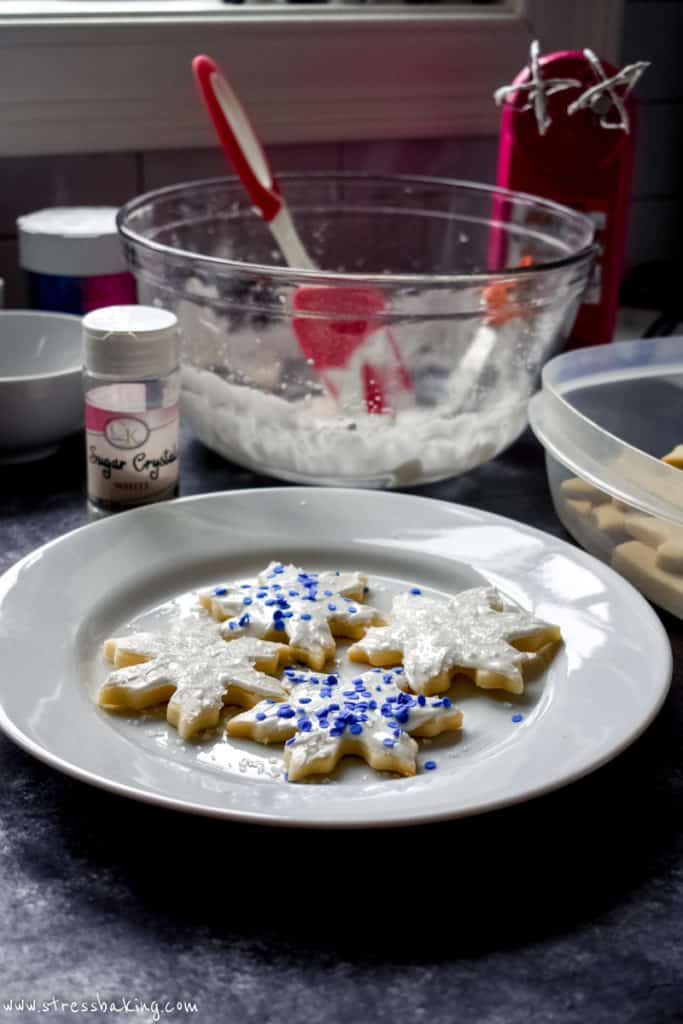
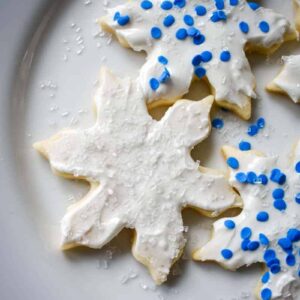
For the snowflake cookies, I went with a Stiff consistency because I just wanted to spread it on with an icing spatula and be done with it (time crunch, blah blah blah).
But also, I knew I was going to be topping them with some cute sprinkles, so what was underneath mattered a little less to me.
Buttercream frosting instead of royal icing
I also like to top these sugar cookies with a buttercream frosting instead of royal icing, which requires less precision.
I'm not gonna tell you how to live your life, but pro tip: my whiskey frosting is pretty freaking good on these or my chocolate sugar cookies. Or, like, a spoon… directly into your mouth.
Leaving a star rating is a great (and free) way to support Stress Baking! ❤️ After you've made this recipe, please consider clicking on the stars below to share your experience!
No Chill Cookie Cutter Sugar Cookies
Equipment
Ingredients
Sugar Cookies
- 1 cup unsalted butter, softened to room temperature
- 1 cup granulated sugar
- 1 egg, room temperature
- 2 teaspoons pure almond extract
- 1 ½ teaspoons pure vanilla extract
- 3 cups all purpose flour
- 2 teaspoons baking powder
- pinch salt, to taste
Royal Icing
- 3 cups confectioners’ sugar (powdered sugar), sifted
- 2 tablespoons meringue powder
- 6-8 tablespoons water, room temperature (depending on the consistency you want – see tips in post)
- 1 teaspoon almond extract
- Gel food coloring paste
- Sprinkles
Instructions
Sugar Cookies
- Preheat oven to 350°F and line two baking sheets with nonstick silicone mats. Set aside.
- In a large bowl of a stand mixer or using a hand mixer, beat butter and sugar until well combined and smooth (about 2-3 minutes).1 cup (227 g) unsalted butter1 cup (200 g) granulated sugar
- Add egg, almond extract and vanilla extract and beat again to combine.1 egg2 teaspoons pure almond extract1 1/2 teaspoons (1 ½ teaspoons) pure vanilla extract
- Add flour and baking powder (and a pinch of salt, if desired), and beat on low speed to start. As the dry ingredients incorporate, slowly increase the speed and beat until dough is combined and sticks together when pressed.3 cups (375 g) all purpose flour2 teaspoons baking powderpinch salt
- On a floured surface, roll out dough with a rolling pin about 1/4″ thick. Use cookie cutters to cut out shapes and place them on your prepared baking sheets. Keep in mind the cookies will not spread, so you can place them closer together than you would with other cookies. Re-roll the remaining dough (adding flour to your surface as needed) and continue cutting until you've used it all.
- Bake for 7-8 minutes – I find 8 minutes to usually be perfect. You want to pull them out of the oven when they're not longer glossy, and before they start to brown.
- Let cool on baking sheet for 5-10 minutes, then transfer to wire racks to cool completely.
Royal Icing
- In a large bowl using a stand mixer or hand mixer, combine powdered sugar, meringue powder, water, and almond extract. Beat on low speed, slowly increasing to high speed as the ingredients incorporate – about 4-5 minutes.3 cups (360 g) confectioners’ sugar (powdered sugar)2 tablespoons meringue powder6-8 tablespoons (6 tablespoons) water1 teaspoon almond extract
- Lift the whisk from the bowl and take note of how long it takes for the icing that drops back in to meld back in to the rest – this will determine the consistency you'll be working with, and you can add water if it's too thick, or powdered sugar if it's too thin. See the tips in this post about the different icing consistencies.
- If using gel food coloring: Transfer portions of your icing to small bowls and use a whisk to combine the color with the icing.Gel food coloring paste
- Transfer icing to piping bags fitted with piping tips, and start decorating!Sprinkles
- Let decorated cookies set for at least 2 hours to let the icing completely dry, or move them to the fridge to speed up the process.
- Serve and enjoy!
Video
Notes
Nutrition Facts
Nutrition Disclaimer
The provided nutrition information is generated by an automatic API and does not take variations across specific brands into account. This information is provided as a general guideline and should not be treated as official calculations. Learn more here.

I mixed this sugar cookie recipe with a dinner fork and thick spatula for tools (no mixer lol). It took a bit longer but it was a good workout :) For a roller I used a metal water bottle. The cookies turned out fantastic! That’s how good the recipe is. Your progress photos were very helpful. Can’t wait to decorate them.
That’s dedication! I’m so glad that you enjoy them, they’re a favorite of mine too <3 Happy Holidays!