Easy Crinkly Grinch Cookies Recipe

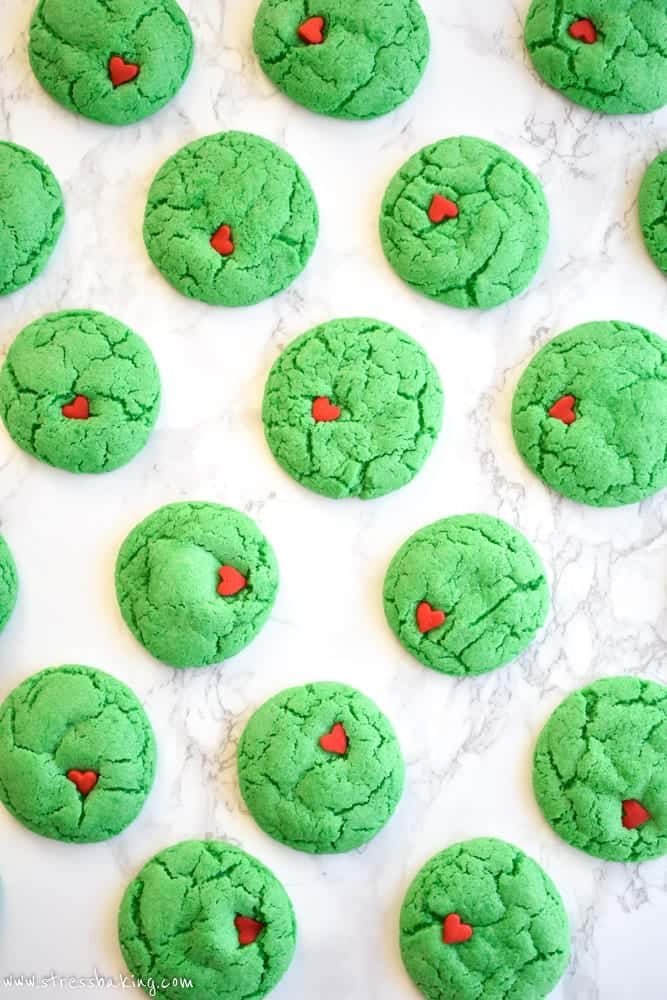
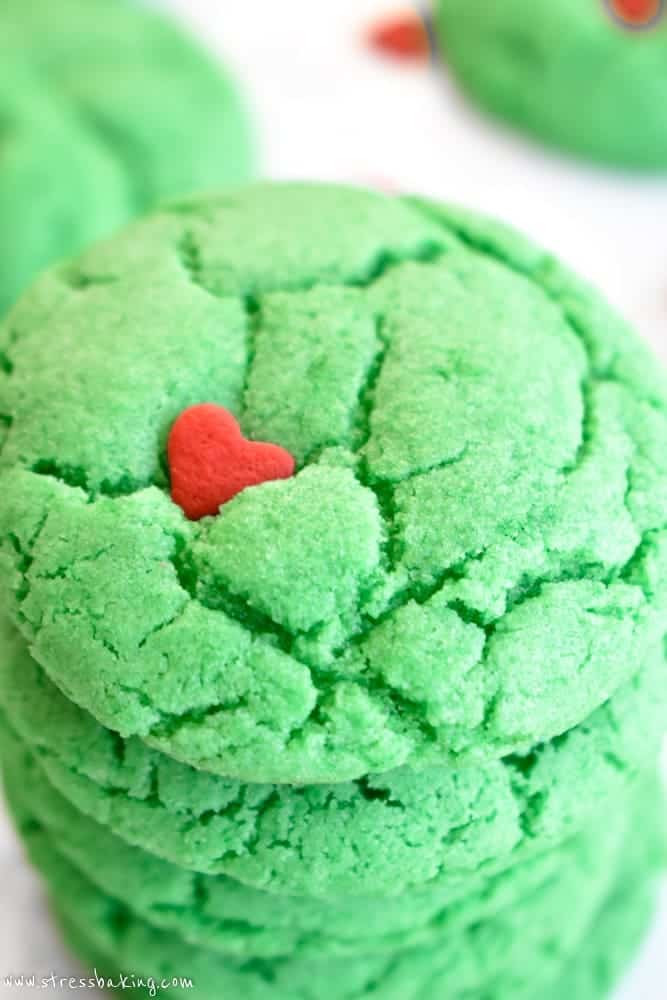
These Grinch cookies are festive, cakey cookies that bear a strong resemblance to a certain Christmas Grinch! In 20 minutes they'll be ready to add to your cookie platter alongside chocolate sugar cookie cut-outs and chewy ginger molasses cookies.

Linka said: “I asked my brother to review them for quality control purposes, but I couldn’t understand how he felt because he had four cookies in his mouth at the time. 100% would recommend, and I’ll definitely be including these in my Christmas cookie gift tins my neighbors are getting this year! ⭐⭐⭐⭐⭐“
This is probably the Christmas-y Christmas cookie recipe I've ever made – and there's not a Christmas tree, gingerbread man or ornament in sight.
These cookies are the edible embodiment of the Grinch himself, with a heart that's three sizes too… actually, no, it's the perfect size.
If the heart were bigger it would look like the cookie had a dangerous enlargement of the aorta, and that's just alarming.
I'd seen a lot of recipes for Grinch cookies on Pinterest similar to these, but they were all using a boxed cake mix and oil and I didn't want to go that route. I have to make things more complicated, obviously.
“Then the Grinch thought of something he hadn't before! What if Christmas, he thought, doesn't come from a store. What if Christmas…perhaps…means a little bit more!”
― Dr. Seuss, How the Grinch Stole Christmas!
How to make Grinch cookies
For my cookies, we're going to make everything from scratch. But it's not hard at all, so don't freak out!
- It's just a matter of putting a few dry ingredients in one bowl and whisking them together.
- Then in another bowl, you'll combine butter, sugar, eggs, vanilla and mint extract, and top it off with some green food gel paste to give it that essential Grinchy green. I strongly recommend green food gel paste over green food coloring as it's more concentrated, meaning you don't need to use as much.
- You'll even be using a mixer so your arms won't get tired from mixing the dough by hand. A stand mixer will even relieve you of any and all work!
- Let them cool for a while on the cookie sheet, then transfer to a wire rack to cool completely.
See? That's not so hard.

Step 1: In a large bowl, whisk together flour, baking powder and salt.
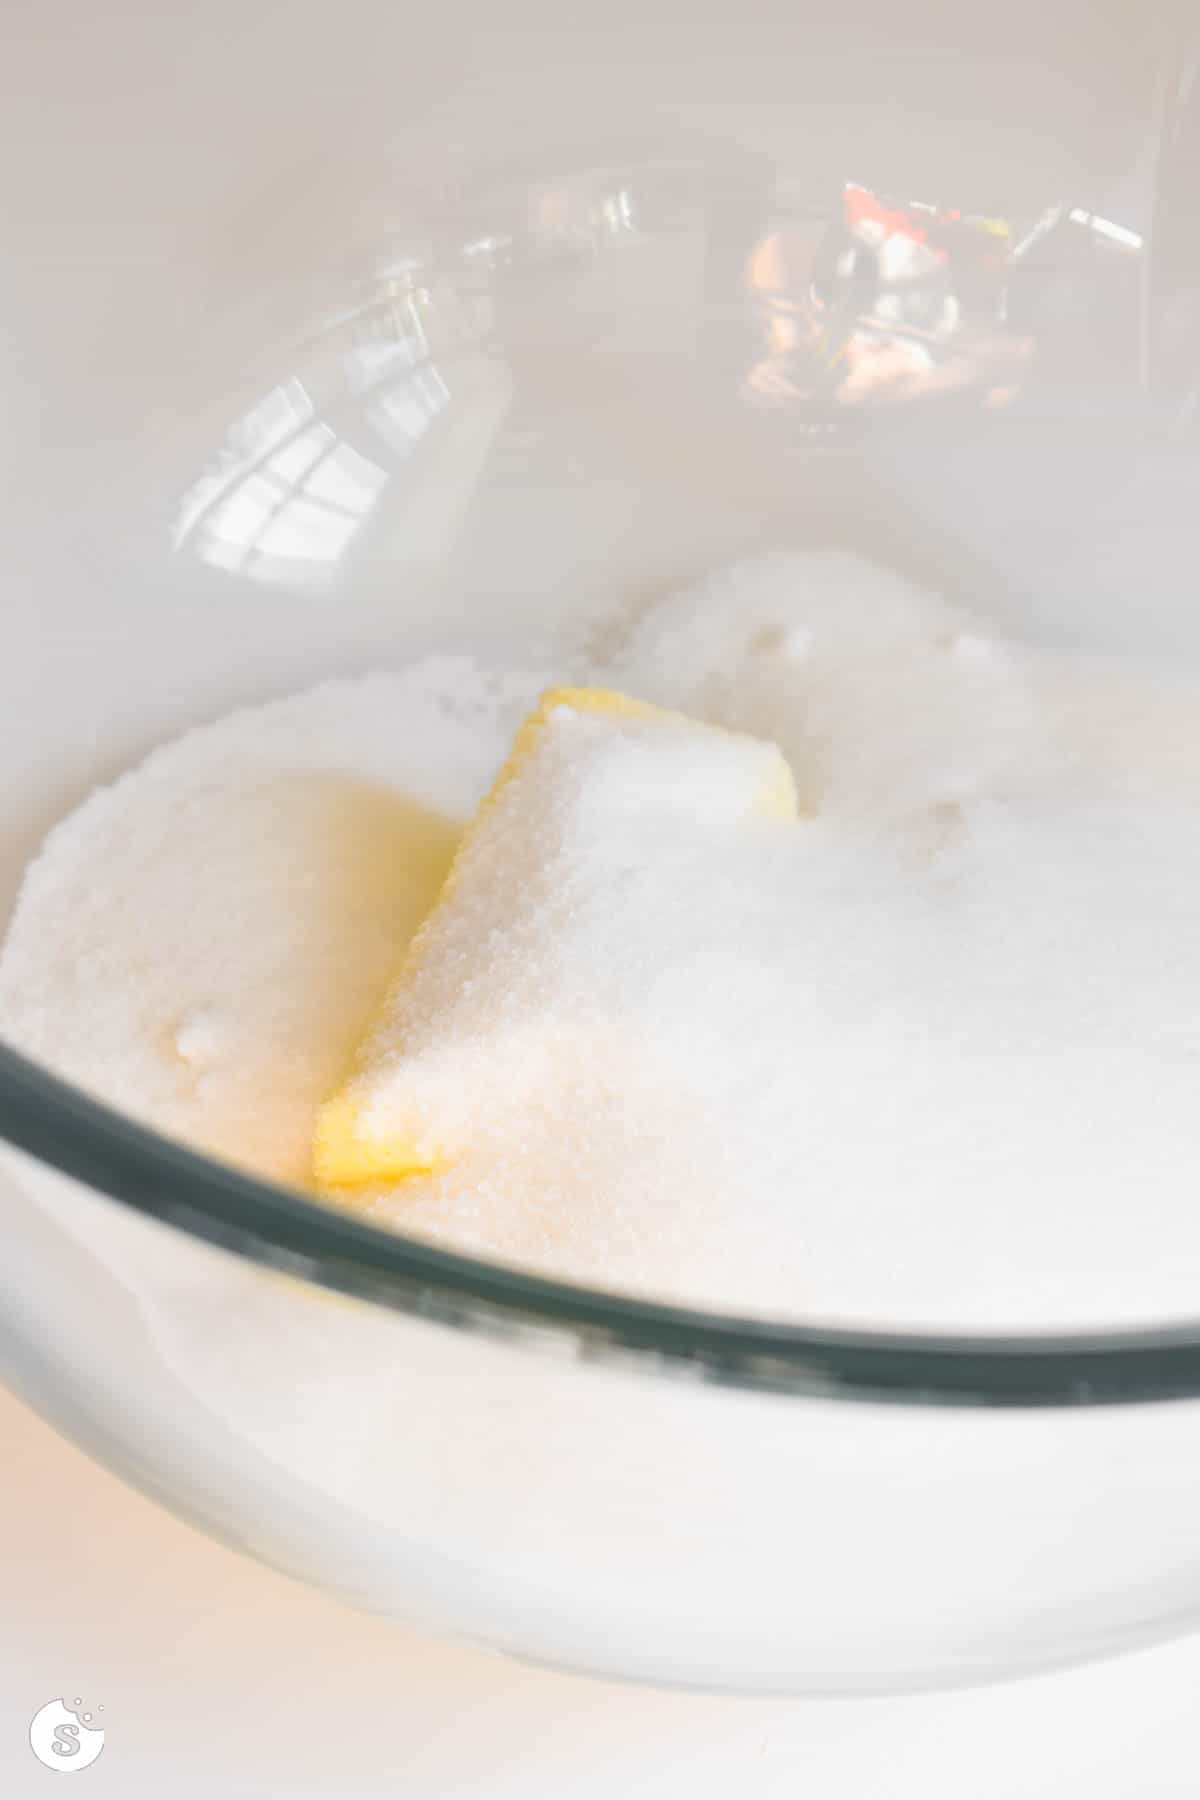
Step 2: In a separate large bowl with a stand mixer fitted with the paddle attachment or a hand mixer, beat to combine sugar and butter and light and fluffy.
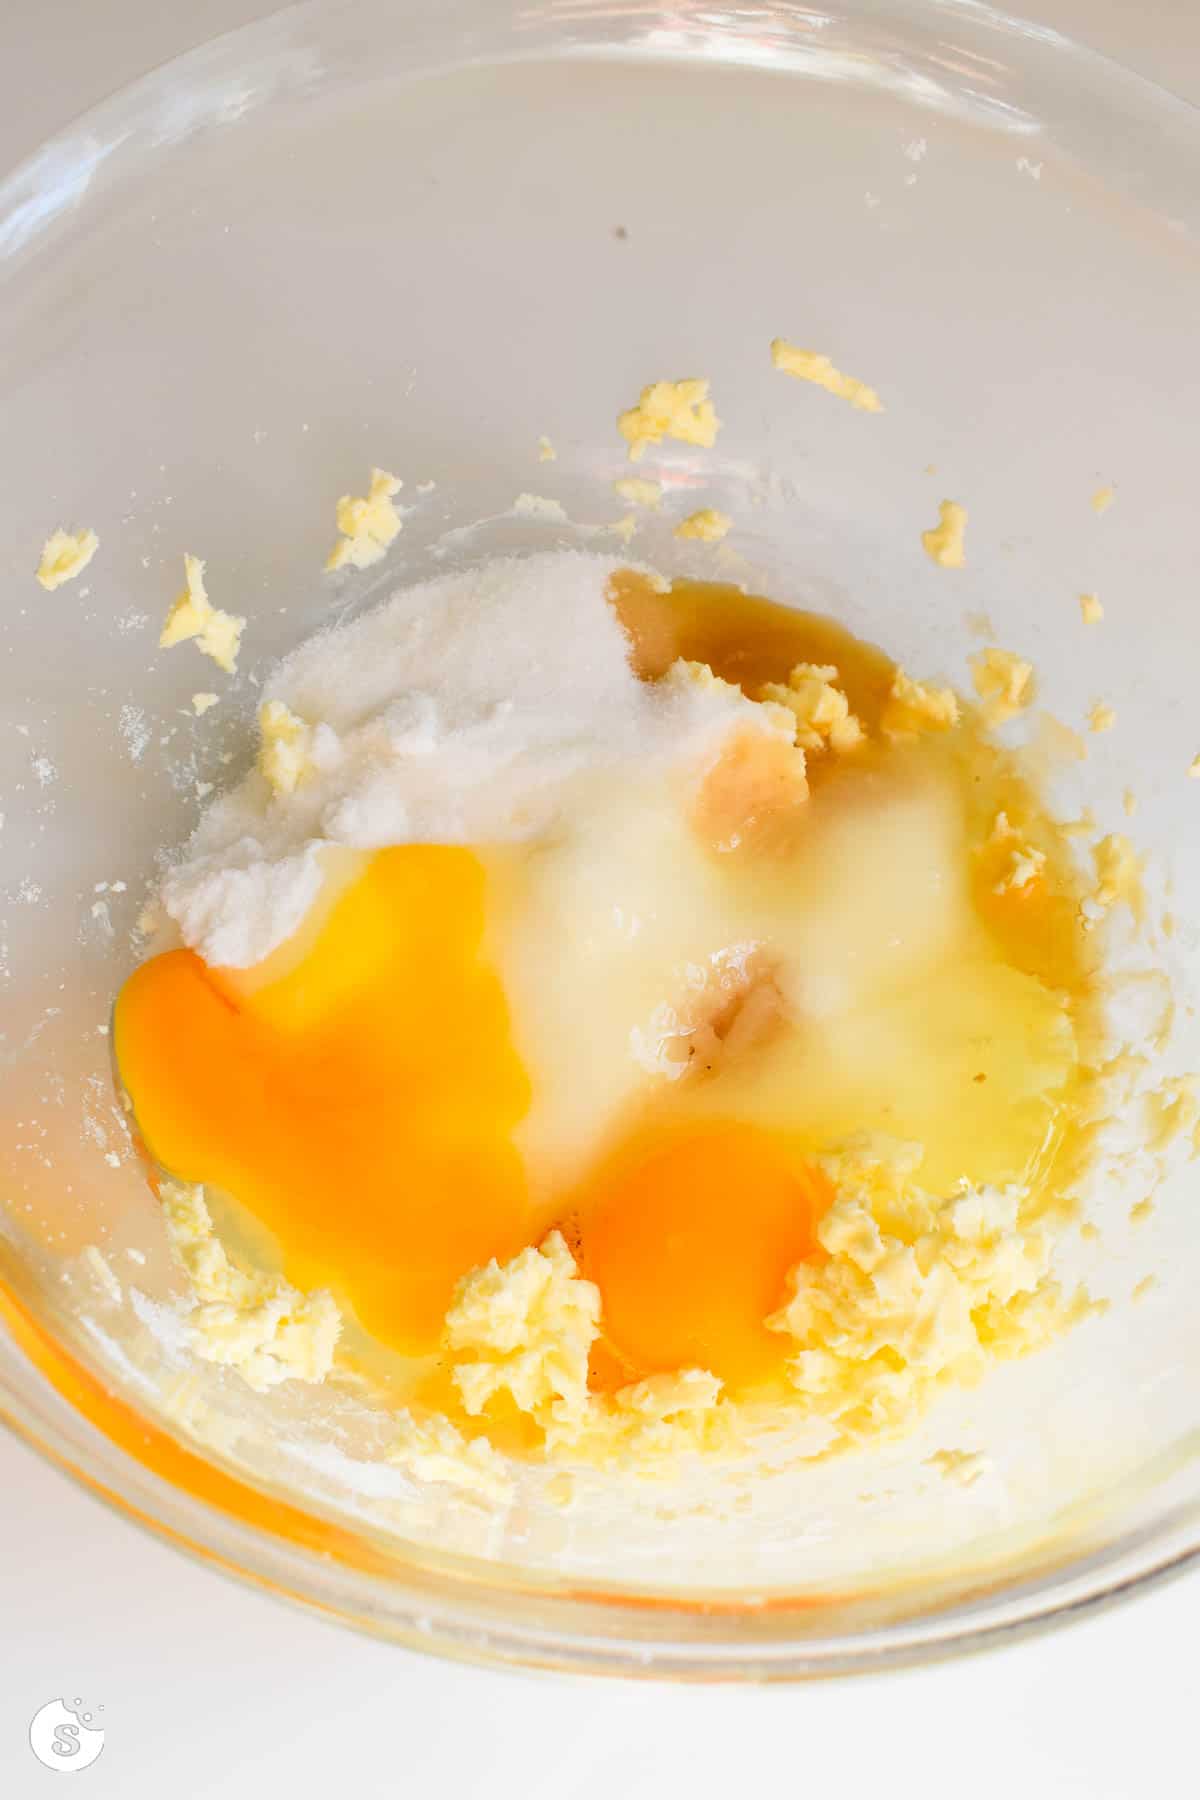
Step 3: Add eggs, vanilla and mint extracts and beat to combine.

Step 4: Add half the flour mixture, mix on low speed to combine, then add the rest and mix until combined. The dough will be crumbly for the first couple minutes, but will start to come together around minute 3 – keep mixing until it does!

Step 5: Add 4 drops of gel paste and beat to fully combine and there are no longer white streaks in the dough. Add more food coloring to get to your desired color, keeping in mind that the color will fade *slightly* during baking.
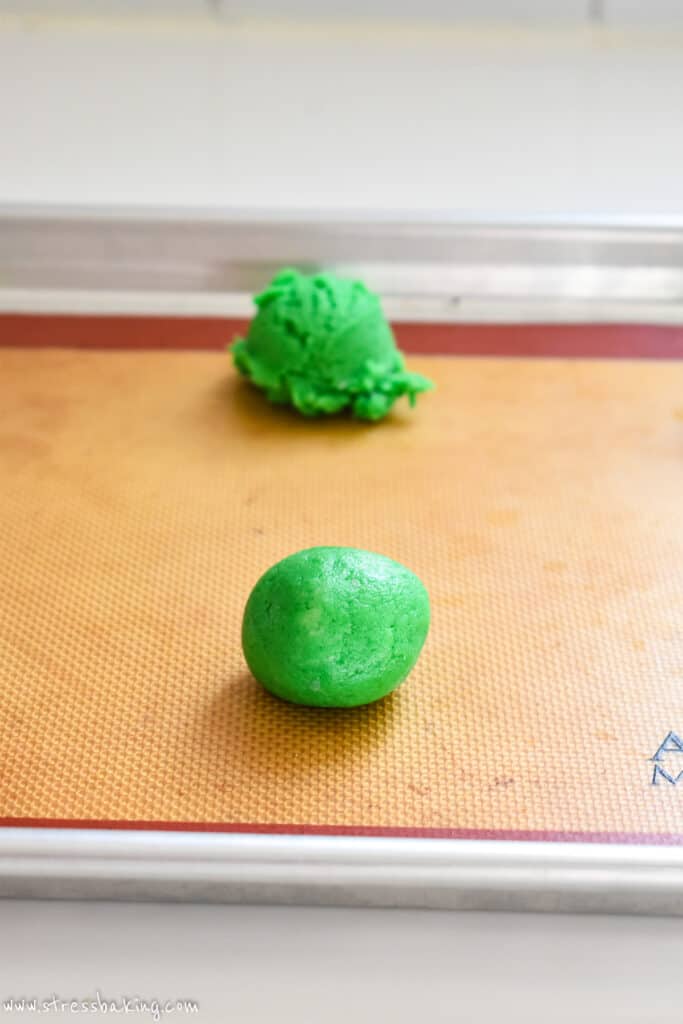
Step 6: Use a medium cookie scoop (1 1/2 tablespoons) to portion dough. Roll each between the palms of your hands to form a ball, then place each ball of dough onto the prepared baking sheets, with no more than 6 on each sheet (they need room to spread while baking).
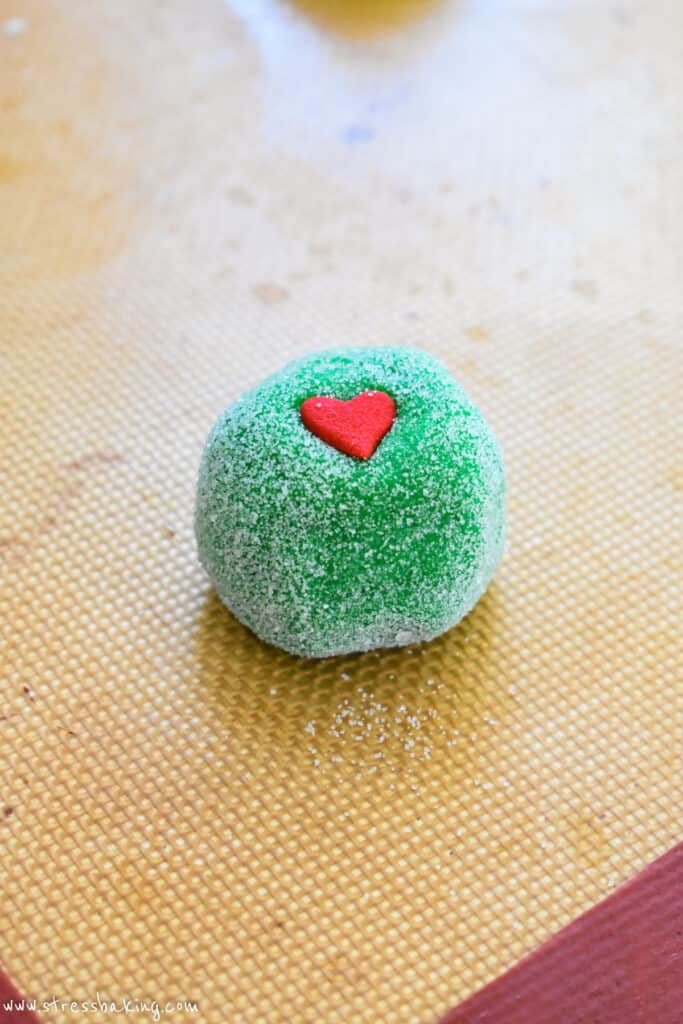
This step is optional: Roll each ball of dough in powdered sugar or granulated sugar for a little extra decoration!
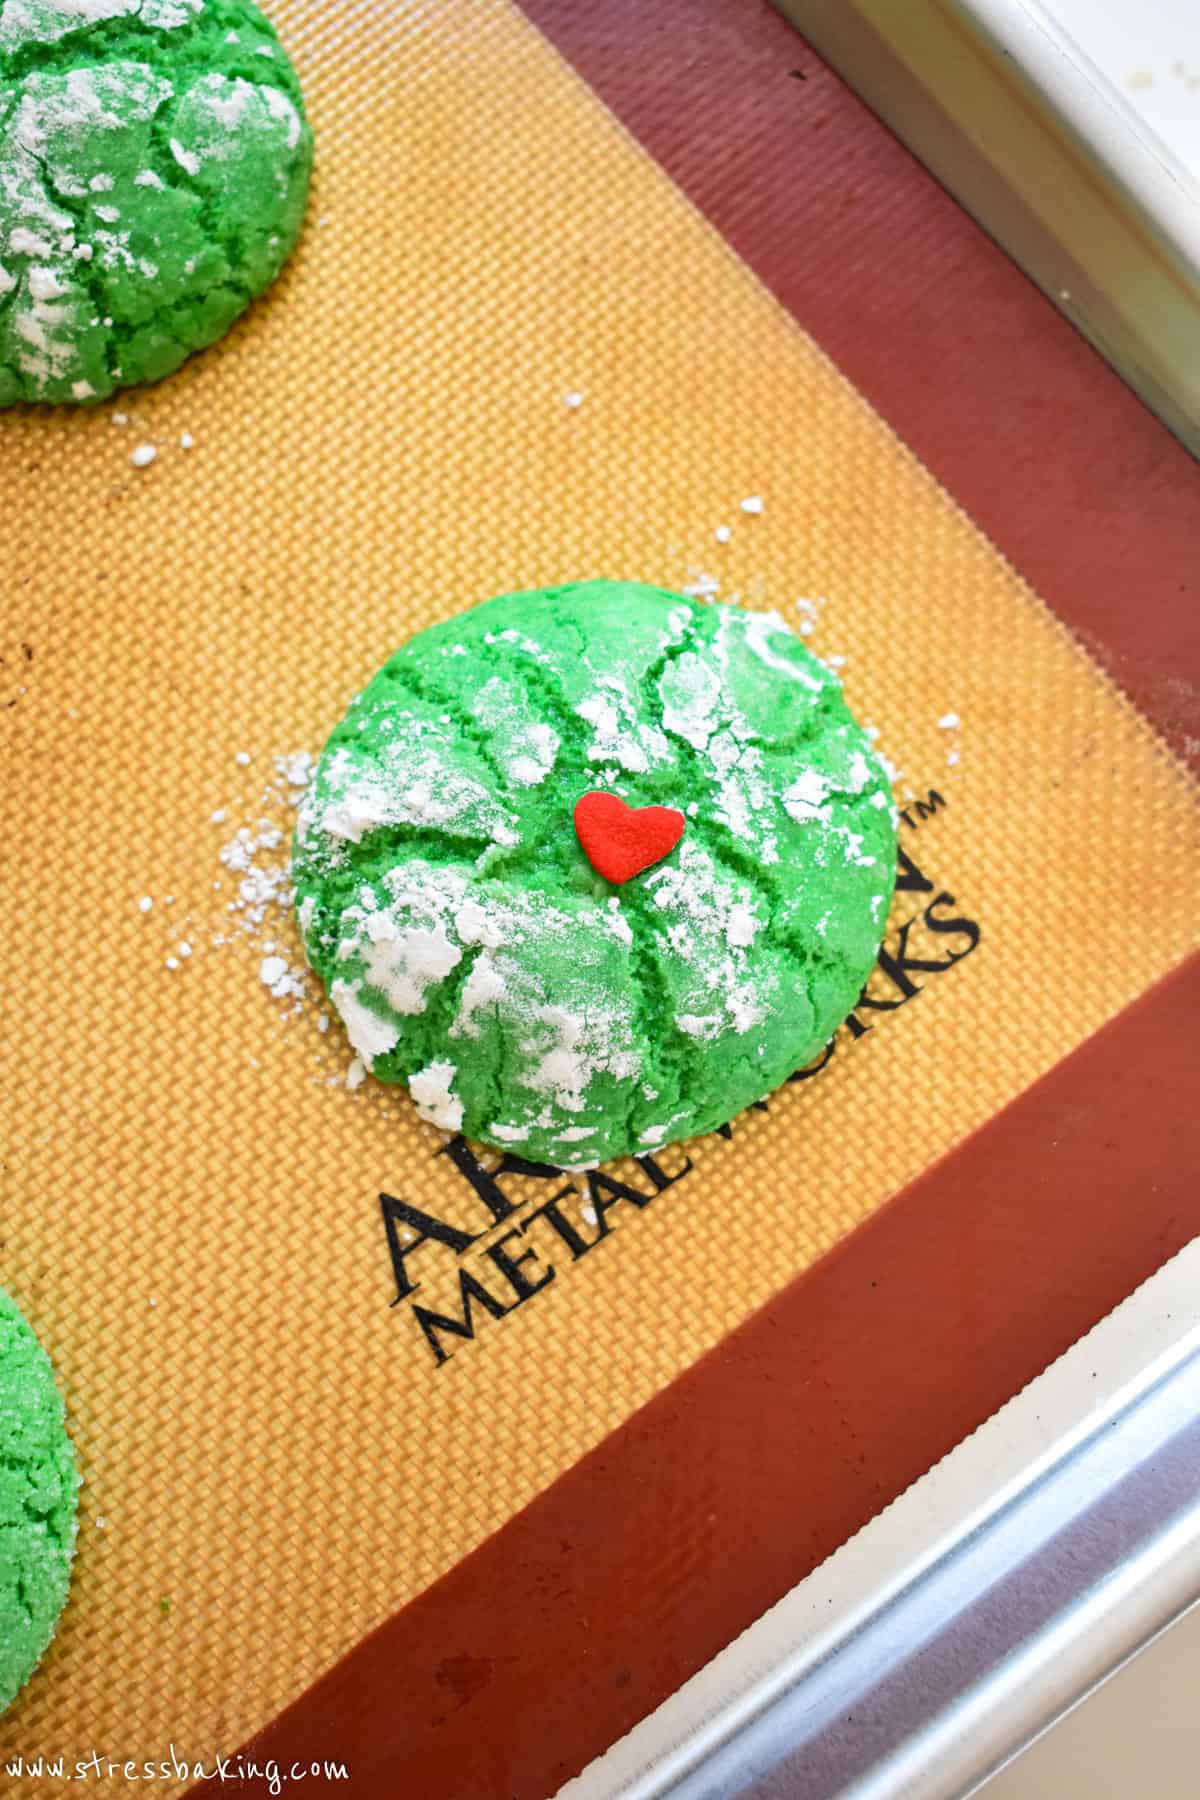
You can place the red heart sprinkle before baking (as pictured here) or after baking, but I find that placing it after baking gives you more control over where it lands once the cookie spreads and cools.
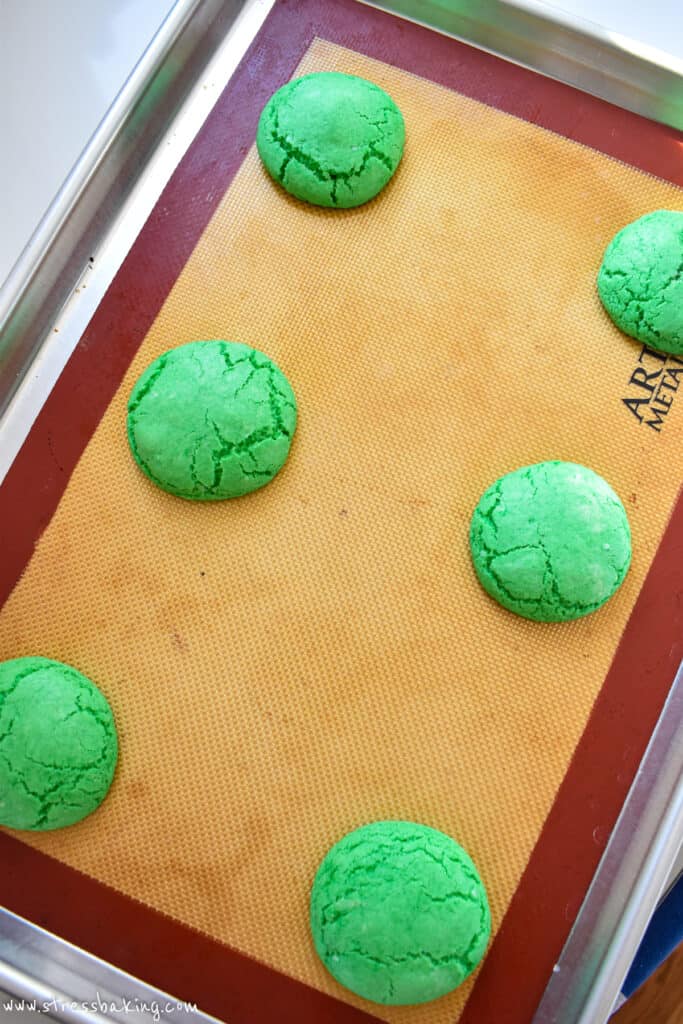
Step 7: Bake for 8 minutes, or until the cookies have started to crinkle – they will set and crinkle more as they cool.
Step 8: As soon as you remove them from the oven, press a heart sprinkle into the top of each cookie. Let cool on baking sheets for a few minutes, and then move to wire racks to cool completely.
Have patience with the dough
It will start out crumbly, but after a few minutes of mixing it will start to come together to form a dough that's sort of the consistency of playdough (I know, what an appetizing comparison, hah).
So if it's still forming large crumbs, keep at it – it's going to come together and just needs a little more time!
Roll the dough into balls
You want to roll each portion of dough between the palms of your hands (rather than leaving them the way they plop out of the small cookie scoop). Doing this will give them a more uniform result, and they're spread more and crinkle on top.
If you don't roll them, they'll stay puffier, be more uneven, and have a different texture in the end.
Adding a red heart sprinkle
Quite frankly, the hardest part is going to be placing the little heart sprinkle on top of each cookie when it comes out of the oven. You have to do it quickly before the cookies set, so have them at the ready!
You'll gently press them in enough so they stick, but not so hard that it looks like the cookie is consuming its own heart. That's pretty dark, even for me.
You could press the hearts into the tops of the cookies before baking to avoid having the mini rush when they come out of the oven, but they just come out looking a little bit different and not as clean looking.
Plus, when the cookies bake and spread, the heart might not end up where you thought it would be!
Don't like mint?
Simply omit it! I know some people think mint just reminds them of toothpaste, so if you're one of those people just leave it out – no harm, no foul.
- You could also swap the mint extract for peppermint extract – but as that has a strong flavor, I'd start with 1/2 teaspoon and increase it if you like a stronger peppermint flavor.
- You could also do a 1:1 swap of another flavor extract if you'd like to mix things up!
Try rolling in sugar for added decoration and flavor
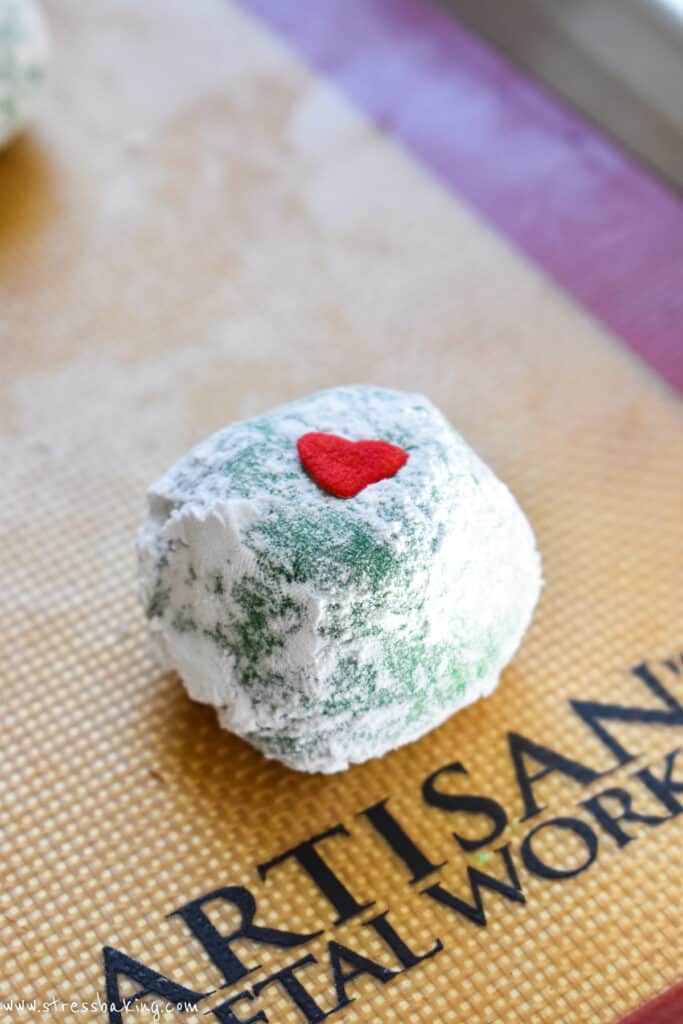
You can roll each ball of dough in granulated sugar or powdered sugar (confectioners sugar) for a little added somethin' somethin'.
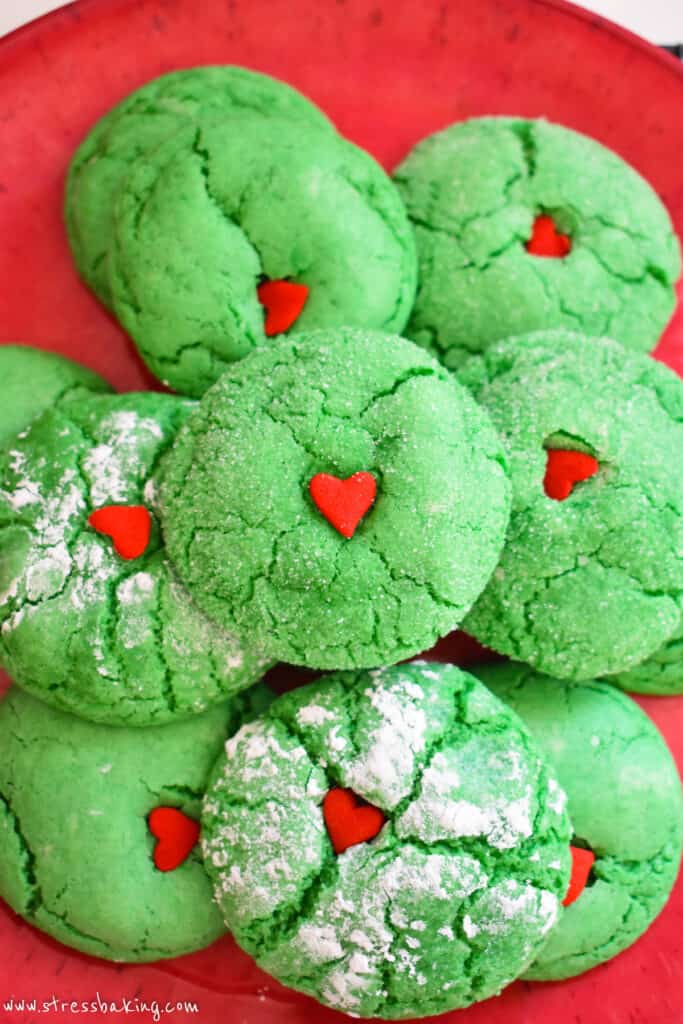
The granulated sugar makes them a little sparkly, but the powdered sugar kinda looks like snow!
Grinch Christmas cookies are great for cookie exchanges
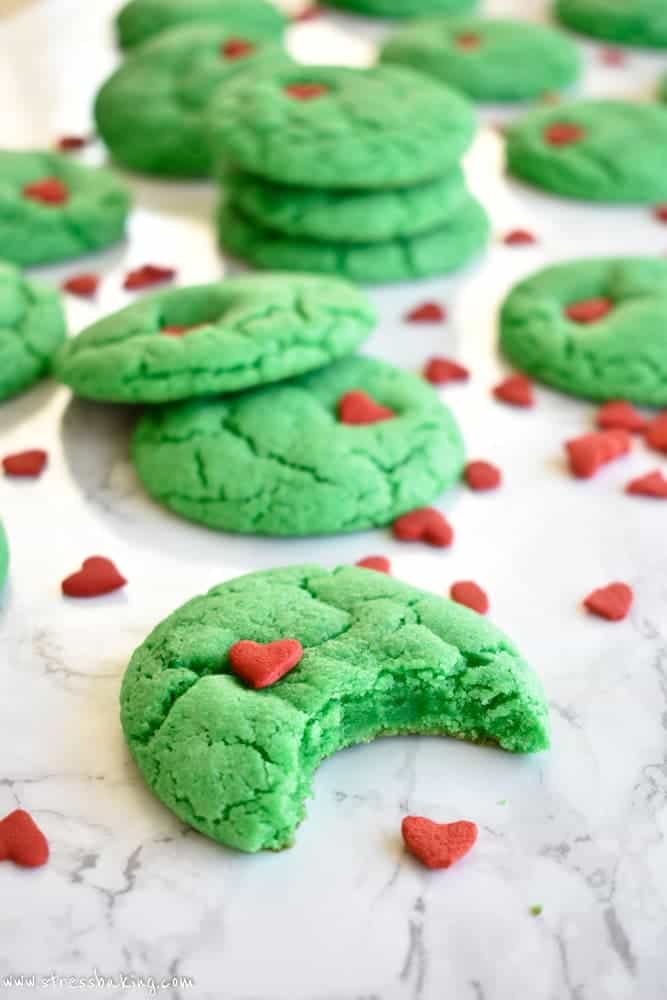
What you'll end up with is this batch of completely adorable Grinch crinkle cookies that are absolute perfection for your holiday cookie exchanges. Not only will they be cute and tasty, they're a great little conversation starter.
Kids and adults alike will be clamoring to get their hands on one – and lord knows they're totally Instagram-worthy.
Pop on a Christmas movie, snack on these, and relish the festiveness of it all!
Rating this recipe is a great (and free) way to support Stress Baking. After you've enjoyed this recipe, click on the stars below to share your experience – thank you!
Easy Crinkly Grinch Cookies

Equipment
Ingredients
- 2 ½ cups all-purpose flour
- 1 Tablespoon baking powder
- ½ teaspoon salt
- 1 ½ cups granulated sugar
- ⅓ cup unsalted butter, softened
- 2 large eggs, room temperature
- 1 Tablespoon pure vanilla extract, (yes, Tablespoon!)
- 1 teaspoon mint extract, or less, to taste (can omit, if desired)
- Green gel food coloring paste, start with 4 drops and add as needed for desired color
- Heart-shaped sprinkles, aff link
Instructions
- Preheat oven to 375°F and position the baking rack in the middle. Line two baking sheets with nonstick silicon mats or parchment paper. Set aside.
- In a large bowl, whisk together flour, baking powder and salt.2 1/2 cups (312 ½ g) all-purpose flour1 Tablespoon baking powder1/2 teaspoon (½ teaspoon) salt
- In a separate large bowl with a stand mixer fitted with the paddle attachment or a hand mixer, beat to combine sugar and butter and light and fluffy.1 1/2 cups (300 g) granulated sugar1/3 cup (75 ⅔ g) unsalted butter
- Add eggs, vanilla and mint extracts and beat to combine.2 large eggs1 teaspoon mint extract1 Tablespoon pure vanilla extract
- Add half the flour mixture, mix on low speed to combine, then add the rest and mix until combined. The dough will be crumbly for the first couple minutes, but will start to come together around minute 3 – keep mixing until it does!
- Add 4 drops of gel paste and beat to fully combine and there are no longer white streaks in the dough. Add more food coloring to get to your desired color, keeping in mind that the color will fade *slightly* during baking.Green gel food coloring paste
- Use a medium cookie scoop (1 1/2 tablespoons) to portion dough. Roll each between the palms of your hands to form a ball, then place each ball of dough onto the prepared baking sheets, with no more than 6 on each sheet (they need room to spread while baking). Press down on the top of each slightly.
- This step is optional: Roll each ball of dough in powdered sugar or granulated sugar for a little extra decoration!
- Bake for 8 minutes, or until the cookies have started to crinkle – they will set and crinkle more as they cool.
- As soon as you remove them from the oven, carefully and gently press a heart sprinkle into the top of each cookie. Let cool on baking sheets for a few minutes, and then move to wire racks to cool completely. Enjoy!
Video
Notes
- Moisture: The size of the eggs you use can make a difference! If they're smaller in size, you may lose a little of the needed moisture. If you find your mixture too dry, you can add a little melted butter or oil. Keep in mind, the dough will start out crumbly but will come together after about 3 minutes of mixing.
- Placing the hearts: If you'd like, you can place the heart sprinkles on top before baking – you just won't be guaranteed they'll be placed exactly where you wanted once they bake and spread.
- Don't like mint? Simply omit it! I know some people think mint just reminds them of toothpaste :) You could also swap the mint extract for peppermint – but as that has a strong flavor, I'd start with 1/2 teaspoon and increase it if you like a stronger peppermint flavor.
Nutrition Facts
Nutrition Disclaimer
The provided nutrition information is generated by an automatic API and does not take variations across specific brands into account. This information is provided as a general guideline and should not be treated as official calculations. Learn more here.
Note: My original recipe from 2015 called for two different forms of butter – one softened, and another melted. To make the recipe easier, in December 2021 I have tweaked it a bit to use only softened butter (slightly more than the original recipe) and a slightly different method of combining the cookie dough. While I love the original recipe, I want it to be easy to follow! The resulting cookies are almost exactly the same – enjoy, and Happy Holidays!
Literally fried my hand mixer with this dough (RIP old gal, you had a good run!) but I can’t say it wasn’t worth it- these cookies are fantastic!! I will absolutely make again and will be much faster to amend with oil if need be.
Nice recipe
To read about “The Ultimate Art Director Portfolio: Tips and Examples”
see here :https://www.djobzy.com/blog-details/the-ultimate-art-director-portfolio-tips-and-examples
These were fantastic! I made them with my kids, who are 3yr and 5yr, so we left out the mint, and they turned out great! We also rolled them in powdered sugar because that’s part of the fun. I tried a cake mix cookie last year and these were far superior–definitely using this recipe from here on out! Thank you for sharing!
tried making these with my kids. followed the instructions to the T. exact measurements and it came out so runny. :( what did we do wrong?
I made these cookies this morning, on a whim, because i needed a break from work and it’s cold outside … and i mean, really … mint cookies … why wouldn’t you?! My eggs were a bit too large, i think, so the dough was initially a little wet, but that was an issue with my ingredients, not the recipe! i tweaked the dry ingredients just a little to get the perfect consistancy to make up for my massive eggs, rolled them in powdered sugar, and popped them in the oven. Perfection. I asked my brother to review them for quality control purposes, but i couldn’t understand how he felt because he had four cookies in his mouth at the time. 100% would recommend, and i’ll definitely be including these in my christmas cookie gift tins my neighbours are getting this year!
Love to hear this!