Chocolate Sugar Cookie Cut-Outs
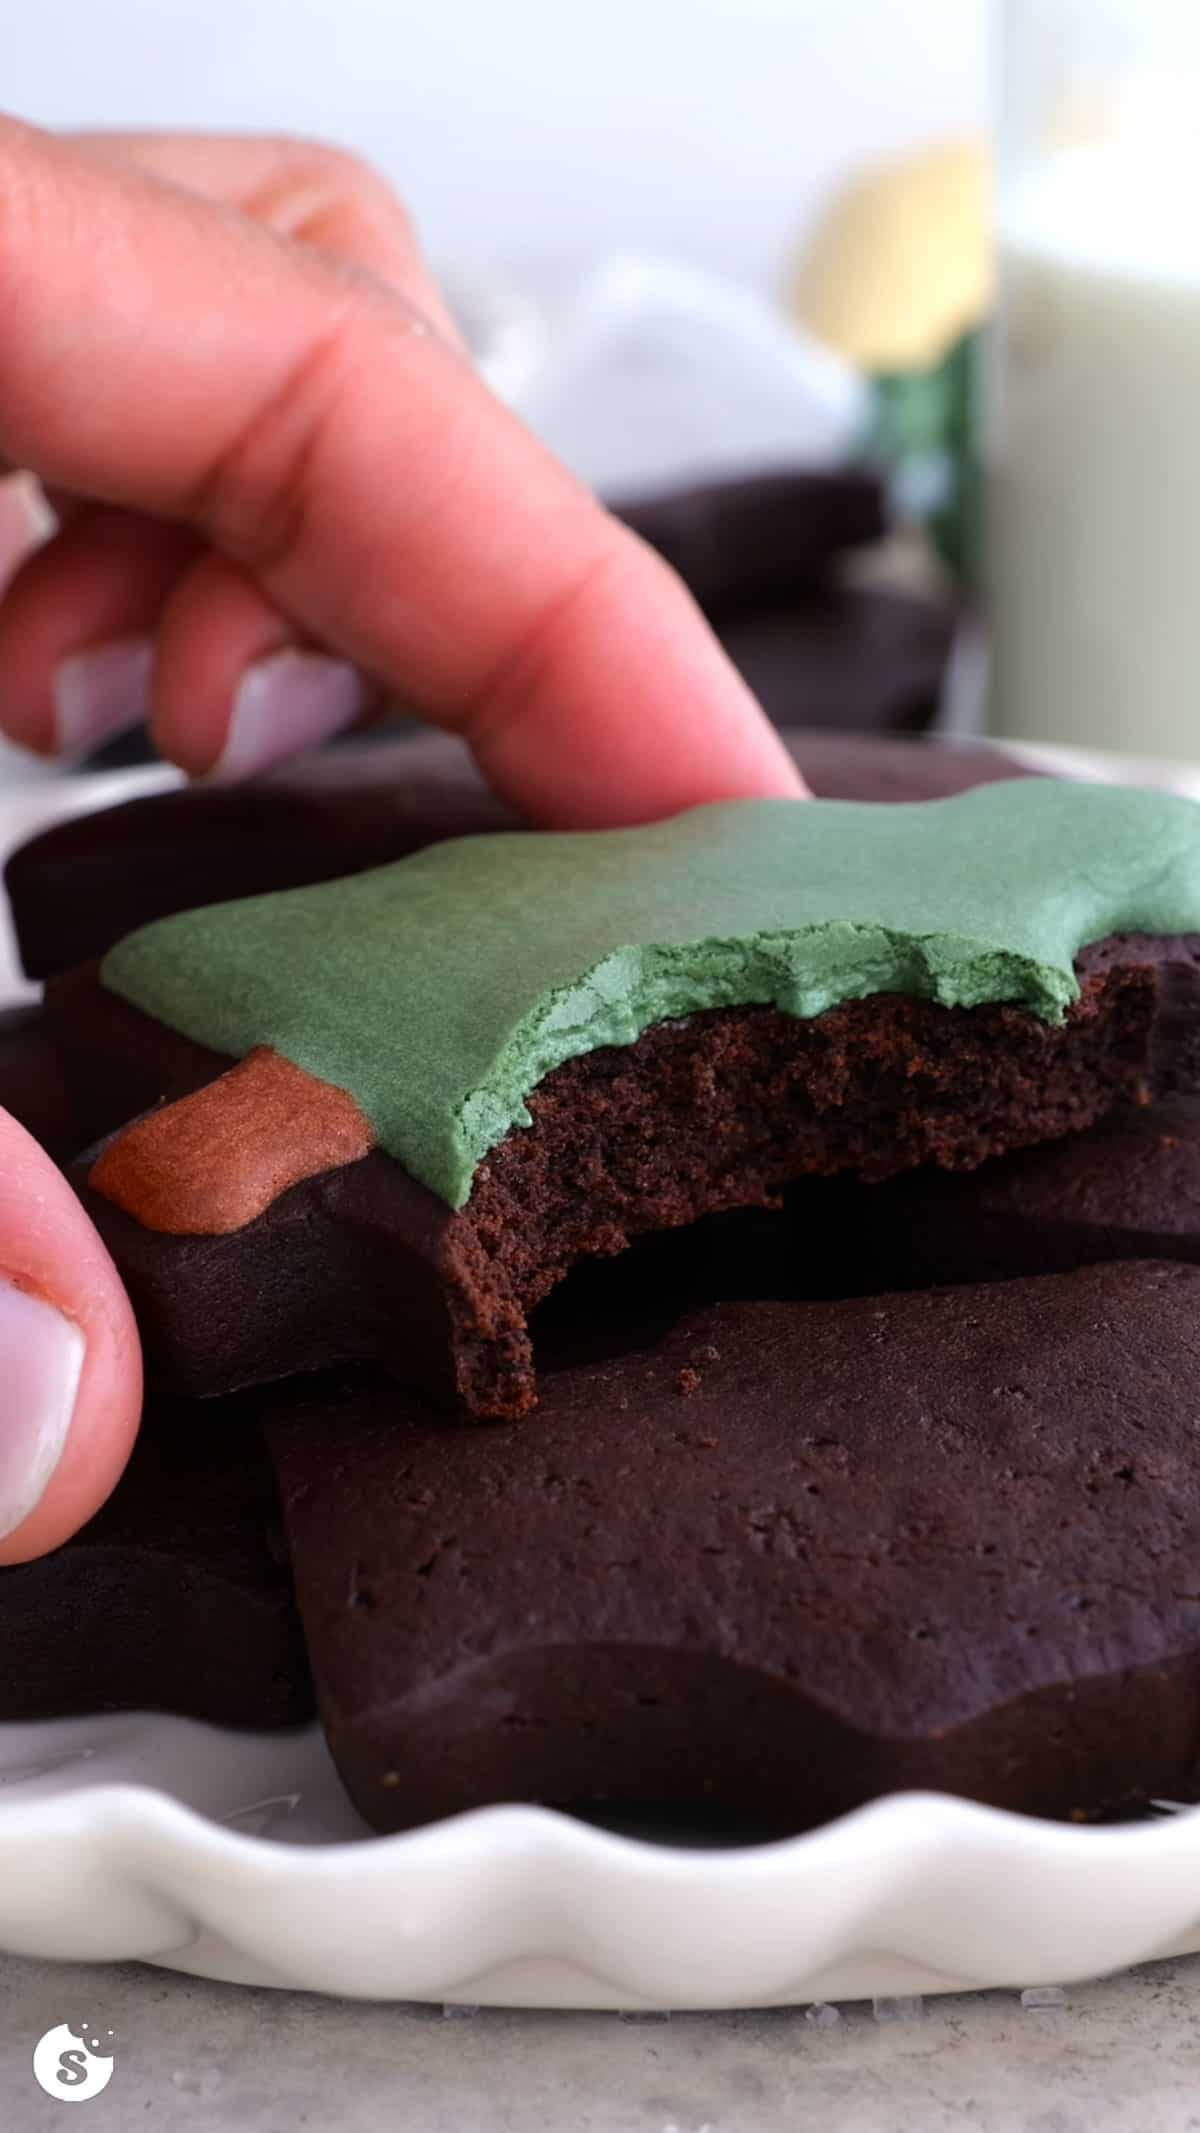
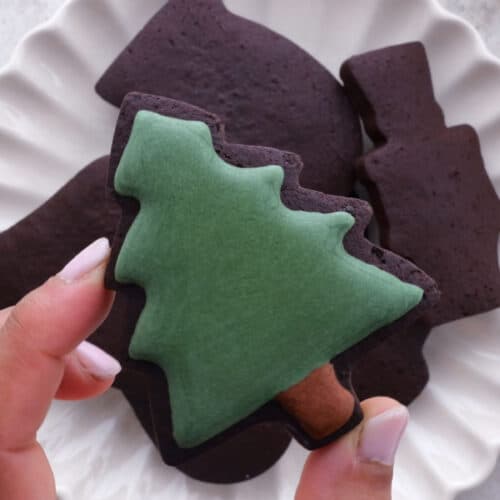
Soft, rich, chewy chocolate sugar cookie recipe that holds its shape, topped with sweet royal icing! They can be stacked after the icing has dried – perfect for a holiday cookie exchange. Next time try my no chill sugar cookie cutouts.
I've spent a long time (longer than I care to admit) trying to make chocolate sugar cookies that were the right flavor, texture, and density. I've spent even longer than that trying to make them as cut-outs.
I have nothing against plain sugar cookie cut-outs, but you know me – just gotta make things difficult.
- I played with different quantities of butter, egg, cocoa powder, and flour.
- I tried using melted chocolate instead of cocoa powder (p.s.: don't do that).
- I swapped granulated sugar for dark brown sugar.
- I swapped butter for avocado – which, to be fair, tasted good but didn't hold up in the shape I wanted.
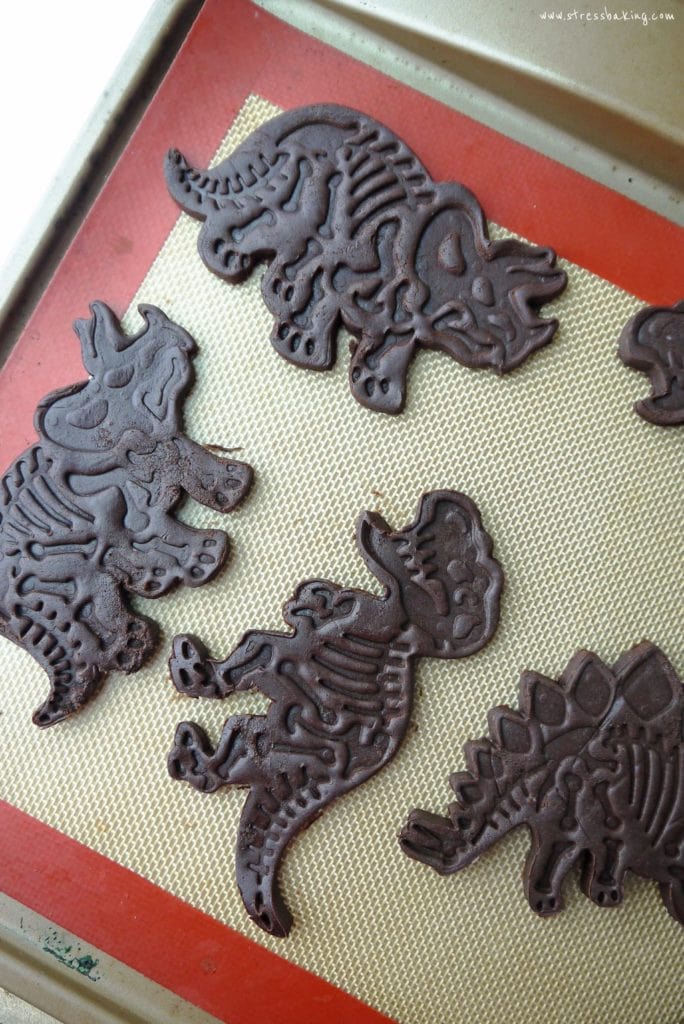
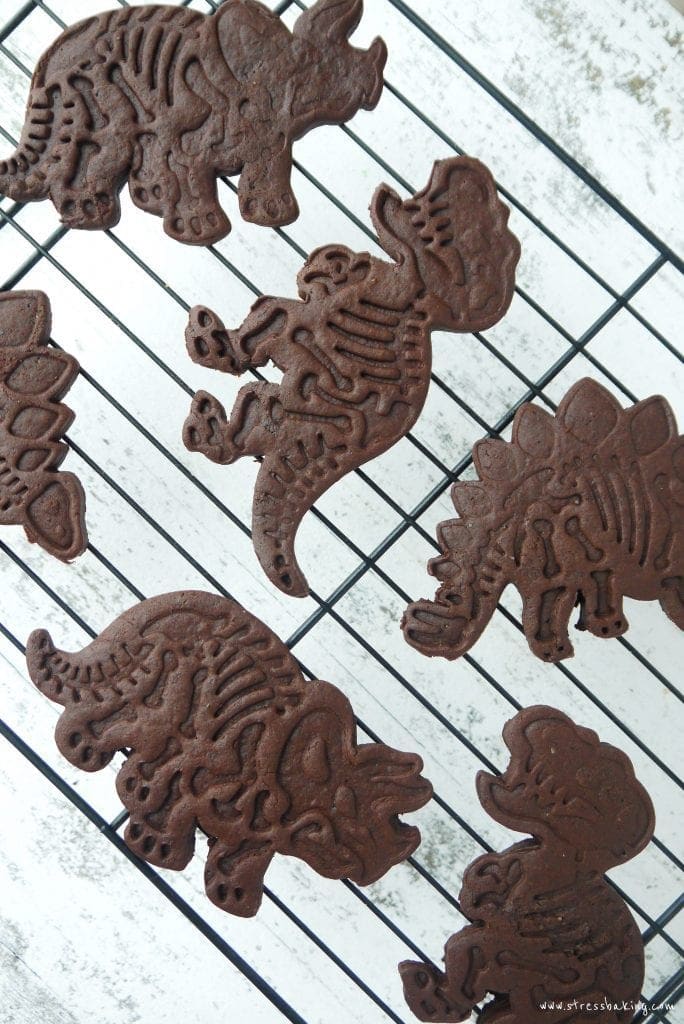
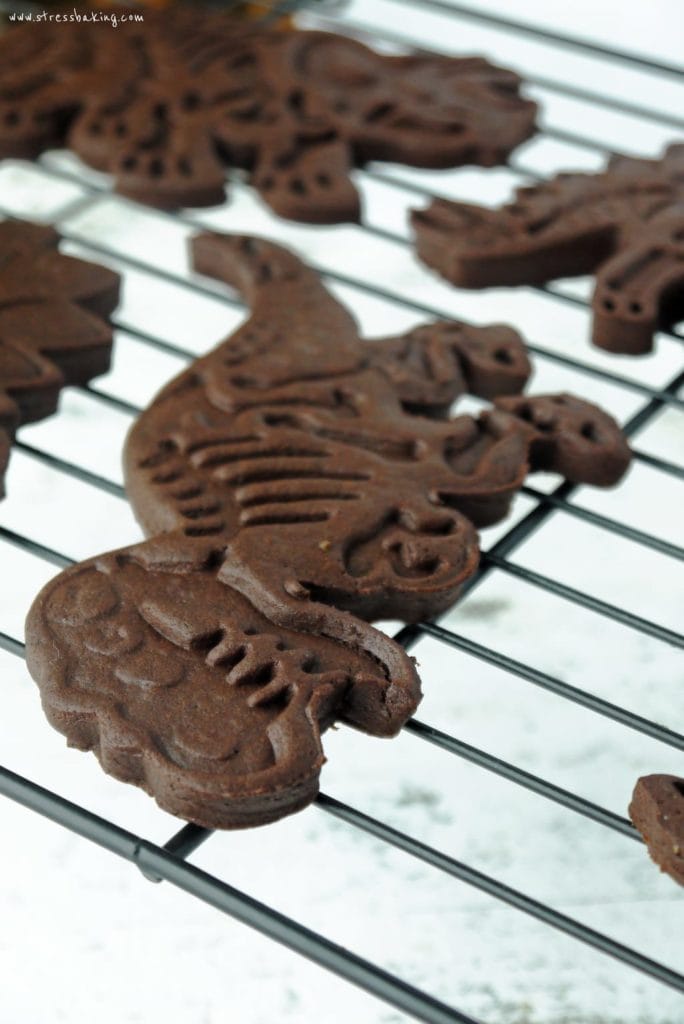
Then things started to come together… I swapped unsweetened cocoa powder for Dutch processed. I swapped granulated and/or brown sugar for coconut sugar. Finally, success!
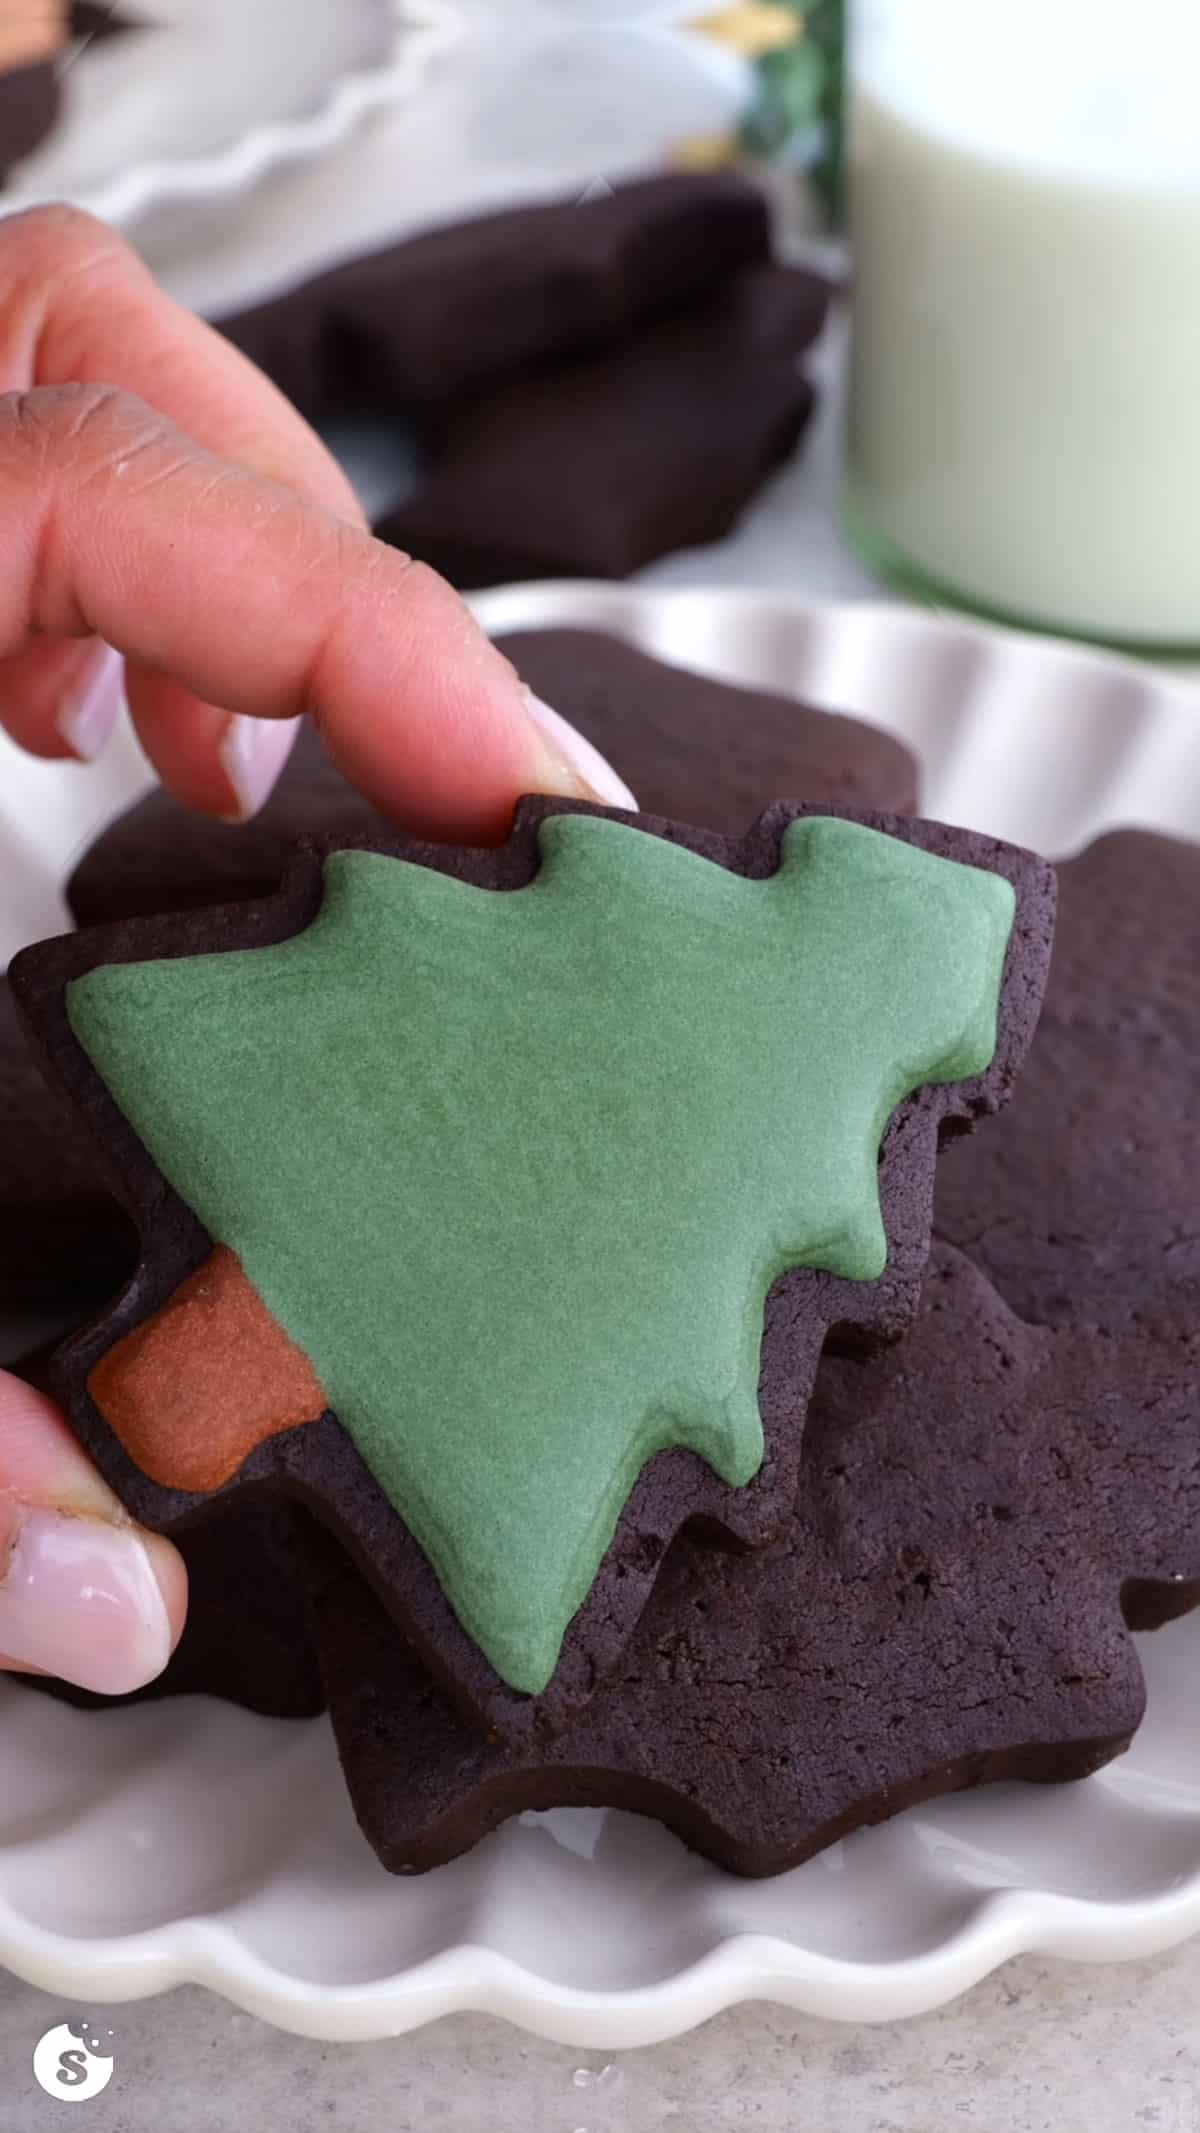
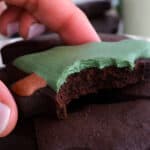
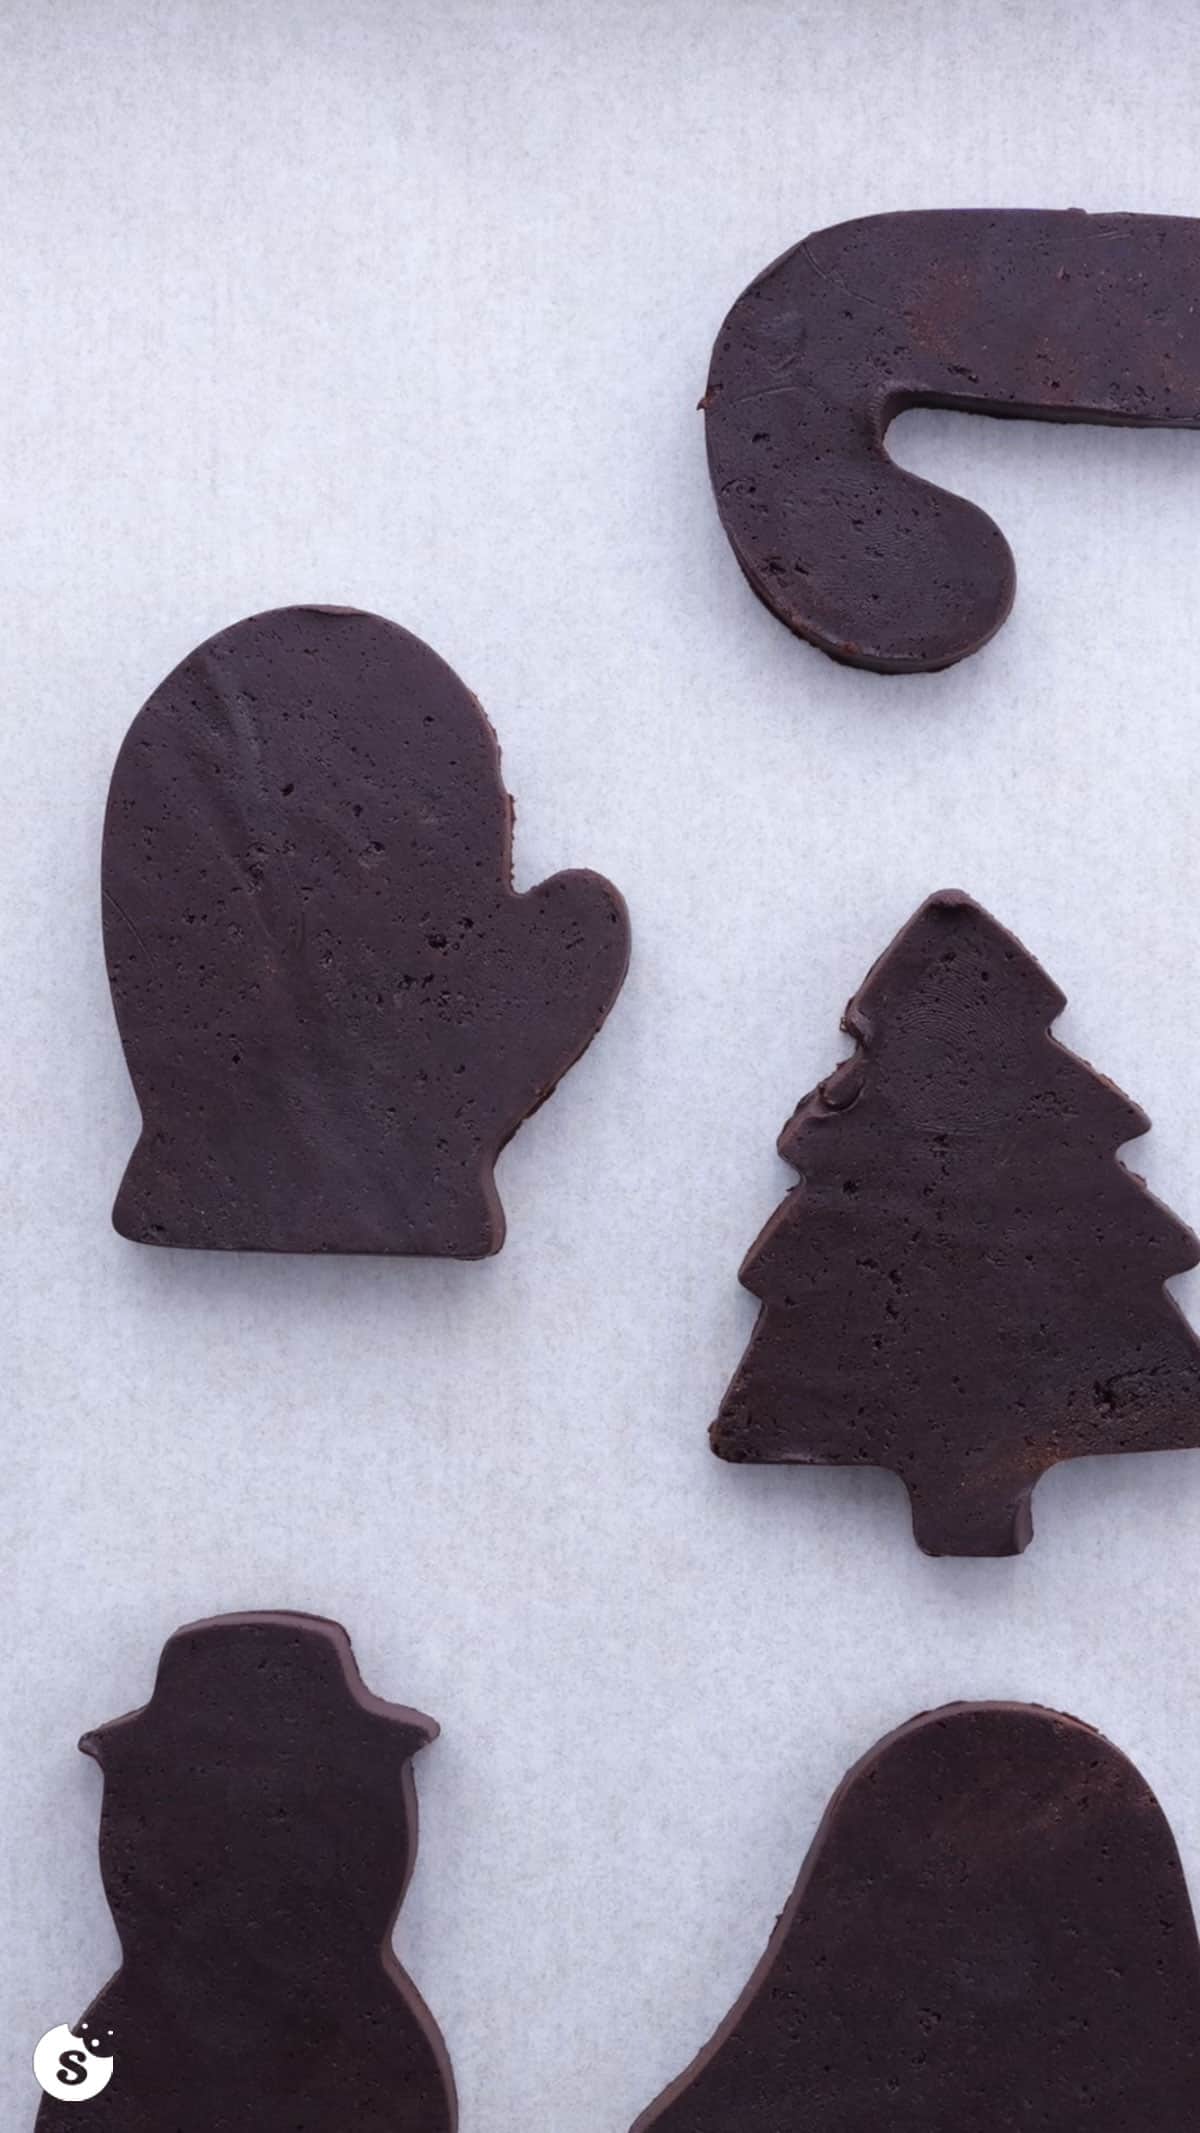
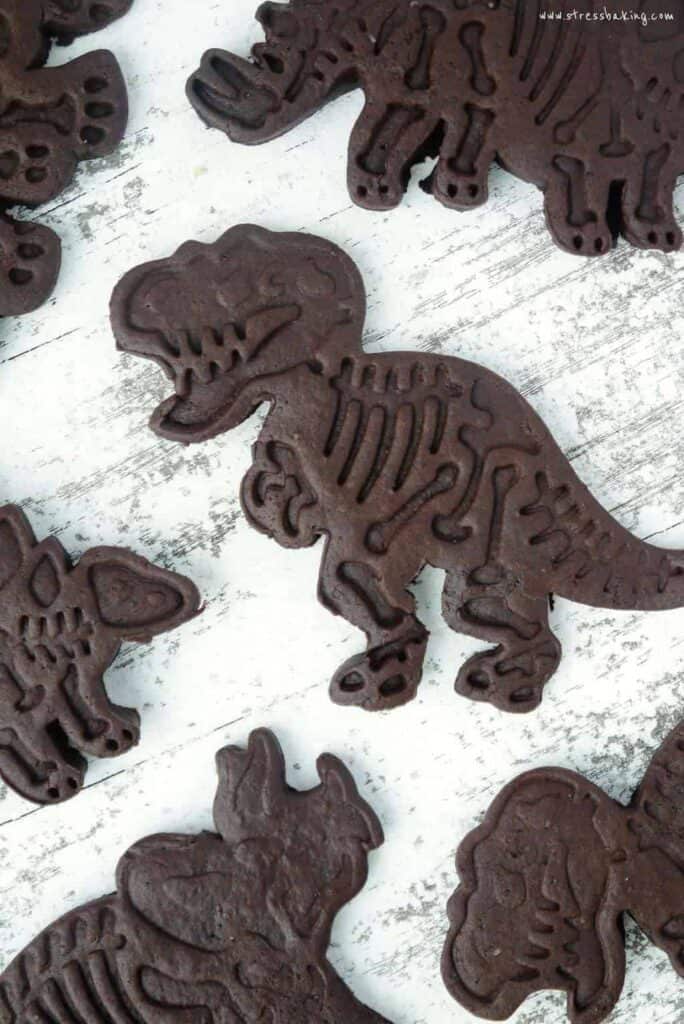
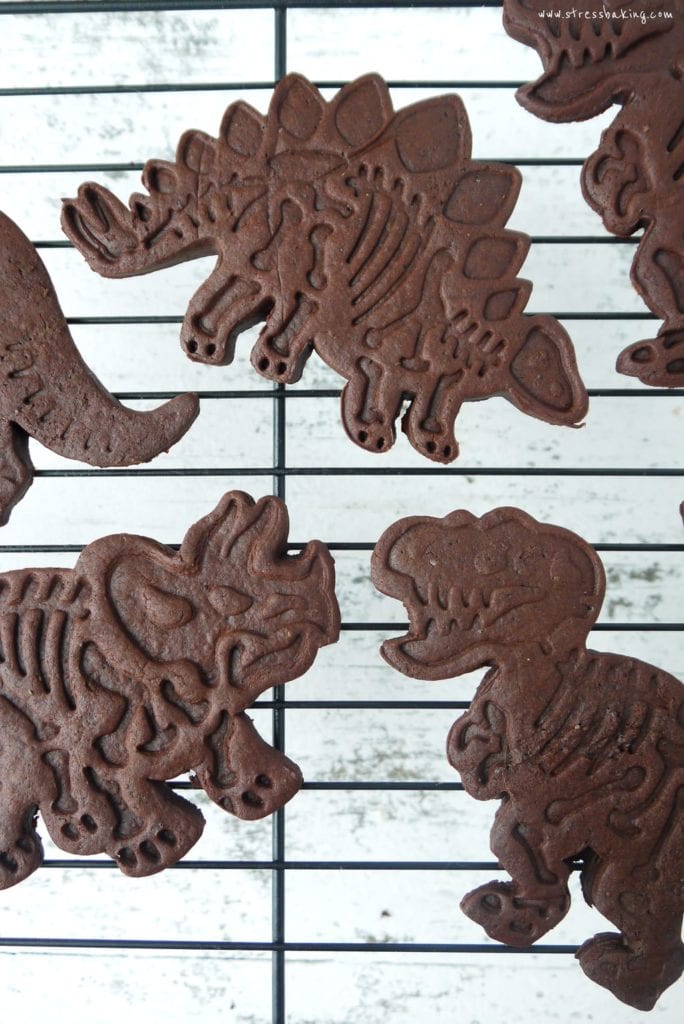
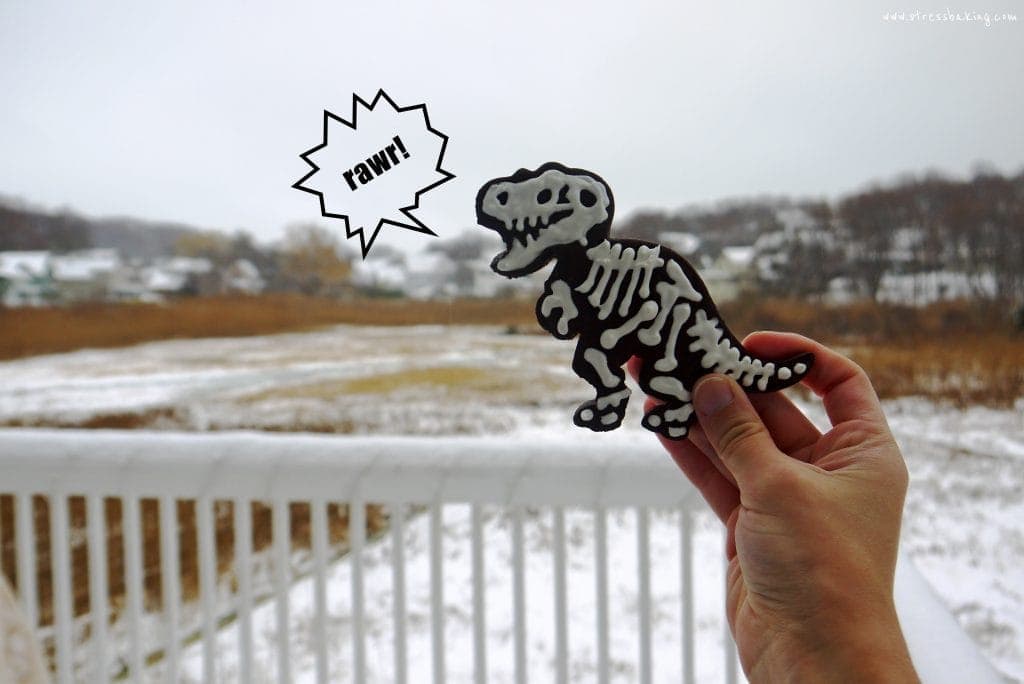
Check out that definition! That's exactly what I was after.
I kid you not, when I took these out of the oven I yelled out, “YES! THESE ARE SO GOOD!” My poor boyfriend was subjected to a lot of self-praise echoing out of the kitchen.
Ingredients for chocolate sugar cookies
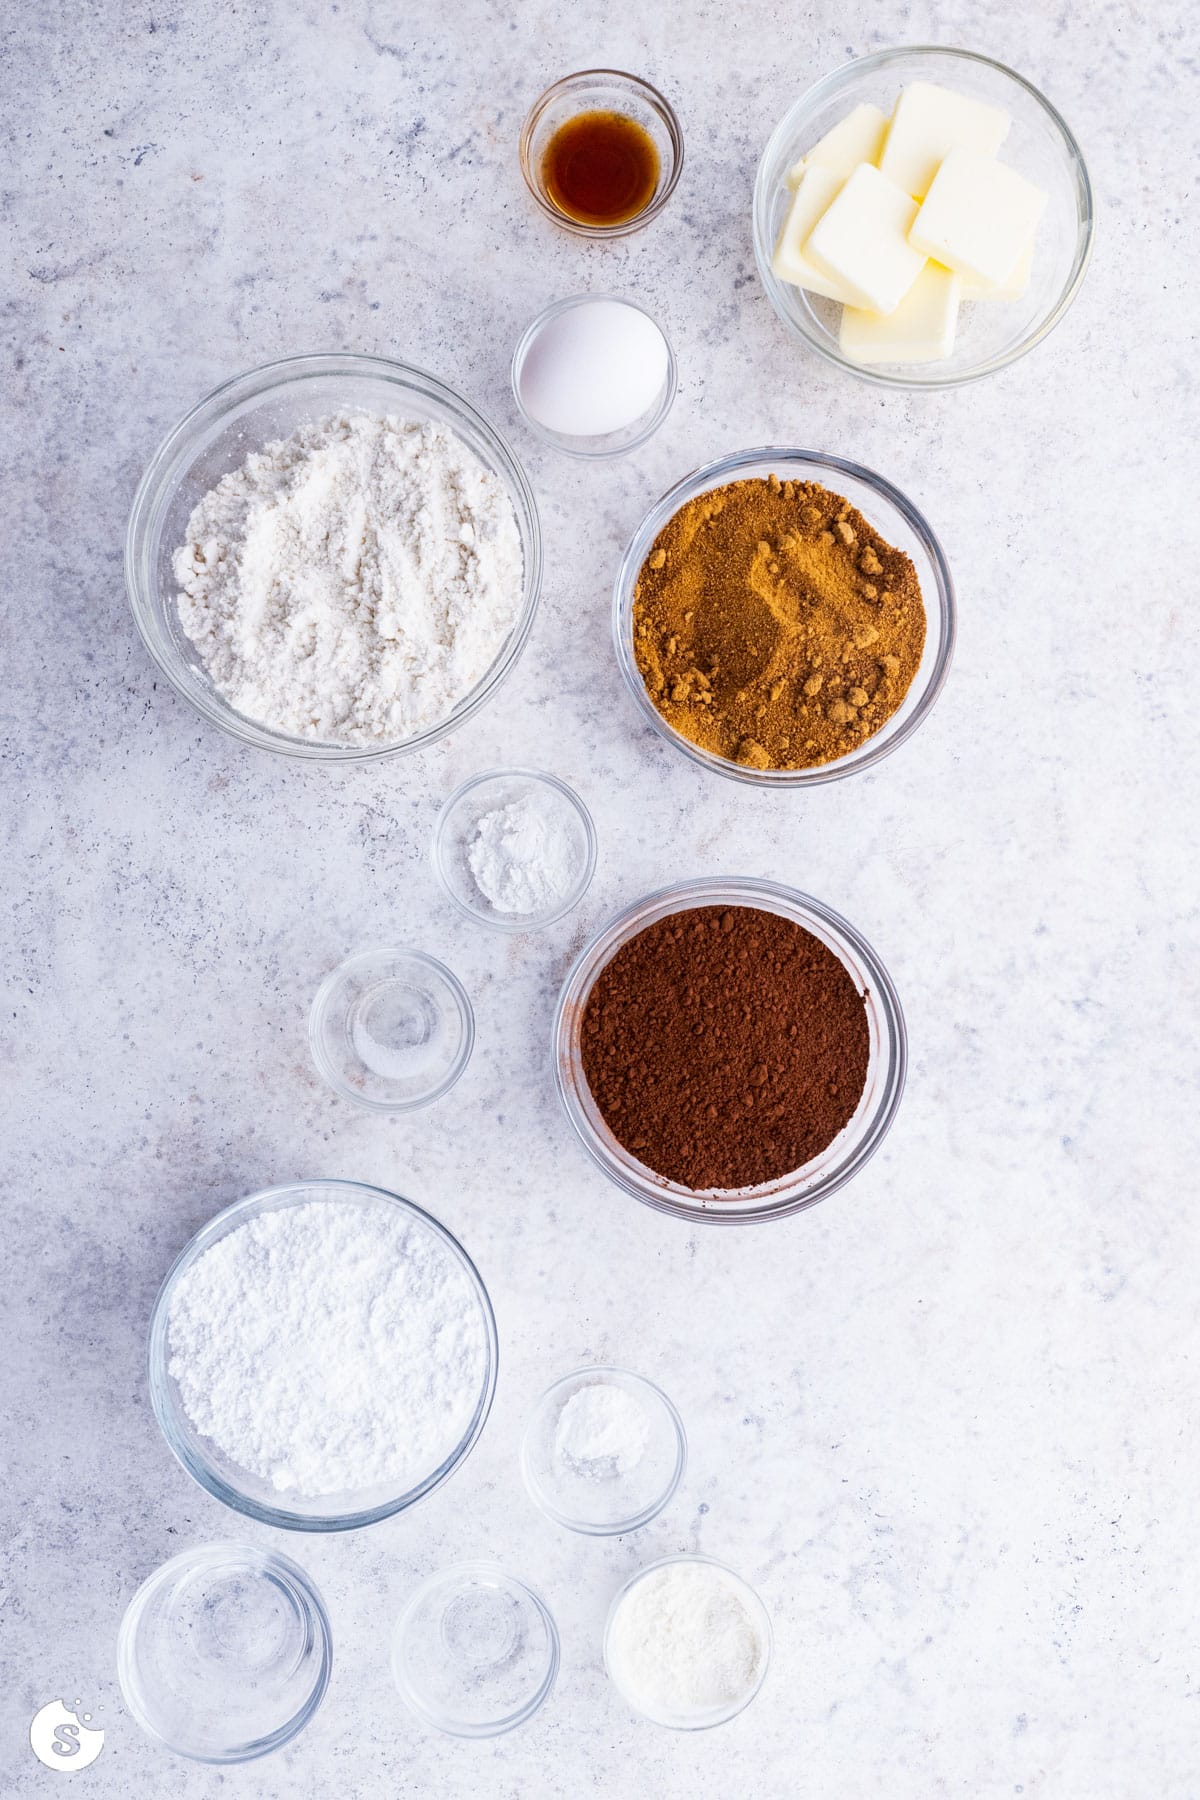
Cookies:
- Unsalted butter – Softened to room temperature, and cut into cubes to make things easier on yourself.
- Coconut sugar – You can substitute light brown sugar
- Egg – Room temperature, to make it easier to incorporate with the rest of the ingredients.
- Pure vanilla extract – This balances and enhances the rest of the cookies' flavors.
- All-purpose flour – Fluffed and measured correctly! If it's overmeasured, you can end up with dry cookies.
- Unsweetened dutch process or Special Dark cocoa powder – You know, because these are chocolate cookies!
- Baking powder – Just enough to give them a little lift, but not so much they lose their shape while baking.
- Salt – I always use unsalted butter so that I can control the amount of salt in my recipes, and for this one you only need a pinch.
Royal Icing:
- Powdered sugar
- Warm water, ideally 105°F -115°F
- Meringue powder
- Almond extract, or other extract of choice
- Cream of tartar
How to make chocolate sugar cookies
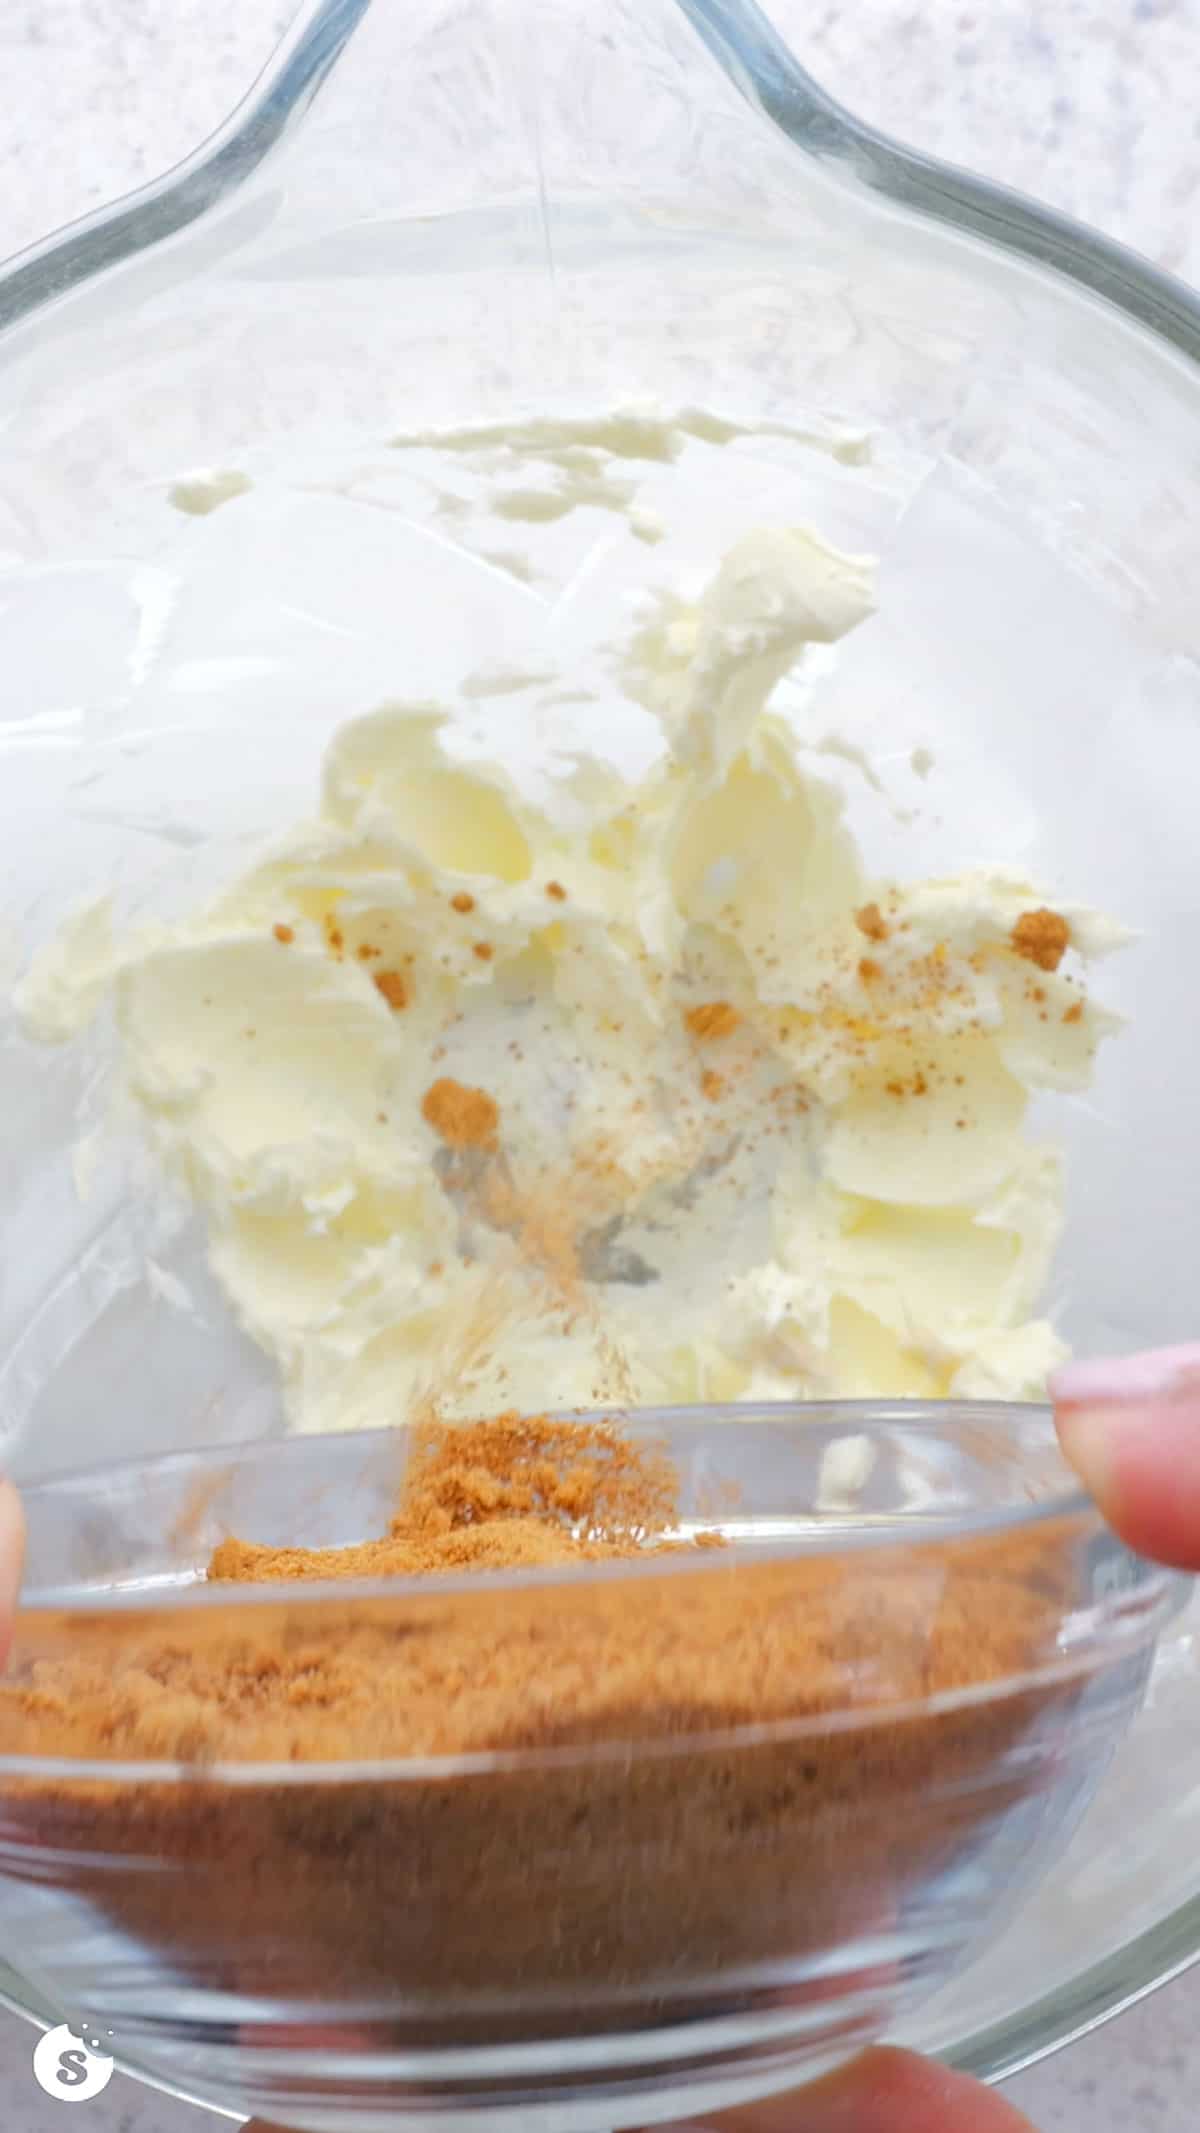
In a large bowl, use the paddle attachment on your mixer to beat the butter for 1 minute on medium speed until smooth and creamy, scraping down the sides of the bowl as needed.
Add the coconut sugar and beat on high speed until fluffy.
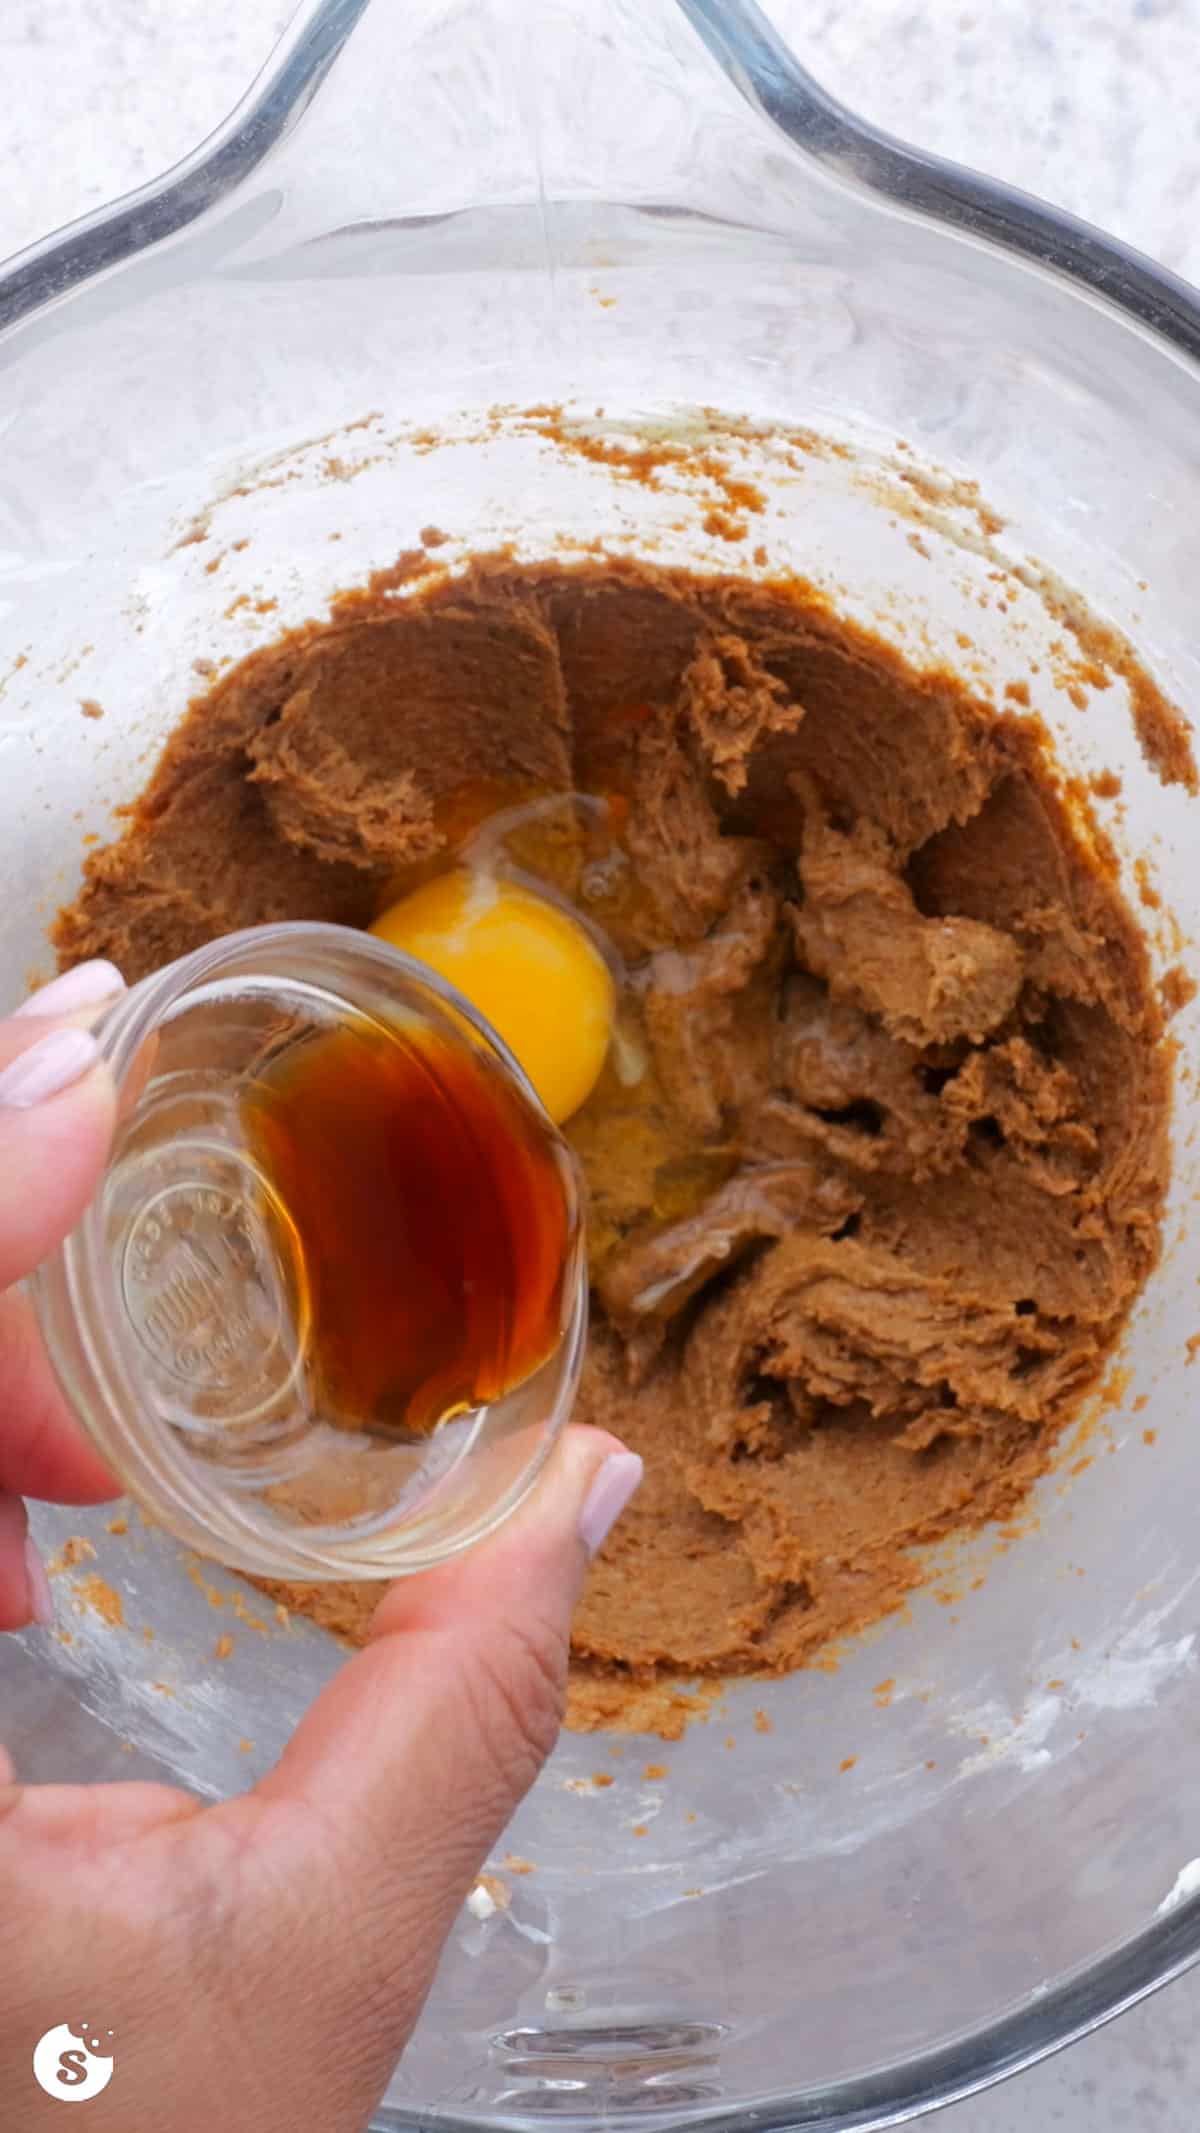
Add the egg and vanilla and beat on high speed, scraping down the sides of the bowl as needed.
The dough should be tan in color.

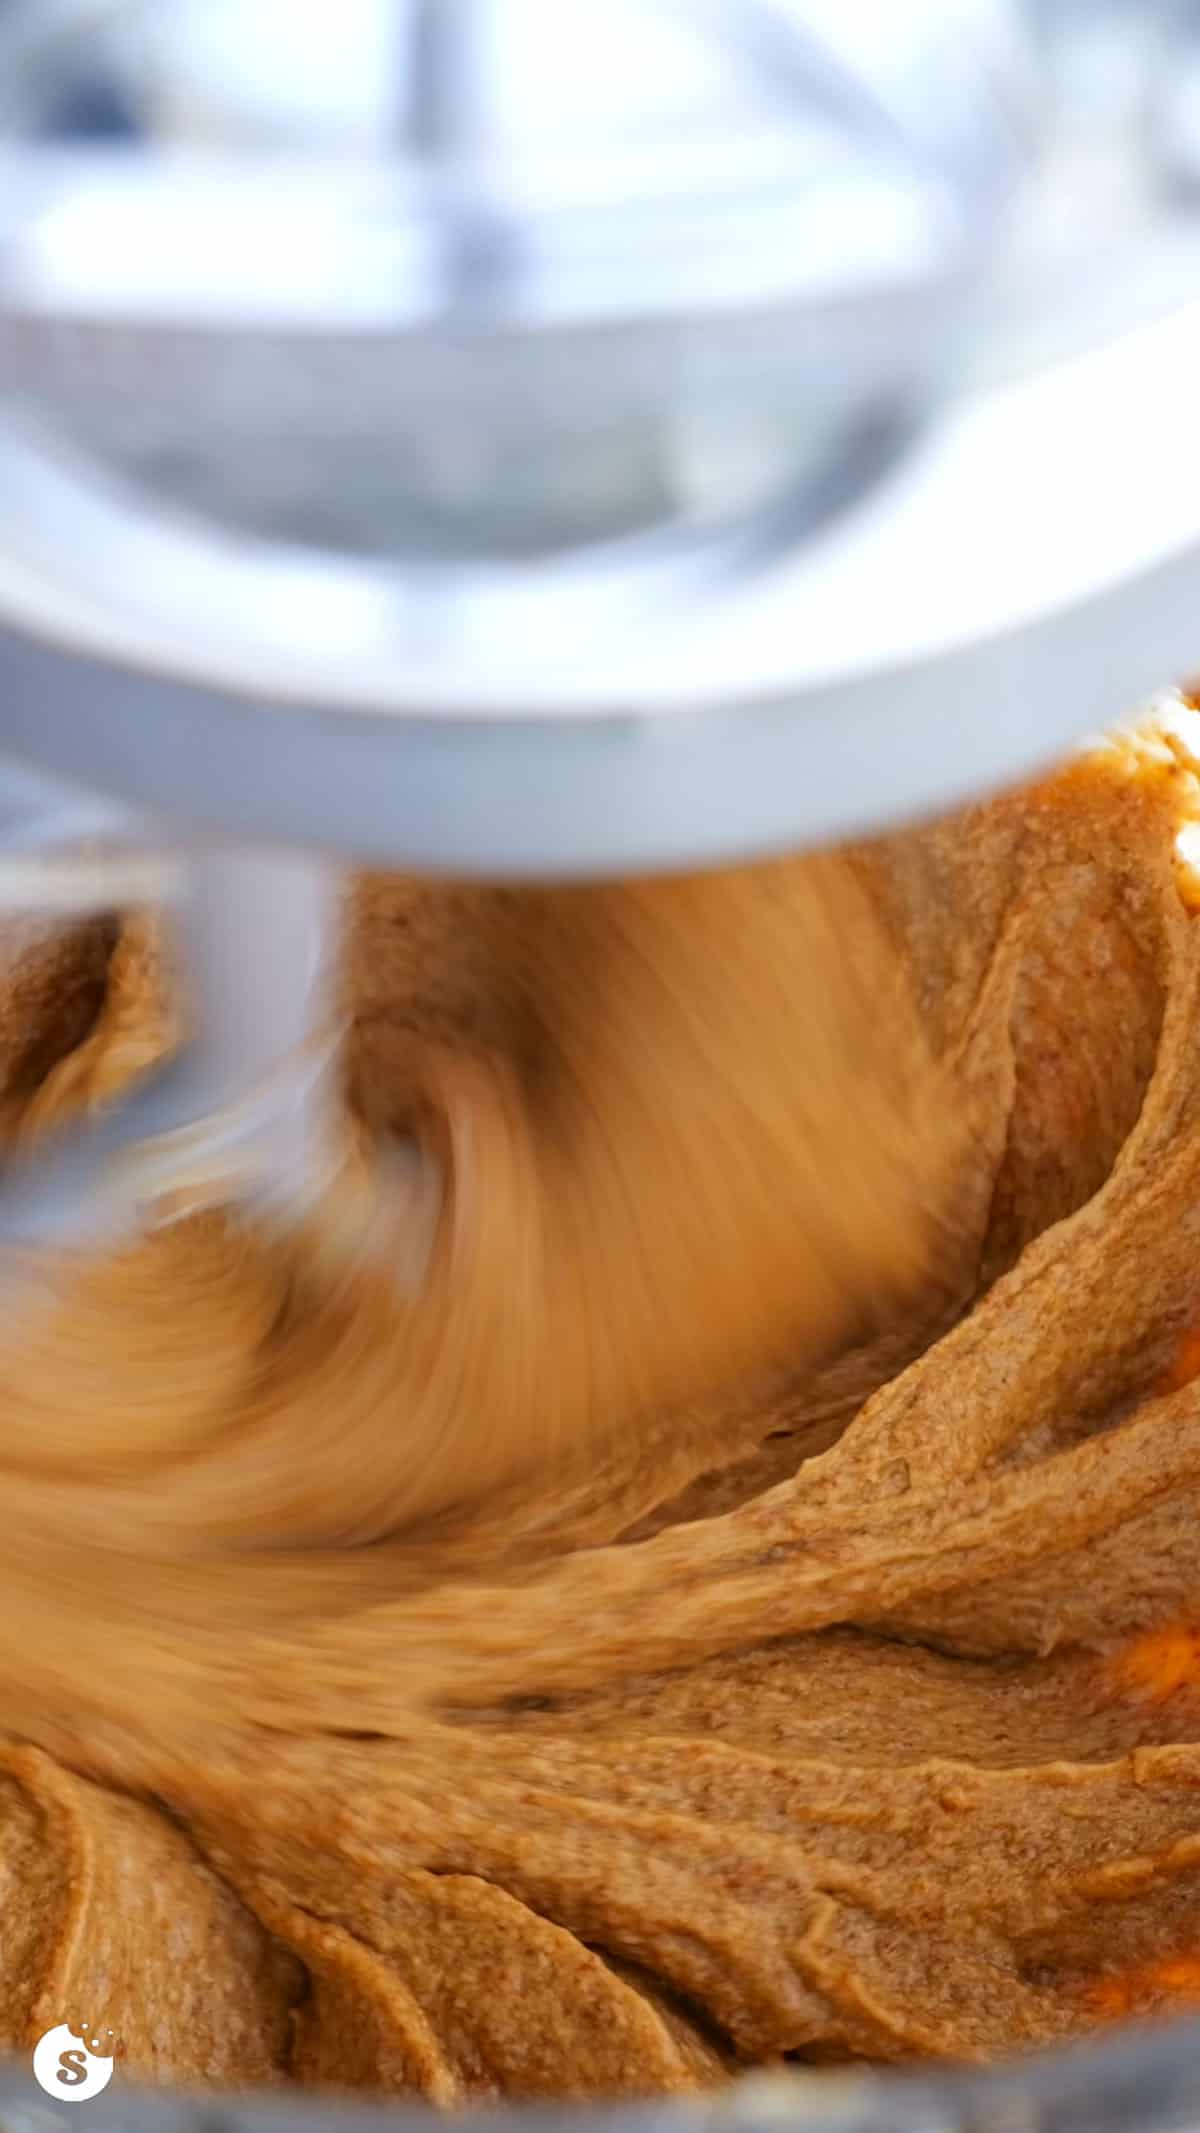
In a medium bowl, whisk together flour and cocoa powder. Add baking powder and salt, and whisk to combine.
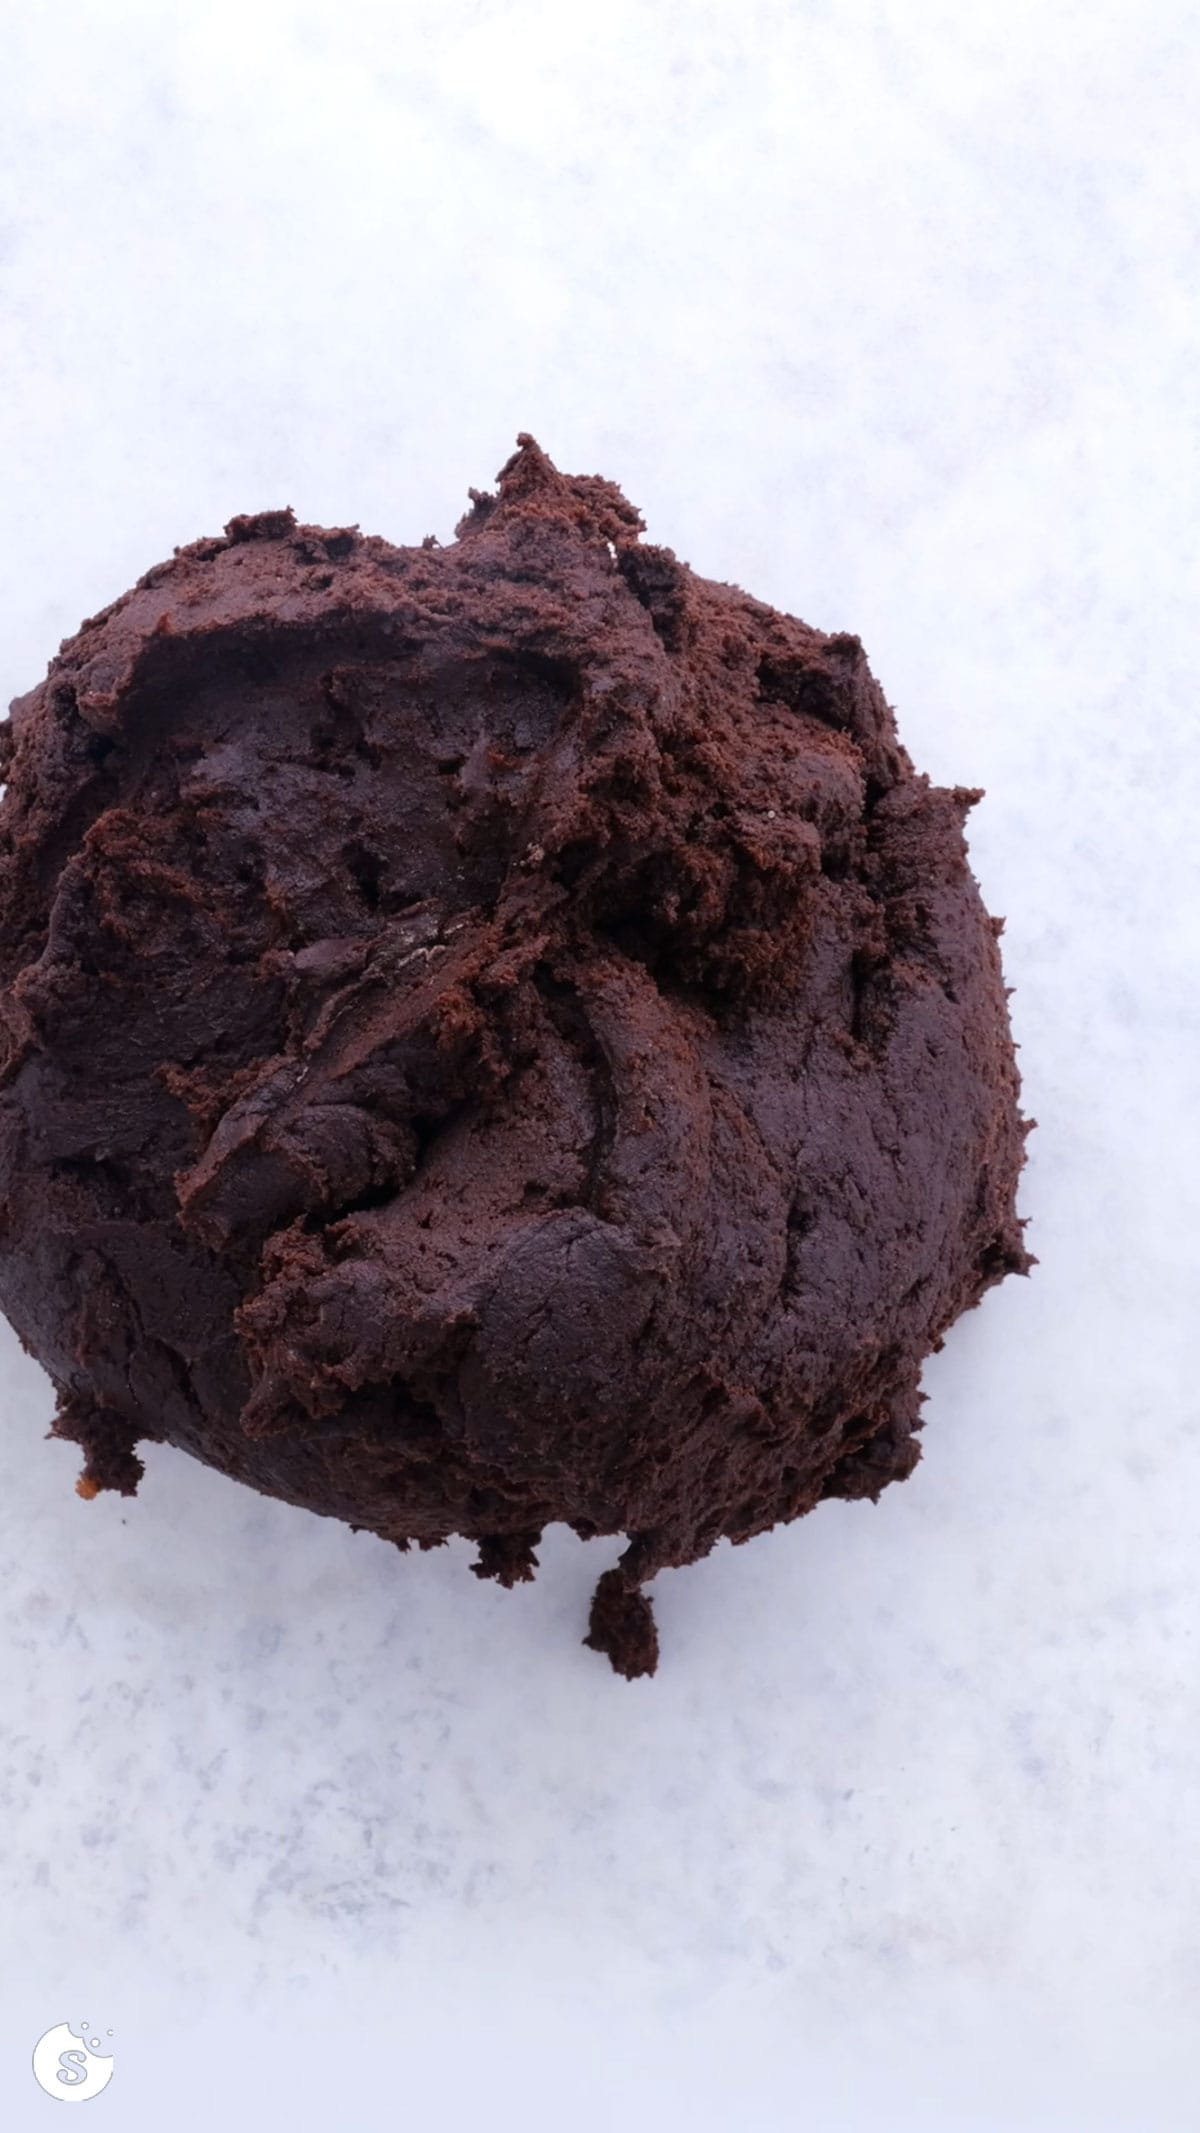
Slowly add the dry ingredients to the bowl of wet ingredients and mix on low speed until combined. Dough will be very thick and dark like charcoal.
Place parchment paper on a baking sheet (or large nonstick silicon mat on your counter), and scoop dough into the middle of the prepared sheet.
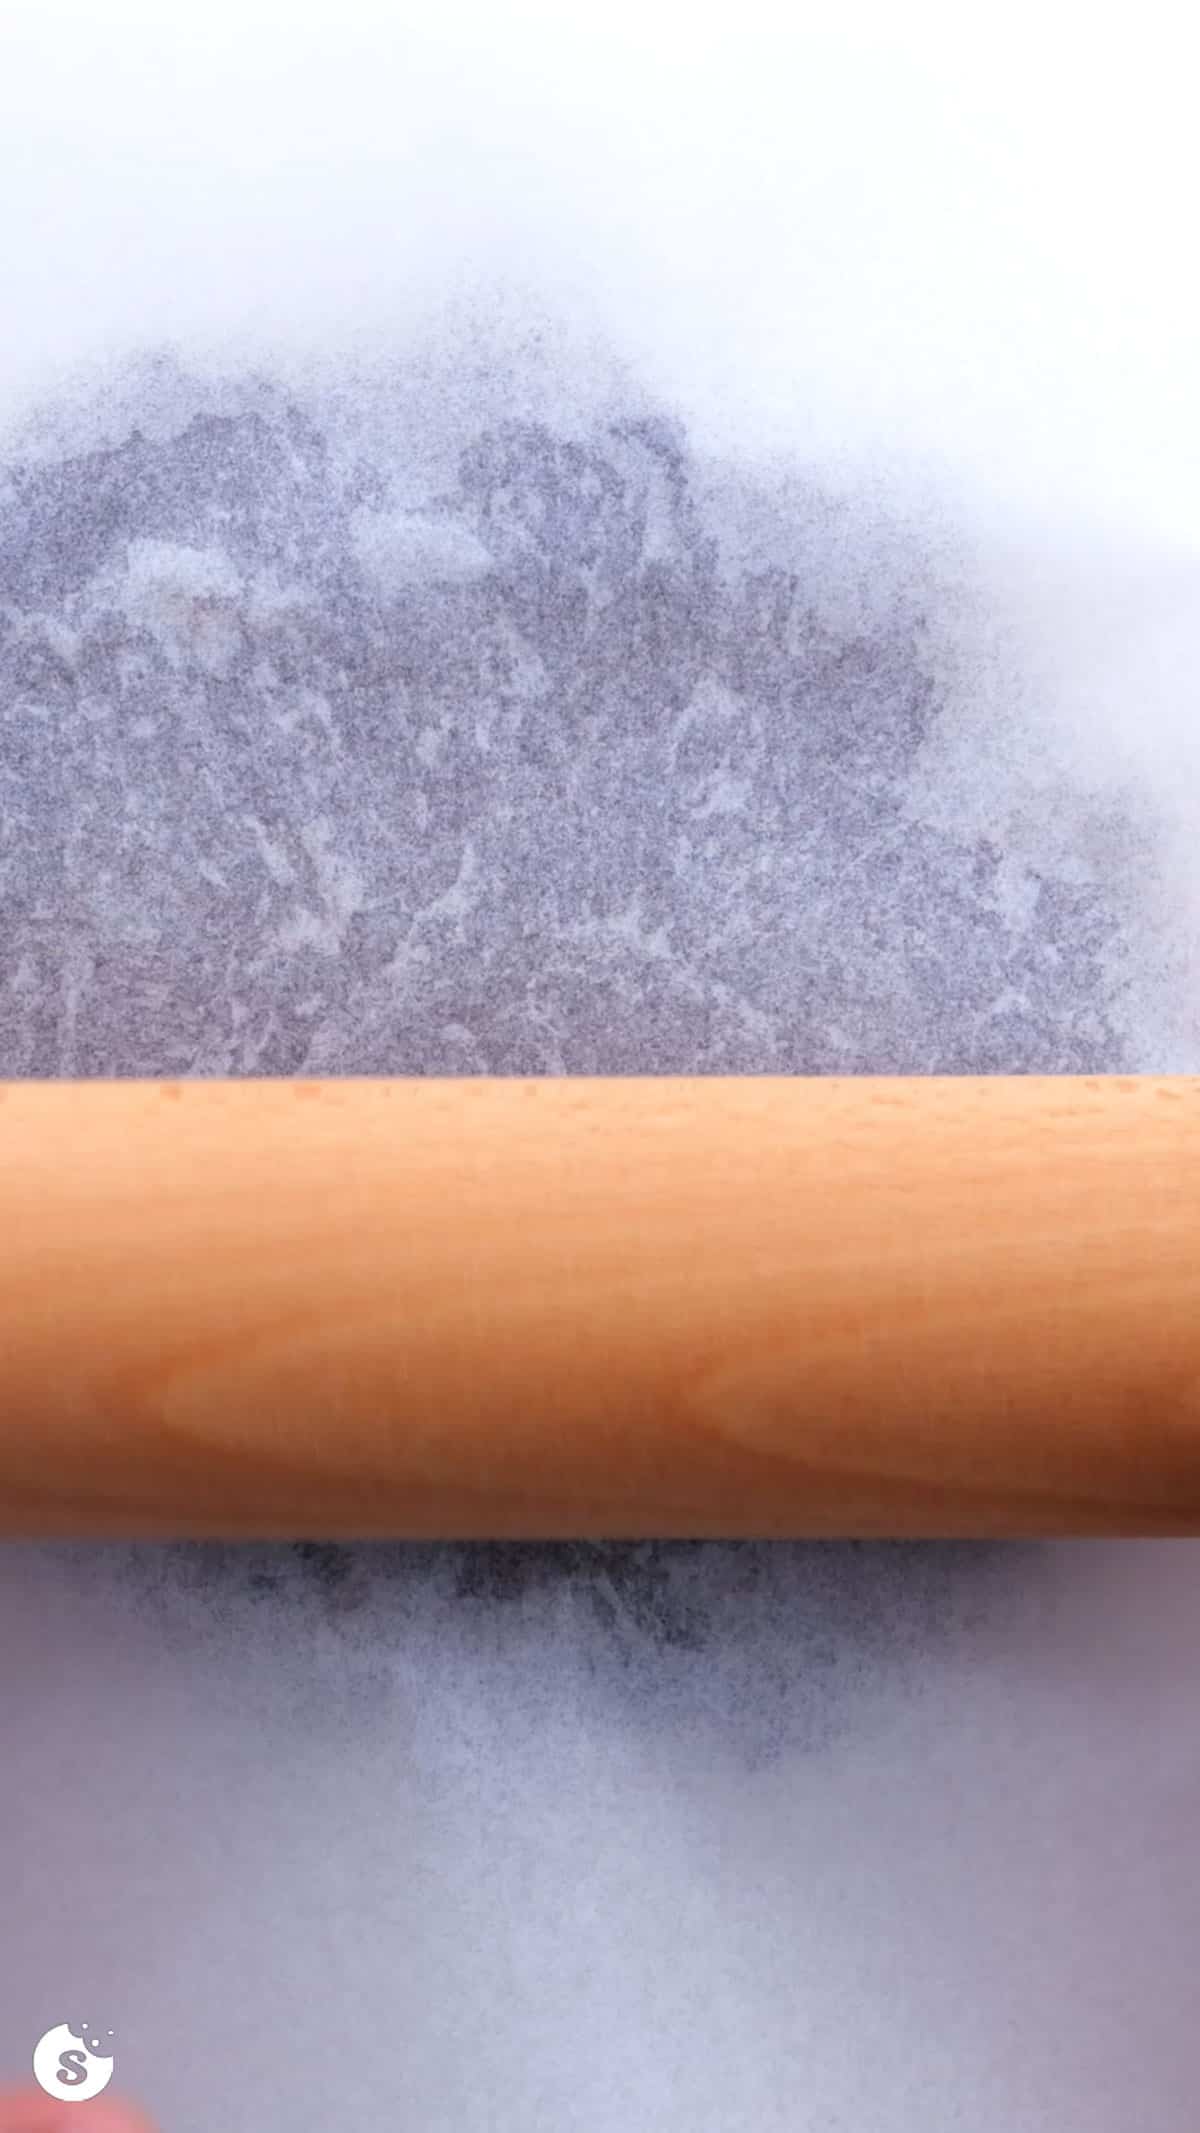
Place another piece of parchment on top and use a rolling pin to spread dough out to 1/4″ thickness. Place in fridge for at least 1 hour to chill.
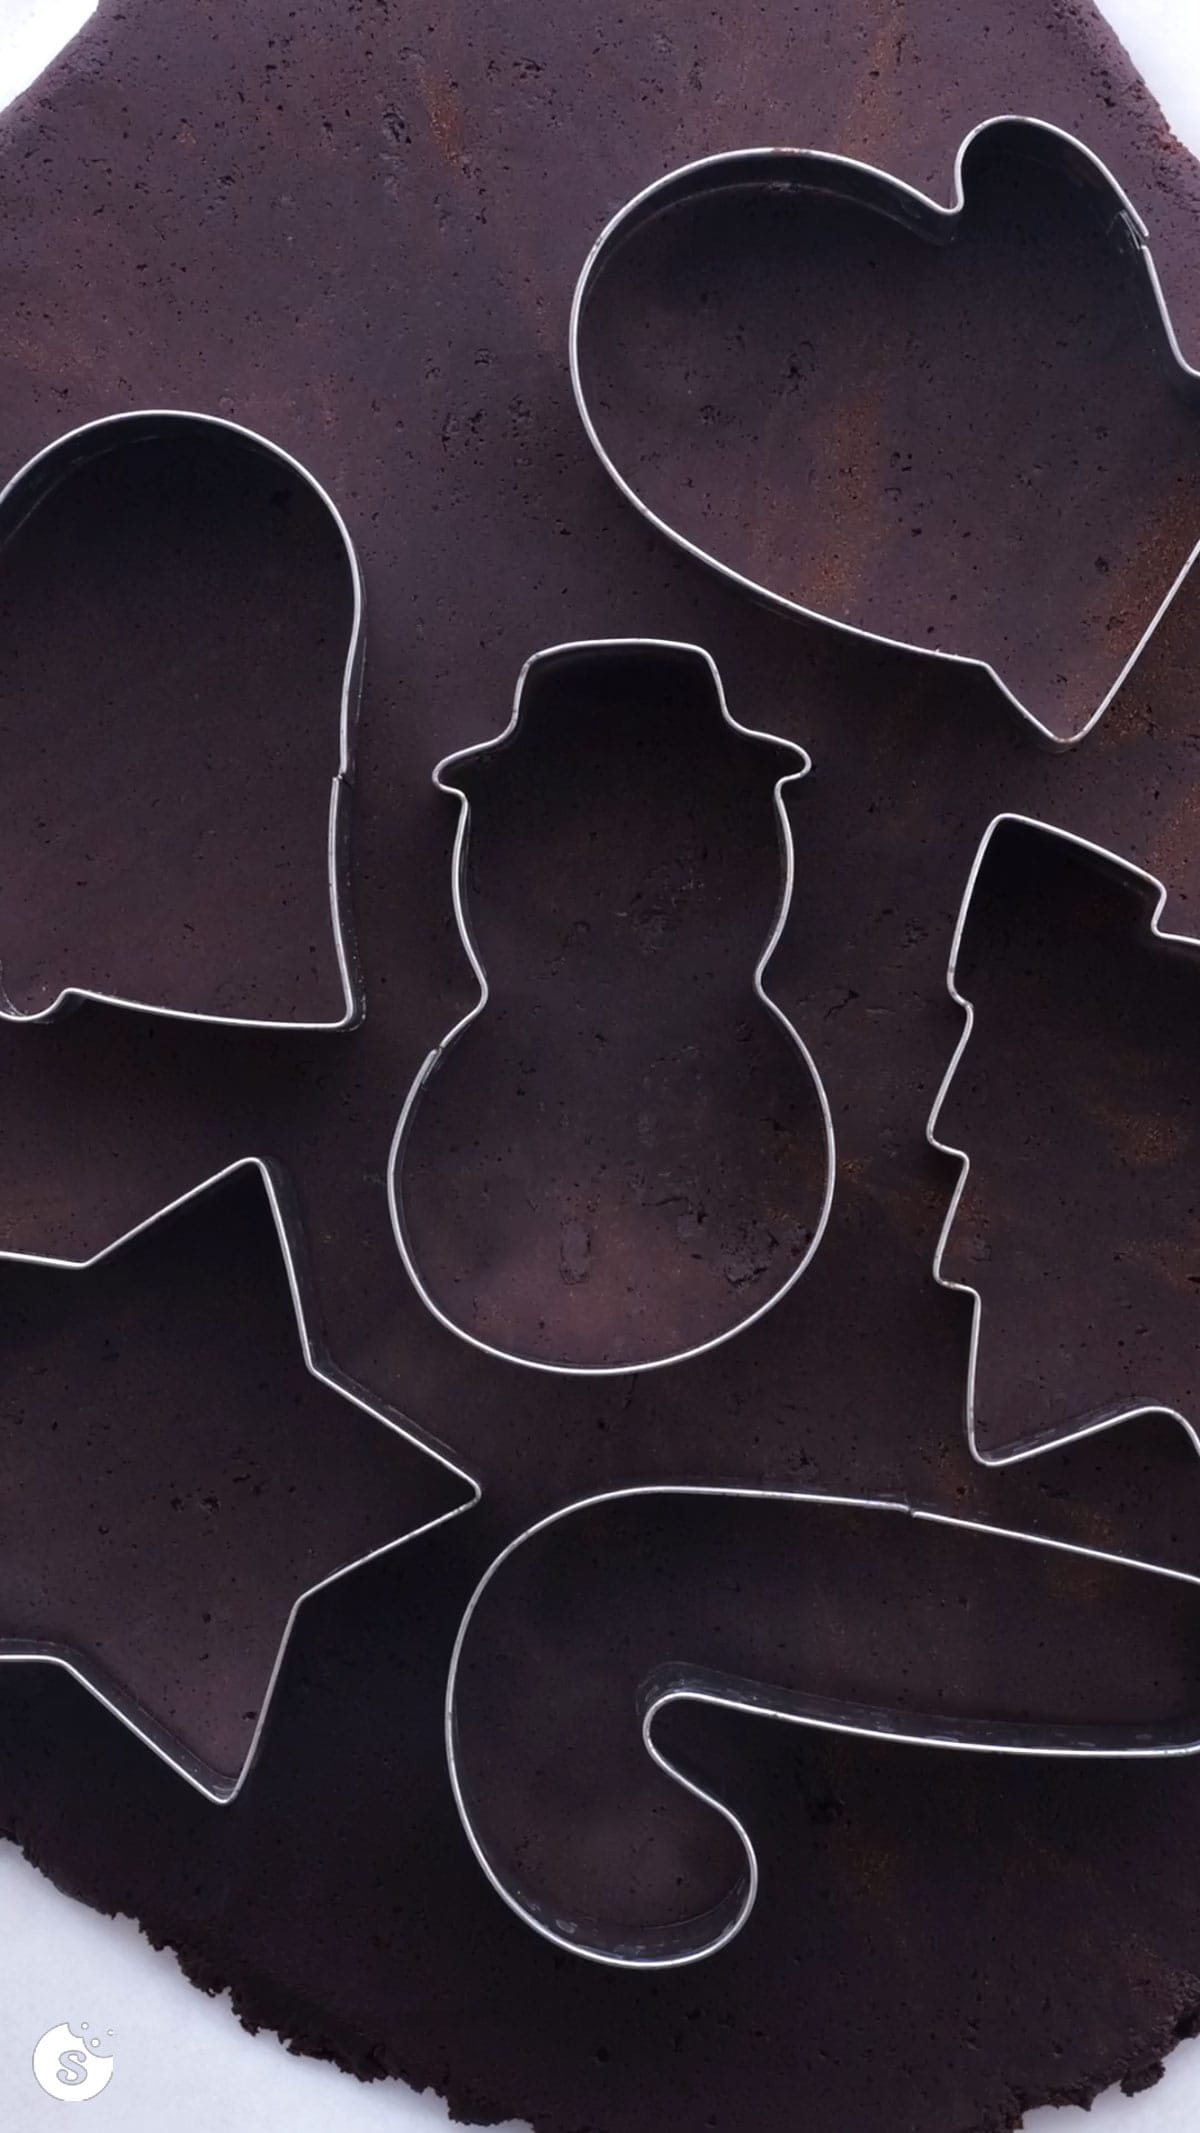
Remove dough from the fridge and use cookie cutters to cut out each cookie.
Keep re-rolling the dough as needed until it's all used – if you find it getting too warm, place it back in the fridge before you keep cutting.
Bake at 350°F for 7-9 minutes. Allow to cool on baking sheet for a few minutes, then transfer to a wire rack to cool completely.
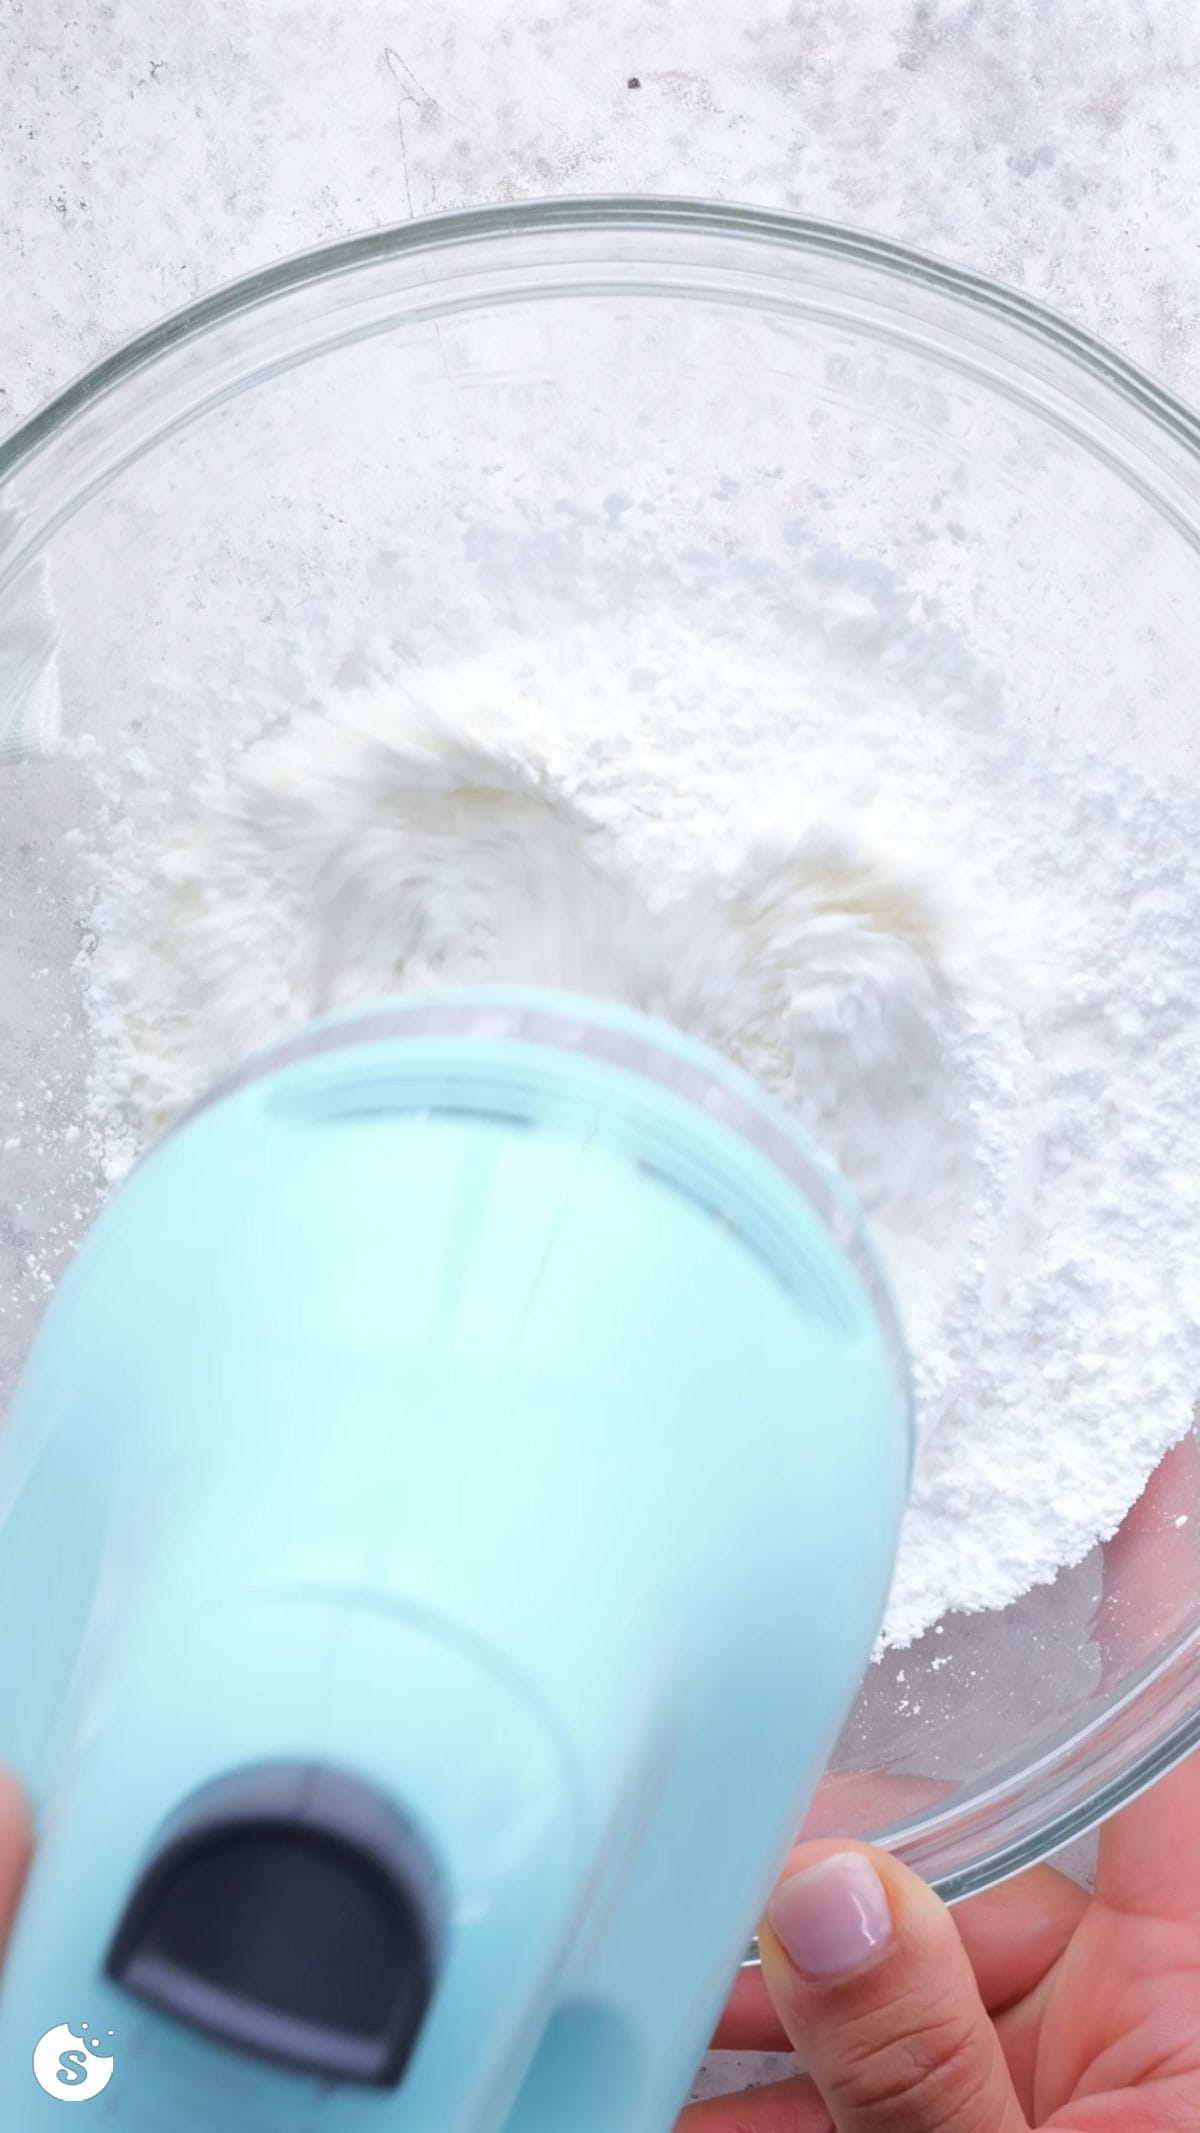
In a large bowl, add all ingredients. Beat on low speed until just combined.
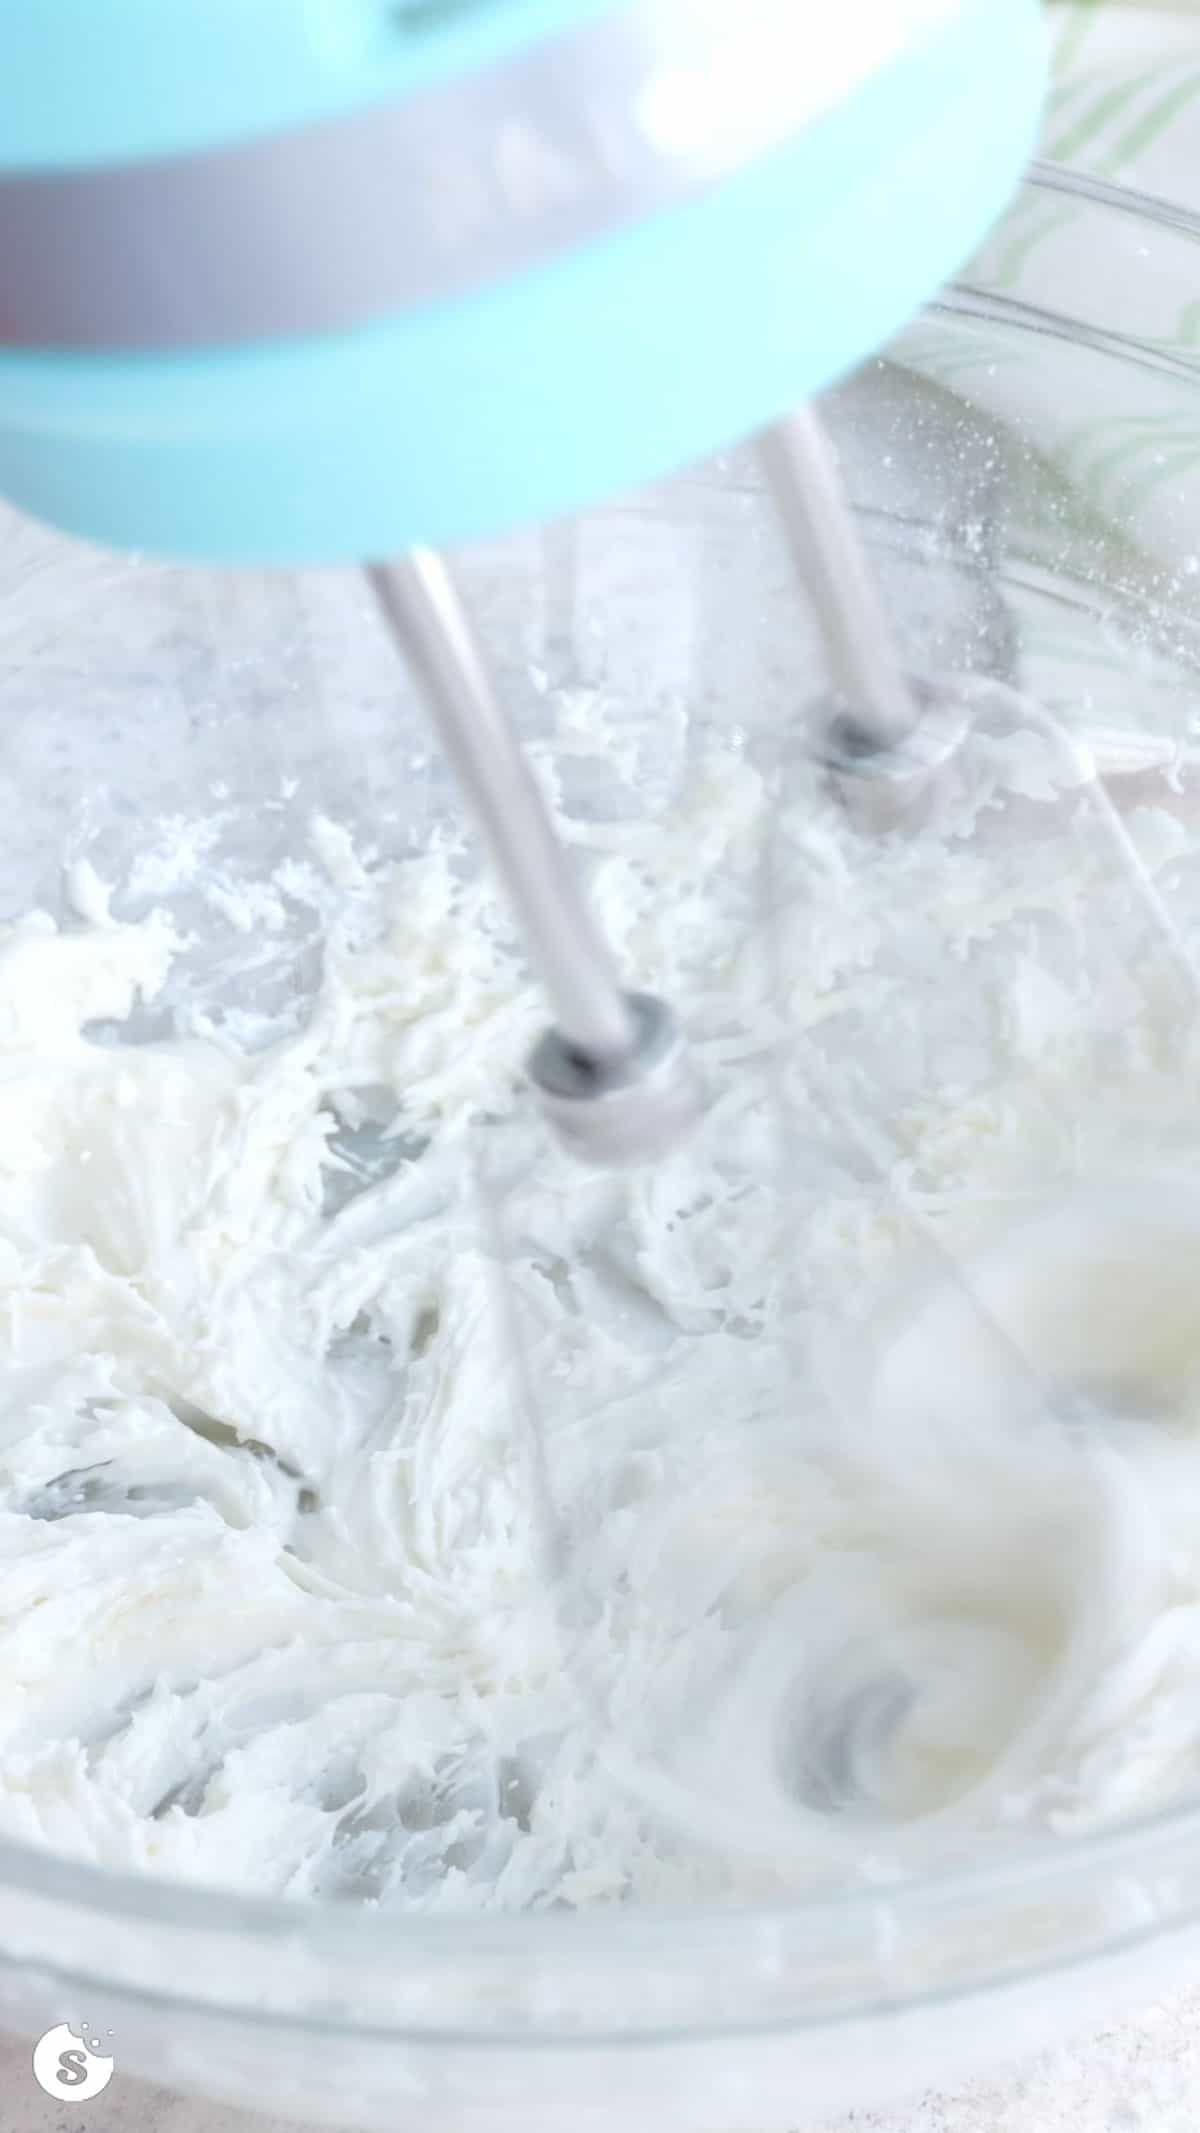
Then beat on high speed for 5-10 minutes until stiff peaks form.

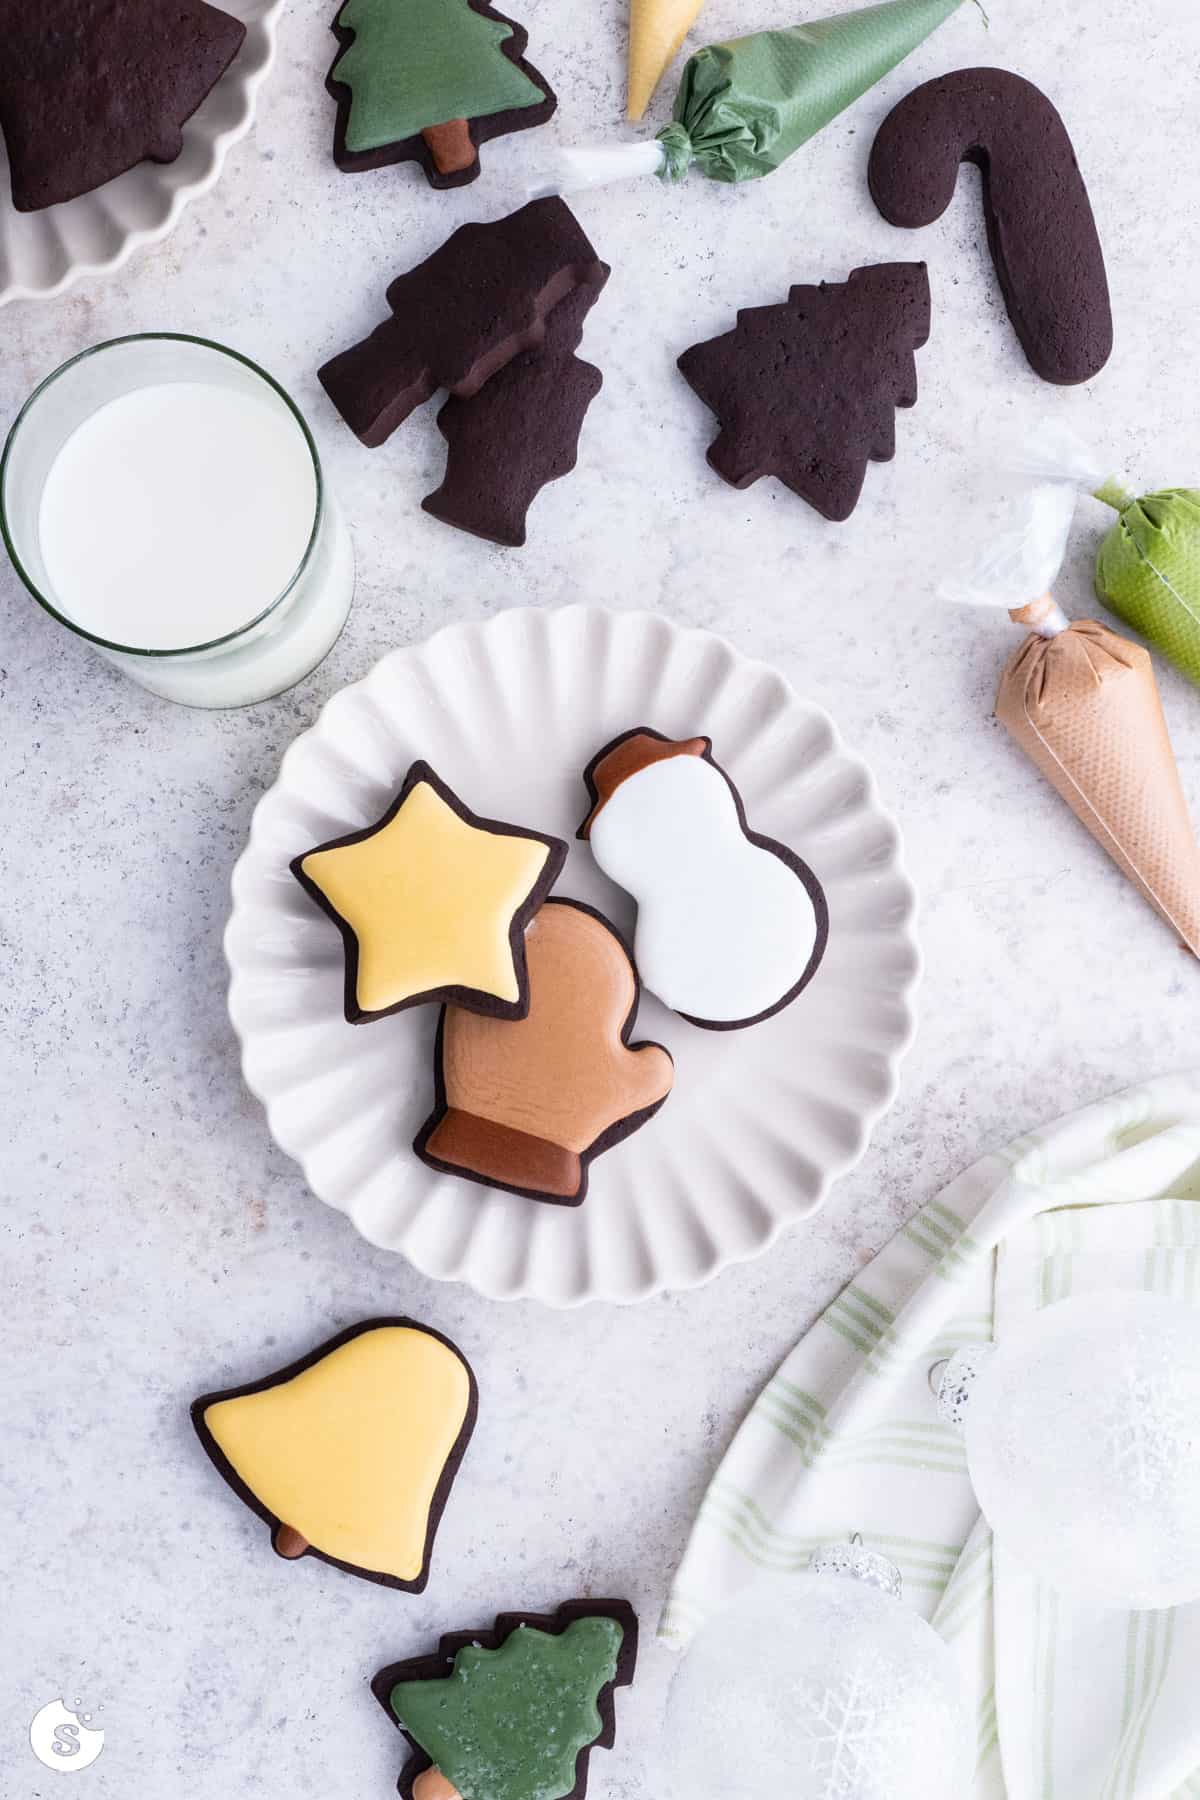
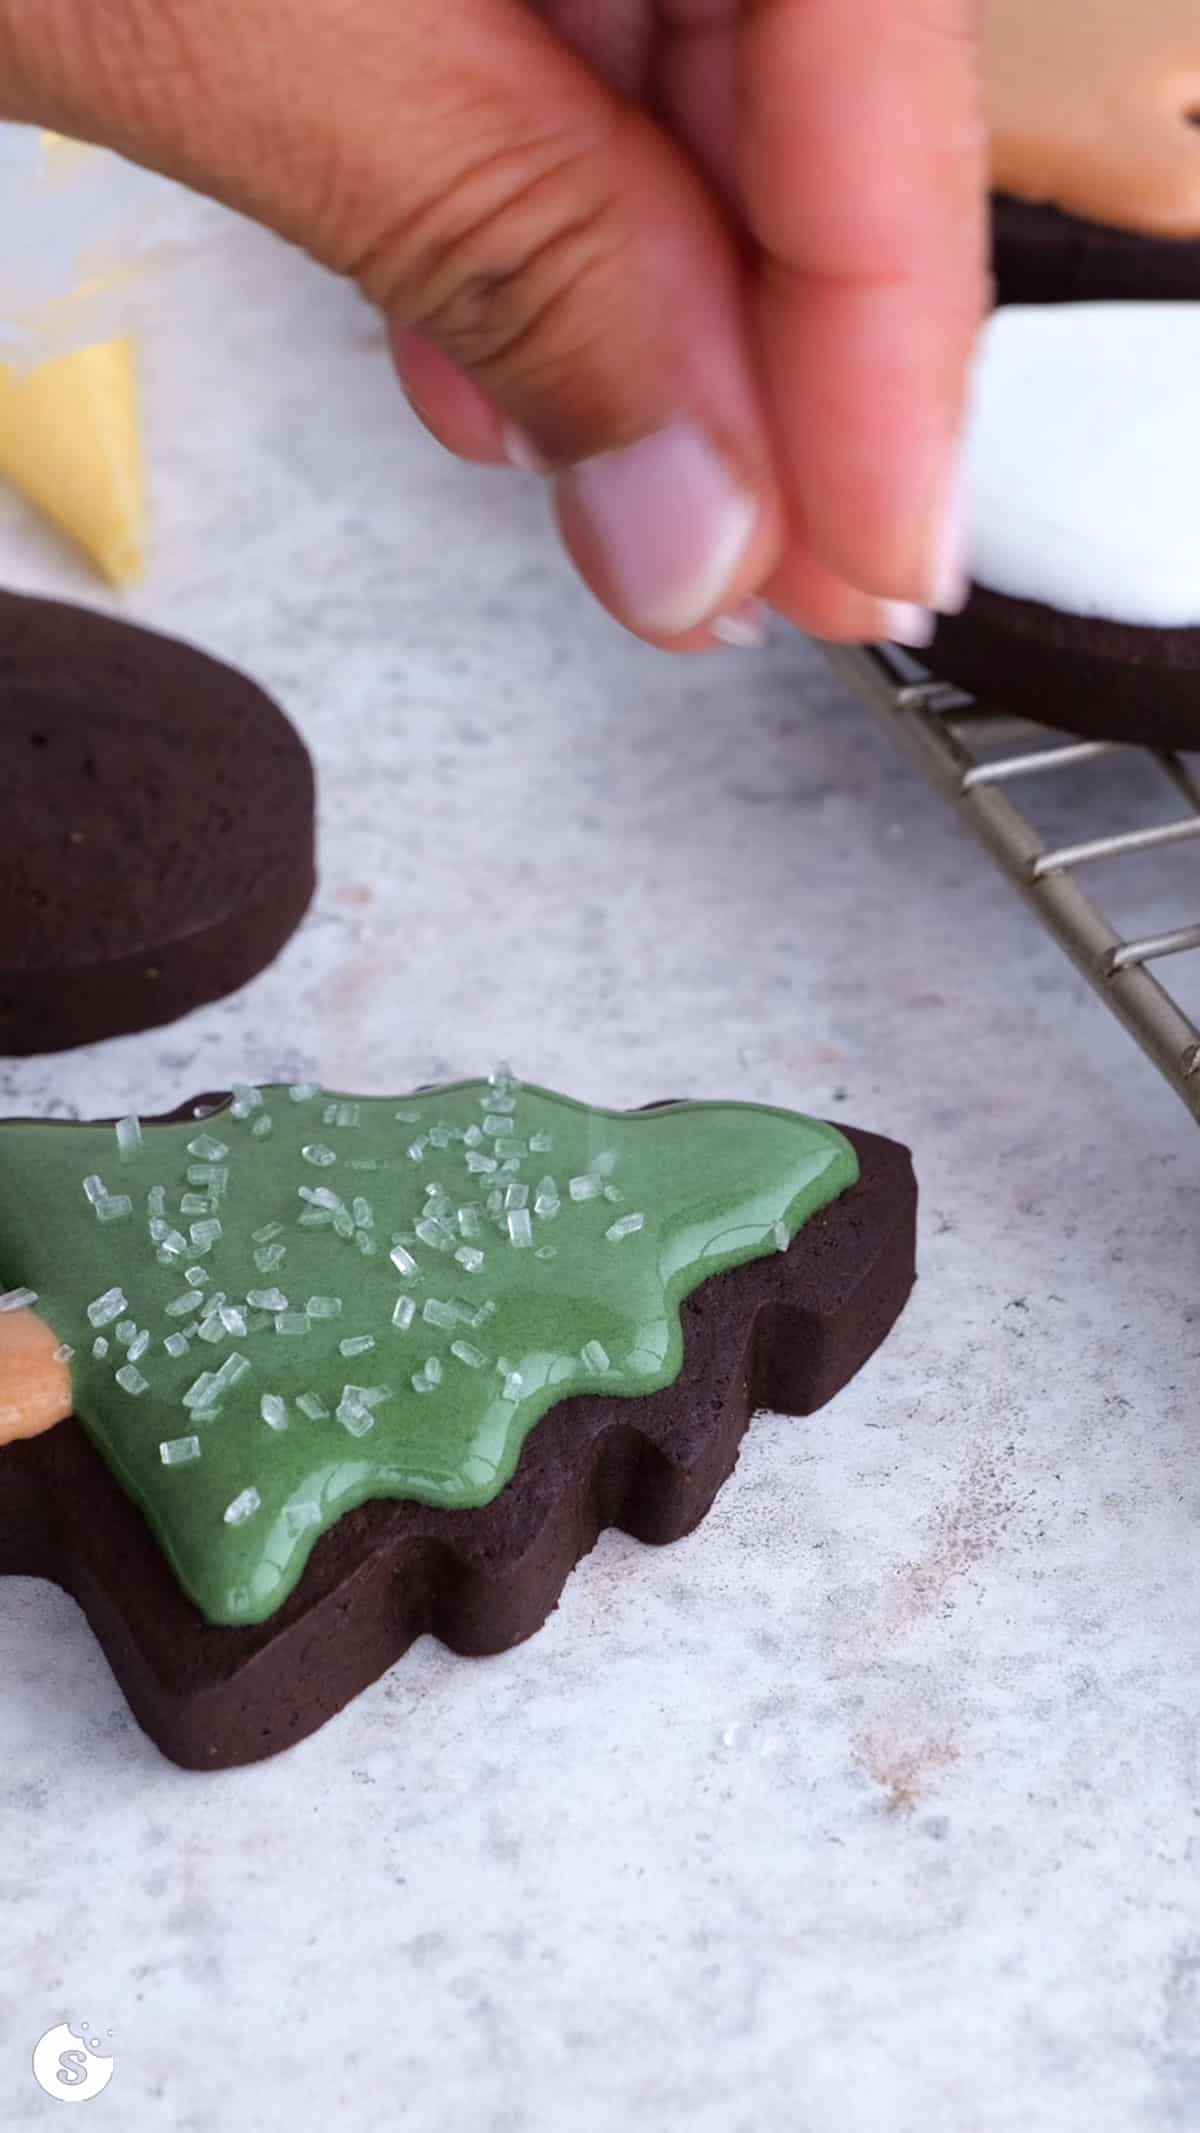
If you're going to color the icing with gel food coloring, divide it between bowls for each color and then mix again to combine.
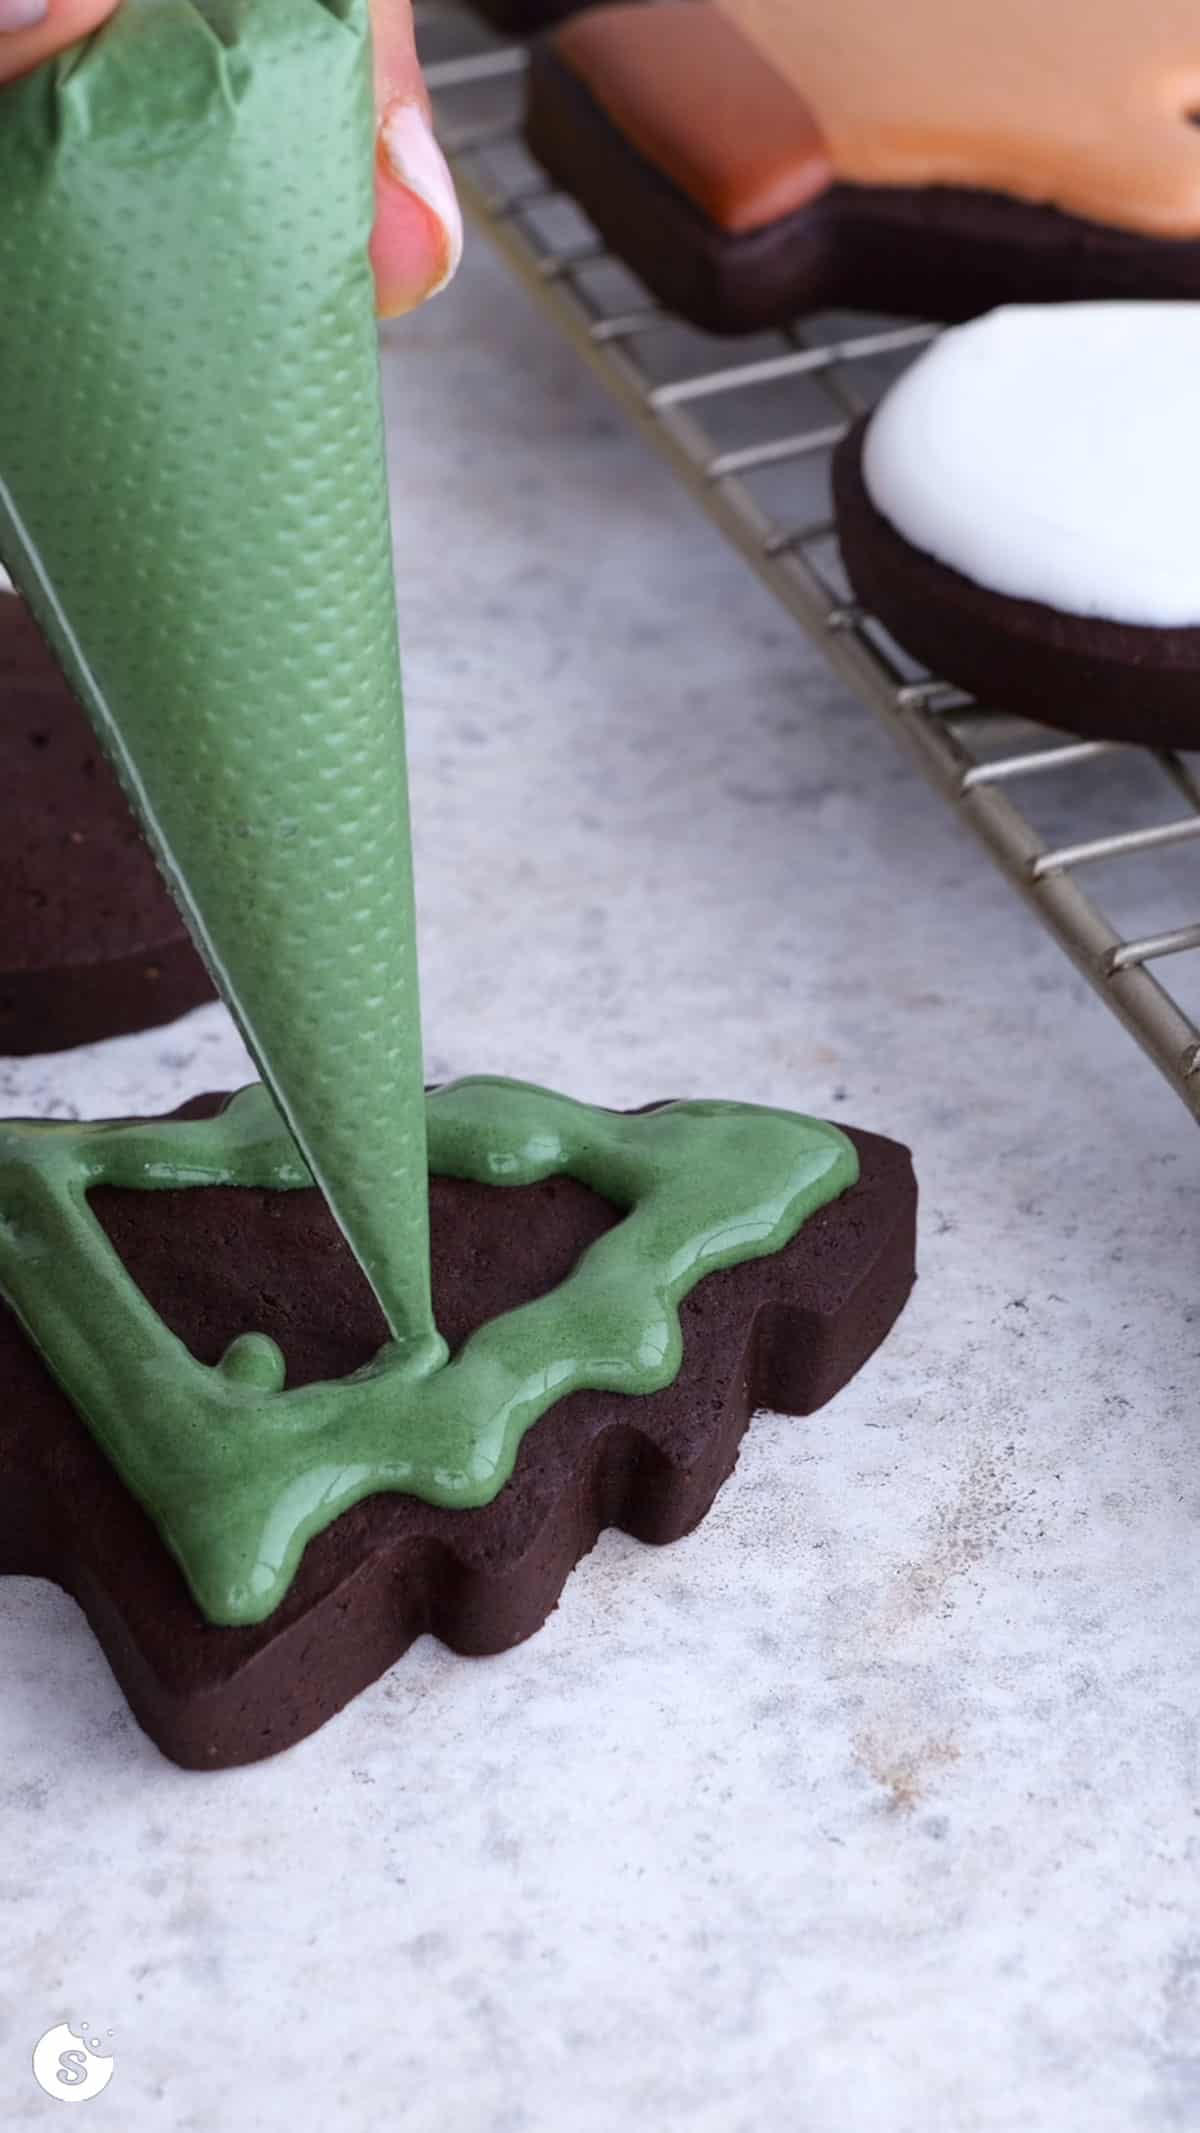
Spoon into a piping bag and get to work! Let cookies set for at least 4 hours before you stack them (layered between parchment paper).
FAQs
Store in airtight containers for no more than 2 weeks.
The number of cookies depends completely on the size you make them – making various shaped 3″ cookies, I get 24.
Definitely! If you're going to color the icing, separate it into separate bowls and add color one at a time, whipping to stiff peaks before you pipe them onto your cookies. I recommend only working with one batch of color at a time as royal icing dries out quickly. If you must have multiple colors to work with at the same time, keep each bowl covered tightly with plastic wrap until ready to be used.
Leaving a star rating is a great (and free) way to support Stress Baking! ❤️ After you've made this recipe, please consider clicking on the stars below to share your experience!
Chocolate Sugar Cookie Cut-Outs
Equipment
Ingredients
Cookies:
- ½ cup unsalted butter, room temperature
- ¾ cup coconut sugar, or light brown sugar
- 1 egg, room temperature
- 1 teaspoon pure vanilla extract
- 1 cup + 2 tablespoons all-purpose flour
- ⅔ cup unsweetened dutch process or Special Dark cocoa powder
- ¾ teaspoon baking powder
- Pinch salt
Royal Icing:
- ⅔ cup confectioners’ sugar (powdered sugar)
- 1 tablespoon + 1 teaspoon warm water, ideally 105°F -115°F
- 1 tablespoon meringue powder
- ½ teaspoon almond extract, or other extract of choice
- ⅛ teaspoon cream of tartar
Instructions
Cookies:
- In a large bowl, use the paddle attachment on your mixer to beat the butter for 1 minute on medium speed until smooth and creamy, scraping down the sides of the bowl as needed.1/2 cup (113 ½ g) unsalted butter
- Add the coconut sugar and beat on high speed until fluffy.3/4 cup (120 g) coconut sugar
- Add the egg and vanilla and beat on high speed, scraping down the sides of the bowl as needed.1 egg1 teaspoon (4 g) pure vanilla extract
- In a medium bowl, whisk together flour and cocoa powder. Add baking powder and salt, and whisk to combine.1 cup (125 g) + 2 tablespoons all-purpose flour2/3 cup (57 ⅓ g) unsweetened dutch process or Special Dark cocoa powder3/4 teaspoon (3 g) baking powderPinch salt
- Slowly add the dry ingredients to the bowl of wet ingredients and mix on low speed until combined. Dough will be very thick and dark like charcoal.
- Place parchment paper on a baking sheet (or large nonstick silicon mat on your counter), and scoop dough into the middle of the prepared sheet. Place another piece of parchment on top and use a rolling pin to spread dough out to 1/4″ thickness. Place in fridge for at least 1 hour to chill.
- Preheat oven 350°F. Line two baking sheets with silicone baking mats or parchment paper and set aside.
- Remove dough from the fridge and use cookie cutters to cut out each cookie. Keep re-rolling the dough as needed until it's all used – if you find it getting too warm, place it back in the fridge before you keep cutting.
- Place on prepared baking sheets with a little room between each. You don't have to leave as much room as you would with other cookies because these won't spread, but don't make it too crowded!
- Bake for 9 minutes (this is the time I found ideal for larger cookies – if yours are smaller, start with 7 minutes and go from there). Allow to cool on baking sheet for a few minutes, then transfer to a wire rack to cool completely.
Royal Icing:
- In a large bowl, add all ingredients. Beat on low speed until just combined, then beat on high speed for 5-10 minutes until stuff peaks form.2/3 cup (80 g) confectioners’ sugar (powdered sugar)1 tablespoon (15 ml) + 1 teaspoon warm water1 tablespoon (15 g) meringue powder1/2 teaspoon (2 ml) almond extract1/8 teaspoon (0.4 g) cream of tartar
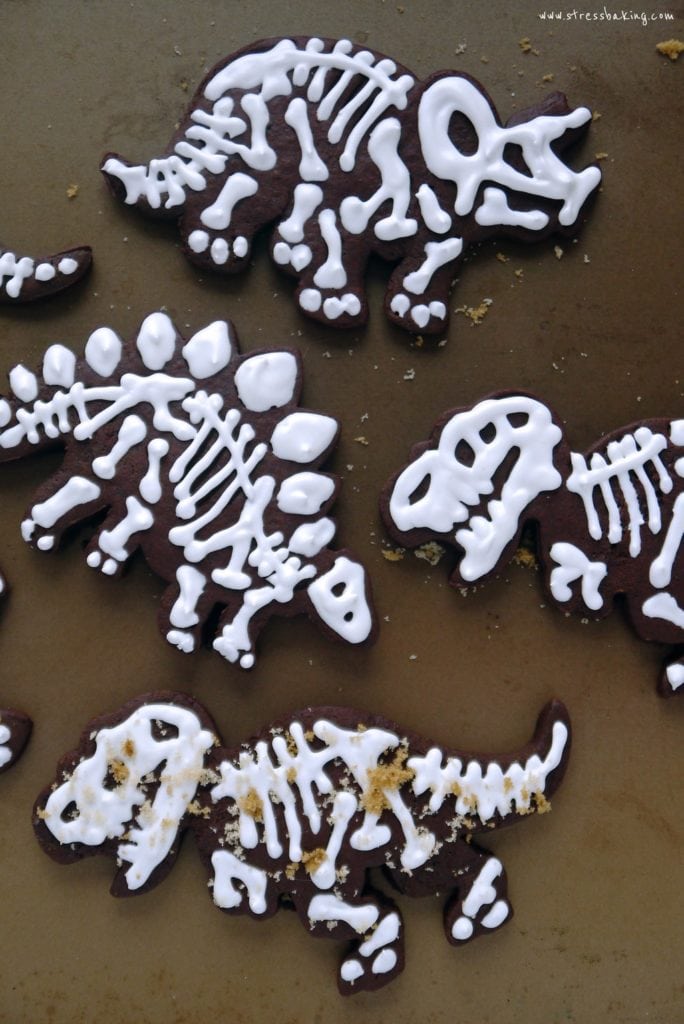
- Spoon into a piping bag and get to work! If you're making these same dinosaur cookies, prepare the piping bag with your smallest round tip. Use steady pressure to draw skeletons onto each cookie.
- Let cookies set for at least 4 hours before you stack them (layered between parchment paper). Serve and enjoy!
Video
Notes
- Store in airtight containers for no more than 2 weeks.
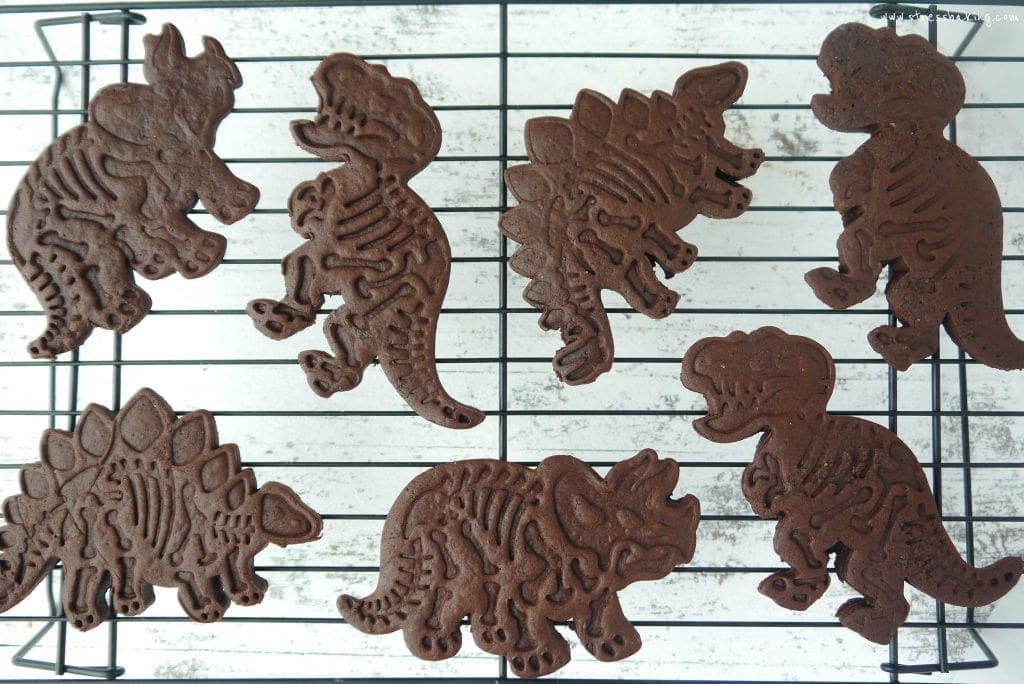
- The number of cookies depends completely on the size you make them – using the Fred Dig-Ins dinosaur cookie cutters, I'm able to get 10-12. Making various shaped 3″ cookies, I get 24.
- If you're going to color the icing, separate it into separate bowls and add color one at a time, whipping to stiff peaks before you pipe them onto your cookies. I recommend only working with one batch of color at a time as royal icing dries out quickly. If you must have multiple colors to work with at the same time, keep each bowl covered tightly with plastic wrap until ready to be used.
- Nutrition information is based on 24 cookies.
Nutrition Facts
Nutrition Disclaimer
The provided nutrition information is generated by an automatic API and does not take variations across specific brands into account. This information is provided as a general guideline and should not be treated as official calculations. Learn more here.
Original photos from 2016
Hi!
So I am looking for a perfect shape-holding cookie recipe.
I wanna make some D&D dice cookies for my party!
But I wanted to make them lime flavor, so if I omit cocoa powder should I add 2/3 cup of flour instead?
Whatcha think? I’d appreciate the replay
Sending hugs from Poland
Oo, that sounds so fun! I would recommend using my No Chill Sugar Cookie Cutouts recipe as the base instead: https://stressbaking.com/no-chill-cookie-cutter-sugar-cookies/
Thank You so much!
I will try it!
Chocolatey and kept their shape, not too sweet which was great for me. Did not try frosting but I am sure would go well.
So glad you liked them, thank you for coming back to share your experience!
Hi, I just made these for my daughter’s birthday and they turned out fantastic. THANK YOU!
I’m so glad you liked them!