Chocolate Whoopie Pies Recipe
My whoopie pie recipe has a sweet marshmallow filling sandwiched between rich chocolate cake for a classic New England dessert – but without the shortening! Ready in less than 30 minutes, and perfectly paired with a cold glass of milk, a White Chocolate Mocha, or a Honey Vanilla Latte.
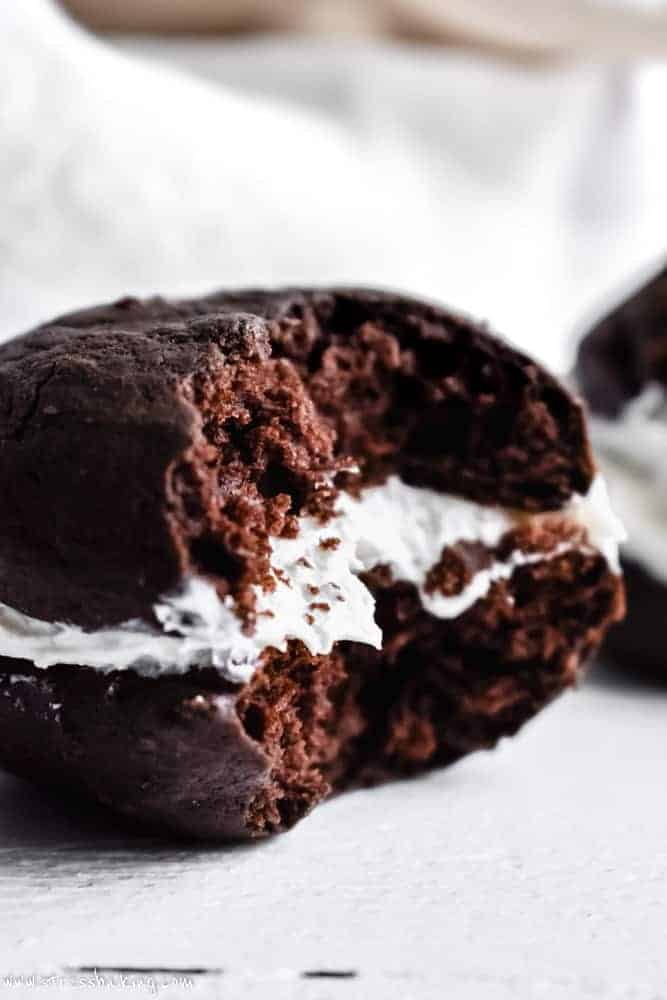
Whoopie pies are a New England staple – specifically for Maine. But it's one of those desserts that's on the counter in every single cafe in the Northeast.
If you've never had a whoopie pie, think of them as little chocolate cake hamburgers. Maybe I'll start a petition to rename them as such – who's with me?
… just me? Okay, fine. Moving on.
The whoopie pie controversy
That's right, I said controversy. Over a dessert.
Maine, New Hampshire, Massachusetts, Pennsylvania and Virginia all claim to be the birthplace of the original whoopie pie! A company or family in each state claims they were the first to start making them in the 1920s, but since the paper trail on any of that is slim-to-none, there's not really a definitive answer.
There was a cookbook published in the 1930s by the company that originally made Marshmallow Fluff and they use Fluff in the recipe – so that's a pretty solid argument for Massachusetts as the origin (since it's a company in Lynn, MA).
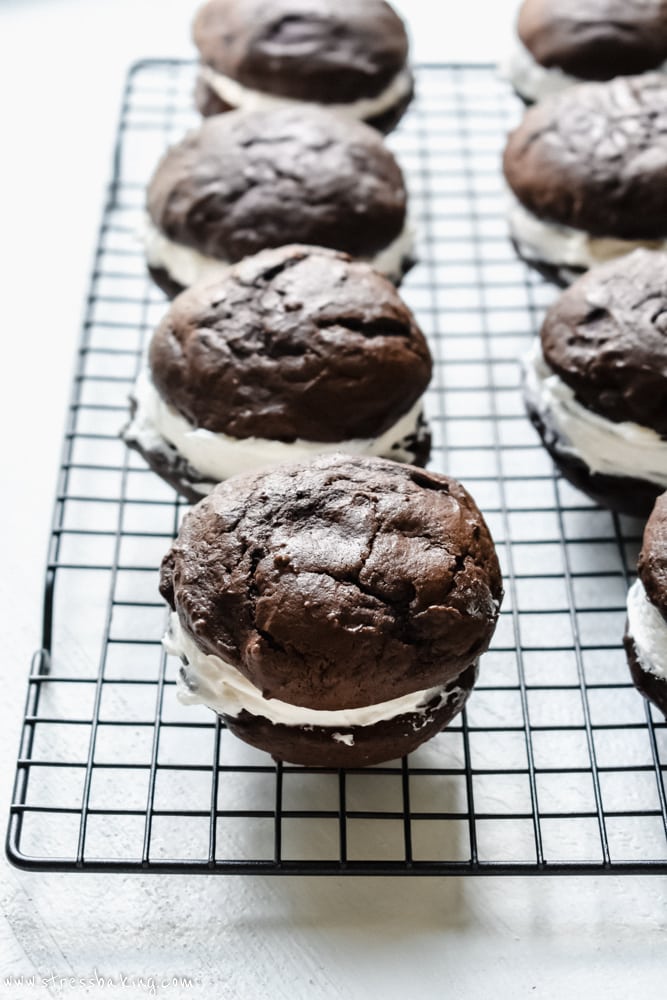
The components of a whoopie pie
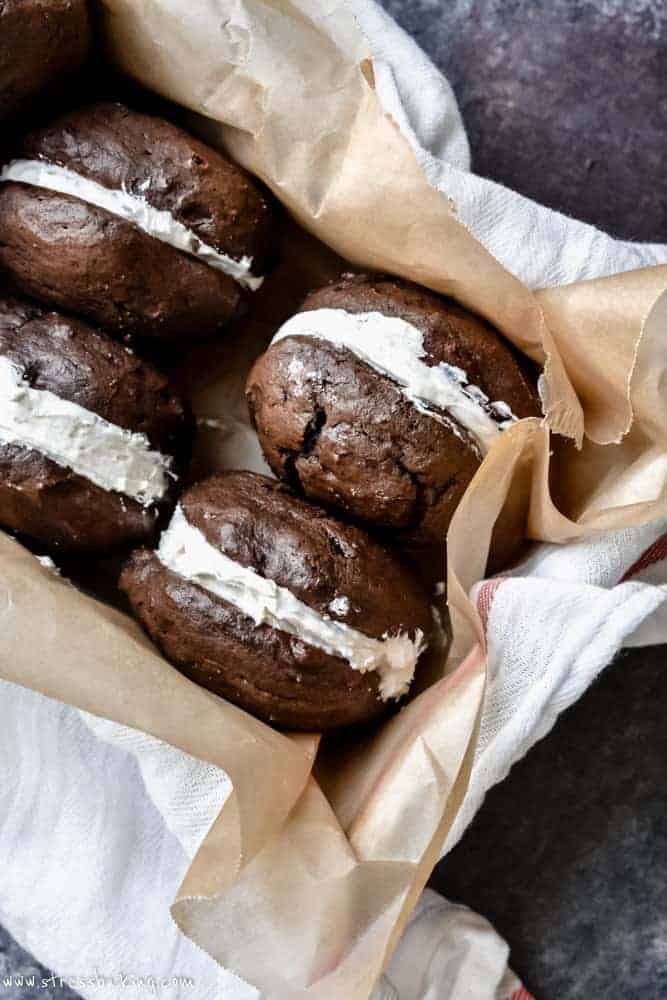
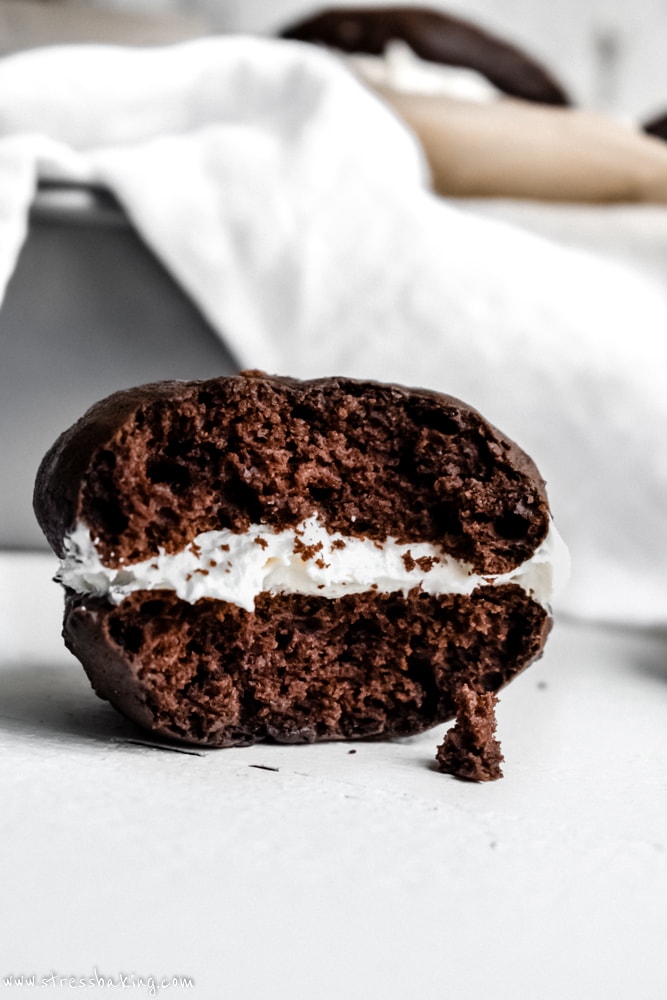
The name is not only silly-sounding, but also deceiving. They're not pies at all – they're actually cakes with a marshmallow creme frosting in the center. Another argument for me to have them renamed Little Chocolate Cake Hamburgers – just sayin'.
Whoopie pie filling is also traditionally (and famously, I might add) made with shortening. I'm not a huge fan of using shortening in general, and since I know there are other people who feel the same way, I wanted to make a version that was shortening-free!
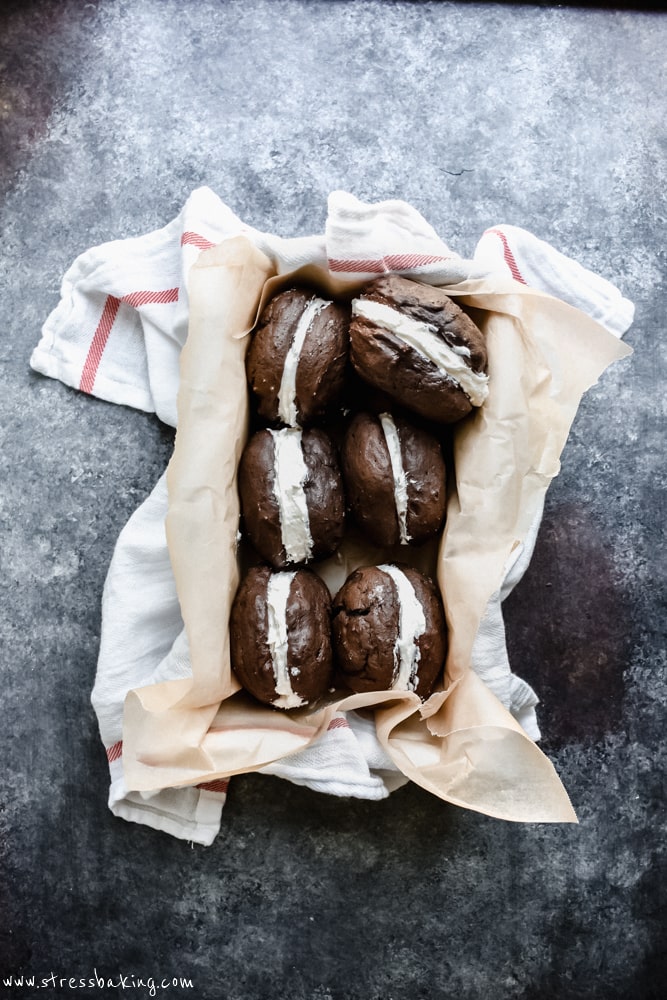
Tips for making whoopie pies
I was so eager to get this recipe photographed (and eaten) that I 100% forgot to take process shots. Pretty sure I remembered right around the time I was biting into my second whoopie pie (you know, for taste testing purposes).
[facepalm] I'll make them again soon and get those updated here for you, I swear.
Until then, it's thankfully a pretty straightforward process.
Making the chocolate cakes
- You need the batter to be firm enough to be scooped, because a liquidy batter won't be able to hold its structure to bake, or to support the filling.
- Speaking of scoops, I like to use a medium cookie scoop to portion dough onto a baking sheet – it's the perfect size.
- You want the cakes to be thin enough that you can still bite into it when they're stacked two high, but also have a nice gradual mound in the center.
- When baking, you want to make sure you're leaving enough room between each cake so they can spread. I wouldn't do more than 5 on a baking sheet at a time, just to be safe.
- Make sure you let the cakes cool completely before you sandwich them with the filling, otherwise they'll be tacky and difficult to work with.
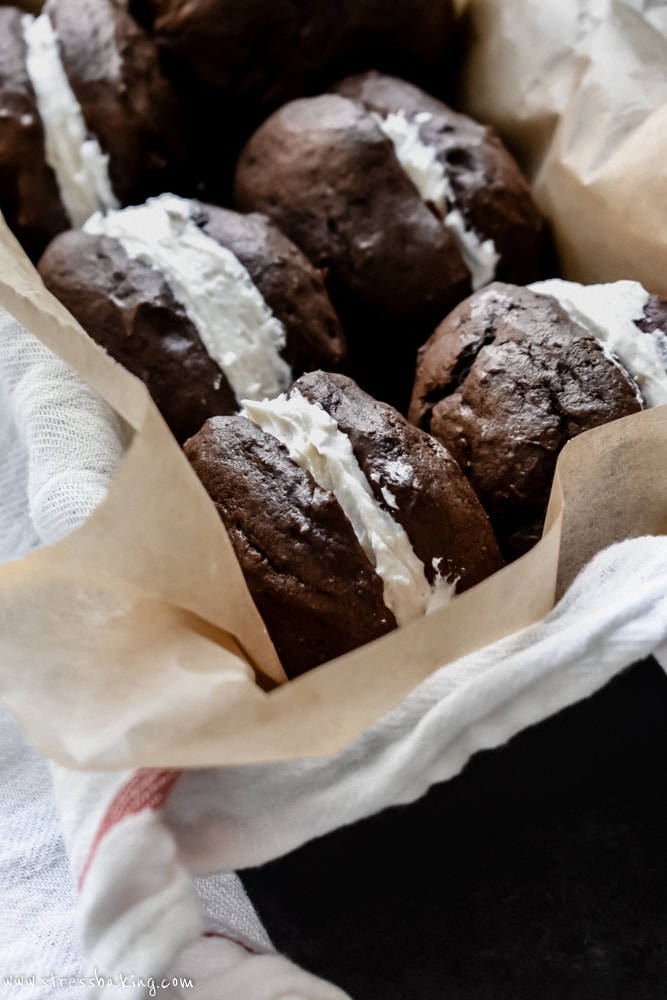
Making the marshmallow filling
- You want to beat the filling until it's thick enough to support being sandwiched between two cakes, but not SO thick that you couldn't easily pipe it with a pastry bag.
- Taste test before you call it a day. If you find that it's overly sweet for your tastes, add a pinch of salt – just keep in mind that it will be complemented by less-sweet cake in the end.
Assembling your whoopie pies
- I start by flipping half of the cakes over and matching them up by size with another half that will go on top. They should all be pretty similar in size, but you might have some variance that's worth matching them up with a buddy.
- I like to use a pastry bag with the tip cut off to pipe it onto each cake half in a spiral shape. Leave about 1/4″ around the edge so that when you add the other cake half on top, the filling has a little room to spread.
What do whoopie pies taste like?
To be honest, I have a hard time explaining the flavor of whoopie pies. I like to say it's like an inside out chocolate cake combined with marshmallow fluff. Kinda like Ding Dongs, if you've ever had those.
If you taste the chocolate cakes on their own, it might seem underwhelming.
And if you taste the filling on its own, you might think it's too sweet (or not sweet enough, depending on your tastes).
But if you put the two together… it's some sort of sugary magic.
These are really rich, and really filling – so you don't have to worry too much about devouring the whole batch in one sitting. If you did… well, I'd like to meet you and shake your hand after you've slept it off.
How to store whoopie pies
Wrap each one in plastic wrap, stick them in an airtight container, and store them in the fridge for up to a week. The plastic wrap keeps them individually wrapped so they're easy to grab and go, but also keeps them from sticking together.
I also find that storing them in the fridge makes them easier to eat because the filling doesn't squish out the sides as much as it would at room temperature.
When you're ready to eat them, let them sit out on the counter for about 15 minutes first and then go to town.
Word to the wise: When you're going to eat them, make sure you've got a mirror, a napkin, and a toothbrush handy.
If not, everyone will know you've just devoured a whoopie pie by the chocolate cake in your teeth and the marshmallow creme on your face… but it's totally worth it.
Leaving a comment and star rating is a great (and free) way to support Stress Baking. After you've enjoyed this recipe, click on the stars below and leave a comment to share your experience – thank you!
Chocolate Whoopie Pies
Ingredients
Cake:
- ½ cup unsalted butter, softened to room temperature
- 1 ¼ cup light brown sugar, packed
- 1 egg, room temperature
- 1 teaspoon pure vanilla extract
- 2 cups all-purpose flour
- ½ cup cocoa powder
- 1 ¼ teaspoons baking soda
- ½ teaspoon espresso powder
- Large pinch of salt, up to 1/8 teaspoon
- 1 cup buttermilk, room temperature
Filling
- 1 cup marshmallow Fluff
- ½ cup unsalted butter, softened to room temperature
- 1 – 1 ½ cups confectioners’ sugar (powdered sugar), sifted
- 1 teaspoon pure vanilla extract
- 1 tablespoon heavy cream, more if needed
Instructions
Cake
- Preheat oven to 350ºF and line two baking sheets with nonstick silicone mats or parchment paper. Set aside.
- In the bowl of a stand mixer, combine butter and brown sugar and whip on high speed until light and fluffy.1/2 cup (113 ½ g) unsalted butter1 1/4 cup (275 g) light brown sugar
- Add egg and vanilla, and beat to combine.1 egg1 teaspoon pure vanilla extract
- In a separate large mixing bowl, combine flour, cocoa powder, baking soda, espresso powder and salt, and whisk to combine.2 cups (250 g) all-purpose flour1/2 cup (43 g) cocoa powder1 1/4 teaspoons (1 ¼ teaspoons) baking soda1/2 teaspoon (½ teaspoon) espresso powderLarge pinch of salt
- With the mixer on a low speed, add the dry ingredients to the wet ingredients, alternating with the buttermilk until just combined.1 cup (240 g) buttermilk
- Use a medium cookie scoop to portion dough onto prepare baking sheets. You want to make sure you're leaving enough room (about 2″) between each cake so they can spread. I wouldn't do more than 5 on a baking sheet at a time, just to be safe.
- Bake for 9-11 minutes, or until the tops spring back when touched.
- Let cool on baking sheets for 5 minutes, then move to wire racks to cool completely.
Filling
- In a large bowl, combine marshmallow Fluff and butter and beat on high speed until well combined and smooth.1 cup (127 g) marshmallow Fluff1/2 cup (113 ½ g) unsalted butter
- Add 1 cup of the powdered sugar, vanilla extract and heavy cream and beat until well combined. If it's too thin, add more of the powdered sugar a little at a time until you have the desired consistency.1 – 1 1/2 cups (300 g) confectioners’ sugar (powdered sugar)1 teaspoon pure vanilla extract1 tablespoon heavy cream
- If you feel it's too sweet for your tastes, add a pinch of salt.
Assembling
- Start by flipping half of the cooled cakes over and matching them up by size with another half that will go on top.
- Fill a pastry bag with the tip cut off (or plastic sandwich bag) with filling and pipe it onto each cake half in a spiral shape. Leave about 1/4″ around the edge so that when you add the other cake half on top, the filling has a little room to spread.
- Top each with the other cake half. Serve and enjoy!
Video
Notes
- Equipment: You don't need a fancy whoopie pie pan to make the chocolate cakes! Just use a standard baking sheet lined with nonstick silicon mats or parchment paper.
- Batter: The batter should be firm enough to be scooped, because a liquidy batter won't be able to hold its structure to bake, or to support the filling. I like to use a medium cookie scoop to portion the batter.
- Cooling: Make sure you let the cakes cool completely before you sandwich them with the filling, otherwise they'll be tacky and difficult to work with.
- Storage: Wrap each whoopie pie in plastic wrap and then place in an airtight container in the fridge for up to 1 week.
Nutrition Facts
Nutrition Disclaimer
The provided nutrition information is generated by an automatic API and does not take variations across specific brands into account. This information is provided as a general guideline and should not be treated as official calculations. Learn more here.






Whoopie pies are the only thing I like from Maine because I don’t like seafood lol thanks for the recipe
I hate using shortening in anything but pie crust so this was great. Thank you!
You’re welcome, I’m glad you enjoyed these!
Would the recipe be ok if I used powdered buttermilk instead?
I’ve never tried that myself, but if you do please report back with how it turned out!
Powdered buttermilk is just heated and dehydrated buttermilk. I’ve been using it in all of my baking since the pandemic lockdown. All you have to do is mix the powdered buttermilk with the other dry ingredients. Then add the appropriate amount of water when the recipe calls for liquid buttermilk. Recipes have turned out perfect! I haven’t made this recipe yet, but I am looking forward to it.
Hope this helps!