Baking Pan Conversions Made Easy

Part of my Baking Basics series: These handy charts will help you determine how much batter and how much of each ingredient you need for different-sized and shaped baking pans. We're talking about dimensions, volume, and surface area for the best results!

Imagine this: You find the recipe of your dreams, but it calls for a 13″ x 9″ rectangular pan, and you don't have that size. Don't panic! With a little math, you can figure out how to convert the recipe for the size pan you do have.
A few tips for converting recipes
Don't fill your pan more than 2/3 full. You might do the math and discover your pan will work, but just barely. If you have to fill the pan more than 2/3 full, find a different pan (or maybe even split the recipe in half and make it in two batches, if it works). Otherwise, you're looking at batter that might overflow and find it's way to being burned into the bottom of your oven.
Larger pans = longer bake time. Mind you, this isn't a 100% of the time kind of rule, but it's a good guideline. More batter means more to bake, which will in turn likely mean slightly longer bake times.
More shallow batter depth = shorter bake times. Read below for the details, but if your conversion has resulted in a slightly more shallow depth than the original recipe would have in the designated pan, you'll need to adjust for a shorter baking time to avoid drying it out and overbaking.
Measure your pans inside edge to inside edge. If you're not sure if the pan dimensions, always measure on the inside edges of the pan so that you're not including the thickness of the edges in your measurement.
Don't try to bake in a pan bigger than your oven can accommodate! Hopefully this goes without saying, but don't do a conversion to a pan size your oven can't handle. I've seen some tiny ovens in tiny apartments, and… well, those of you using them are a stronger person than I am. And I'd love to see your tiny ovens and the amazing things you make in them so that I can marvel at it all, so please send pictures my way, kthx.
How to calculate pan volume
The easiest thing to do is fill the pan with 1 cup of water at a time until full (making sure to keep track) – that's the volume!
I've noted the volume of all the most commonly used pan sizes in the charts below. If there's a pan size I haven't accounted for, you can do the same method of calculation yourself.
Guideline for conversions
To convert from one pan size to another, you want to calculate the volume of each pan.
For example, you have a recipe that calls for a 13″ x 9″ rectangular pan and you want to halve the recipe – but aren't sure if that will fit in your 8″ x 8″ pan:
13″ x 9″ x 2″ pan = 14 cups (3.3 liters)
8″ x 8″ x 2″ pan = 8 cups (1.9 liters)
So if you halved the recipe, you'd have 7 cups – and that fits in your 8″ x 8″ pan. Hooray! But something you'll want to take into consideration is the surface area – we'll dig into that in a bit.
Measurements for conversions
You can do a little quick math to help figure out the conversion of one pan size to another using these as a guideline:
1 cup = 240mL
1000mL = 1 liter
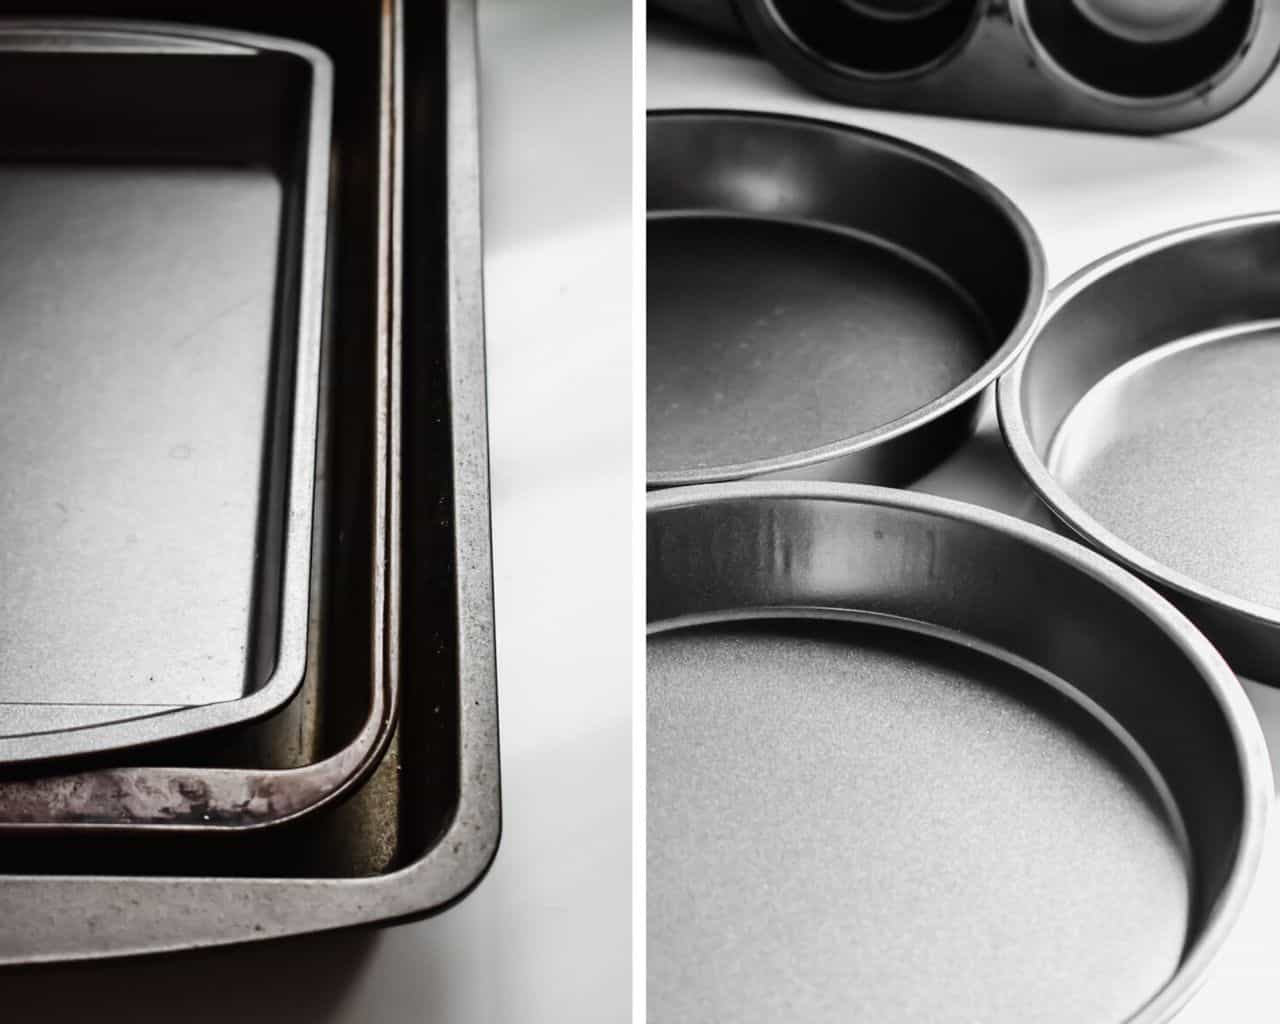
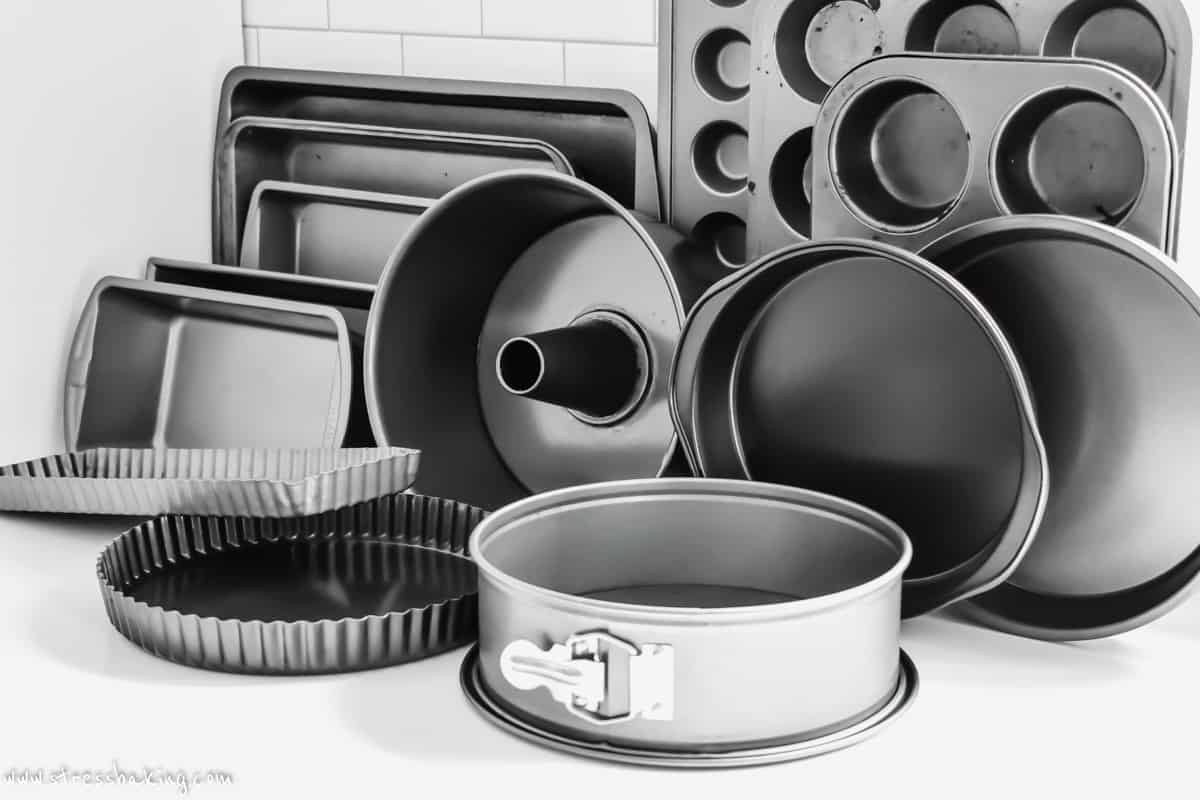
Rectangular & Square Pan Dimensions
| Pan Dimensions | Pan Volume (cups) | Pan Volume (liters) |
| 11″ x 7″ x 2″ | 10 cups | 2.4 liters |
| 13″ x 9″ x 2″ | 14 cups | 3.3 liters |
| 8″ x 8″ x 1.5″ | 6 cups | 1.4 liters |
| 8″ x 8″ x 2″ | 8 cups | 1.9 liters |
| 9″ x 9″ x 1.5″ | 8 cups | 1.9 liters |
| 9″ x 9″ x 2″ | 10 cups | 2.4 liters |
| 10″ x 10″ x 2″ | 12 cups | 2.8 liters |
Round Pan Dimensions
| Pan Dimensions | Pan Volume (cups) | Pan Volume (liters) |
| 6″ x 2″ | 4 cups | 948 mL |
| 8″ x 1.5″ | 4 cups | 948 mL |
| 8″ x 2″ | 6 cups | 1.4 liters |
| 9″ x 1.5″ | 6 cups | 1.4 liters |
| 9″ x 2″ | 8 cups | 1.9 liters |
| 10″ x 2″ | 11 cups | 2.6 liters |
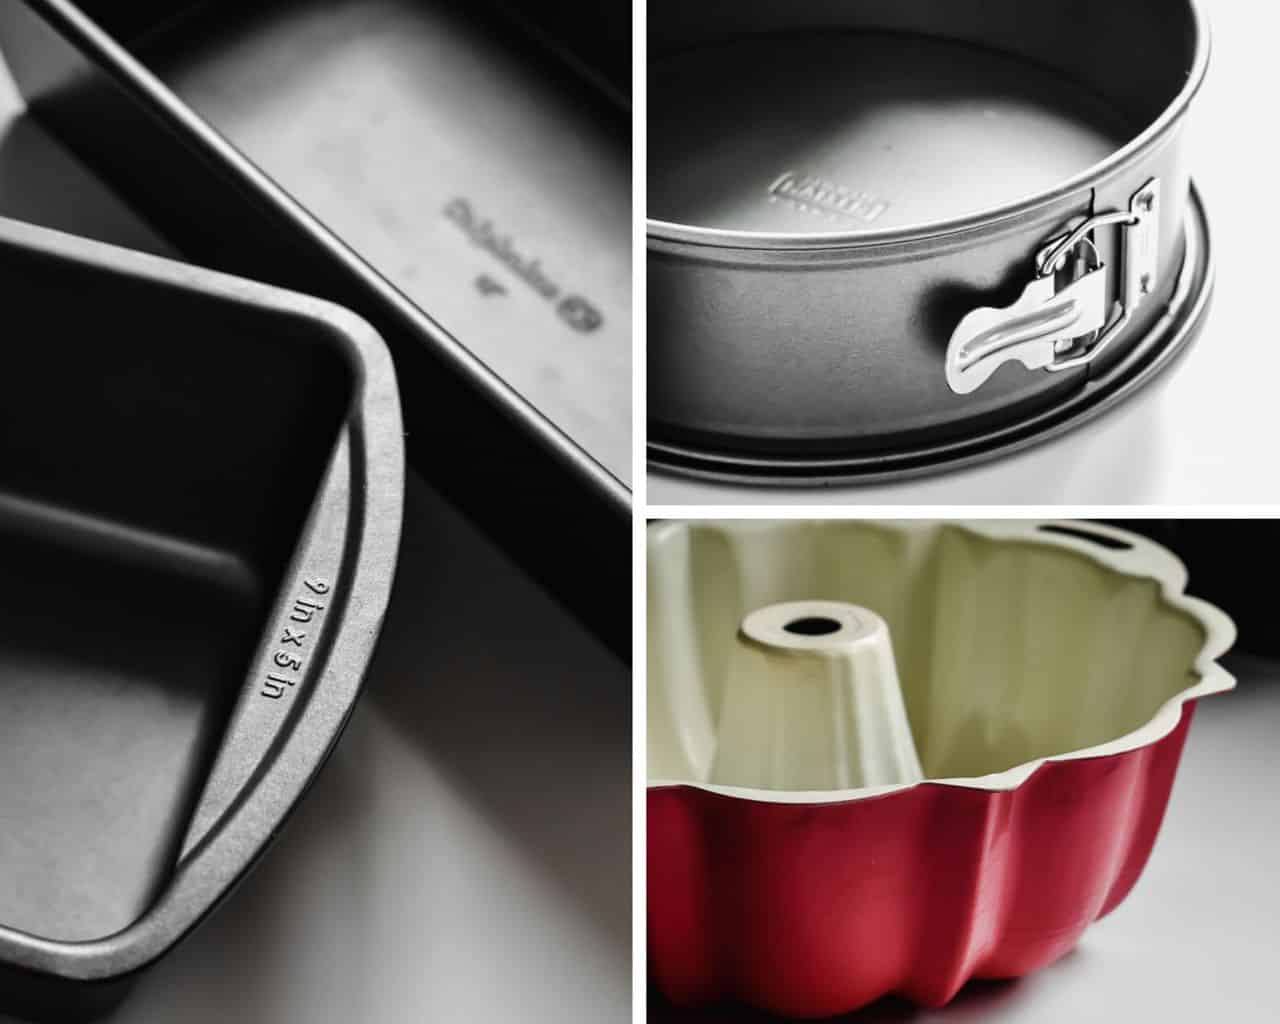
Loaf Pan Dimensions
| Pan Dimensions | Pan Volume (cups) | Pan Volume (liters) |
| 8″ x 4″ x 2.5″ | 4 cups | 948 mL |
| 8.5″ x 4.5″ x 2.5″ | 6 cups | 1.4 liters |
| 9″ x 5″ x 3″ | 8 cups | 1.9 liters |
Springform Pan Dimensions
| Pan Dimensions | Pan Volume (cups) | Pan Volume (liters) |
| 9″ x 2 1/2″ | 10 cups | 2.4 liters |
| 9″ x 3″ | 12 cups | 2.8 liters |
| 10 x 2.5″ | 12 cups | 2.8 liters |
Bundt Pan Dimensions
| Pan Dimensions | Pan Volume (cups) | Pan Volume (liters) |
| 7.5″ x 3″ | 6 cups | 1.4 liters |
| 9″ x 3″ | 9 cups | 2.1 liters |
| 10″ x 3.5″ | 12 cups | 2.8 liters |
Calculating pan surface area
Adjusting for volume is a large part of successfully converting a recipe for a different pan size, but the surface area is important, too! The depth of what you're baking can result in a different baking time, and the last thing you want is to put all this work into converting the recipe, making the recipe, and then baking it too long. Dry cake makes Leslie sad.
First, you need to calculate the surface area of each pan:
Surface area for rectangular and square pans
Length x width = surface area
Surface area for round pans
3.14 x radius² = surface area
And then you can use this formula:
Large pan area ÷ smaller pan area = number of times needed to multiply the recipe for the same depth in the larger of the two pans
Calculating and comparing surface areas
That was a lot of words – let's use the same example I used above. First, you need to calculate the surface area of each pan:
13″ x 9″ pan = 117 square inches
8″ x 8″ pan = 64 square inches
And now we use the formula above to determine the ratio:
117 ÷ 64 = 1.83
So if you're trying to reduce the original recipe for the smaller square pan, you actually want to divide each of the ingredients by 1.83, and not 2. Obviously, that makes the calculations of reducing each ingredient challenging, so take that with a grain of salt.
If you decide to keep the math simple and just divide the recipe in half, you'll end up with a slightly deeper batter, which may require adjusting the baking time to be a little longer.
Still with me? Okay, let's try a slightly more complicated example.
Converting from a rectangular pan to round pan
Now let's do the same conversion from a 13″ x 9″ pan, but to a round 8″ x 2″ pan.
13″ x 9″ pan = 13 x 9 = 117 square inches
8″ x 2″ pan = 3.14 x 4² = 50.24 square inches
117 square inches ÷ 50.24 square inches = 2.33
So in this case, you'd want to reduce the recipe by a little more than half. You'll end up with a slightly more shallow batter, which may require adjusting the baking time to be a little less.
Below are the surface area calculations of the most common pan sizes for your reference so you have one less bit of math to do.
Adjusting your bake time
Note: Using that ratio you came up with can act as a guideline for adjusting your baking time, but isn't a hard and fast rule and won't work in all cases – it's intended more as guidance to make informed decisions, so keep an eye on things as they bake and adjust as needed!
Rectangular & Square Pan Surface Areas
Formula: Length x width = surface area
| Pan Dimensions | Surface area |
| 11″ x 7″ | 77 square inches |
| 13″ x 9″ | 117 square inches |
| 8″ x 8″ | 64 square inches |
| 9″ x 9″ | 81 square inches |
| 10″ x 10″ | 100 square inches |
Round Pan Surface Areas
Formula: 3.14 x radius² = surface area
| Pan diameter | Surface Area |
| 6″ | 29 square inches |
| 8″ | 50 square inches |
| 9″ | 64 square inches |
| 10″ | 79 square inches |
Product Recommendations

I hope this information helps!
Do you have any questions about this topic that I didn't answer? Let me know in the comments below!
So if I follow your instruction to never fill more than 2/3 full.
Then if use a 8″ x 8″ x 2″ cake pan which is 8 cups (1.9 liters). Then my full recipe mixture should not exceed 1900 ml x 2/3 = 1266 ml 0r 5 1/4 cups for the best result.
Am I right ….
Regards
Hi Leslie!
Your baking pan conversion charts are just what I need to bake for our church bake sale. Thank you for all your hard work!
This is so great to hear!
How do I convert a 8x8x2 pan into standard size 12 cup muffin?
Great question! I’m going to write out my thought process the way I do it in my head, hopefully that’s helpful :)
An 8″x8″x2″ pan is about 8 cups of batter, and standard muffin cups should be filled with around 4 tablespoons of batter for each cup (depending on the recipe). Let’s call it 4 tablespoons (1/4 cup) to make the math easiest.
1 cup = 8 tablespoons (or 4 quarter cups)
8 tablespoons x 8 cups = 64 tablespoons (or 16 quarter cups)
64 tablespoons / 4 tablespoons = 16 muffin cups
So if you’re looking to make 12 muffin cups, you want your recipe ingredients to be 75% the original recipe for the 8″x8″x2″ pan – generally speaking.
Hope that helps!
It does! Thank you!
Hi!
I’m taking a stab at fruit cake baking.
The recipe calls for 2 pans the lady says are 8 x 4”. (So 32, from multiplying). These pans are 2.75” tall per Williams Sonoma site; outer measurements are 9” x 4.5”.
I have some paper baking molds (from Italy) that are 6 x 2.5, which is 15 when multiplied. They are 2” in height. I want to gift some of the fruitcake, and want whole loaves instead of partial loaves.
I’m thinking I’ll be able to make 4 of the mini loaf pans from the recipe.
I know I’ll have to reduce the baking time as well, from 75 minutes, and I’m guessing I’ll start checking for doneness at around 45 minutes.
Do my calculations make sense?
I should have paid more attention to word problems when I was a kid!
Thank you.
Barbara
I am not sure how you came up with the amount of cups per pan. If I multiply my loaf pan (9x5x3), I get 135 inches (to the 3rd). Then the amount of cups = (1″/cup)x(135″) = 13.5? Where does the 8 cups come in? And the difference in volume between the 9″ loaf pan and the 8″ loaf pan is 135″ – 64″ = 71″; and the ratio between the volumes is (135/64) = 2.1.
And if I want to use the “regular” sized loaf pans versus what the recipe says to use (8x4x2), the surface ratio is 1.4. So do I increase the ingredients by the change in volumes or the surface ratio? Please respond quickly…thanks.
Hi Pat! I created the charts in the post with all of the math already done so that you wouldn’t have to do it yourself :) The volume per pan size is where you’ll want to start, and this was measured by simply filling each pan with cups of water until filled. I’ll update this post so that it’s clear I’ve already done that work myself for you, but that’s how you can measure yourself if there’s a pan size I haven’t accounted for!
For your example of converting from 9″x5″x3″ pan to 8″x4″x2″, you’ll take a look at the volume (8 cups vs. 4 cups) and that makes for a clean conversion of the batter – phew!
As for the surface area ratio, you’re going to want to keep that in mind with regard to your bake time. The loaf you’re baking will be more shallow and have 1.4x less surface area, which means it will likely need approximately that much less baking time. So if the recipe calls for baking for 60 minutes, 60 divided by 1.4 is 42 – so you may be looking at *around* a 42 minute bake time in the smaller pan.
It’s not a hard and fast guaranteed results kind of rule and is intended as guidance to make informed decisions, so you’ll want to keep an eye on it while it’s baking and adjust as needed.
Hope that helps!
Leslie, I found your post by accident while looking on how to check the oven temp. I know it is hotter than it is supposed to be as I keep burning stuff -so I just set the temp control lower. I will try to see if there is a screw I can adjust beneath the knob. All the information you give is amazing. How long to keep spices, I’m going to through out more than half of what I have. I don’t cook like i used to when I I had kids and family to cook for and TV dinner have become my friend, sorry to say. Again, Love your article and will save it!!!
Glad this was helpful!
I definitely know that if I follow these procedures step by step and apply the right quantity of ingredients I will control the frequent burning I experience during baking. Nice article, I will bookmark this.
Glad you’ll find it helpful!