No Chill Chocolate Chip Cookies Recipe


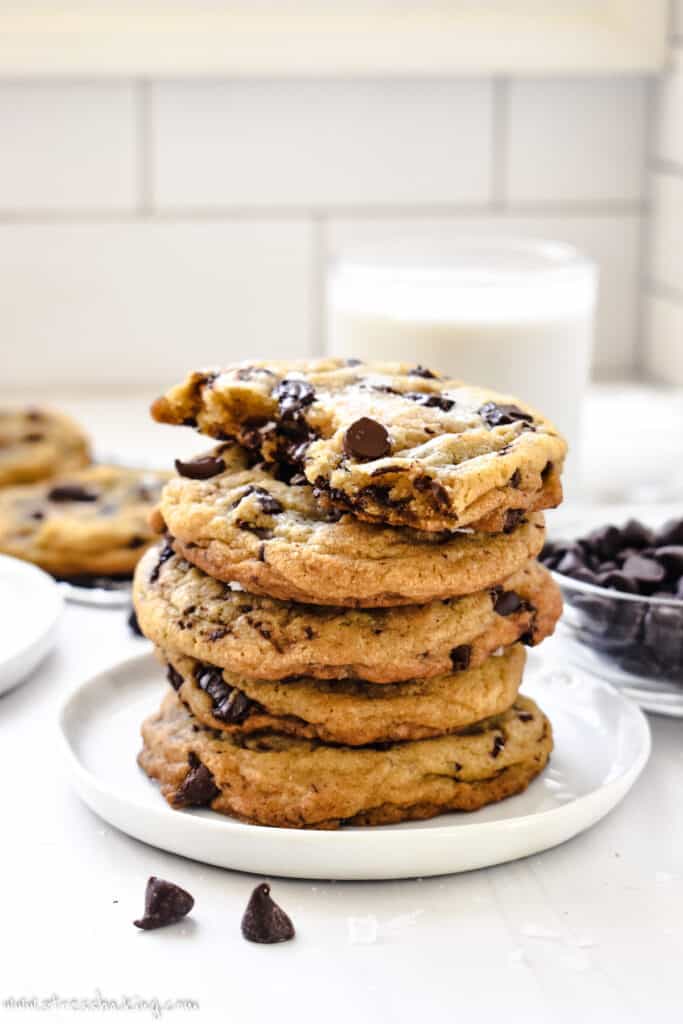
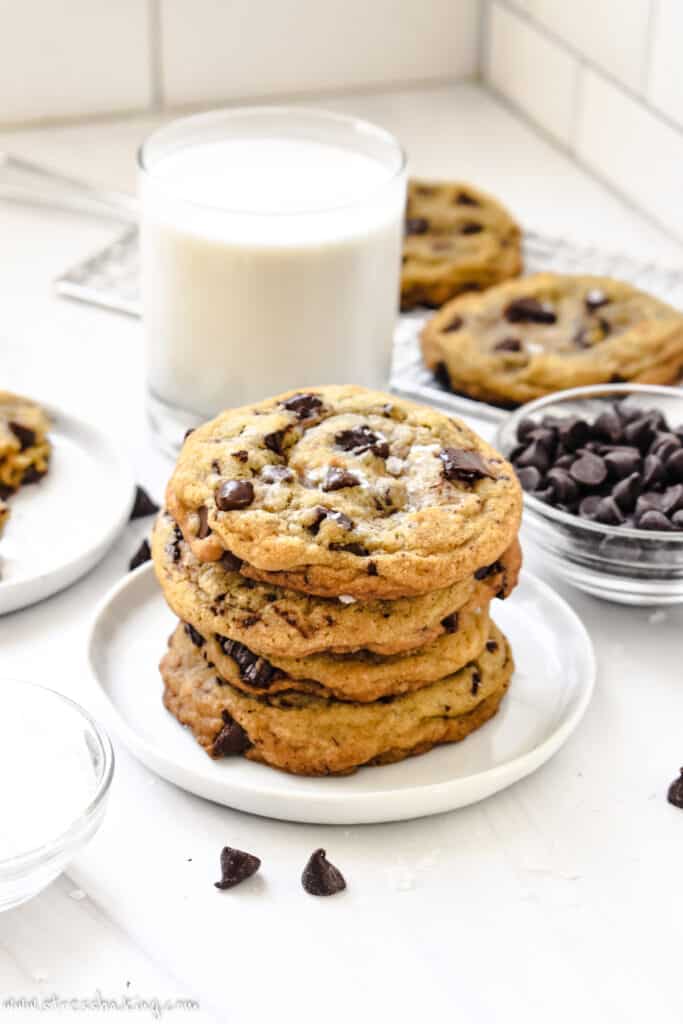
These are the perfect chocolate chip cookies! Soft, buttery cookies that are loaded with puddles of melted chocolate with crisp edges and soft centers. No chilling the dough, no mixer required, and the cookies will be baked and ready to eat in under 30 minutes!

Stef said: “Hi! It’s Mother’s Day today and my daughter and I decided last minute to make cookies after dinner. Since it was so last minute, and tonight is a school night, I was very happy to come across this no chill recipe. These cookies were quick, but oh soo good! Crispy and chewy at the same time. I’m a good cook, but horrible baker, so if I can pull these off, anyone can! ⭐⭐⭐⭐⭐“
Why this is my favorite chocolate chip cookie recipe
To me, this is the simplest chocolate chip recipe possible – you know, aside from buying a premade log of dough. But in addition to being simple…
- These are easy chocolate chip cookies. Truly. No complex ingredients or weighing of ingredients.
- No chilling required! If you were looking for a chocolate chip cookie recipe without chilling… so was I. So you don't need to chill the dough, which means you'll be shoving warm cookies in your face ASAP. I know we have the same priority here, my friends.
- You don't need a hand or stand mixer – just a whisk and a wooden spoon (or spatula).
- These are melted butter chocolate chip cookies, which speeds things along – and is why we don't need the mixer!
- You don't need to roll the dough into balls – you can just scoop them right onto the baking sheet. No muss, no fuss.
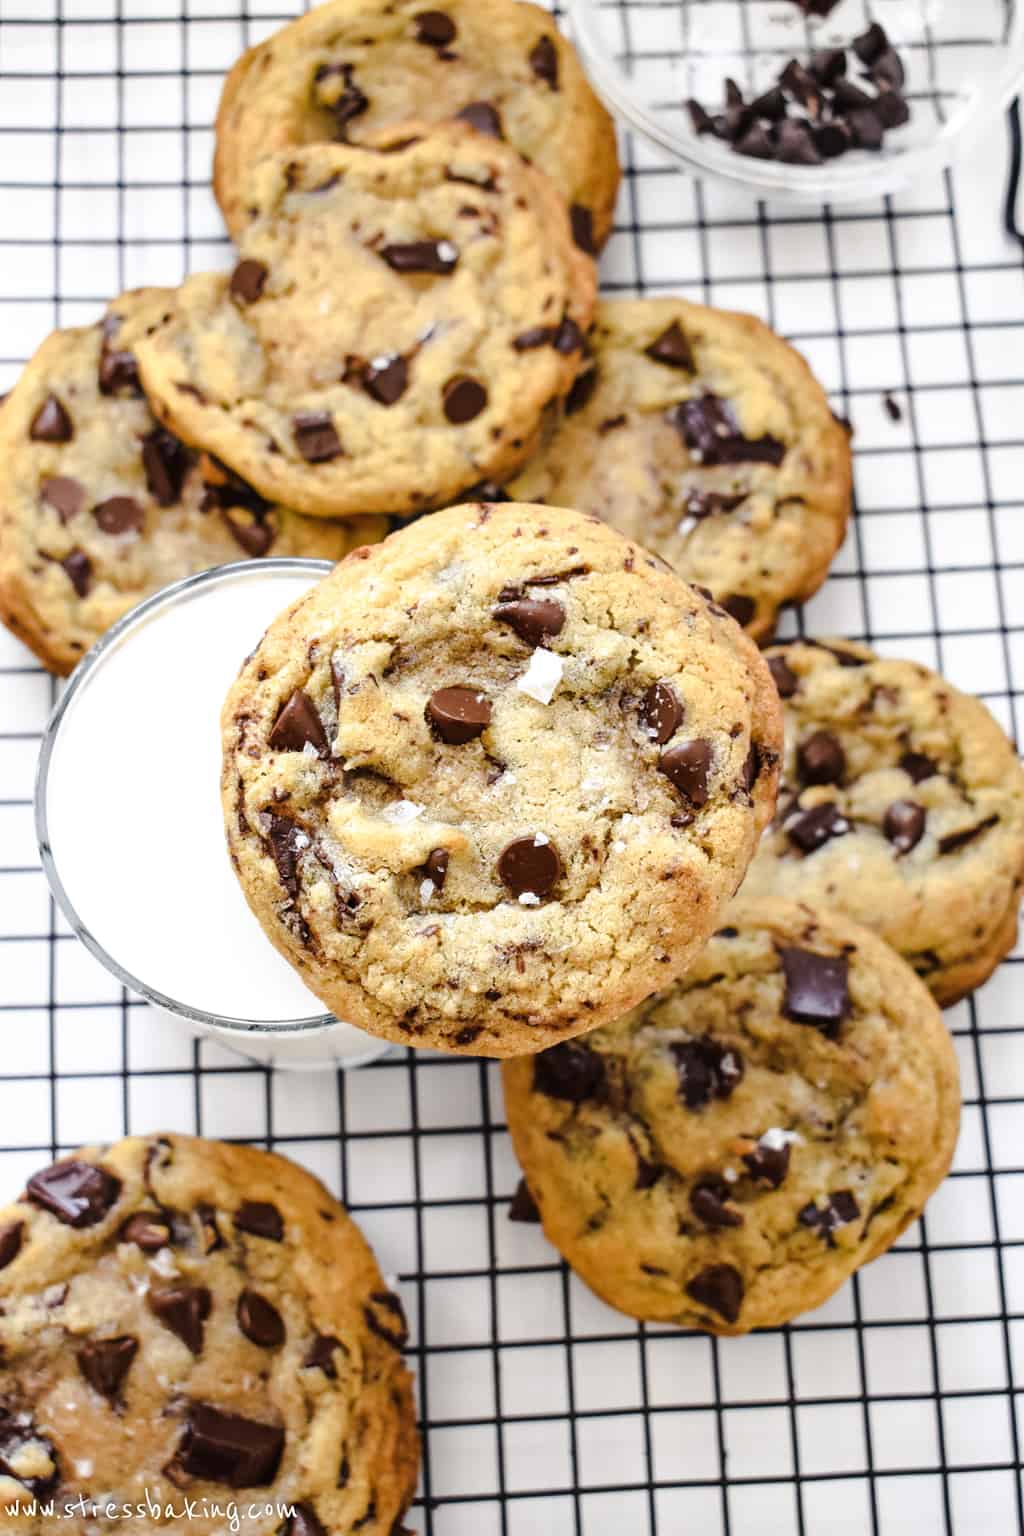
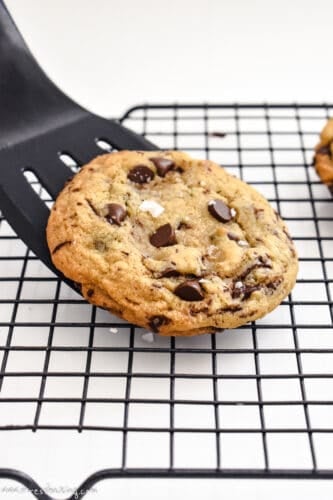
- They're huge and crinkly with a crisp edge and soft, chewy centers and are loaded with puddles of delicious, ooey, gooey chocolate.
Ingredients for no chill chocolate chip cookies recipe
- Unsalted butter: The key here is using melted butter that has cooled a bit before adding it to the dough. By melting the butter we're able to speed up the process of making the dough, and eliminating the need for a mixer. I exclusively use unsalted butter so that I can control the amount of salt in my recipes myself, but if you use salted butter you'll want to omit or adjust the amount of salt in the recipe according to your own tastes.
- All purpose flour: Just 1 cup plus 2 tablespoons of plain old white flour, measured properly, gives just the right amount of substance to these cookies. Too much flour results in thicker, sometimes cakey cookies – which have their place! – but aren't what we're going for with this recipe.
- Baking soda: We're using just enough of this classic leavener that will interact with the brown sugar to add a bit of lift during the baking process. Don't add more baking soda to add more lift – too much baking soda can result in a metallic aftertaste, and that is definitely not what you want!
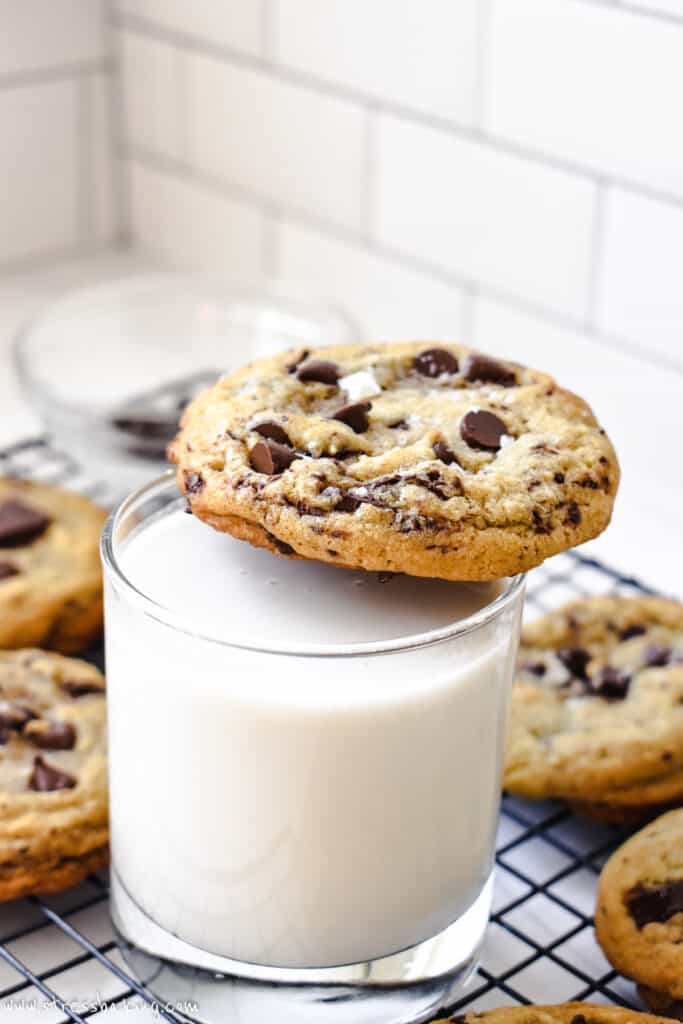
- 2 kinds of salt: We're using table salt or kosher salt in the dough, and flaky sea salt on top for the perfect sweet and salty combination. Not a fan? Just leave the flaky sea salt off the top – but still include the salt in the dough!
- Brown sugar: Light brown sugar interacts with the baking soda the way we want, and it lends softness, moisture and a deeper flavor to the dough.
- Granulated sugar: We're using a combination of white and brown sugar in the dough because it gives the perfect amount of golden color to your finished cookies. Using only white sugar is a bit bland and results in a pale cookie, and using only brown sugar can be almost gritty in texture.
- Egg: Make sure you're using a room temperature egg to easily incorporate it into the dough. If it's still cold, it can be a bit more difficult to combine, which can result in accidentally overmixing the dough.
- Vanilla extract: Use a good quality vanilla extract! Vanilla is important to a great chocolate chip cookie, and using a low-quality or imitation vanilla extract is just doing yourself a disservice. High-quality pure vanilla extract, bourbon vanilla extract, or even vanilla bean paste are all great.
- Chocolate: Another area where quality matters! They are chocolate chip cookies, after all. I'm a big fan of using chopped dark chocolate, but you can use chopped semisweet or bittersweet chocolate as well. I personally find milk chocolate to be too sweet. You can also easily use semisweet, bittersweet or dark chocolate chips as well – or a mix of any of the above for more complex flavor!
How to make chocolate chip cookies
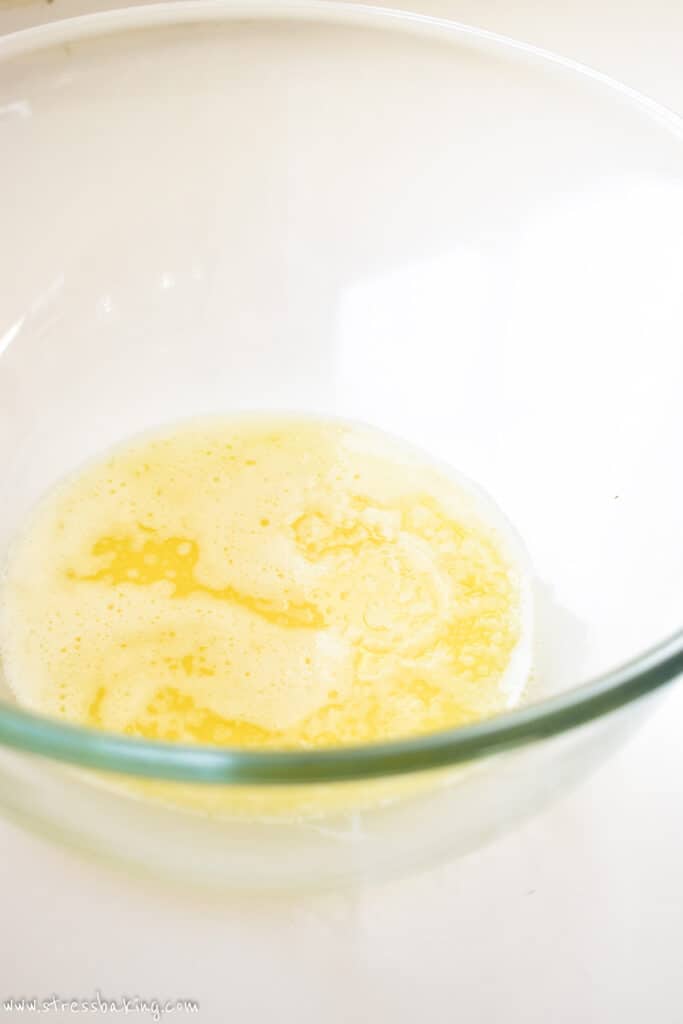
Step 1: Melt butter on the stovetop or in the microwave, and transfer to a large mixing bowl to cool while you prep the rest of the ingredients.
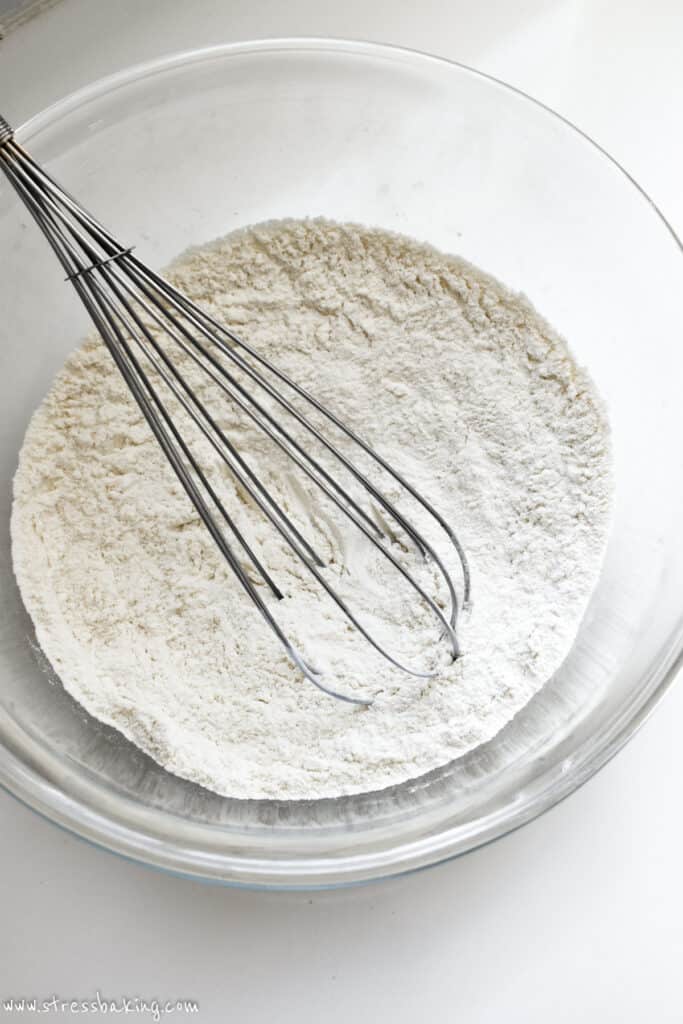
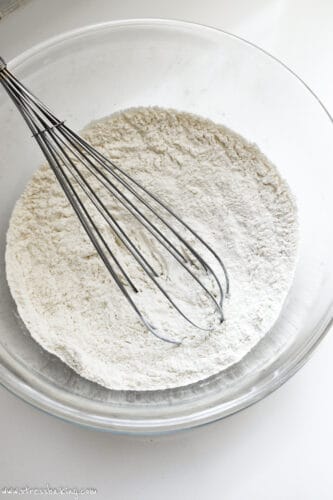
Step 2: In a medium bowl, whisk together flour, baking soda and salt. Set aside.

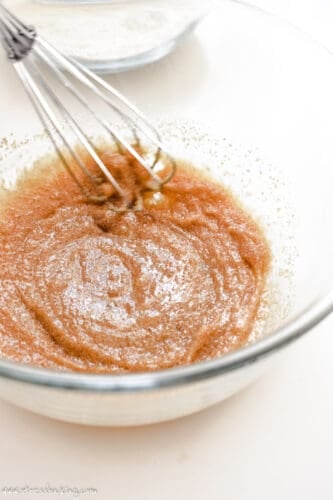
Step 3: In the large bowl with the cooled melted butter, add light brown sugar and granulated sugar and whisk to combine. Add the vanilla and egg, whisk until smooth and combined.

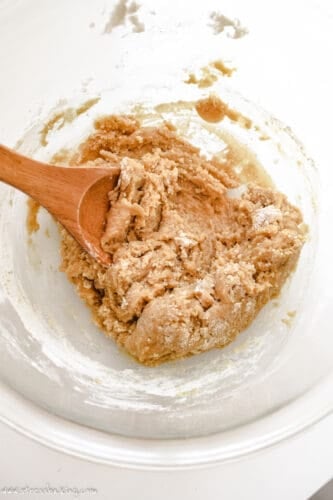
Step 4: Add the flour mixture to the wet mixture and use a sturdy wooden spoon or spatula until just combined – don't overmix!
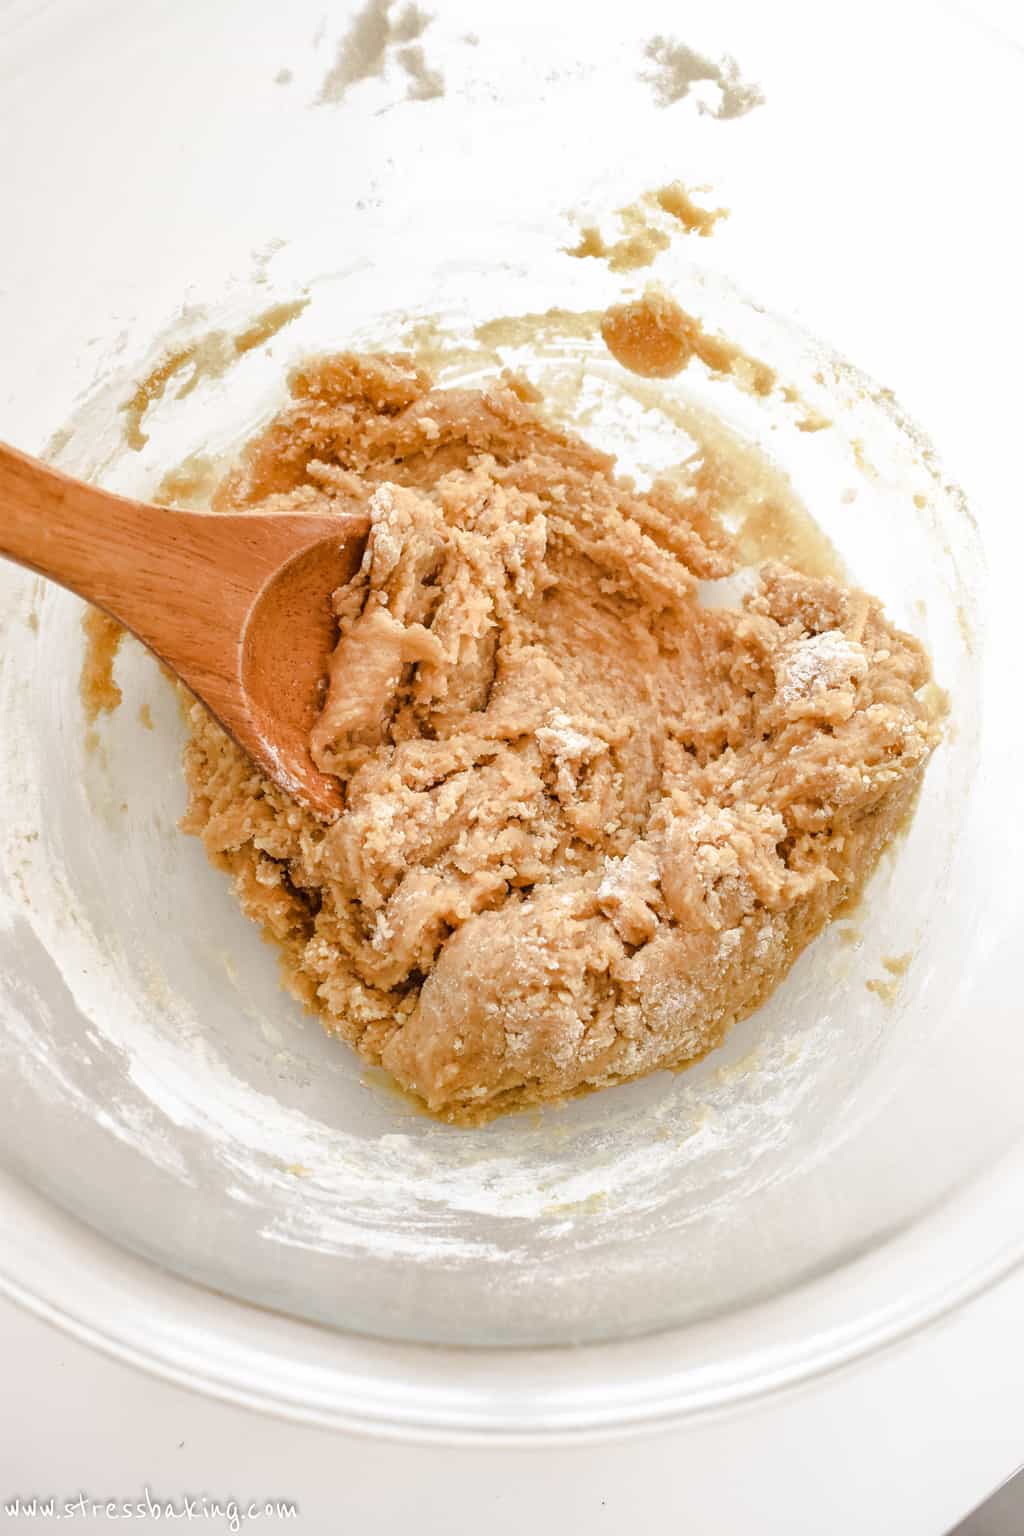
You'll notice there are still a few streaks of flour in there and that's okay! We're about to stir in the chocolate chunks, so that will take care of the remaining mixing that's needed.
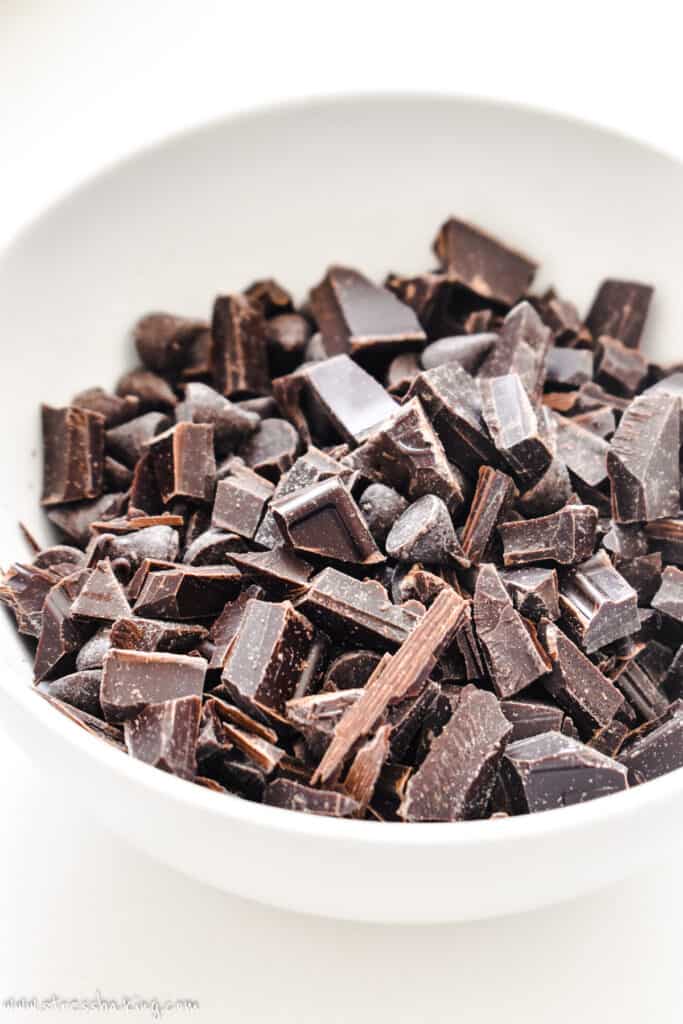
Step 5: Get ready to add your chocolate. I like to use a combination of chocolate chips and chopped chocolate baking bars because the chocolate bar pieces melt into little delicious puddles, and the chips retain their shape a bit more. The variety in each bite is wonderful.
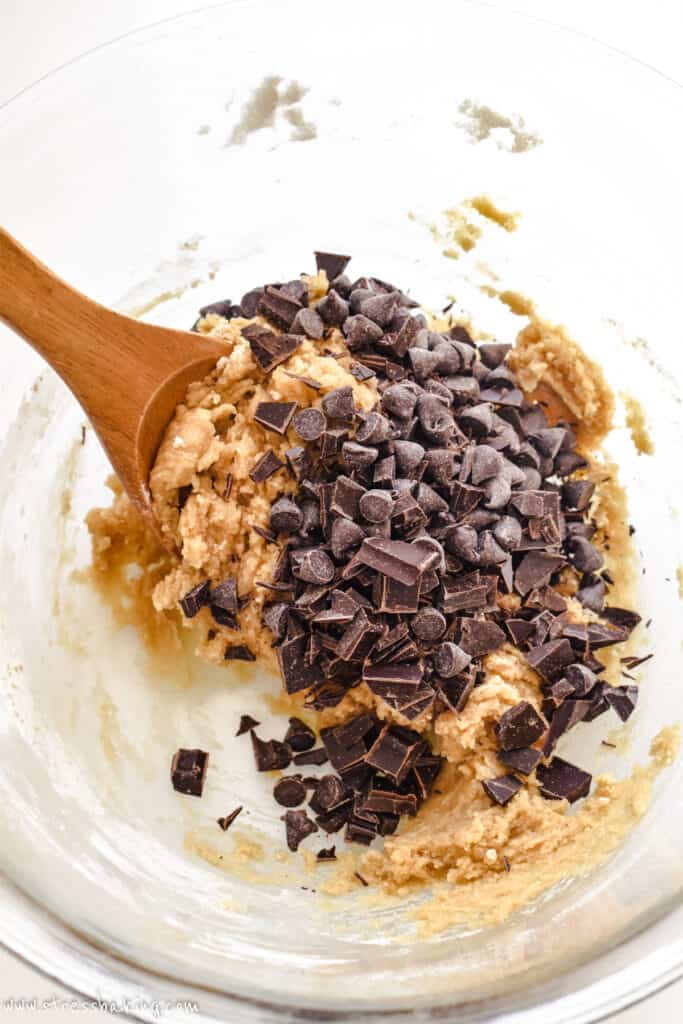
Step 6: Gently fold in 1 cup of the chocolate – save the other 1/4 cup for topping each cookie.
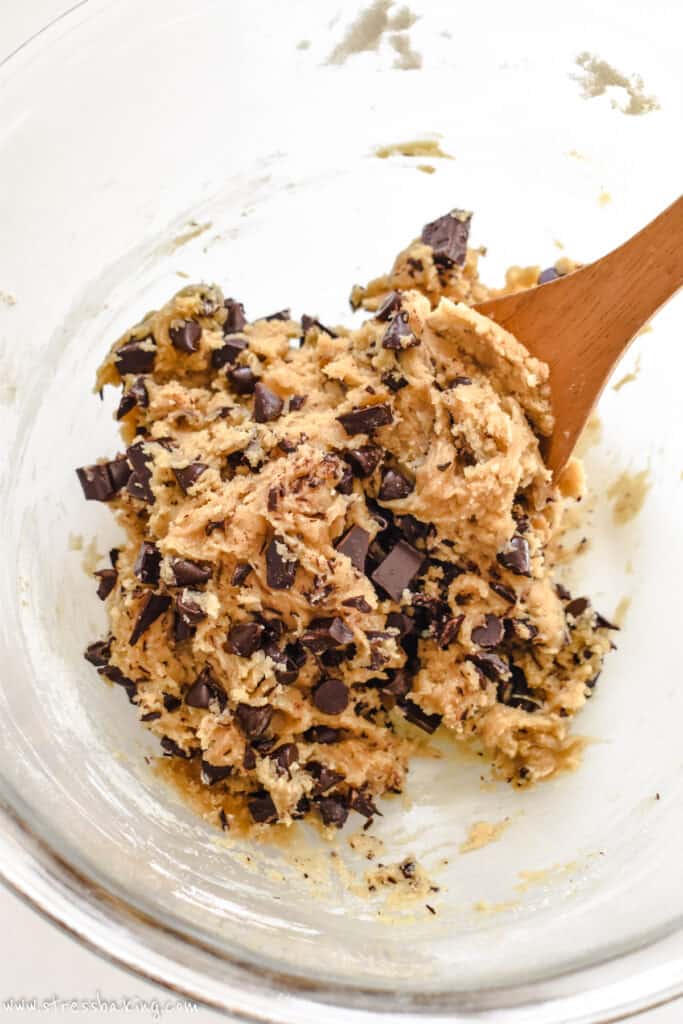
You only need to get it a few stirs to fold in the chocolate because, again, we want to avoid overmixing the dough.

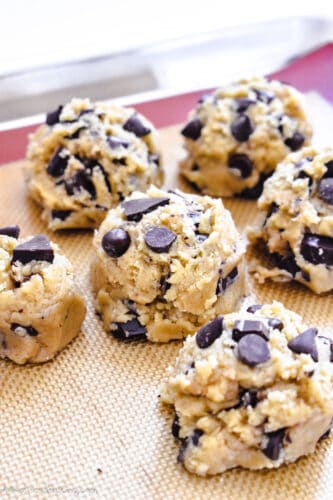
Step 7: Use a large cookie scoop (3 tablespoons) — or a 1/4 cup measuring cup for slightly bigger cookies) — to scoop out even portions of dough onto prepared baking sheets. I usually only add 3 cookies to each baking sheet as they do spread quite a bit – but you can probably get away with 4.
What you see in the picture above is chocolate chip cookie dough balls that were about to get a flash freeze before I store them in the freezer for Future Leslie to enjoy :)

Step 8: Top each cookie with a few more of your reserved chocolate chips for a nice presentation, and add a sprinkle of flaky sea salt (optional, but recommended).
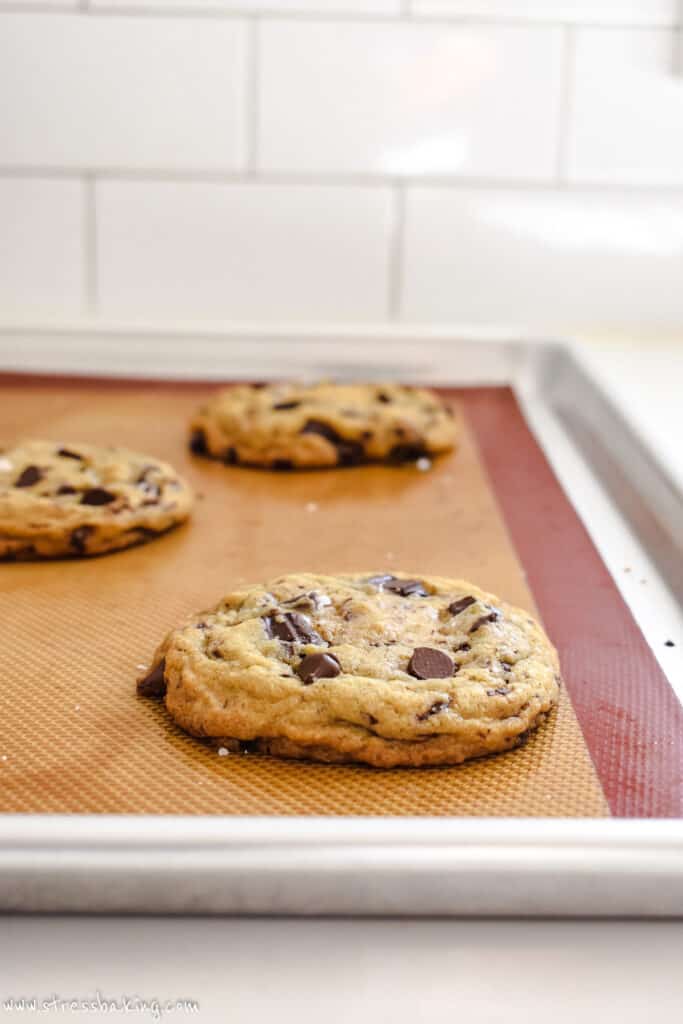
Step 9: Bake one sheet at a time on the middle rack for 11 minutes, or until the edges are set and golden and the tops are puffy – they'll set and crinkle as they cool. Remove from the oven and let cool on baking sheets for about 10 minutes (I just let them set until the next batch of cookies is done),

Step 10: Transfer the cookies to wire racks to cool completely.
6 Tips for the perfect chocolate chip cookies
1. Let your butter cool in a different bowl from what you heated it in. I transfer my melted butter directly to the mixing bowl I'll be adding the sugars to, and I set the bowl in a cool place in the kitchen while I prep the rest of the ingredients. If you leave it in the bowl you used to melt it, it will retain the heat and take longer to cool.
But I'm going to let you in on a secret… I've added the melted butter to my dough only a couple minutes after it's been melted and was still warm, and my resulting cookies were still freaking delicious. They were a tad bit oilier just out of the oven and I needed to wait a few extra minutes for them to set, but in the end they were just as good as when I followed my own instructions!
2. Don't overmix your dough. When you're adding the dry flour mixture to the wet mixture, only stir until everything has just combined. It's even okay if you still see a couple streaks of flour, because you'll get that combined when you fold in the chocolate chips. It's important not to overmix the dough because it can result in a tougher cookie that doesn't spread as much.
3. Use high-quality vanilla extract and chocolate. I mentioned this above, but it's worth repeating. The vanilla and chocolate are going to be stars of the show, and you want the flavor to be the best you can get.
I recommend high-quality pure vanilla extract, bourbon vanilla extract, or even vanilla bean paste.
And for chocolate, I recommend using chopped dark chocolate, but you can use chopped semisweet or bittersweet chocolate as well. I personally find milk chocolate to be too sweet. You can also easily use semisweet, bittersweet, or dark chocolate chips as well – or a mix of any of the above for more complex flavor!
4. Add a few chocolate chips to the top of each cookie before baking. This is mostly for the sake of presentation, but also because it means more chocolate and getting as much chocolate as possible in a recipe is basically always my goal ;)
5. And add flaky sea salt to the top of each cookie. Not a lot – just a little pinch over the top of the dough before you stick them in the oven. You could also wait until they come out of the oven instead, and add a little pinch across the top while they're still warm and setting.
6. Remove them from the oven while the tops are still puffy. As long as the edges are set and golden, you can take them out of the oven and let them set on the baking sheet – they'll continue to absorb some of the residual heat from the baking sheet, and get those gorgeous crinkles and soft centers as they cool. This ensures they're not overbaked, which would result in a tougher, crunchier cookie.
How many cookies does this recipe make?
The recipe makes 8 large cookies using a large cookie scoop, which is about 3 Tablespoons worth of dough.
You could also use a 1/4 cup measuring cup to portion out your dough, and you'll likely end up with 6 or 7 slightly larger cookies. This is a case of the bigger, the better! If you make them smaller, you're not going to get the same spread and texture as the large size. There's a reason the big, bakery-style chocolate chip cookies are a classic favorite!
How to store chocolate chip cookies
You can store baked cookies for up to 1 week at room temperature and keep them nice and soft, as long as you do it properly!
- Make sure the cookies are completely cooled before storing
- Place the cookies in an airtight container
- Place parchment or wax paper between layers of cookies to keep them from sticking together
You can even add a slice of white bread to the container to help the cookies retain their moisture! The cookies will absorb the moisture from the bread, and it will help keep them soft longer.

Can I freeze chocolate chip cookies?
Absolutely, you can. Not only can you, I highly recommend that you do! Even though the dough comes together quickly and easily, you can't beat the ease of just grabbing one or two balls of dough from the freezer to bake and have a nice warm cookie when a craving hits.
To freeze the dough before baking, portion the dough into balls as instructed and then place them on a baking sheet and place them in the freezer. Let them chill for about an hour and then transfer the dough balls to a freezer-safe plastic bag or other freezer-safe container. You can keep the dough stored for up to 3 months in the freezer.
When you're ready to bake them, just bake them directly from the freezer – no defrosting necessary. Add a couple of minutes to your baking time, and you're golden! Pun totally intended, by the way.
To freeze baked cookies, let them cool completely according to the instructions in the recipe card first. Then wrap them individually in plastic wrap, and store them together in a freezer-safe container for up to 2 months. When you're ready for a snack, let them thaw at room temperature for about 20 minutes, or pop them in the oven at 250°F for a few minutes if you want them warmed up.
Can I make the dough ahead of time?
Definitely! You can make the dough and store it covered in the fridge up to 1 day ahead of time.
Just be aware that chilled dough won't spread as much as when the dough is freshly mixed. I recommend scooping the dough onto the prepared baking sheet and letting it sit at room temperature for about 15 minutes prior to baking for the best results.
FAQs
You can store baked cookies for up to 1 week at room temperature and keep them nice and soft, as long as you do it properly! Make sure the cookies are completely cooled before storing, place the cookies in an airtight container, and place parchment or wax paper between layers of cookies to keep them from sticking together.
You can even add a slice of white bread to the container to help the cookies retain their moisture! The cookies will absorb the moisture from the bread, and it will help keep them soft longer.
Yes! To freeze the dough before baking, portion the dough into balls as instructed and then place them on a baking sheet and place them in the freezer. Let them chill for about an hour and then transfer the dough balls to a freezer-safe plastic bag or other freezer-safe container. You can keep the dough stored for up to 3 months in the freezer. When you're ready to bake them, just bake them directly from the freezer – no defrosting necessary. Add a couple of minutes to your baking time, and you're golden! Pun totally intended, by the way.
To freeze baked cookies, let them cool completely according to the instructions in the recipe card first. Then wrap them individually in plastic wrap, and store them together in a freezer-safe container for up to 2 months. When you're ready for a snack, let them thaw at room temperature for about 20 minutes, or pop them in the oven at 250°F for a few minutes if you want them warmed up.
Definitely! You can make the dough and store it covered in the fridge up to 1 day ahead of time. Just be aware that chilled dough won't spread as much as when the dough is freshly mixed. I recommend scooping the dough onto the prepared baking sheet and letting it sit at room temperature for about 15 minutes prior to baking for the best results.
In the case of this recipe, you don't want to chill it! But with most other recipes, if you don't chill the dough the dough is too warm and will spread too much in the oven.
You're going to burn your mouth on very hot melted chocolate! As tempting as it may be, you need to let them cool down before you start snacking.
It depends on the temperature in the room in which they're cooling after being baked, but with this recipe I find after about 15-20 minutes they're usually cool enough to eat.
In the case of this recipe, you'll want to leave them on the baking sheet for 10 minutes to cool and crinkle before moving them over to a wire cooling rack.
Rating this recipe is a great (and free) way to support Stress Baking. After you've enjoyed this recipe, click on the stars below to share your experience – thank you!
No Chill Chocolate Chip Cookies Recipe

Equipment
Ingredients
- ½ cup unsalted butter, melted and slightly cooled (no longer warm)
- 1 cup + 2 tablespoons all purpose flour
- ½ teaspoon baking soda
- ¼ teaspoon kosher or table salt
- ½ cup light brown sugar, packed
- ¼ cup granulated sugar
- 1 ½ teaspoons pure vanilla extract
- 1 egg, room temperature
- 1 ¼ cup chocolate, roughly chopped (semisweet, bittersweet or dark chocolate) or chocolate chips, divided
- Flaky sea salt, for topping (optional, but highly encouraged)
Instructions
- Melt butter on the stovetop or in the microwave, and transfer to a large mixing bowl to cool while you prep the rest of the ingredients.1/2 cup (113 ½ g) unsalted butter

- Preheat oven to 350°F and line two baking sheets with nonstick silicon mats or parchment paper.
- In a medium bowl, whisk together flour, baking soda and salt. Set aside.1 cup (125 g) + 2 tablespoons all purpose flour1/2 teaspoon (½ teaspoon) baking soda1/4 teaspoon (¼ teaspoon) kosher or table salt
- In the large bowl with the cooled melted butter, add light brown sugar and granulated sugar and whisk to combine.1/2 cup (113 ½ g) unsalted butter1/2 cup (110 g) light brown sugar1/4 cup (50 g) granulated sugar
- Add the vanilla and egg, whisk until smooth and combined.1 1/2 teaspoons (1 ½ teaspoons) pure vanilla extract1 egg
- Add the flour mixture to the wet mixture and use a sturdy wooden spoon or spatula until just combined – don't overmix!
- Gently fold in 1 cup chopped chocolate – save the other 1/4 cup for topping each cookie.1 1/4 cup (218 ¾ g) chocolate
- Use a large cookie scoop (3 tablespoons) — or a 1/4 cup measuring cup for slightly bigger cookies) — to scoop out even portions of dough onto prepared baking sheets. I usually only add 3 cookies to each baking sheet as they do spread quite a bit – but you can probably get away with 4.
- Top each cookie with a few more of your reserved chocolate chips for a nice presentation, and add a sprinkle of flaky sea salt (optional, but recommended).Flaky sea salt
- Bake one sheet at a time on the middle rack for 11 minutes, or until the edges are set and golden and the tops are puffy – they'll set and crinkle as they cool.
- Remove from the oven and let cool on baking sheets for about 10 minutes (I just let them set until the next batch of cookies is done), then transfer to wire racks to cool completely. Enjoy!


Video
Notes
Nutrition Facts
Nutrition Disclaimer
The provided nutrition information is generated by an automatic API and does not take variations across specific brands into account. This information is provided as a general guideline and should not be treated as official calculations. Learn more here.
Amazing I loved them and it was great that I didn’t have to freeze them they came second in my schools bake off challenge
Love theses cookies! It’s my go to recipe for chocolate chip cookies.
LOVE THIS RECIPE!!!!!!!!!!!!
idk what these other people are talking abt. i have made this recipe tons of times and the cookies are always delish, sure they sometimes end up a little flat or a little raw on the inside bit i think they might even taste even better when they’re a little gooey. two members of my family haved dubbed this recipe their favorite and i think i might have to agree with them and that’s saying something because i make a LOT of different cookies lol.
Was there a change to this recipe? I followed it twice in the spring and yielded great cookies. Tried it again today and my cookies are horrifying. They are beyond oily and flat discs. Please revise!!!
Horrifying… please revise recipe. Flat discs not even remotely like picture. I followed everything to a T!!
Followed recipe exactly, “dough” was like a thick batter. Added an extra cup of flour at the end and baked for 12 minutes. Cookies are barely acceptable. You need to revise this recipe…
my dough came out watery. I followed instructions exactly. I even triple checked that I did… so what happened? Because I’m lost
im not gonna lie, this is one of the best cookie recipes ive ever tried!! although sometimes i DO have to set them in the oven for longer than usual, their taste does not disappoint!!! this is my go-to choco chip recipe ngl, SO easy to make! my phone wont let me rate 5 stars for some reason, so ill js put 4 for good measure
Same issue as the rest. Pancakes. It could be whoever makes them perfectly has the same measuring cups as the author or perhaps you need to measure the weight exactly.
I had to bake the cookies a little bit longer than the recipe recommended, but overall they turned out very buttery and delicious! I doubled the recipe. Letting them sit afterwards was key to achieve some crunchiness.