25+ Holiday Baking Tips
Get yourself ready for the holiday season with my favorite holiday baking tips and tricks from grocery shopping to restock your pantry all the way down to packaging cookies to mail to friends!
It's that time, my friends – holiday baking season!
- The season when you stock up on unreasonable quantities of flour and butter and derail all of your friends and family's diets.
- The season when sprinkles are in abundance and the kitchen is filled with the constant scent of gingerbread and vanilla.
- The season when baking isn't complete without a soundtrack of Christmas music blasting at full volume.
I'm pretty sure if I looked at my annual spending I would find 50% of it would be in the month of December and it would consist mostly of flour, sugar, butter, eggs and cream cheese. I find that to be alarming/impressive.
But enough about my spending habits! I thought it might be helpful to provide y'all with some holiday baking tips that I've discovered and developed over the years to help you get through the holidays with the smallest number of cookie casualties and cupcake catastrophes.
Unrelated, but Cookie Casualties & Cupcake Catastrophes would be a great band name.
Make a list (and check it twice)
- Do a fridge and pantry audit. Throw away expired baking ingredients (check out this post about ingredient shelf life if you need help determining if they're still good or not), and make a list of what you need. Like, an actual list – on your phone or on a piece of paper.
Don't say “I'll remember!” and not jot it down somewhere – that's how you end up romanced by a display of holiday candy and come home with three pounds of peppermint bark and no butter. - Make a list of the recipes you plan to make, with the ingredients listed. I like to make a list of all the ingredients needed for all of the recipes combined so that I am more conscious of the quantities needed.
I note how much I need for the recipes in total (keeping in mind I want a little wiggle room) and how much that translates to in terms of the packaging, similar to this:- Unsalted butter (7 cups = 14 sticks = get 4 packages)
- Granulated sugar (6 cups = 3 pounds = get 5 pound bag)
- All purpose flour (12 cups = each cup is ~4.5 ounces, meaning 54 ounces = ~3.4 pounds = get 5 pound bag)
- Don't overcommit yourself. It's hard to be realistic about what ingredients you actually need to buy from the store when you have these grand plans to make twelve different cookie recipes for friends and family, but do your best not to overcommit yourself.
Recommended baking ingredients to stock up on for holiday baking
This is by no means a complete list, but this should get you off to a great start while restocking your pantry and fridge for all your holiday baking:
| All purpose flour | Molasses |
| Baking powder | Pure vanilla extract |
| Baking soda | Almond extract |
| Cake flour | Cream of tartar |
| Cocoa powder | Ground cinnamon |
| Cornstarch | Ground nutmeg |
| Powdered sugar | Ground ginger |
| Salt | Eggs |
| Chocolate chips | Milk |
| Chocolate baking bars | Heavy cream |
| Granulated sugar | Unsalted butter sticks |
| Light brown sugar | Cream cheese blocks |
| Dark brown sugar |
Organize and prep your work station
The best thing you can do for yourself is make sure that you have plenty of room to work.
- Start by clearing off your counters, getting any clutter out of the way.
- Clean the counters. No, seriously! Give them a quick wipe down so you're truly working with a clean slate.
- Get all your tools out in plain view. I'm talking about your measuring spoons, measuring cups, cookie cutters, prep bowls, etc. Having everything out in front of you will make things move more quickly, and save you the stress of scrambling to find what you need in the middle of time sensitive steps.
Ingredient preparation tips
- Make sure your eggs are room temperature. Eggs that are room temperature more easily and evenly incorporate into batter, so let them set out or place eggs in a bowl of warm water for 10 minutes.
- Room temperature butter, too. Forgot to set out the butter? Cut it into cubes and let sit on a plate – it will soften to room temperature more quickly than if it is still in whole sticks. Check out this post about room temperature butter for more tips.
- Take the time to measure your ingredients properly.
- Always measure flour, cocoa powder and powdered sugar by spooning it into a measuring cup and then level it off with a knife. If you pack it down too much, you'll accidentally end up with too much!
- Similarly, always measure brown sugar by packing it down into a measuring cup. If you don't, you might end up with too little.
- Check out this post about properly measuring ingredients for tips about the different types of ingredients.
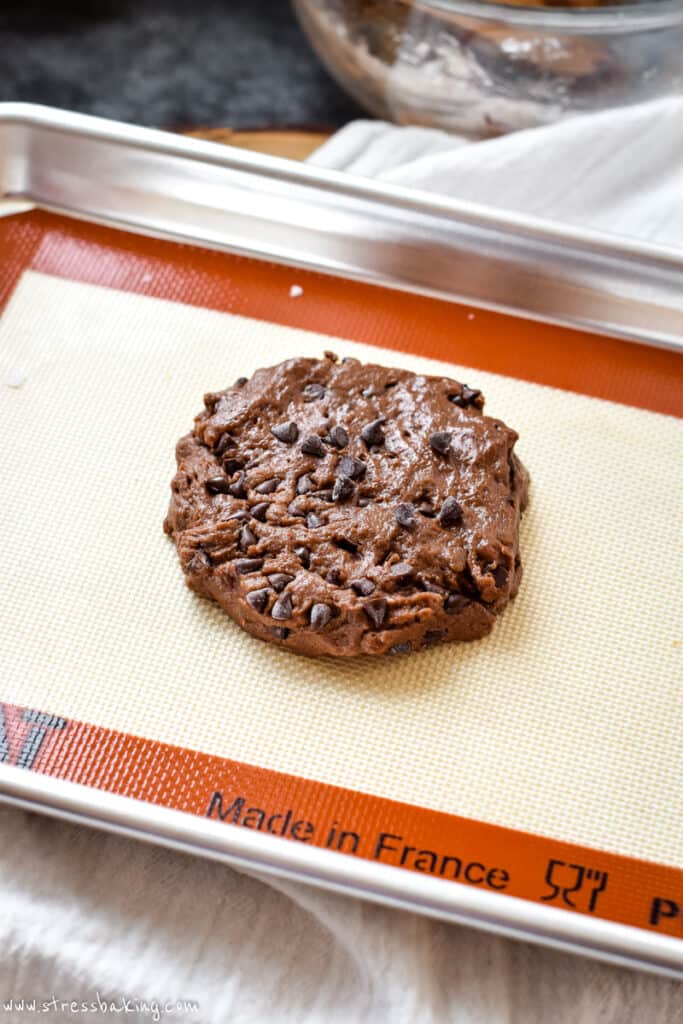
- Melting chocolate doesn't have to be scary. Don't have a double boiler? Melting chocolate can be done in the microwave.
- Place your chocolate (chopped or broken into pieces, if from baking bars) into a microwave safe bowl.
- Heat in 15-30 second increments, stirring after each increment, until melted and smooth.
- If using the chocolate to drizzle, transfer to a pastry bag or heavy duty plastic baggie, snip off a small part of one corner and drizzle away!

Tips for brownies and bars
- Prep your pan accordingly. Thoroughly coat your pan with non-stick spray, or use parchment paper held down on the sides by small binder clips to make it even easier to remove it from the pan. Just lift it out – no muss, no fuss! Bonus: you have a relatively clean pan, ready for your next batch.
- Get clean slices by using a serrated knife. Use a knife with a serrated edge to cut your bars to get sharp edges, and wipe it clean with a paper towel or cloth after each slice for the prettiest presentation.
Tips for working with cheesecake
- Place your cheesecake on a baking sheet filled with water while it cooks – this will give it the moisture it needs and keep your cheesecake from drying out and help prevent cracks on the surface.
- Wrap the outside of your spring form pan with aluminum foil – at least two layers. Feel free to add more if you’re super paranoid (like me).
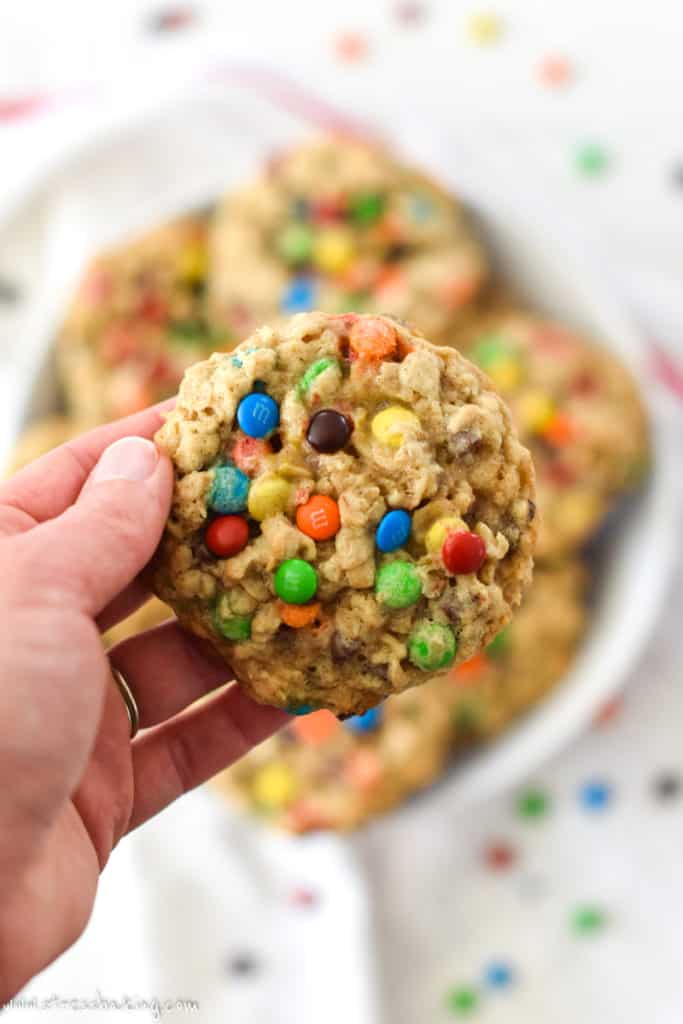
Tips for baking cookies
- Chill your cookie dough before forming the balls and baking them. I'm serious about this – overnight or at least a couple hours. This makes the dough less sticky and easier to work with, and more importantly it keeps the cookies from spreading too much. Even better, with most recipes you can also freeze them and then take them out to let them come to room temperature before baking. That way, you can work in batches, and take them out as you need them.
- Get yourself some non-stick silicon baking mats. There are so many benefits:
- You don't have to waste money on parchment paper you use once and then throw away.
- Your pans don't get dirty! Well, not as dirty. You'll still want to wash them occasionally.
- No extra calories like you would will some non-stick sprays.
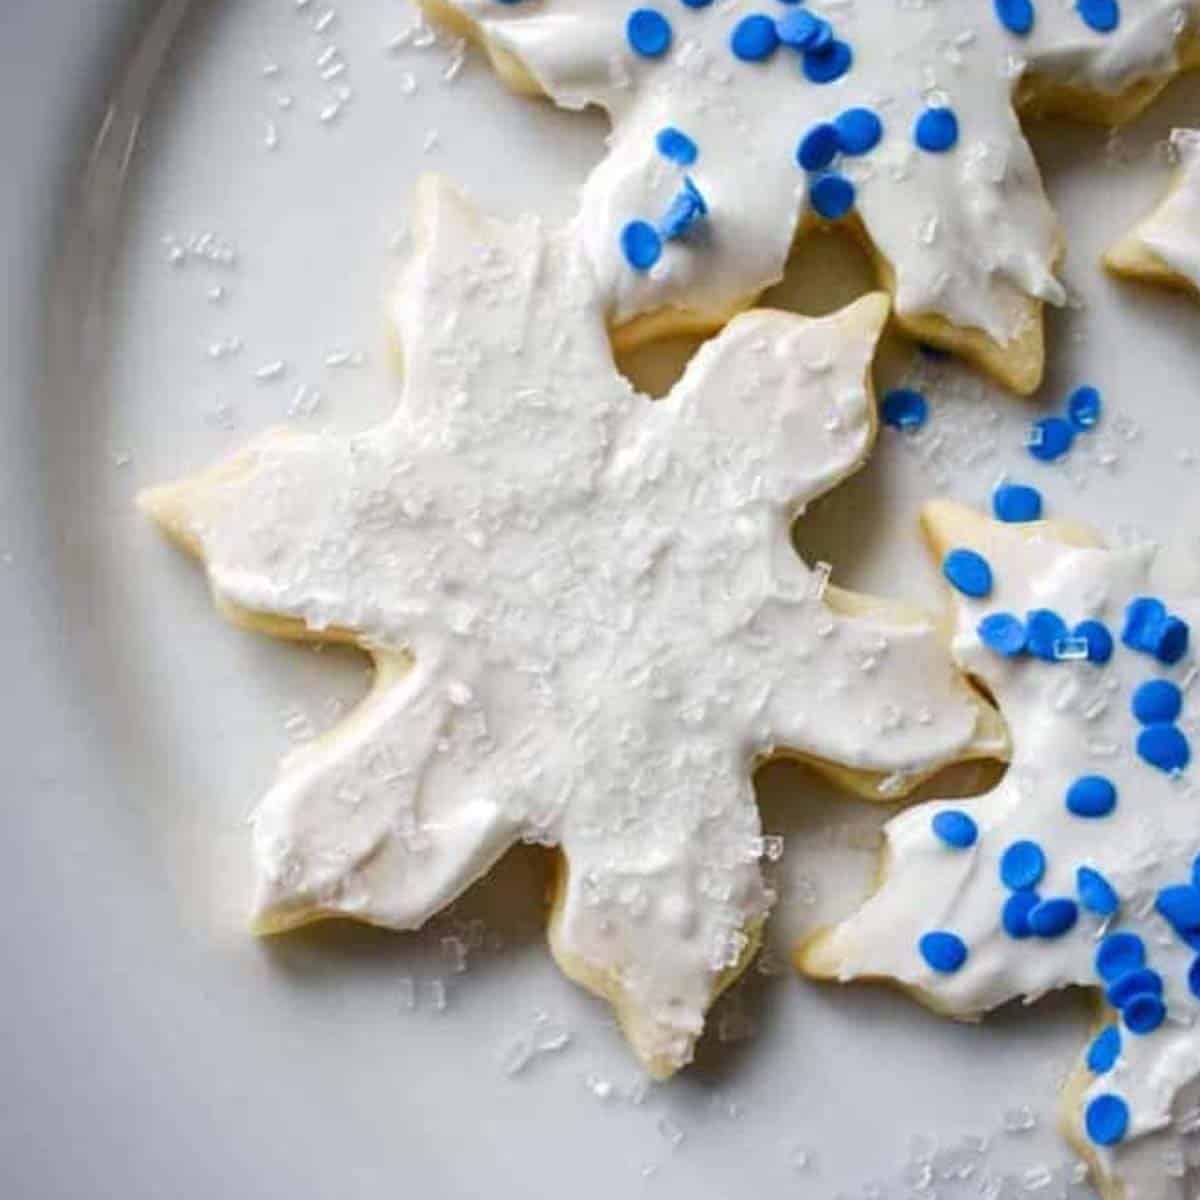
- Flour is your friend when it comes to sugar cookies. Cover your rolling pin, flat surface (ideally a counter prepared with wax or parchment paper) and hands with flour when working with sugar cookies. You can also dip your cookie cutters in flour to help the dough loosen more easily from the cutter.
- Let everything cool completely before storing or packaging them. Don't place your cookies in airtight containers until they've completely cooled. If you do, they'll get soggy from the condensation that will develop and no one wants a soggy cookie!
- Speaking of packaging up treats, check out my post about packing and mailing cookies.
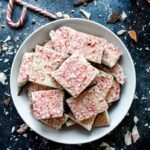
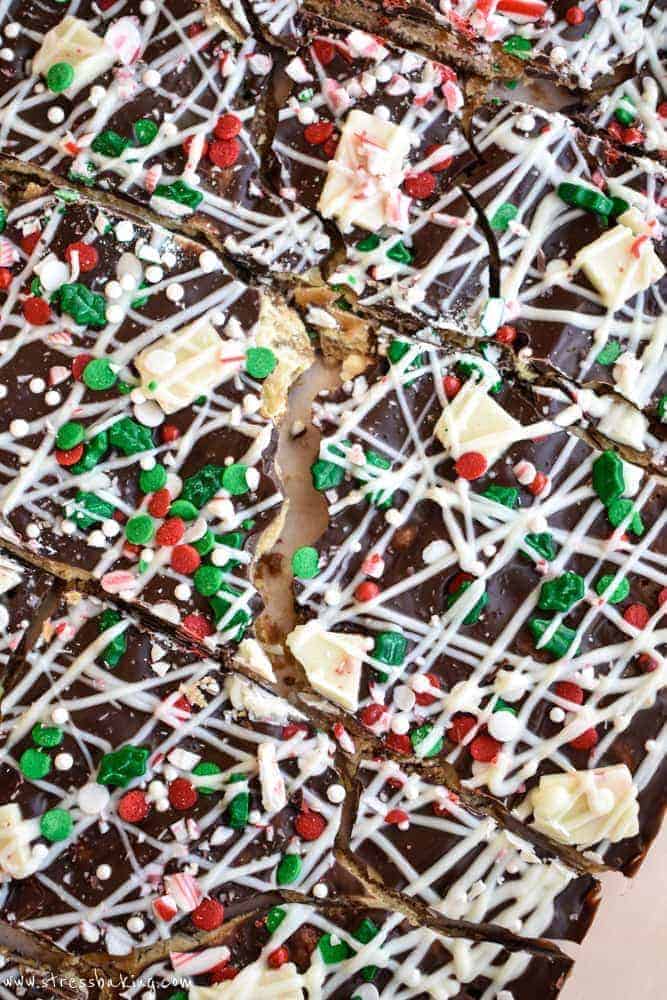
- If you want pretty cookies, place a few chocolate chips (or white chocolate chips, M&Ms, whatever it may be) on top of the cookies just after you've removed them from the oven so that they'll sit on top without being melted into the dough.
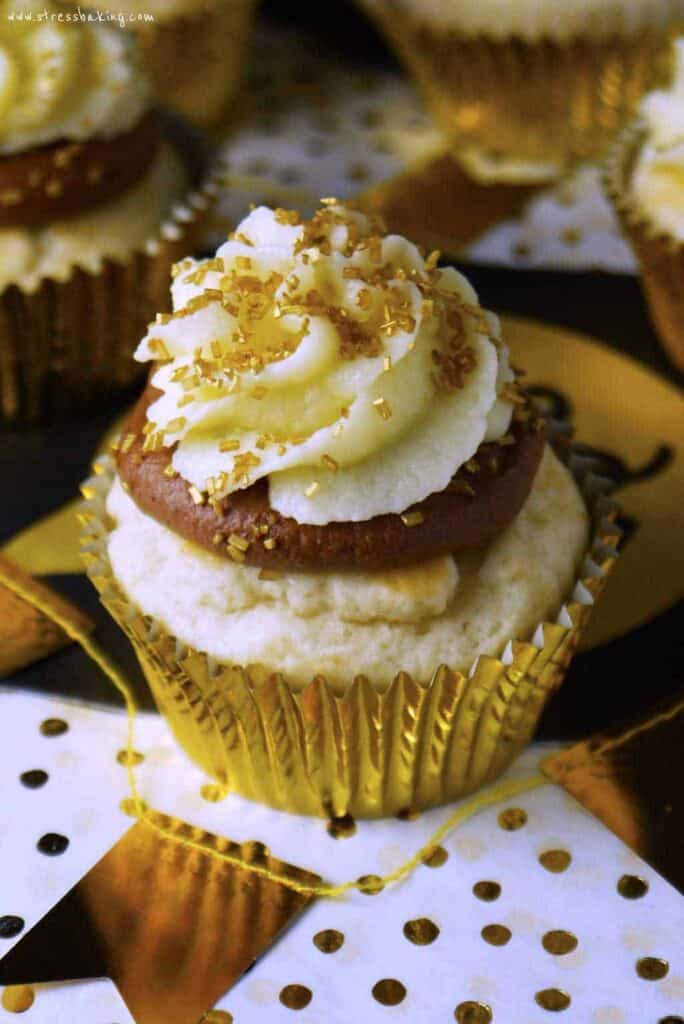
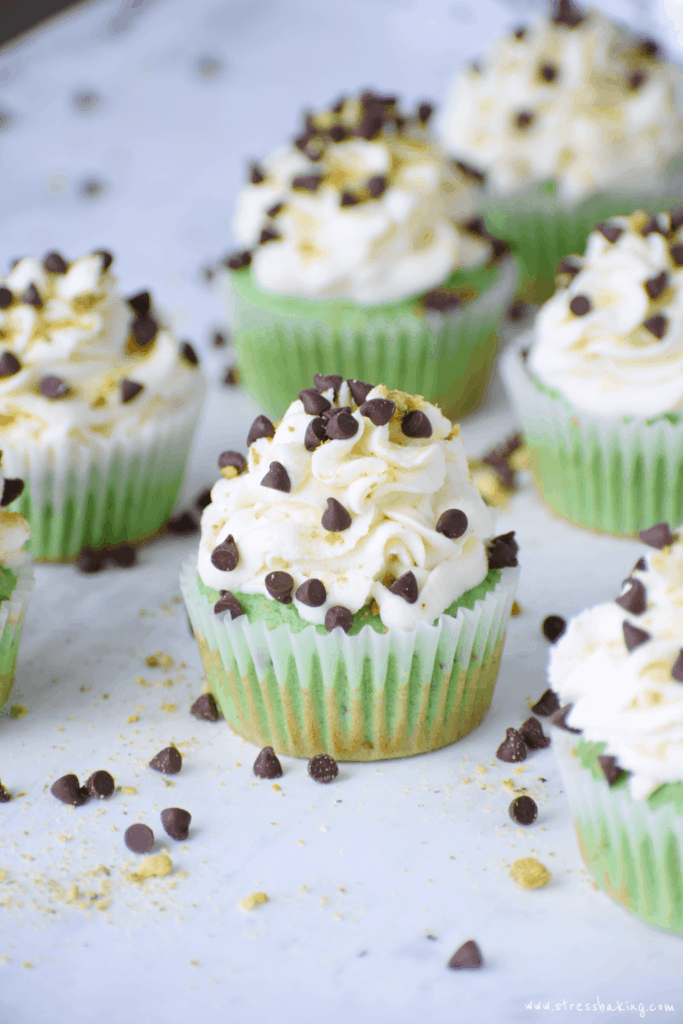
Tips for making cupcakes
- If you don't have enough batter to fill a full muffin tin, fill the remaining empty cups with a little water – this will help the rest of the muffins/cupcakes bake more evenly.
- If your frosting is thicker than you'd like it to be, add in a little milk at a time until it reaches the consistency you're looking for.
- If you don't have pastry bags for your frosting, you can easily use a heavy-duty plastic Ziploc bag with the corner snipped off instead.
- To fill a pastry bag with frosting, fit the tip on the bag and then set it inside a pint glass and fold the top of the bag over the sides of the glass. This will make it much easier to spoon in your frosting!
- If you need multiple colors of frosting, just make a big batch of vanilla frosting and then divide it into different small bowls. Then add food coloring to each bowl for each of the colors that you need.
- When piping frosting onto cupcakes, there is a right way to do it!
- Hold the pastry bag with one hand firmly holding the twisted end and your other hand near the bottom.
- Hold the bag straight up and down while you move in a circle (either from the outside in, or the inside out depending on the look you're going for) and once you're done gently release pressure as you pull the bag up. This will give the cupcake a nice clean peak.
- After you've removed the cupcakes from the oven, only leave them in the pan for a couple minutes and then carefully remove them and place them on a cooling rack to cool completely. If you leave them in the pan, they may continue to bake just from the heat of the pan, and you could end up with cupcakes that are drier than you wanted.
What tricks of the trade do you have in your back pocket?
Let me know in the comments!